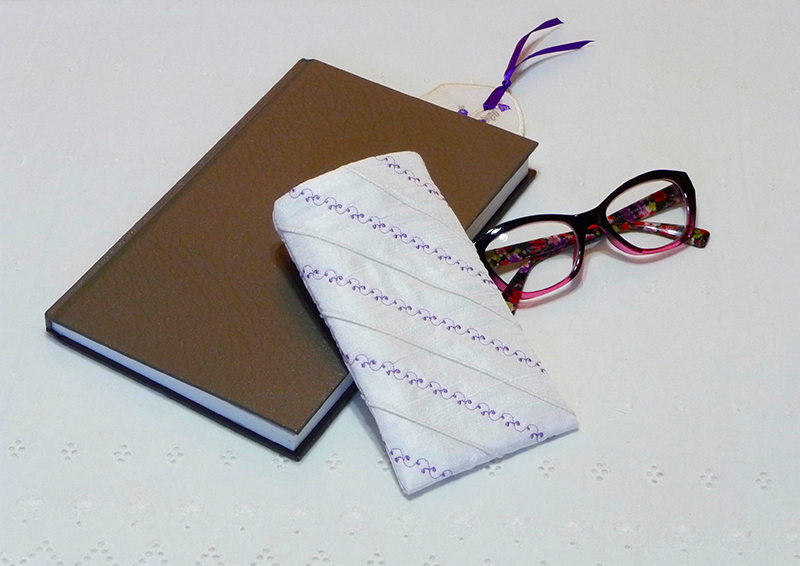
Foot of the Month: Heirloom Eyeglass Case
This case will protect your spectacles with style! Featuring pintucks and decorative stitches it’s easy to make. Why not make one for yourself and one to give as a special gift?
Materials and Supplies:
- Brother Sewing machine
- SA179 Pintuck foot with cord guide
- Basic sewing notions including two spools of good quality thread to match fabric
- 2mm Twin needle for sewing pintucks
- Cording for corded pintucks
Note: There are a variety of choices for this, including gimp cord, crochet threads, and pearl cotton. Experiment with available cords making sure the cord slides easily through the hole in the cord guide and fills the area under the pintuck. Test on sample fabric before making the eyeglass case.
- Embroidery thread for decorative stitching
- Fabric for eyeglass case: One piece of fabric measuring 6-inches wide X 16-inches long for outside of case, one piece of thin batting measuring 6-inches wide X 16-inches long for backing outside piece. One piece of fabric measuring 5-inches wide X 15-inches long for lining case
Note: This sample is constructed from silk dupioni.
Instructions for Creating Eyeglass Case
- Mark evenly spaced lines on the outside piece for sewing pintucks. In this example lines were drawn 1 ½-inches apart. See Figure #1.
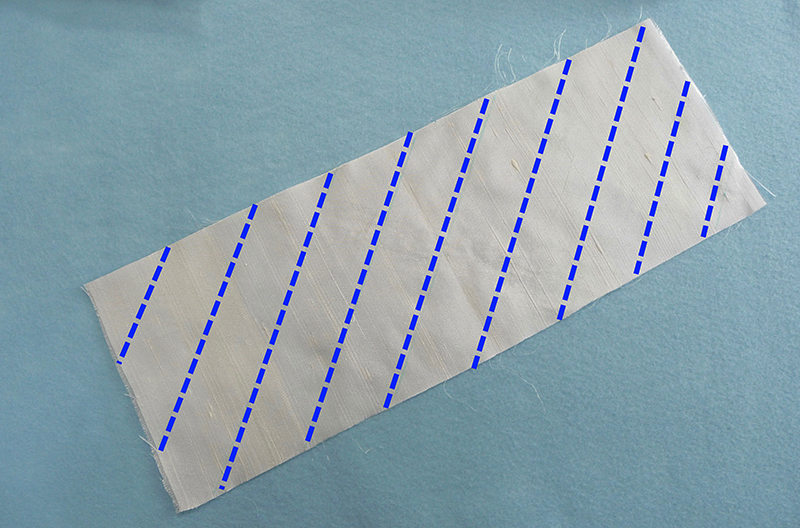 Figure #1[/caption]
- Set up machine for twin needle sewing with the 2mm twin needle, making sure that the machine is set for sewing in the center needle straight stitch position.
- Feed cord through guide. See Figure #2.
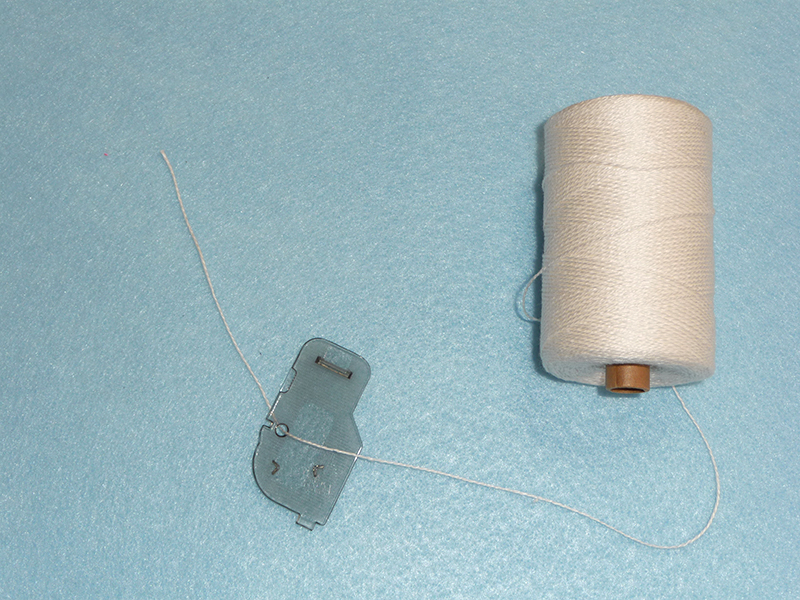 Figure #2[/caption]
- Replace bobbin cover with cord guide cover. Stitch rows of corded pintucks along marked lines. See Figure #3a, #3b, and #3c.
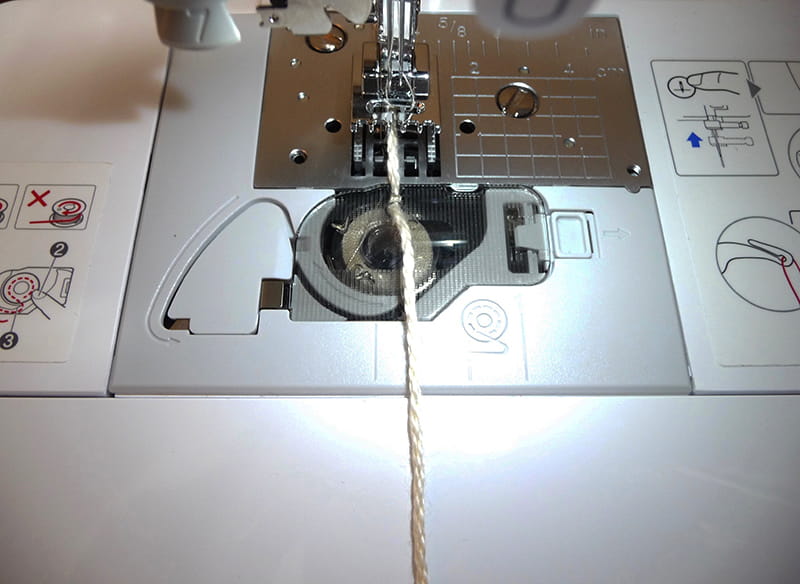 Figure #3a[/caption]
[caption id="attachment_15308" align="aligncenter" width="800"]
Figure #3a[/caption]
[caption id="attachment_15308" align="aligncenter" width="800"]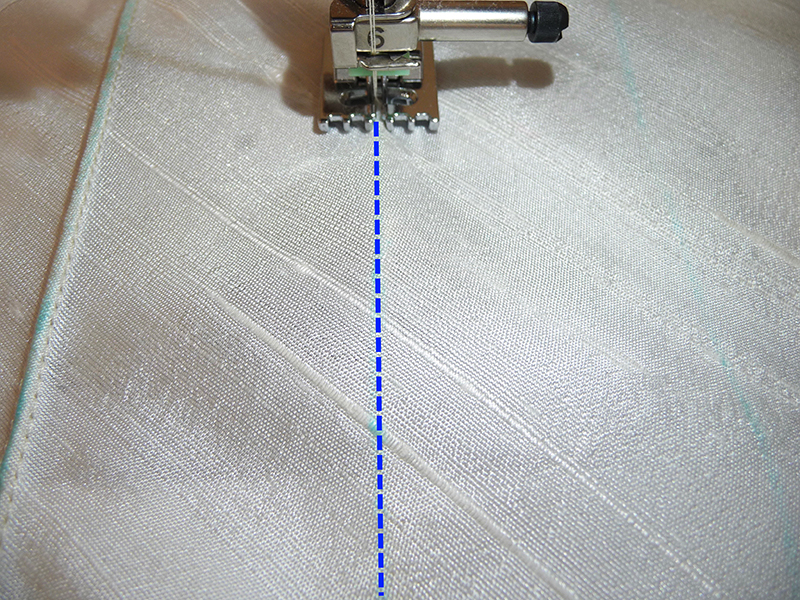 Figure #3b[/caption]
[caption id="attachment_15309" align="aligncenter" width="800"]
Figure #3b[/caption]
[caption id="attachment_15309" align="aligncenter" width="800"]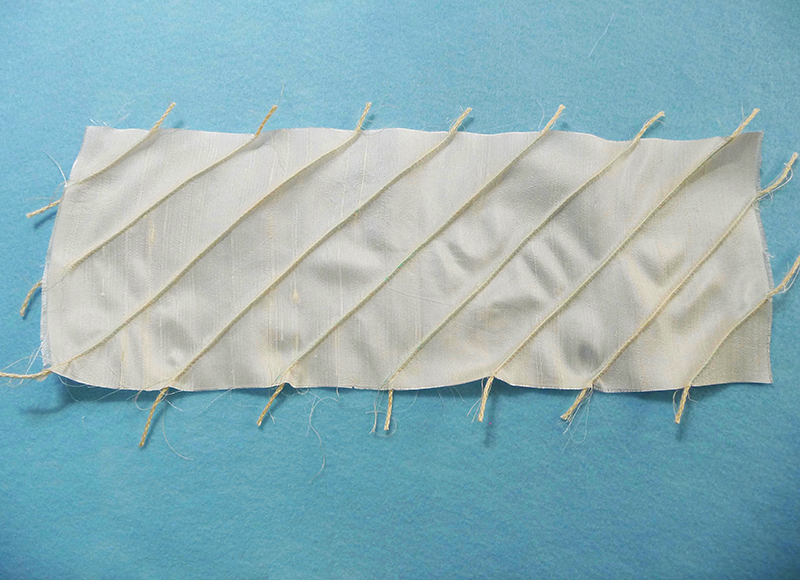 Figure #3c[/caption]
- Press piece and layer batting on the wrong side. Remove twin needle and change machine for sewing with decorative stitches. Select a decorative stitch and sew between rows of pintucks. See Figure #4.
 Figure #4[/caption]
- Press and trim outside piece to equal 5-inches wide X 15-inches long.
- Place outside piece and lining right sides together with all edges matching. Sew each short end using a ½-inch seam allowance. Press short seams open.
- Next, re-fold the piece so the short seams are matching in the center. Pin layers together marking off a space on the lining to keep open for turning. See blue lines below:
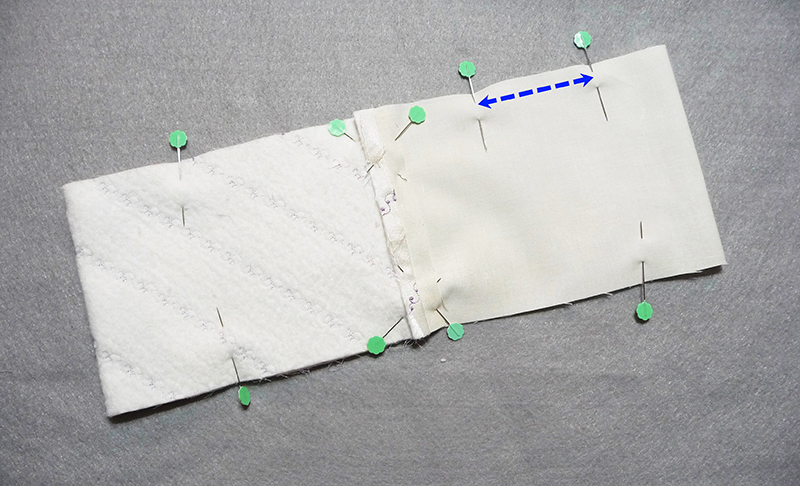
- Sew sides with a ½-inch seam allowance, turn right side out through opening, and press. See below:
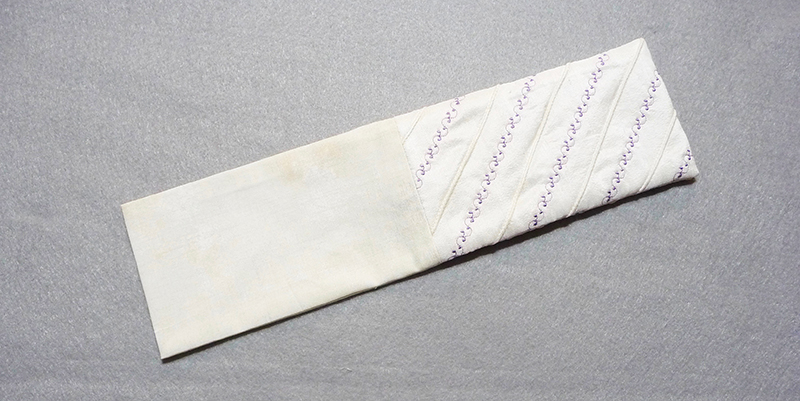
- Tuck lining inside and carefully press to finish. Enjoy!
Option:
- Measure your glasses and adjust measurements to fit various size glasses.
Related Projects
Stay Connected
* Required fields