Free Design of the Month: Ruffled Butterfly Tote
The Brother FREE Design for this Month is full of pretty stitches! Lots of thread colors give the bright butterfly design special detail and shading. Sized for an 8-inch or larger hoop, this design is a breeze to stitch on the Brother PR1050X
Entrepreneur Pro Plus 10-needle machine. Simply thread up the machine and the stitching takes care of itself, allowing you to skip stopping for multiple thread changes. This artistic design fits an 8-inch square hoop perfectly. I accented the tote with ruffles, quickly stitched with the Brother Ruffler Foot. Are you ready? Let’s go sew! This colorful tote requires just a few steps to make:
- Embroider and sew a pocket for the front.
- Attach pocket to front.
- Create straps and a ruffled strip from complimentary fabric.
- Sew tote with ruffle inserted into side and bottom seam and add straps.
Materials and Supplies:
- Brother Machine for Embroidery and Brother machine for sewing.
Note: The ten-needle machine makes it easy to stitch a design like this without stopping for multiple thread changes. Please know that you can also stitch this design on any Brother machine with an 8-inch or larger hoop capability. - Brother Embroidery Thread
- Brother Bobbin Thread for Embroidery
- SA5810
Pacesetter Medium Weight Tear-Away Stabilizer - Size 11 embroidery needles for embroidering.
- Size 14 jeans needle for constructing tote.
- Basic sewing notions including thread to match or blend with fabrics.
Fabrics for tote:
- For pocket: Cut one piece of medium weight woven cotton to fit hoop. Fuse medium weight interfacing to the entire piece.
- For pocket lining cut one square of lightweight cotton measuring 10-inches square.
- For tote front and back cut pieces of medium weight cotton measuring 14-inches wide X 15-inches long.
Quilt weight cotton fabric for ruffle and straps:
- For tote straps cut two strips measuring 3 ½-inches wide X 30-inches long. Fuse a strip of light weight interfacing to each strap.
- For ruffle cut and piece enough 5 ½-inch wide strips to equal one continuous piece measuring 108-inches long. Note: Cutting strips on the bias grain of the fabric will produce the prettiest ruffling effect. Piece length of ruffle strip with diagonal seams. See Step 10 for more details.
- Brother Free Design of the month, BrightButterfly.pes
. See Figure #1.
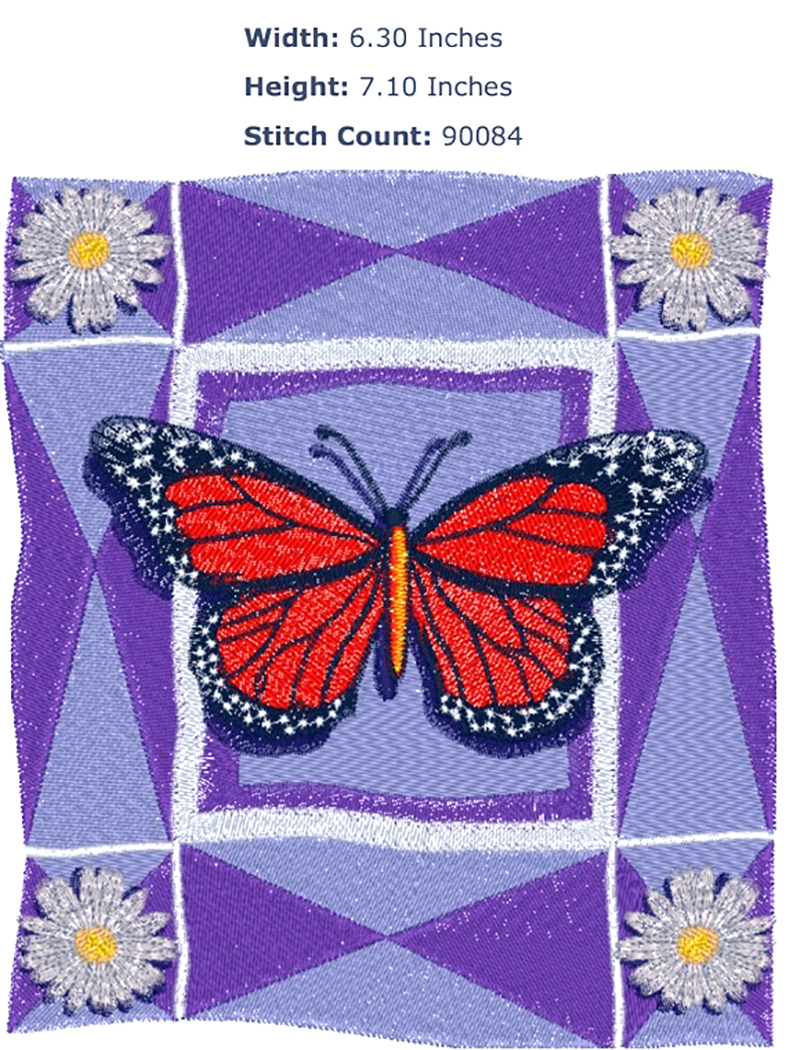 Figure #1[/caption]
Steps to Create Ruffled Tote
- Choose thread colors and thread machine for stitching design. I opted to use colors that picked up the color scheme of my ruffle and strap fabric. Check the selvedge of your fabric and you will most likely see the color palette the fabric designer used to mix in the print. Using these small sections of color as a color guide is a great way to create a designer look. See Figure #2a and Figure #2b
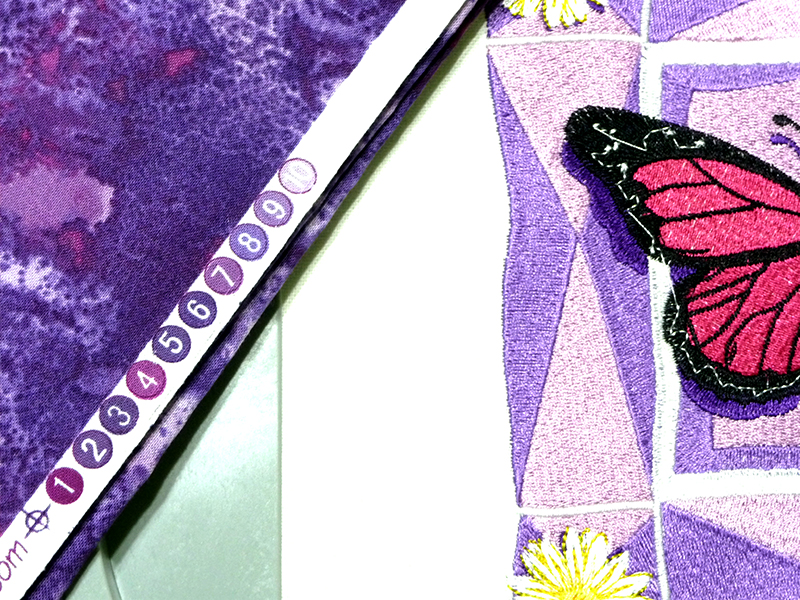 Figure #2a[/caption]
[caption id="attachment_25181" align="aligncenter" width="800"]
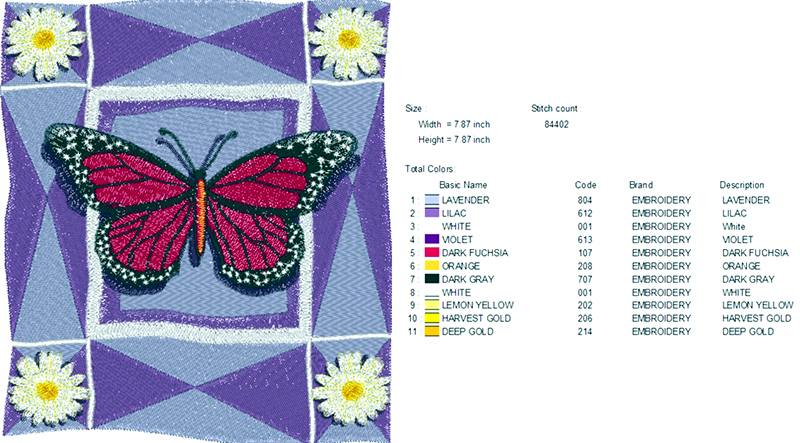 Figure #2b[/caption]
- Hoop interfaced fabric and embroider design on pocket piece. See Figure #3.
 Figure #3[/caption]
- Trim piece to equal a 10-inch square having design centered on the fabric.
- Set up machine for sewing with standard thread and the size 14 jeans needle. Layer pocket lining with embroidered pocket having right sides together. See Figure #4.
 Figure #4[/caption]
- Sew a ½-inch seam around pocket edges, leaving a 5-inch opening at the bottom edge for turning pocket right side out. See Figure #5.
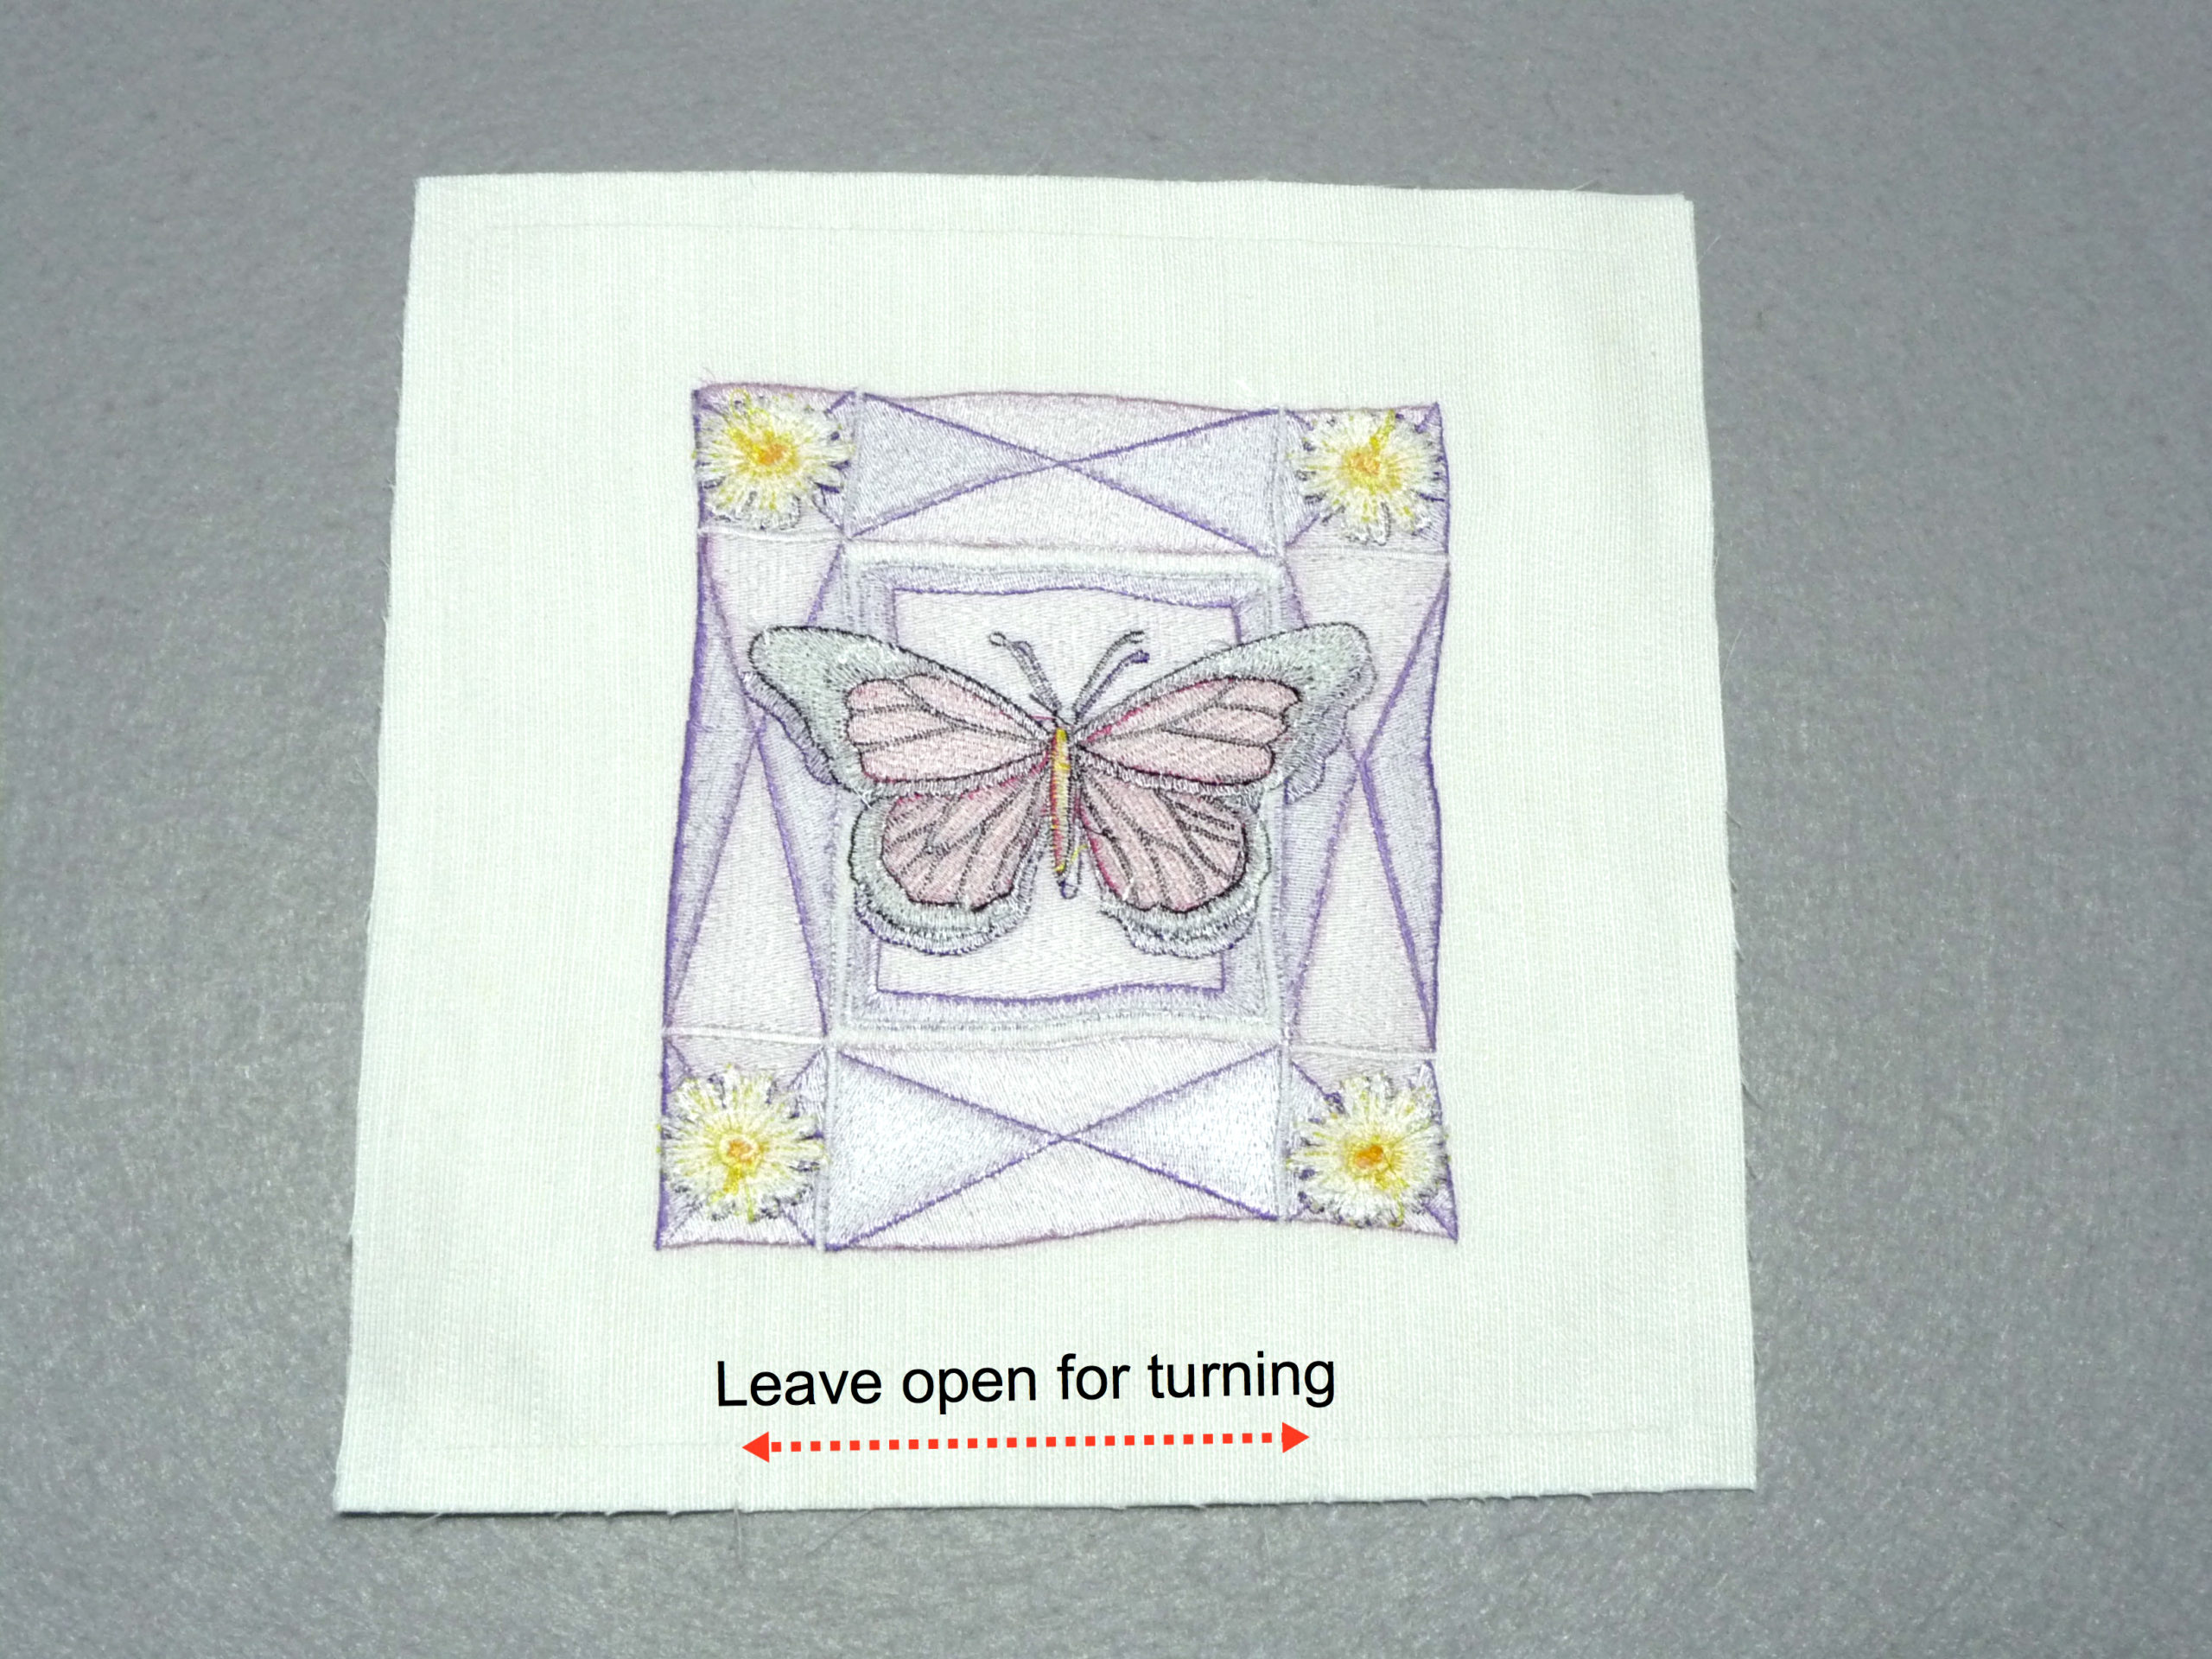 Figure #5[/caption]
- Turn pocket right side out and press opening closed. Prepare to hem tote front and back at the top edge by pressing under 1/2-inch of raw edge to wrong side. Press again, pressing under 1-inch to create top hem. Center pocket on one of the 14-inches wide X 15-inches long pieces to use as the tote front and pin in place. See Figure #6.
 Figure #6[/caption]
- Stitch hem in place close to folded edge. See Figure #7.
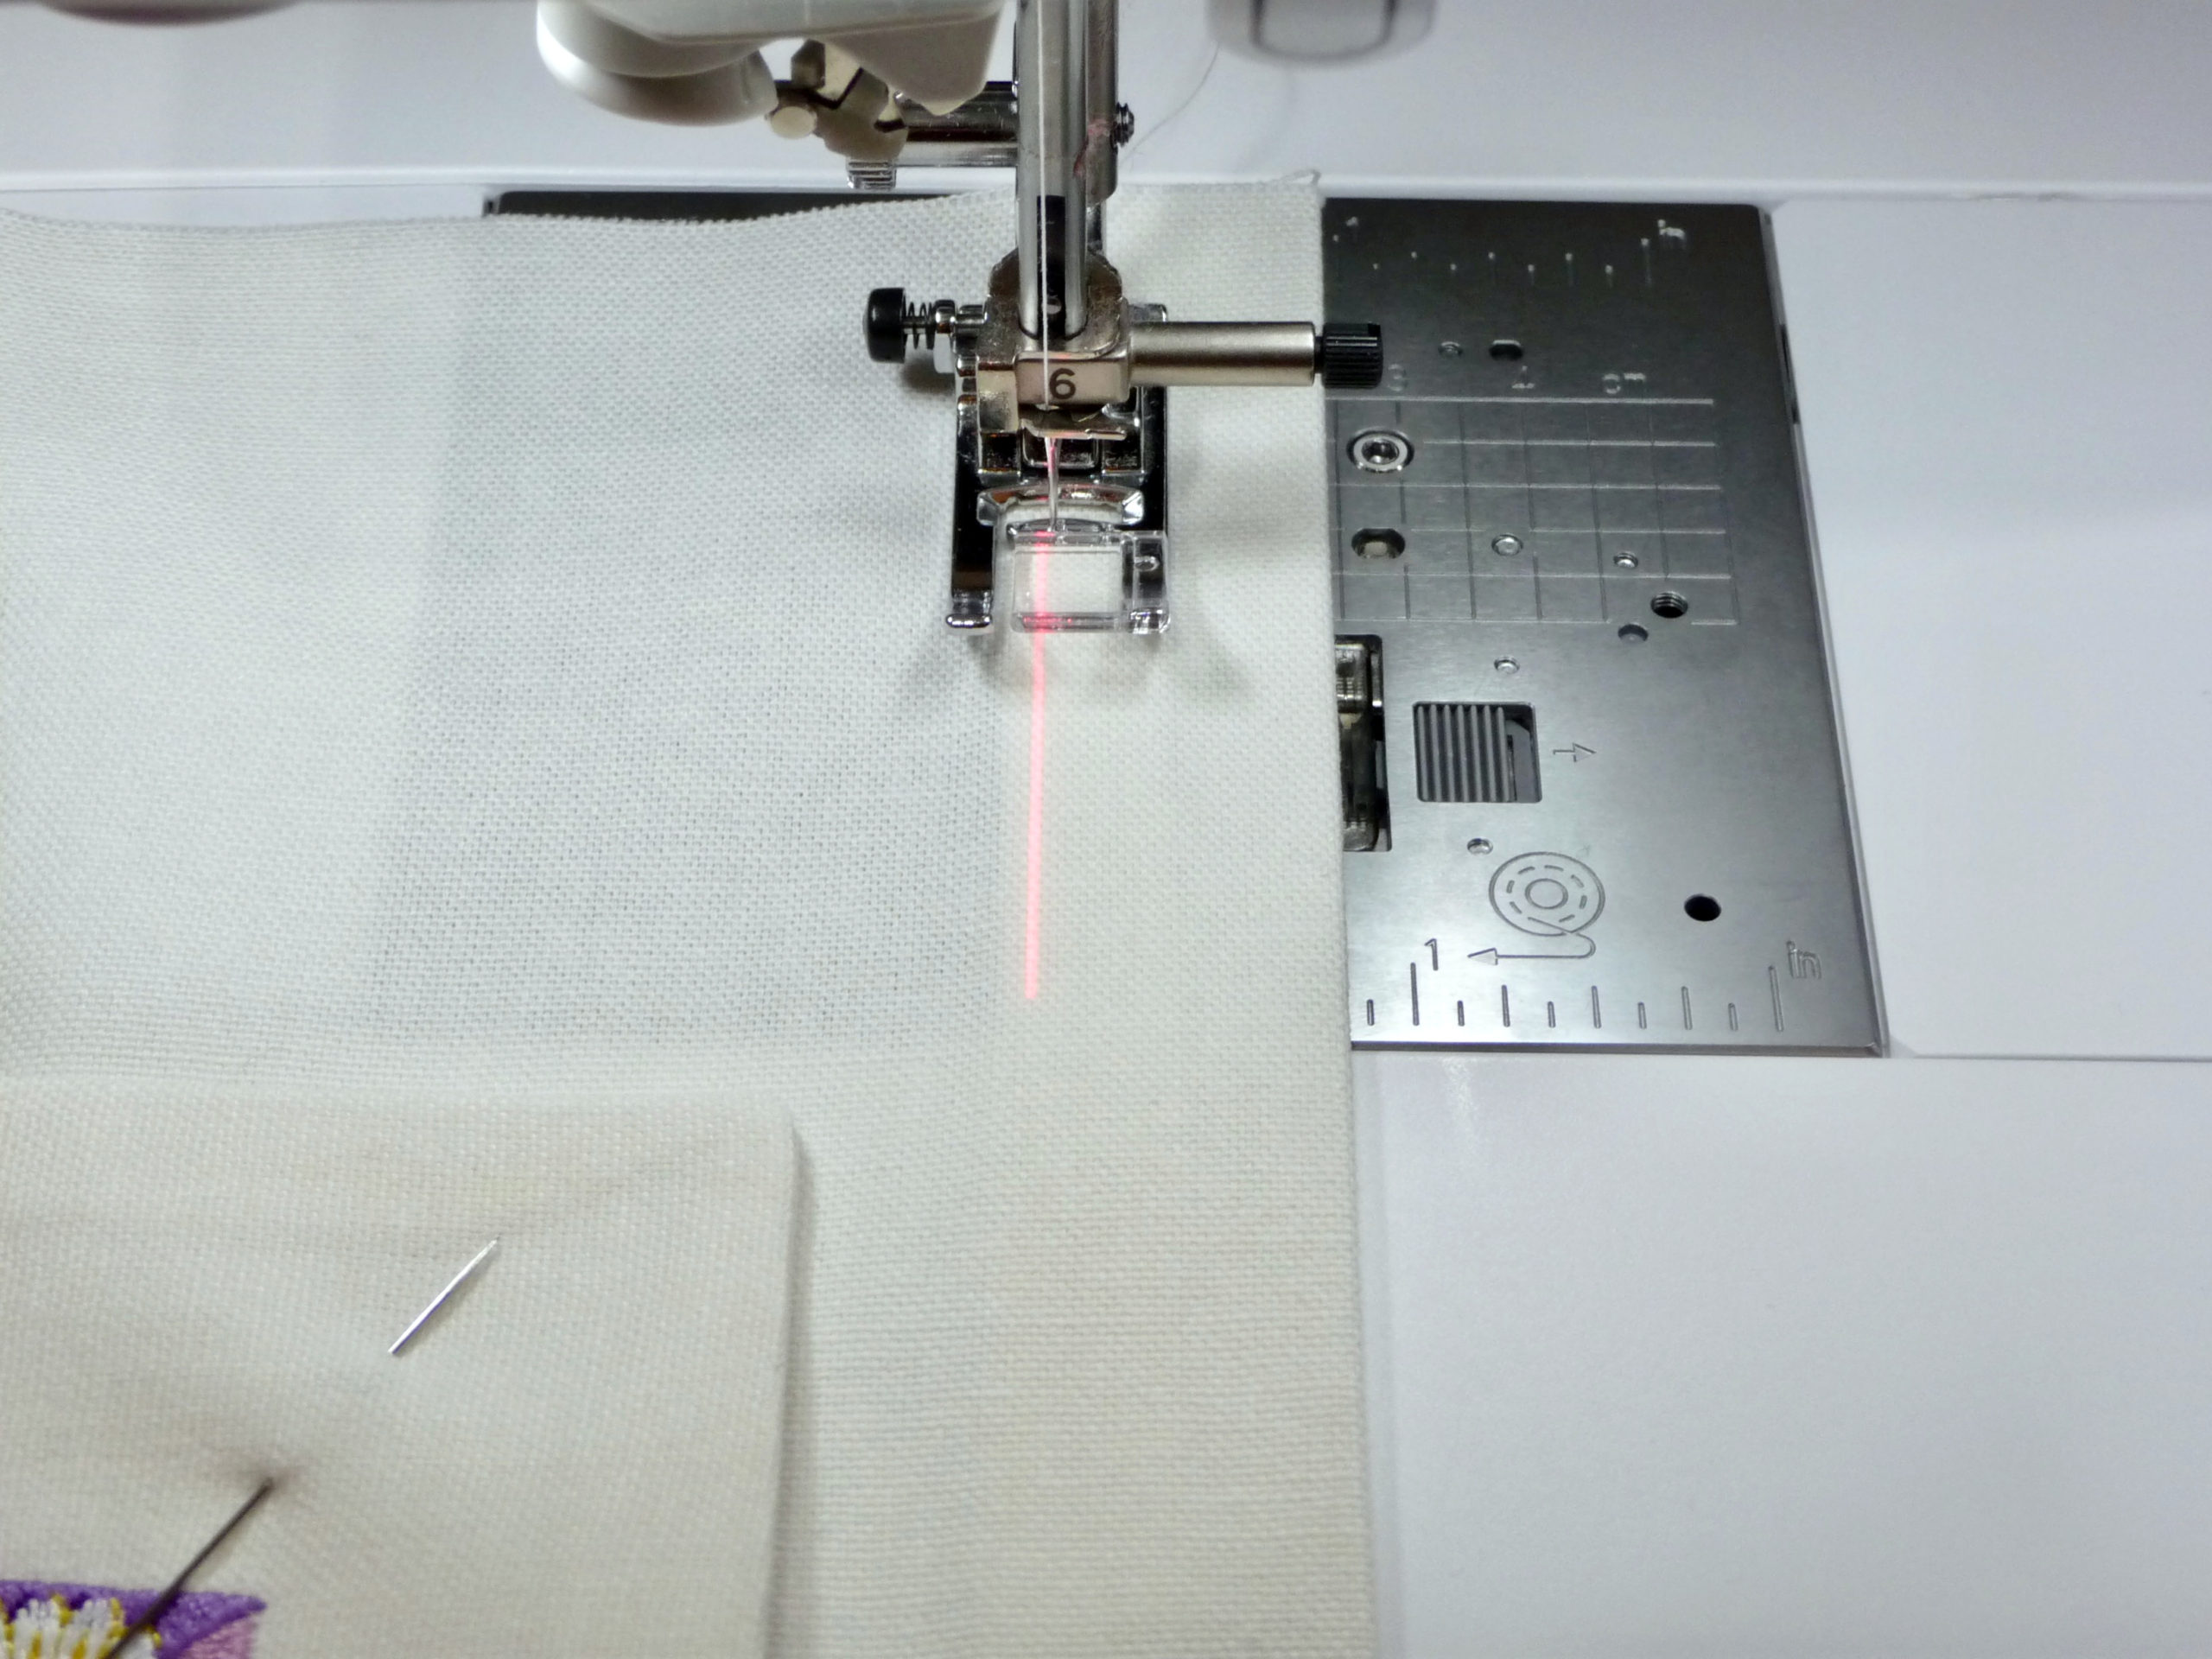 Figure #7[/caption]
- Stitch pocket in place, stitching close to the edge and closing bottom opening in the process. See Figure #8.
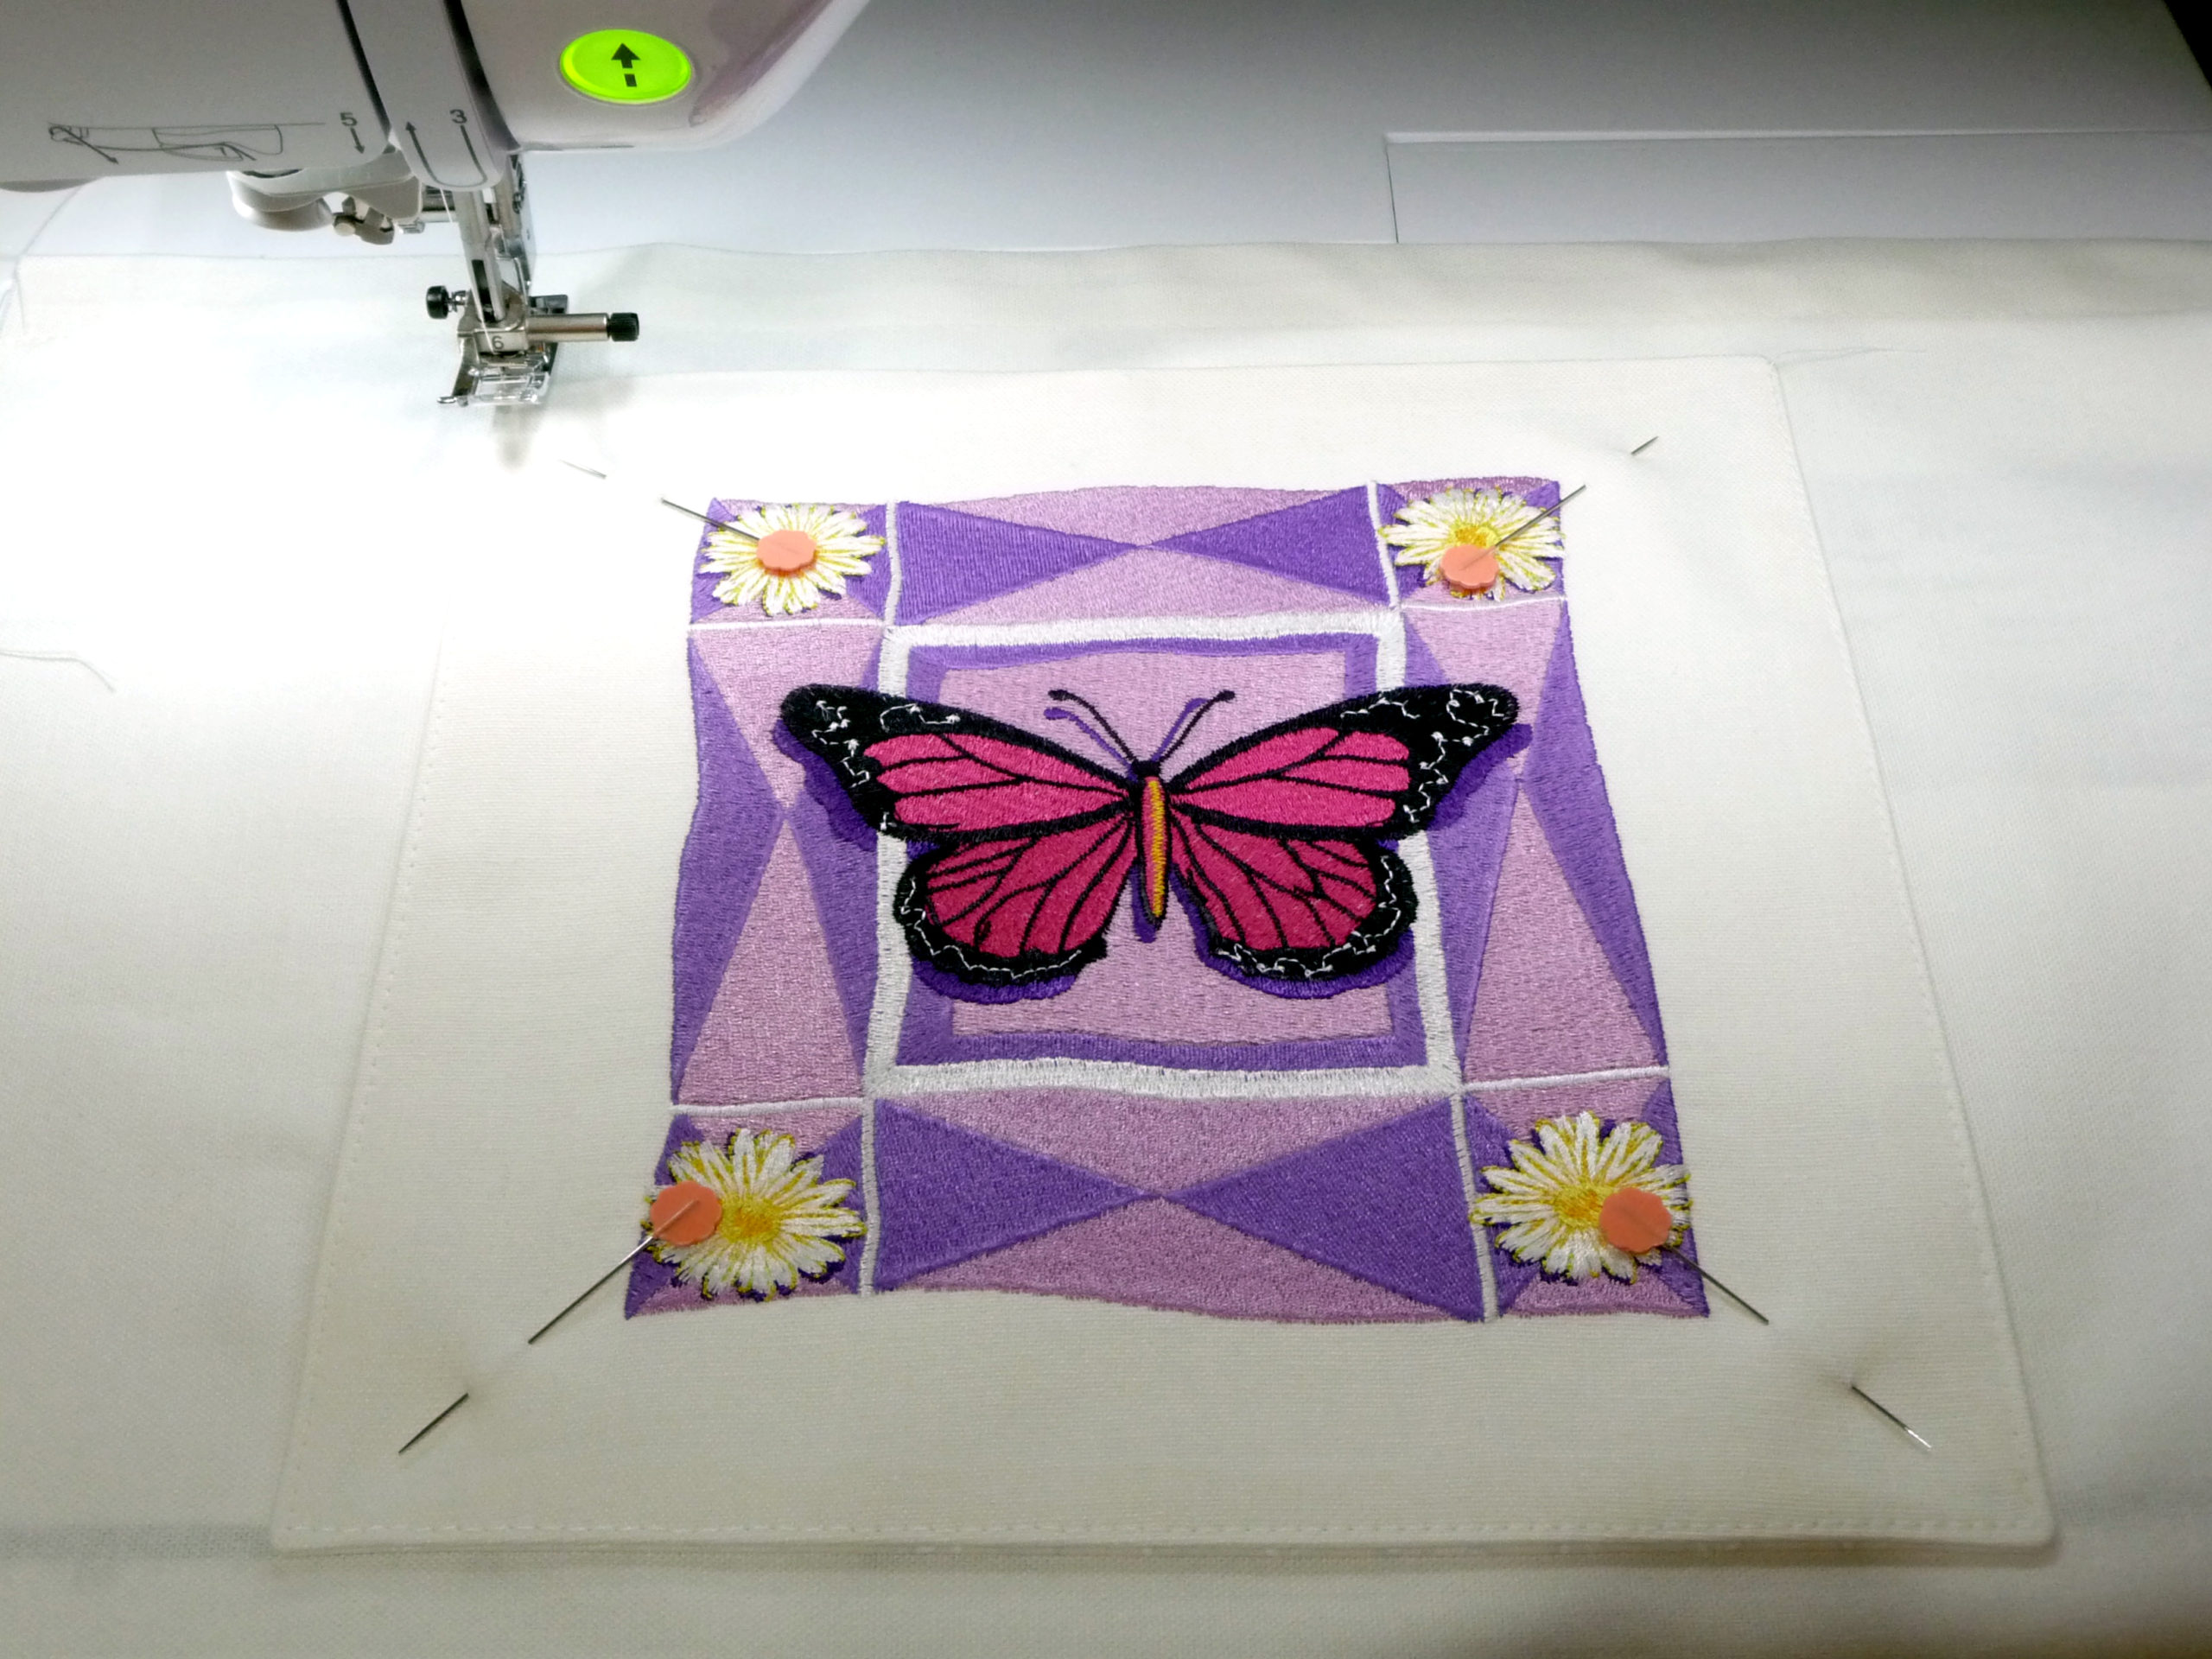 Figure #8[/caption]
- To prepare straps, fold and press under ½-inch along long raw edges. Fold straps in half lengthwise and stitch along each long edge. See Figure #9.
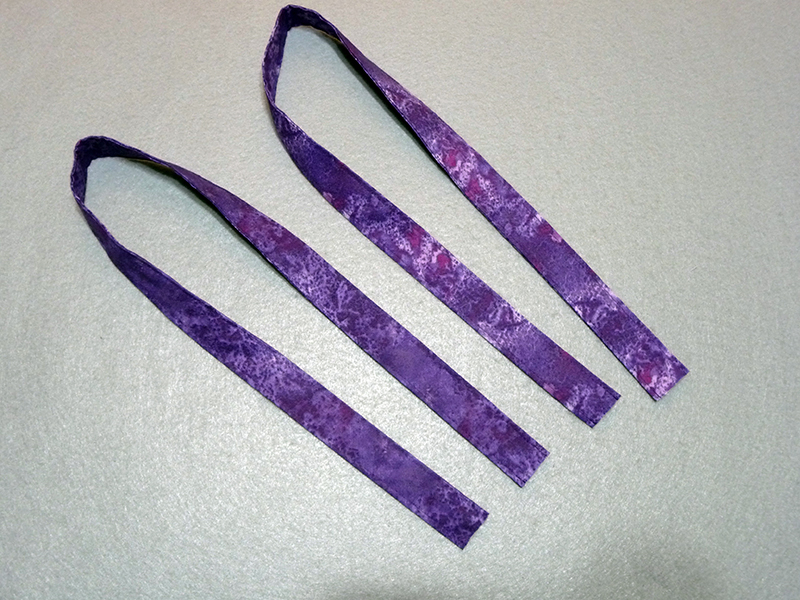 Figure #9[/caption]
- Now it’s time to create ruffles for insertion in the side and bottom seam. For soft ruffles I prefer fabric strips cut on the bias. When piecing bias strips, I create diagonal seams by placing two short, squared off ends together, and then sewing the seam at a 45-degree angle. Press the sewn seam open and trim excess seam allowance before folding the strip in half. See examples in Figure #10a and Figure #10b below.
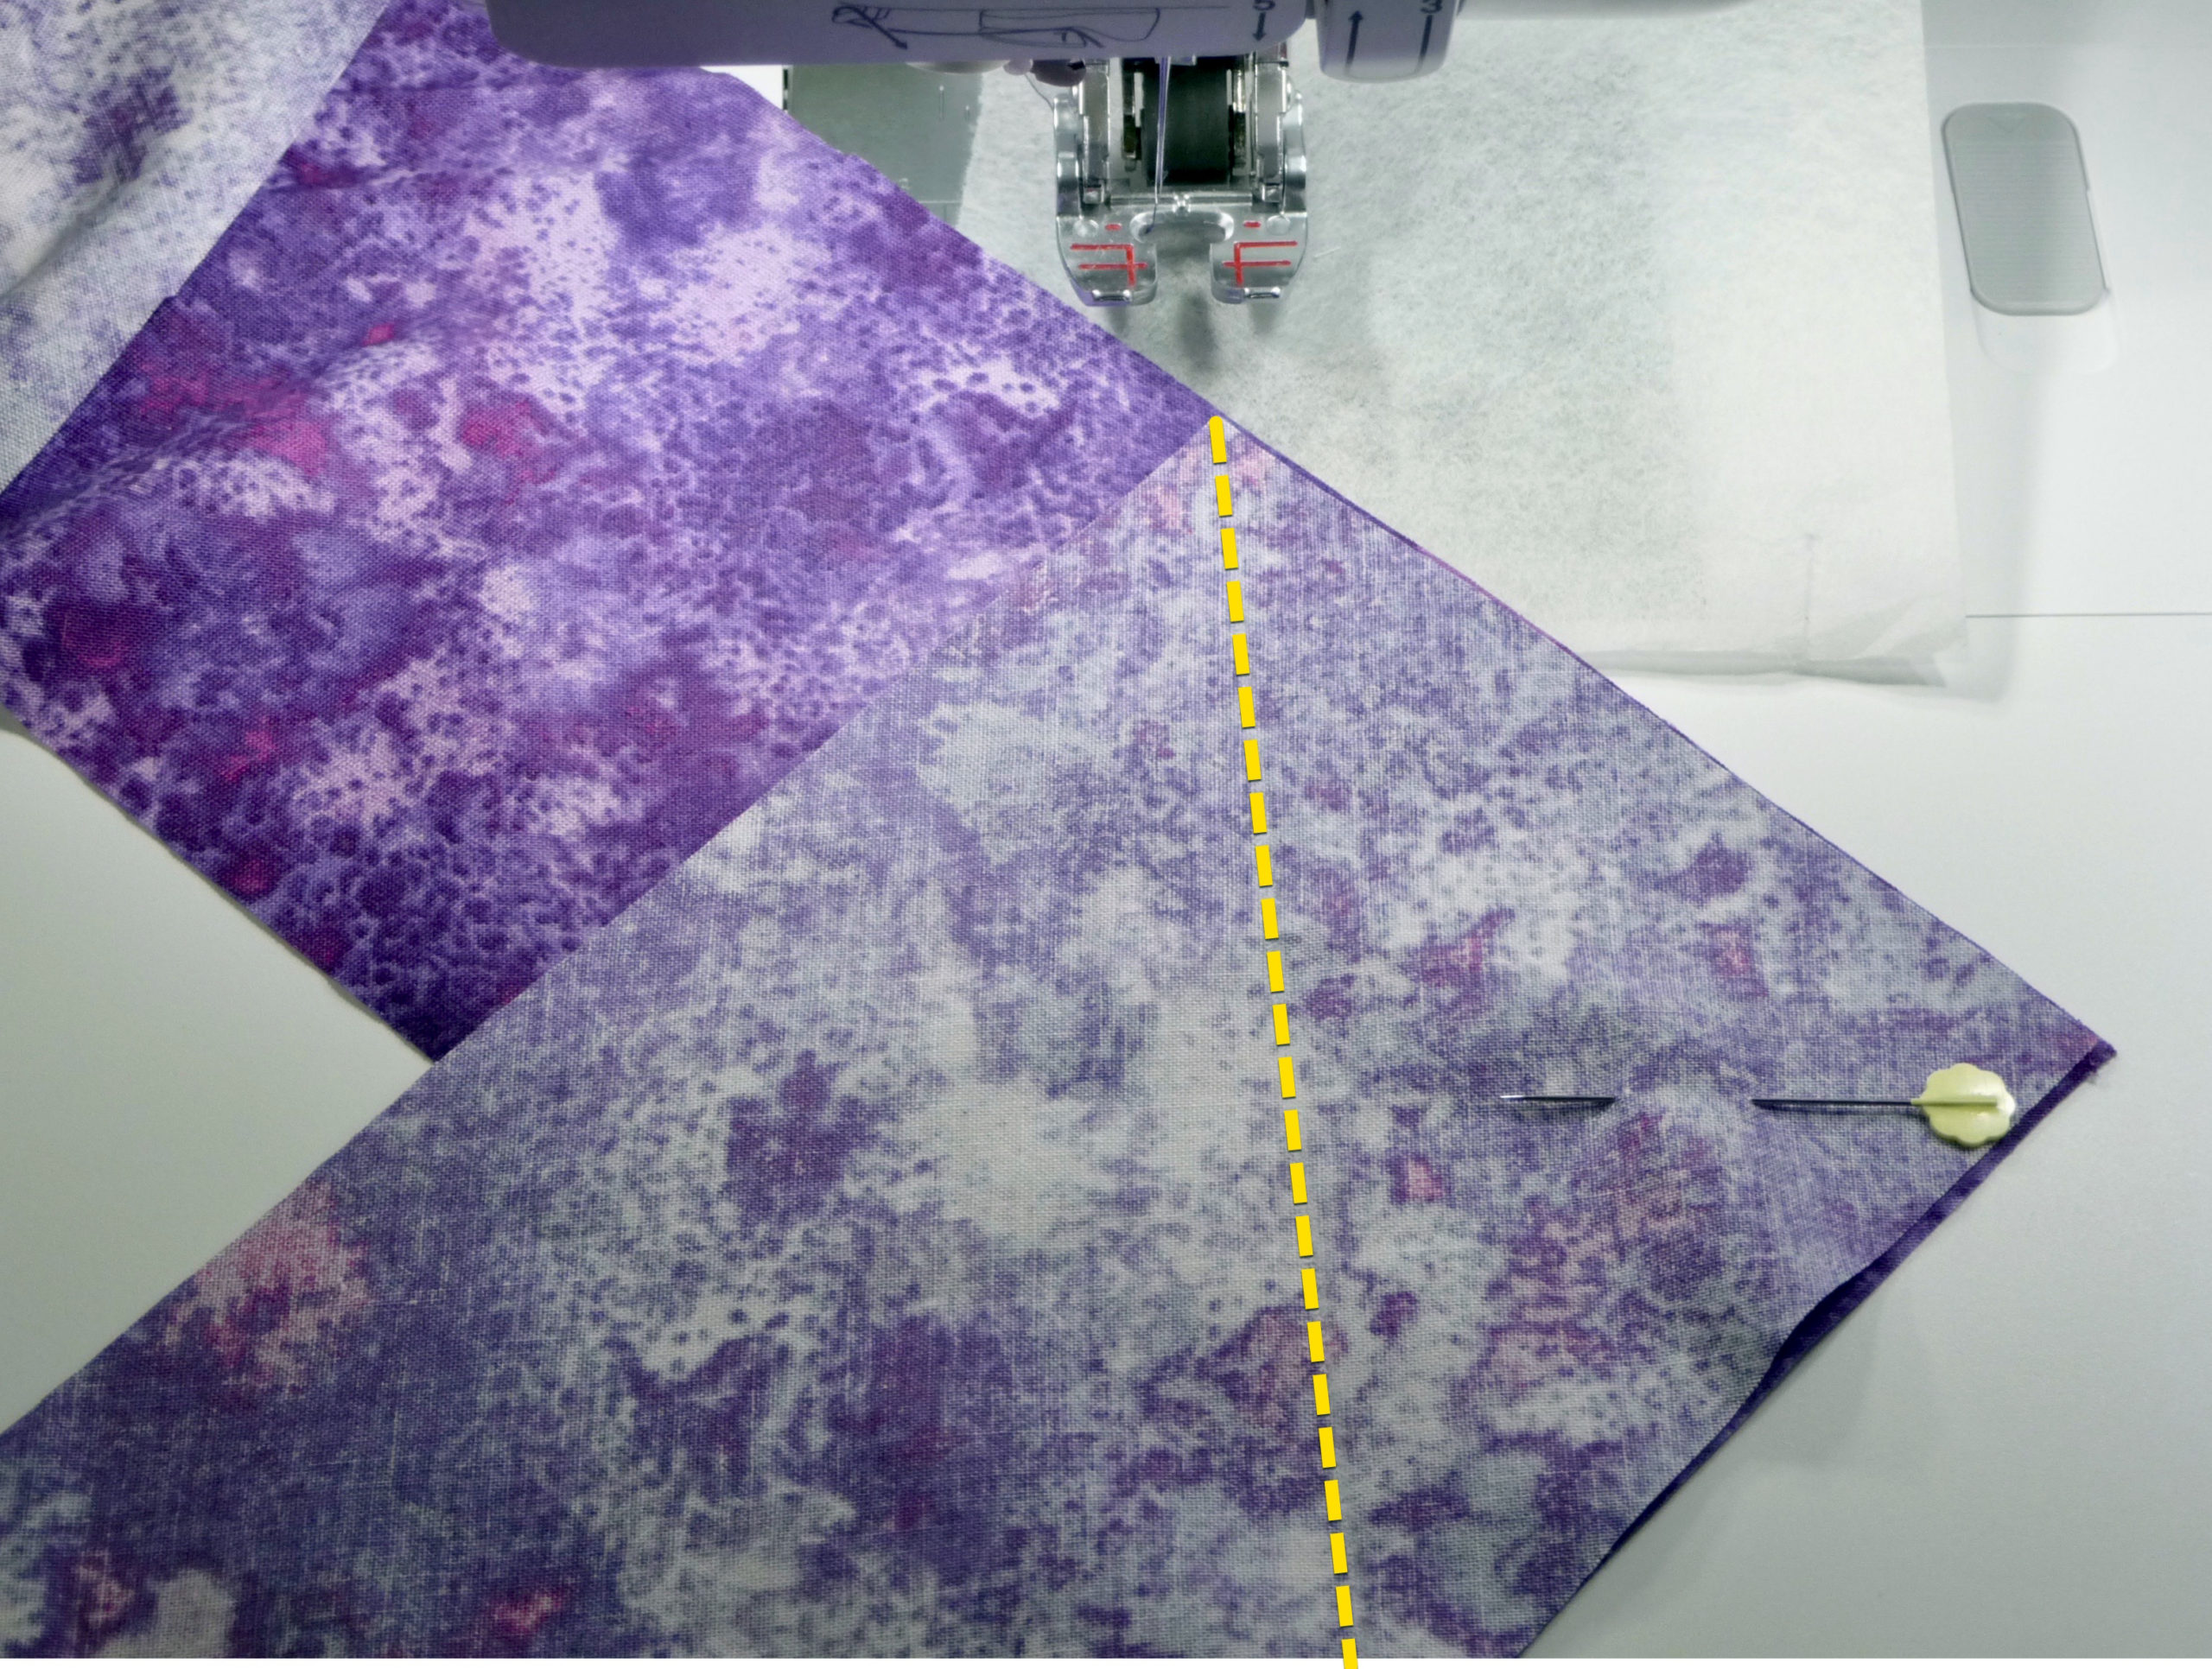 Figure #10a[/caption]
[caption id="attachment_25197" align="aligncenter" width="800"]
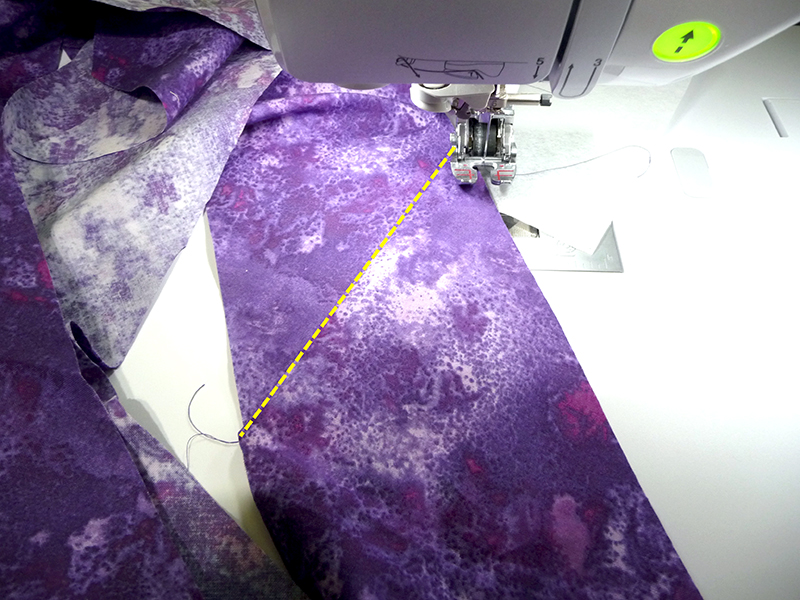 Figure #10b[/caption]
- Set up ruffler as follows to create a soft ruffled trim:
- Choose a center needle straight stitch set for a stitch length of 4.0. Attach ruffler foot and slip fabric under the ruffling blade so there is at least 1-inch extending. Position the fabric so the stitch forms a scant 1/2-inch from the long raw edge of the ruffle strip.
- Set the space adjustment lever to #1. See Figure #11.
 Figure #11[/caption]
- Set the ruffler adjustment screw near the center. See Figure #12.
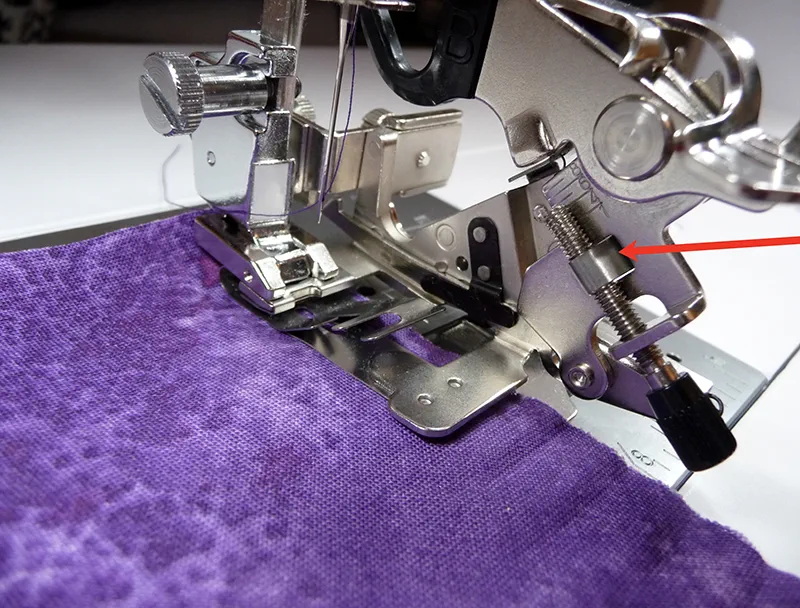 Figure #12[/caption]
- Ruffle the strip, stopping with 1-inch free at the end. See examples in Figure #13a and Figure #13b.
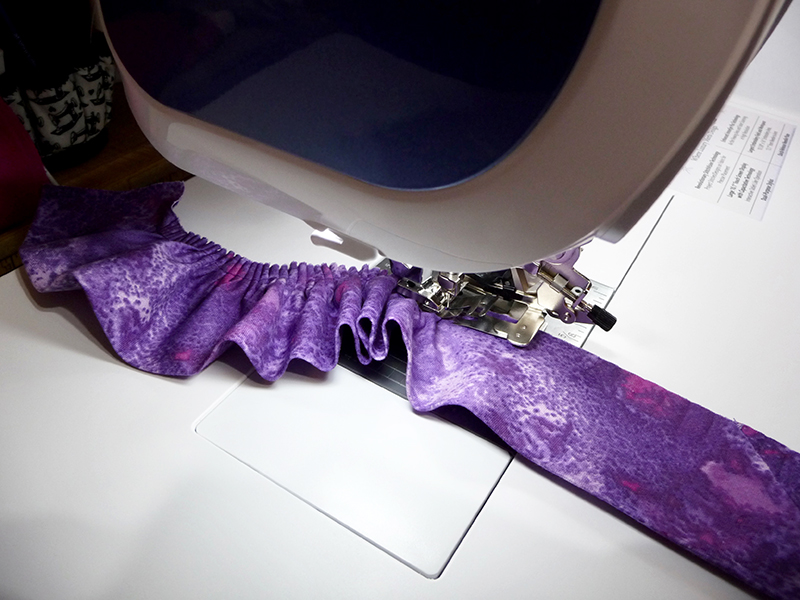 Figure #13a[/caption]
[caption id="attachment_25203" align="aligncenter" width="800"]
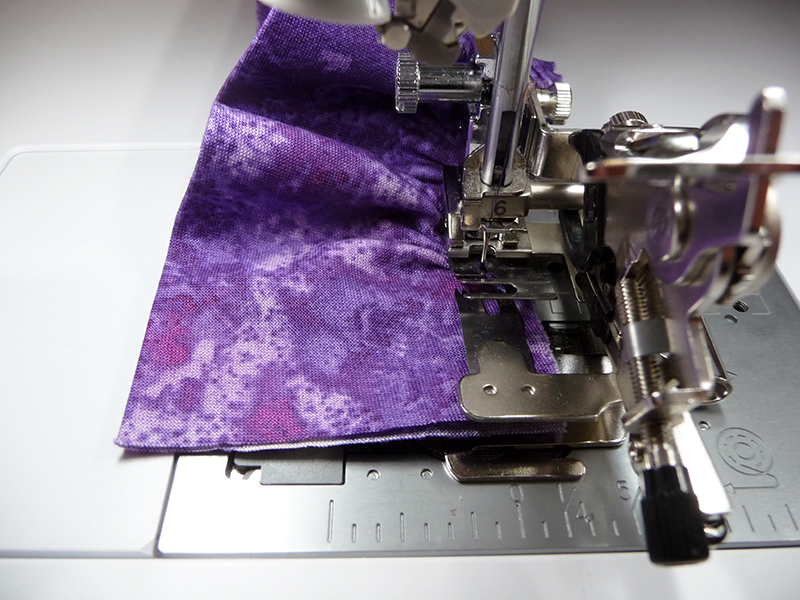 Figure #13b[/caption]
- Pin or clip ruffle along outer edge of tote front, folding ½-inch to the inside to finish first ruffle end. Pin or clip all around, rounding the ruffle at the lower corners. Note that you will trim away some of the ruffle when constructing the tote. When you reach the opposite end, pull out stitches and trim excess ruffle, leaving 1-inch extending. Fold under the final raw ends as you did at the beginning. See Figure #14.
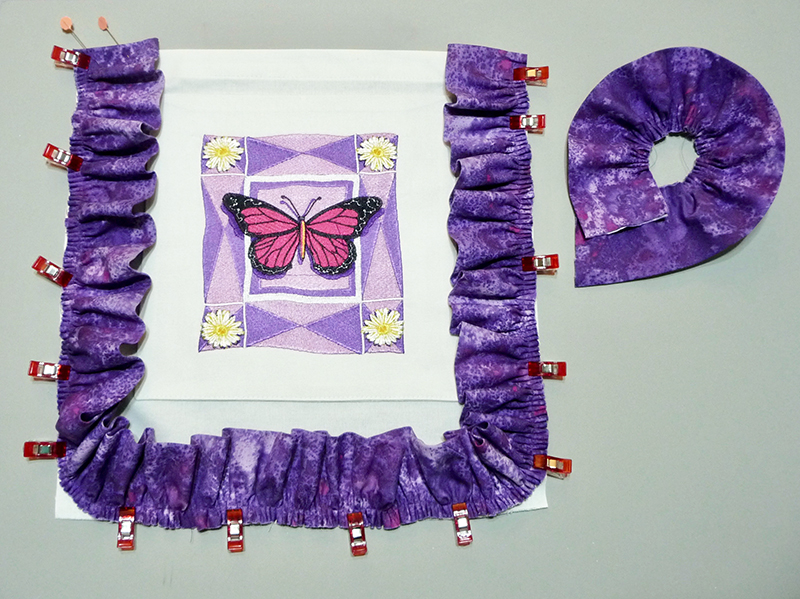 Figure #14[/caption]
- Temporarily detach ends so you can close the open ruffle ends with a standard straight stitch. See Figure #15.
 Figure #15[/caption]
- Set machine for a basting stitch and baste ruffle 3/8-inch from raw edge. Layer tote back with tote front with right sides together. See Figure #16.
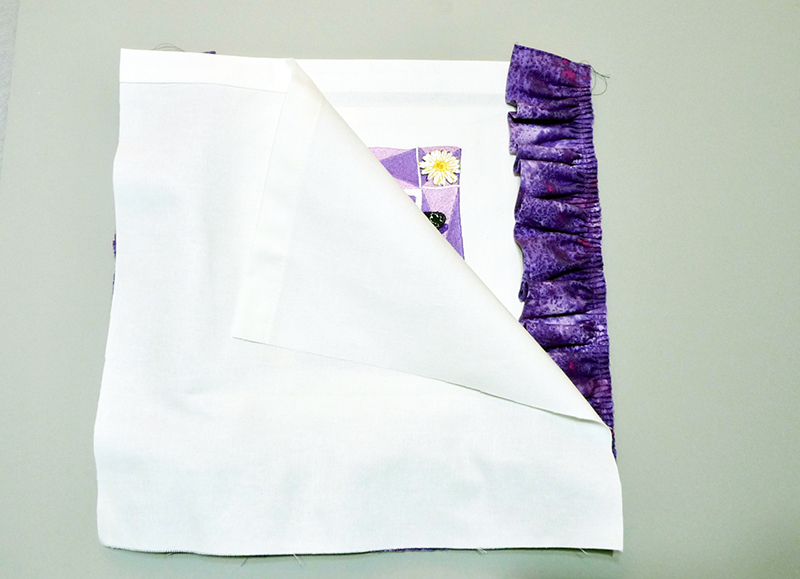 Figure #16[/caption]
- Sew tote together with a ½-inch seam. Trim lower corners, curving the seam, and serge finish or overcast raw edges.
- Fold and press under ½-inch on each short end of straps. Position straps along the top hemmed edge, with front and back straps lined up with pocket edges. Stitch straps securely in place using a box formation with an X in the center. See Figure #17a and Figure #17b.
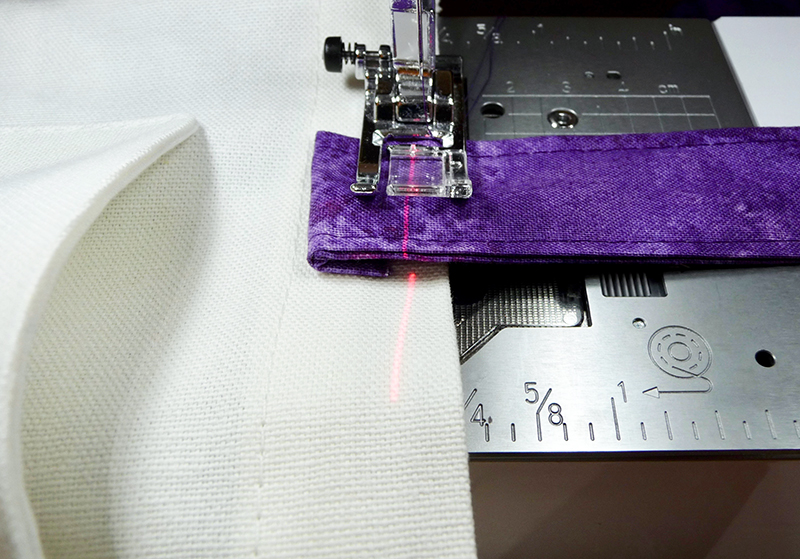 Figure #17a[/caption]
[caption id="attachment_25211" align="aligncenter" width="800"]
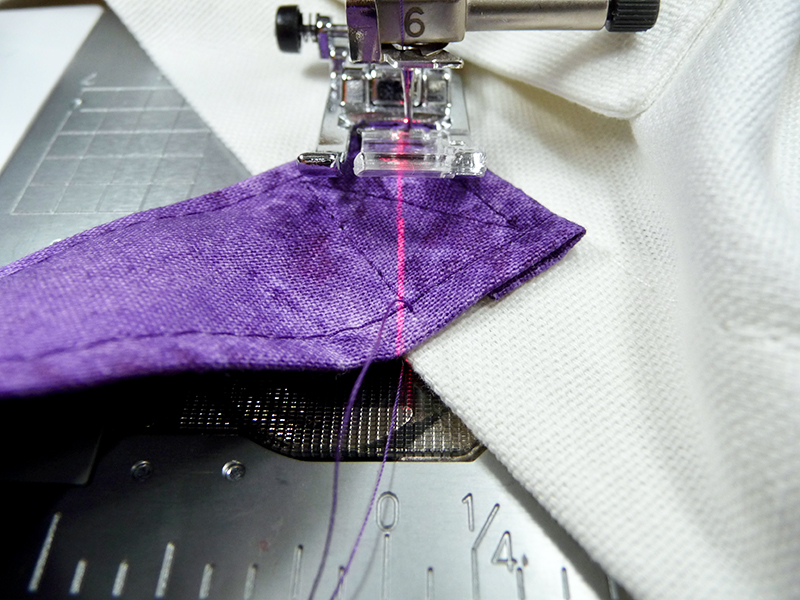 Figure #17b[/caption]
Tack the loose upper seam allowance to the back of the tote using a short line of straight stitches. You are finished! Enjoy!
Options and Ideas:
- Change pocket or tote size as desired.
- Watch for an Accessory Spotlight on the ruffler attachment coming soon!
- Explore options for designs similar to this one in the Bright Blossoms
category of Morango Designs on the Brother iBroidery Design Download site.

