Fun to Make Oilcloth Lunch Bag
Who wouldn’t want to carry lunch in this jaunty, reusable oilcloth bag? It’s easy to make, easy to use and eliminates the waste of a brown paper bag every day. Make that noon meal a bright occasion.
Requirements:
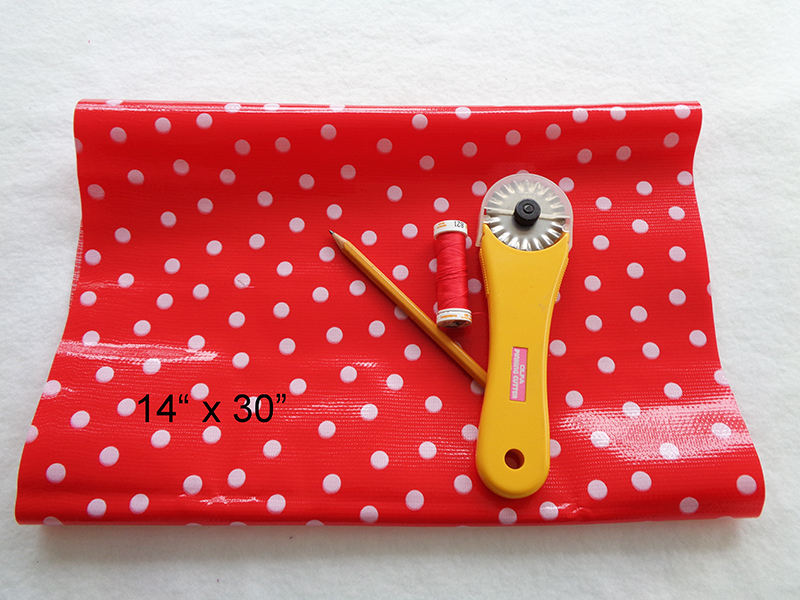
- Oilcloth 14" x 30”
- Zig zag rotary cutter
- SM1738D sewing machine
- Pencil
Directions:
- Cut oilcloth 14” x 30”.
- Trim away ½” from short ends with zig zag rotary blade or simply leave the edge straight.
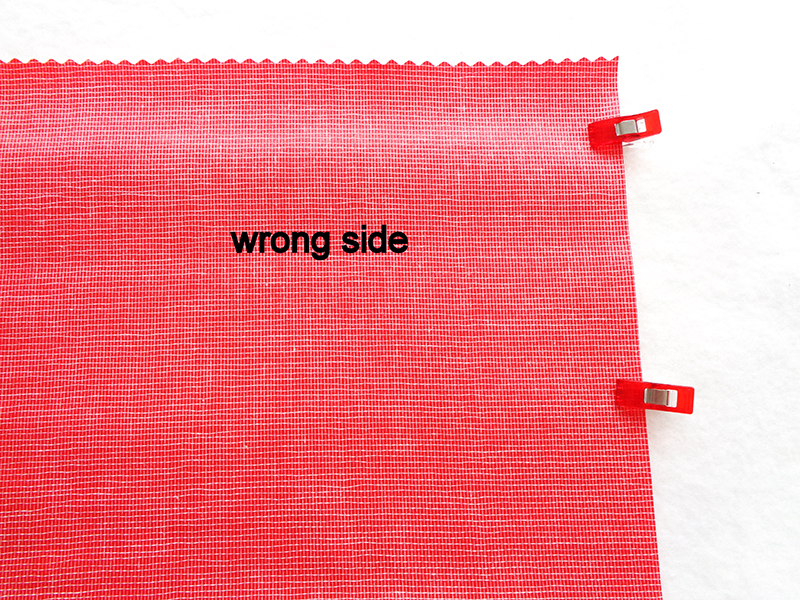
- Fold in half with right sides together. Hold long sides in place with fabric clips or clothespins.
Note: Do not pin through oilcloth as the holes will remain and reduce the waterproof effectiveness. If you must pin, do so in the seam allowances.
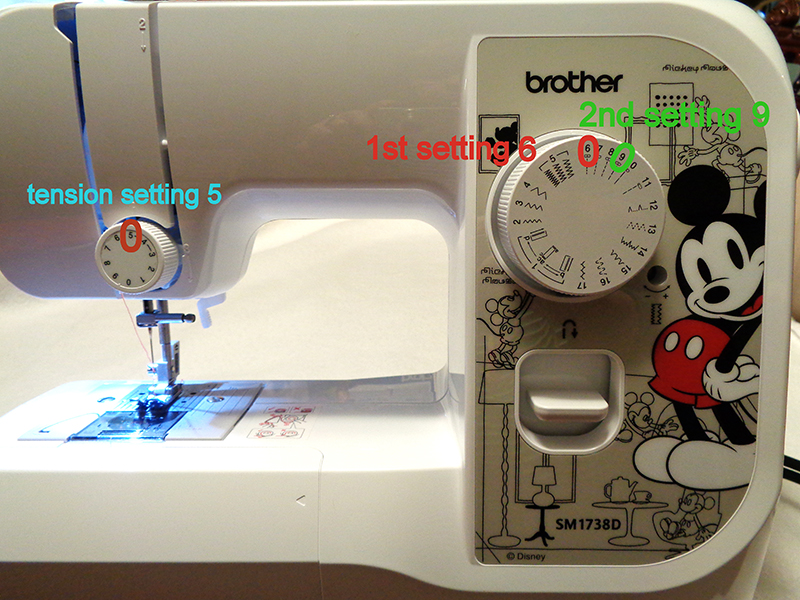
- Set tension dial to 5. Set stitch dial firstto #6, shortest straight stitch.
- Line raw edge with right edge of presser foot and take 4-6 stitches, beginning at rotary cut top edge of bag.
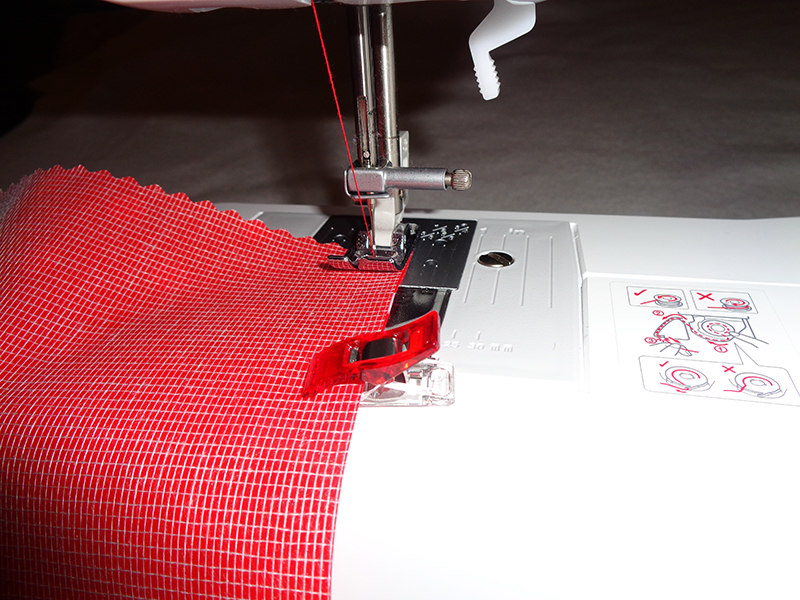
- Move stitch dial to second setting, #9, a longer straight stitch, and complete the seam. Repeat on second side.
Note: Back stitching with the reverse function punches more holes than necessary in the oilcloth.
- Crease bottom of bag gently with fingers.
- Fold corner in alignment with bottom crease. Draw pencil line perpendicular to crease 3” from point of triangle.
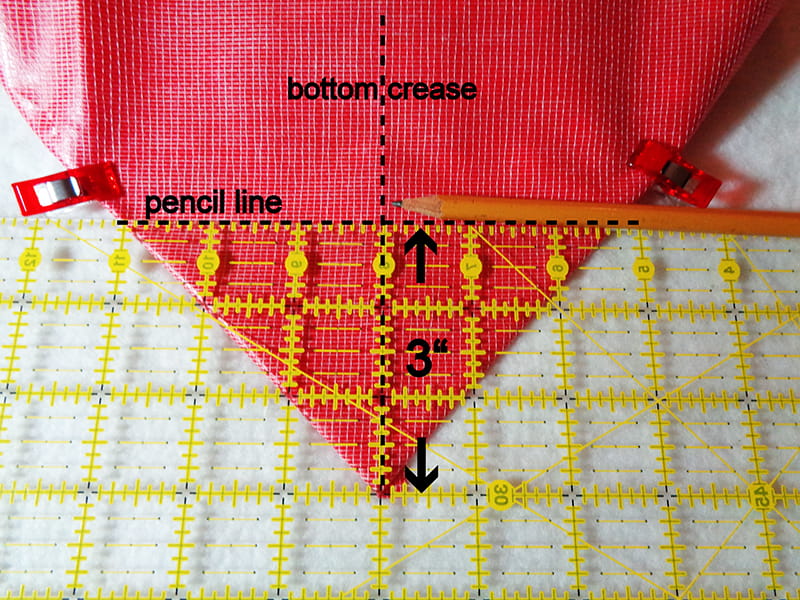
- Stitch directly on that line, with stitch #6 for first 4-6 stitches. Then select stitch #9, continue toward end of seam and select #6 yet again to finish seam.
- Repeat on opposite side, creating two identical triangles at bottom of bag.
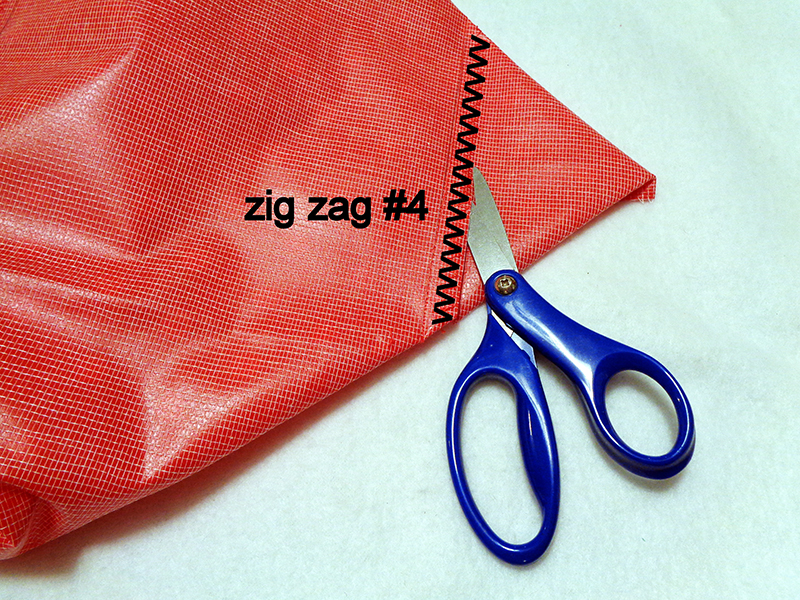
- Select zig zag stitch #4.
- With left edge of presser foot against seam line, zig zag across each corner.
- Trim oilcloth up to zig zag stitches.
- Turn bag right side out and stuff a tasty lunch into this cheerful bag.

