Create a DIY Drawstring Backpack
-Brother Sews Blogger
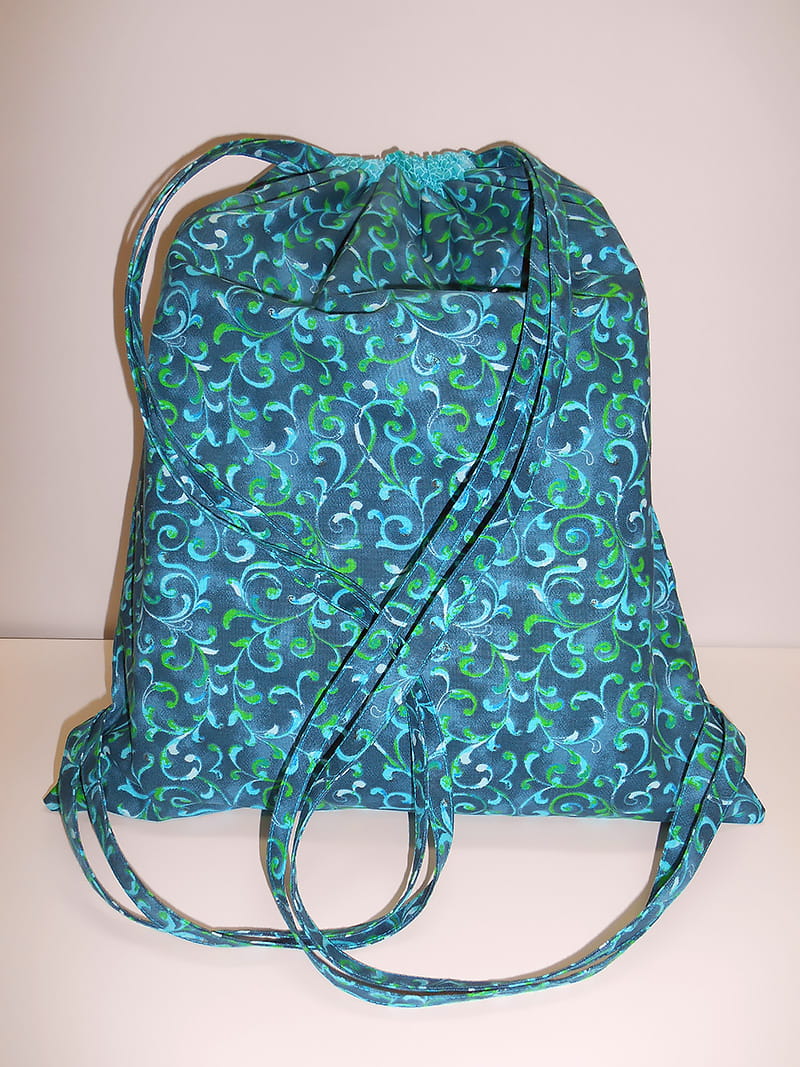
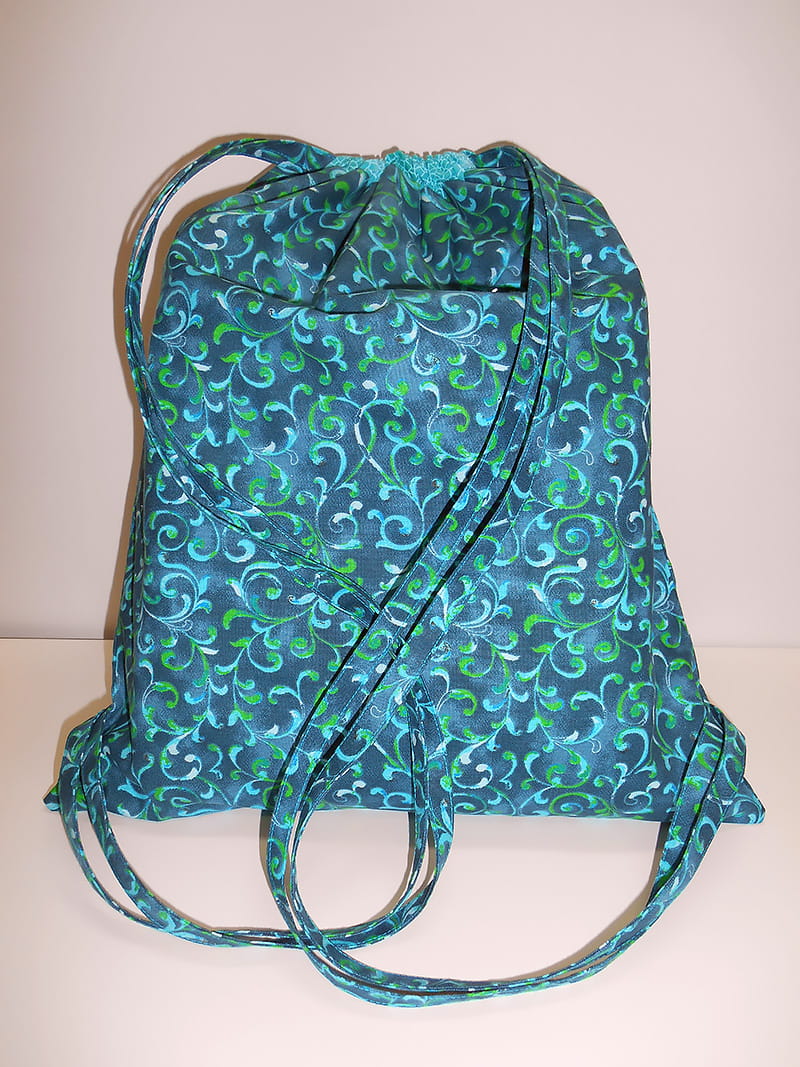
With summer in full swing, stitch up this cute DIY drawstring backpack to travel in style! You can use this great custom drawstring backpack for your trips to the lake, beach, library, or wherever your adventures may take you. It makes a great DIY bag that lets you keep your essentials handy. Follow the quick and easy directions below to sew a drawstring backpack for every member of the house. These DIY backpacks would also make great gifts for family, friends and all those birthday parties your children are invited to.

Supplies:
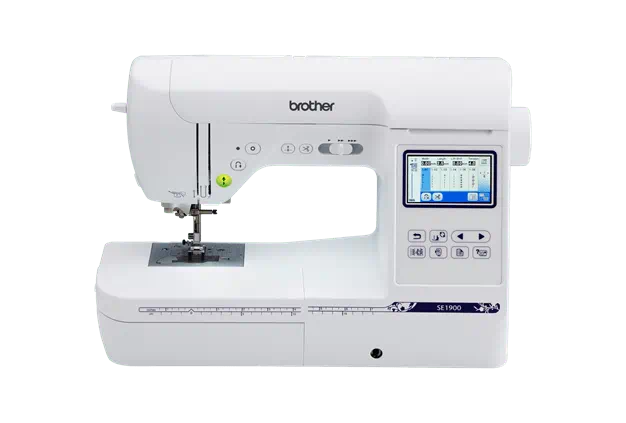
● Brother Luminaire XP1
● ½ yard quilt weight fabric for the outside
● ½ yard quilt weight fabric for the lining
● 4 yards cotton rope or cording for drawstrings
OR
● ¼ yard quilt weight fabric for fabric drawstrings (alternate method)
● Straight pins
● Safety pin or bodkin
● Sewing thread to coordinate with fabric and matching bobbin
● Rotary cutter, mat, and ruler
● Iron and pressing surface
Cutting Instructions:
● 2 rectangles 17” L x 15” W for the outside (Pay special attention if using directional print)
● 2 rectangles 17” L x 15” W for the lining (Pay special attention if using directional print)
● 2 squares 3” x 3” for the loops at the bottom from the lining fabric
● 3 strips 2” L x width of fabric if using fabric ties (alternate method)
(Drawstrings which are sewn into the seam are not adjustable after the backpack is complete)
● 2 rectangles 3” L x 14” W for the casing at the top from the lining fabric (Pay special attention if using directional print)

Sewing
Step 1:
Turn under ¼” twice on each short end of the casing piece.
Step 2:Stitch close to the folded edge. Do this for both casing pieces and set aside.
Note: If your machine has a guideline marker turn it on and adjust for consistent stitching along the edge of the fold.

Step 3:Find the center of the 3” square and fold the raw edge on two sides to meet in the middle. Fold in half again and press to enclose the raw edges in the middle.

Step 4:Topstitch along each long edge for both pieces and set aside.

Step 5:Fold the casing piece in half long ways and press.

Step 6:Center one casing piece along the top 15” edge of one outer fabric rectangle, matching raw edges. The outer fabric should be right side up.

Step 7:Place a lining rectangle on top with right sides together and pin to secure.

Step 8:Sew across the 15” edge with a ½” seam allowance. Do this for both pieces.
Note: If using a Brother machine with the “J” foot attached, you can achieve a ½” seam allowance using the left justified straight stitch and aligning the edge of the fabric with the right edge of the “J” foot.
Step 9:Press the seam towards the lining fabric.


Step 10:Fold the loop pieces in half.
Step 11:Open one of the bag pieces out flat. Pin a folded loop piece 2½” up from the bottom. Be careful to catch the outer fabric only.

Step 12:Place the other bag piece flat on top with the right sides together. Match up the lining and outer fabrics. Pin if needed.
Step 13: Starting on the lining end, stitch all the way around with a ½” seam allowance, leaving a 3”-4” opening in the lining end for turning.

Step 14:Clip the corners and turn right side out.
Step 15:Poke out the corners and press.
Step 16:Turn in the raw edges of the lining piece and either slip stitch closed by hand or topstitch closed by machine.
Step 17:Push the lining to the inside of the bag and press.
Step 18:Topstitch around the top edge to keep the lining toward the inside of the bag. Making sure to keep the casing free from stitching.

Step19:Cut your drawstring cord in half to measure approximately 2 yards.
Step 20:Using a large safety pin or bodkin to pull one drawstring through one side of the casing and then back through the other casing.
Step 21:Thread one end of this drawstring through the loop at the bottom and tie both ends together.

Step 22:Repeat with the other drawstring starting from the opposite side of the casing, threading through both casings again and then down to the remaining loop on the opposite side.
Step 23:Thread this drawstring through the loop and tie both ends together.

Step 24:Trim to neaten up the drawstrings.
● Follow steps 1-9 above.
● Cut one of the 2” wide drawstring pieces in half and sew it to the end of a full 2” strip.
● Press the long raw edges in to meet in the middle.

● Fold in half again and press to enclose the raw edges. Topstitch on each long edge.

● Open one of the bag pieces out flat.
● Place the other bag piece flat on top with the right sides together. Match up the lining and outer fabrics. Pin if needed.
● Leave a 3” to 4” opening on the lining end for turning.
● On the outer fabric end measure, and mark on the outer bag side 2½” up and again 3½” up from the bag bottom. This will be where the drawstrings will be inserted later.

● Sew around the entire bag with a ½” seam allowance, leaving the marked openings unstitched.
● Clip the corners and turn right side out.
● Poke out the corners and press.
● Push lining to the inside of the bag.
● Using a large safety pin or bodkin pull one drawstring through one side of the casing and then back through the other casing.
● Repeat with the other drawstring starting from the opposite side of the casing, threading through both casings again.

● Make sure the drawstrings are not twisted and baste the ends together.

● Pull the lining out, insert the basted fabric drawstrings into the opening left on the sides of the outer bag.

● Turn the bag the wrong side out through the opening in the lining.
● Pin the fabric drawstrings into place, stitch the side opening closed to encase the drawstrings in the side seam. Backstitch a couple of times as this will be a high stress point in the backpack.

● Turn right side out.
● Turn in the raw edges of the lining piece and either slip stitch closed by hand or topstitch closed by machine.
● Push the lining to the inside of the bag and press.


