Mermaid Embroidery on Swim Fabric
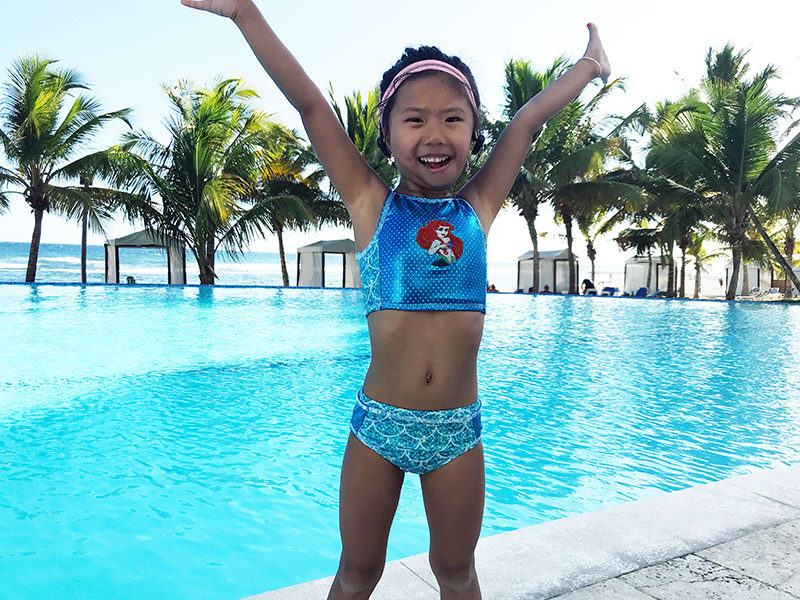
I’ve been working on a new swimsuit pattern for girls. This was inspired by needing to sew a suit for my daughter. She is 2T in width and 5T in height. So, a custom swimsuit is pretty much a necessity around our house. Good thing I sew! This swim pattern is for sizes 2T - 14Y girls and not only have I made the basic shape, but I have several fun variations for it. This two-piece mermaid suit is one of those variations. My daughter is just a bit obsessed with mermaids, so this suit is just perfect for her this summer. I’m also pretty much loving how it worked out to blend the sizes and create the perfect size suit for this tall thin girl.
Machines:
- I used my Brother NS 1750D
sewing machine, CV3550 Double-Sided Cover Stitch
and my Brother Serger 3734T
 I’m going to give you a few tips for embroidering on the swim knit and then show you how I color blocked the top. Hopefully this will inspire your swimsuit sewing for this summer. You can check out my pattern over on lifesewsavory.com
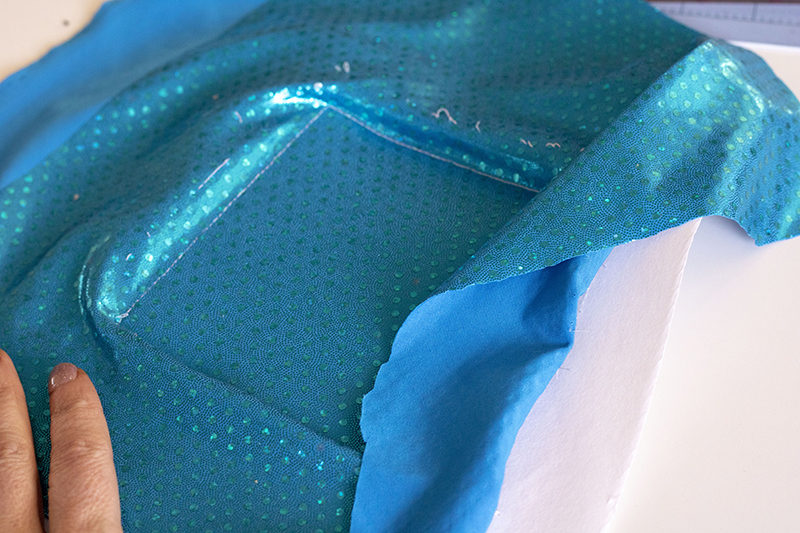
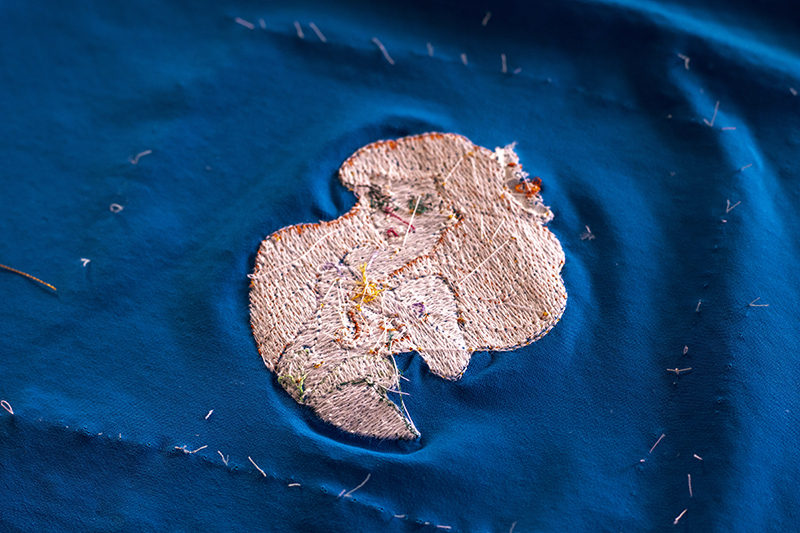
 Before you cut out the front of the swim suit - add the embroidery. I took a rectangle of fabric bigger than I needed for the final suit front. Stabilize the back of the fabric with some tear away stabilizer. You should sew around the edge of the stabilizer to hold in place while embroidering or use sticky stabilizer if you have.
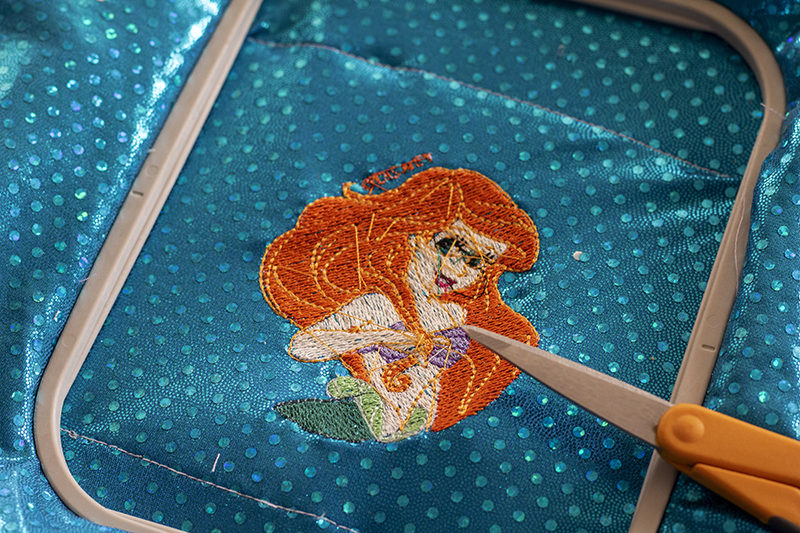
 The Disney designs that are included on the Brother 1750D
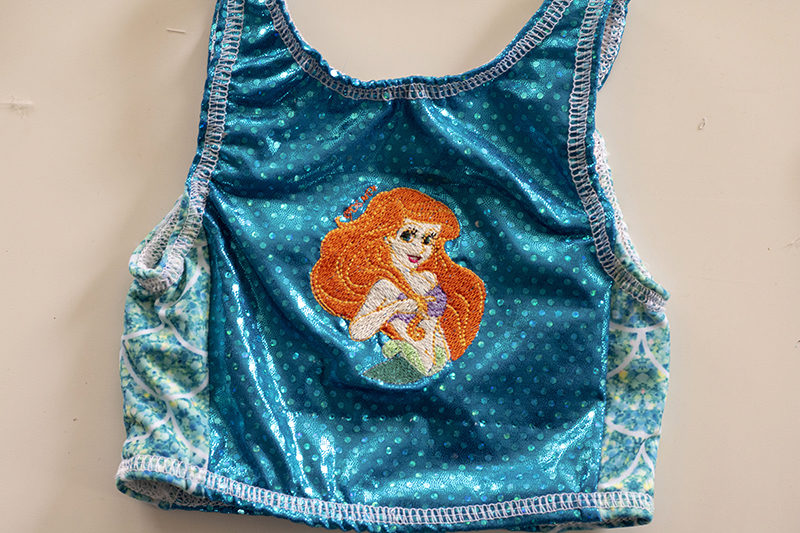
are so fun for kids’ clothes. I used the Ariel design on this suit. I didn’t have any issues with stretching or distortion of the fabric
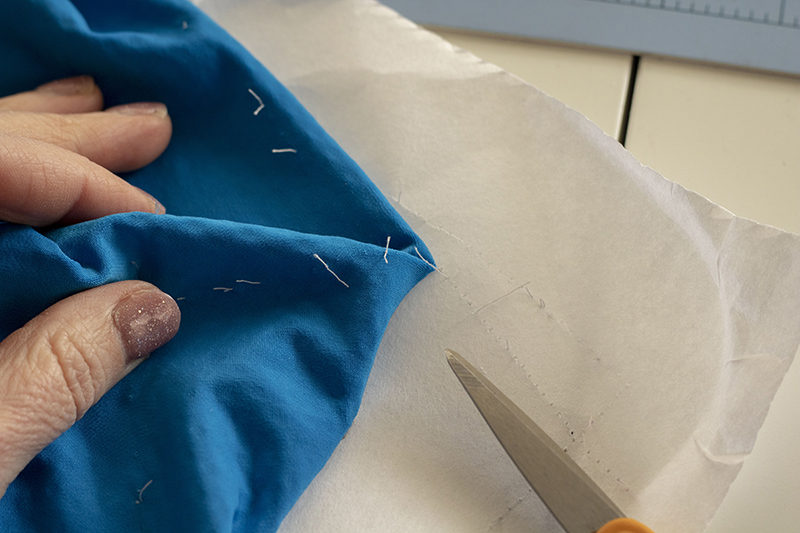
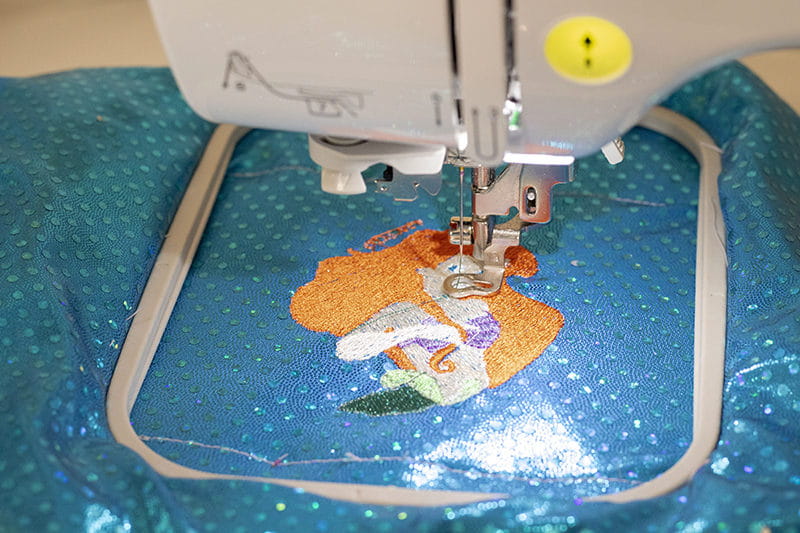 When the design is finished you can clip all the threads and remove the stitching holding on the stabilizer. Pull it away from the stitching for a clean back of your design. I used swim lining in my suit so I wasn’t really worried about how the design would feel.
 I took my swim pattern and cut it down the middle to make a two-piece suit. I then cut the side off the front and back and taped them together to make a color blocked side panel. You can do this with any suit pattern or just leave the suit all one color.
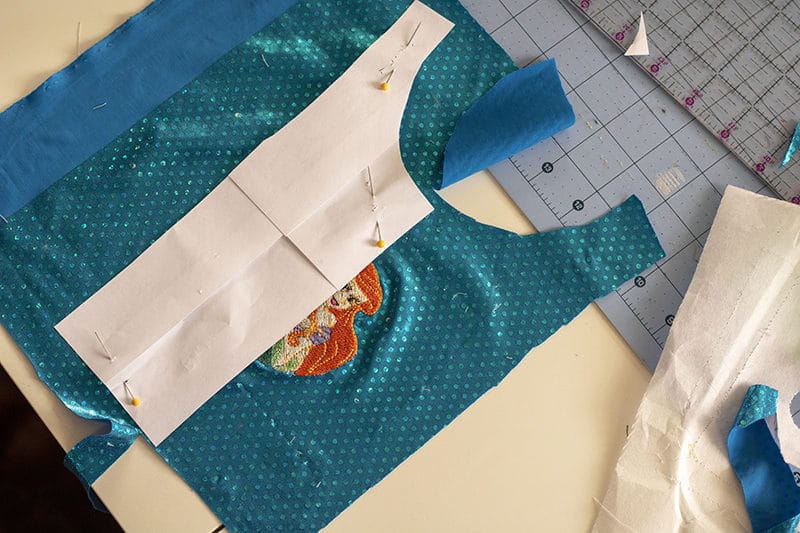
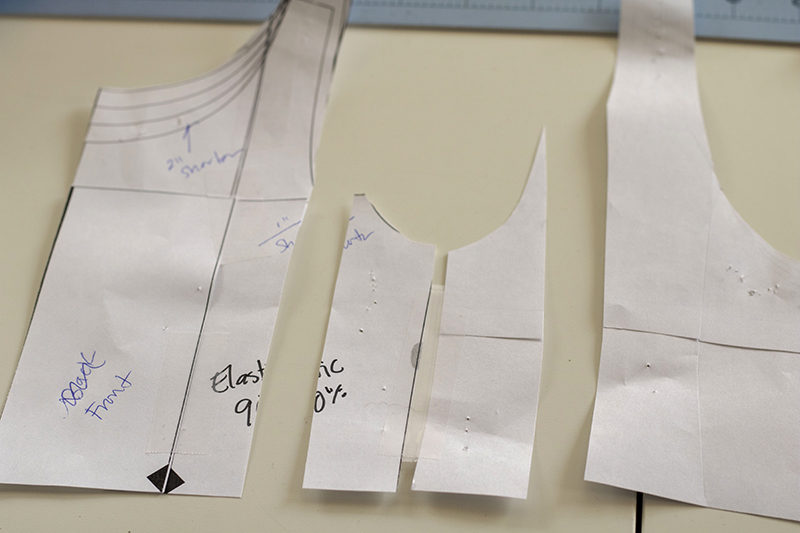 I couldn’t really fold the mermaid design in half to cut my suit pattern, so I just placed the fold edge in the middle of the design, cut on one side, then flipped it over and cut the other side of the suit front.
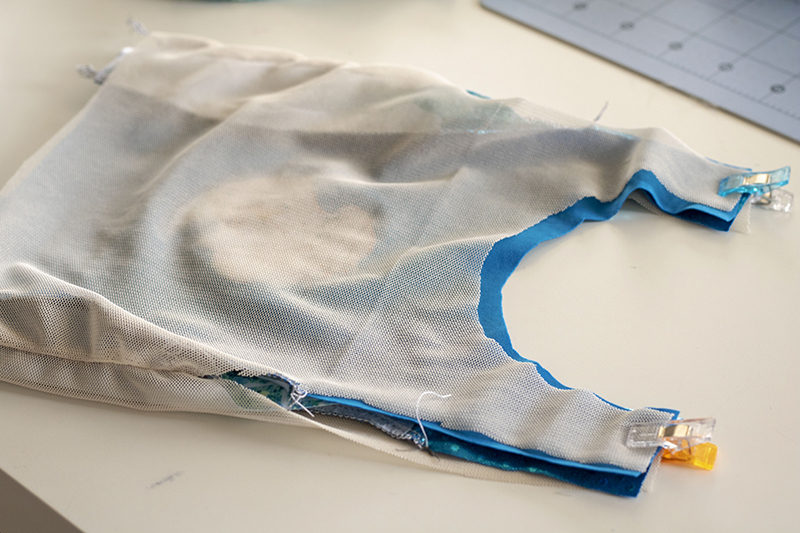
 I sewed the side panels to the back and front of the suit. I sewed up the side seams of the lining and then I sewed the main fabric and lining together at the shoulder seams. I sewed up the rest of the suit as directed in the instructions for a super cute finished look.
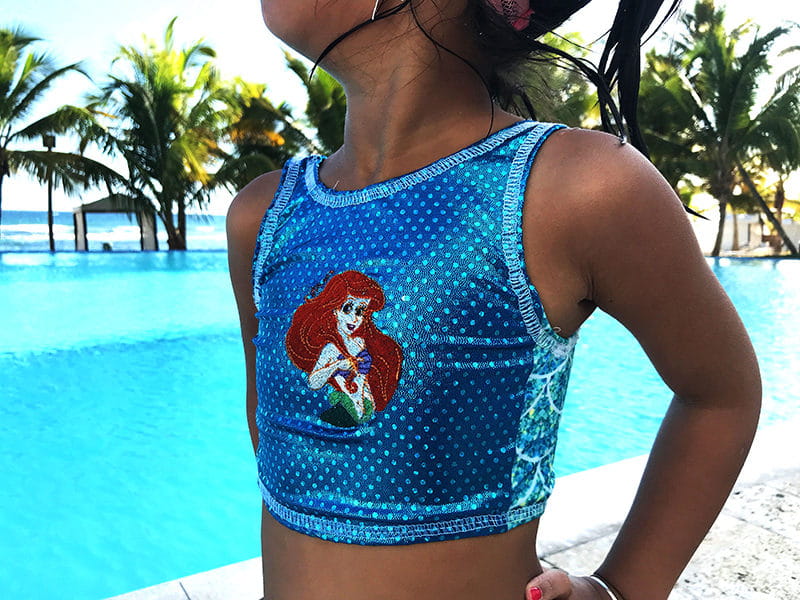
 My daughter is pretty thrilled about this suit and so am I! I used my Brother CV 3550 Cover Stitch
to do the topstitching not only for function, but also a fun sporty look. Embroidering on swim fabric was easier than I expected, and I love the result. You should try it!
Related Projects
Stay Connected
* Required fields