Monogrammed Envelope for Mother’s Day

How to embroider a custom DIY monogrammed envelope mom will adore
What’s more heartfelt than a handwritten letter?
A handwritten letter delivered in a custom-made, embroidered monogrammed envelope crafted for mom to treasure forever. Each year, I create something unique and personal to send my mom on Mother’s Day. She loves handwritten letters, and I wanted to create a custom monogrammed envelope where she could keep the letters. This DIY project is easy (even for beginners), personal, and stylish. Spoil the mother figure in your life this Mother’s Day with a gift that blends practicality and personality.
Bonus? You can complete this project in just 30 minutes!
This fun tutorial will walk you step-by-step through creating your very own monogrammed fabric envelope. Whether she uses it to store makeup, coupons, or keepsakes, this beautiful envelope will remind her how much she’s loved. 💖
Here’s what you’ll need to get started
Supplies:
- Brother embroidery machine with My Design Center function
- Scanning frame
- 12” x 8” hoop (or larger)
- Iron and pressing mat
- Scissors or rotary cutter
- Optional snaps, buttons, or hook-and-loop fasteners (if you want the envelope to close securely)
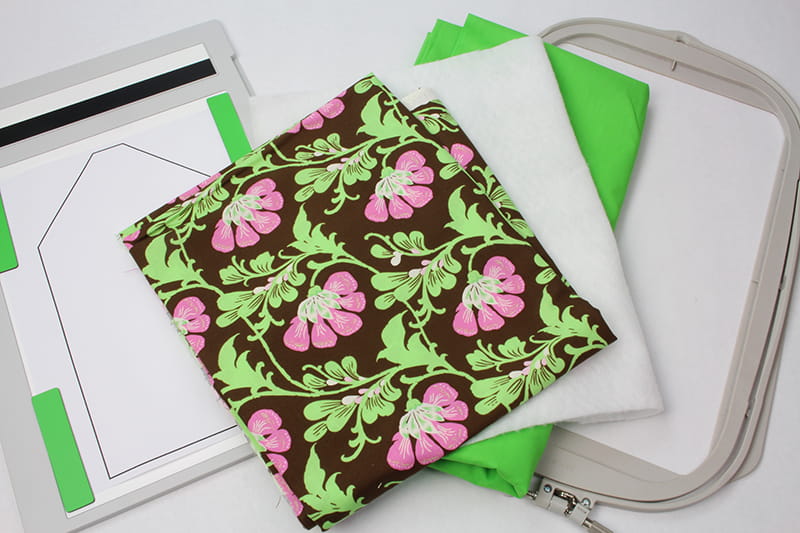
Materials:
- Fabric 1: Solid color for the outer layer: Cut to 14” x 17”
- Fabric 2: Printed fabric for lining: Cut to 10” x 13”
- Fabric 3: Appliqué fabric for the monogram: Cut to 7” x 5”
- Sticky back medium weight tearaway stabilizer (7” x 5”)
- Quilt batting (14” x 17”)
- Embroidery thread (for the monogram)
- Sewing thread
- Envelope pattern from Angela Wolf
6 steps to create a DIY monogrammed envelope for Mother’s Day
1. Prepare your envelope base
Cut all your fabric pieces to the specified sizes listed above. Attach the sticky stabilizer to the back of fabric 3 (applique fabric).
Print off the envelope pattern and attach it to the scanning frame with a few magnets.
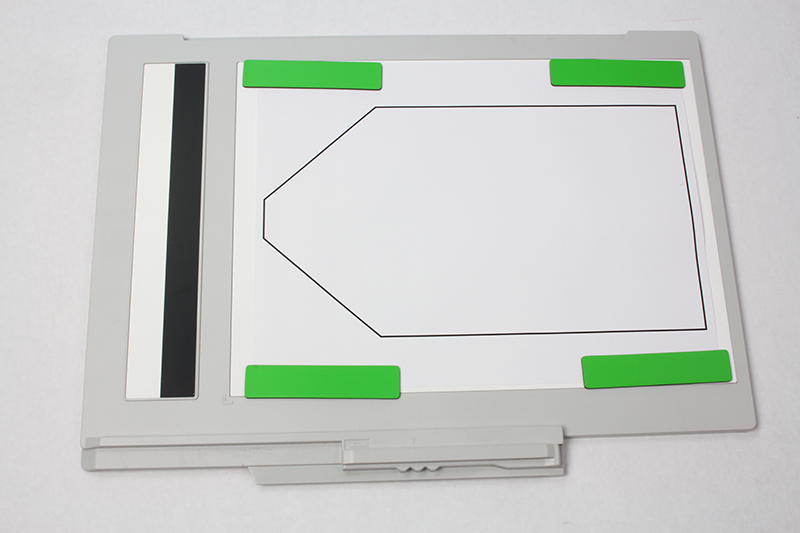
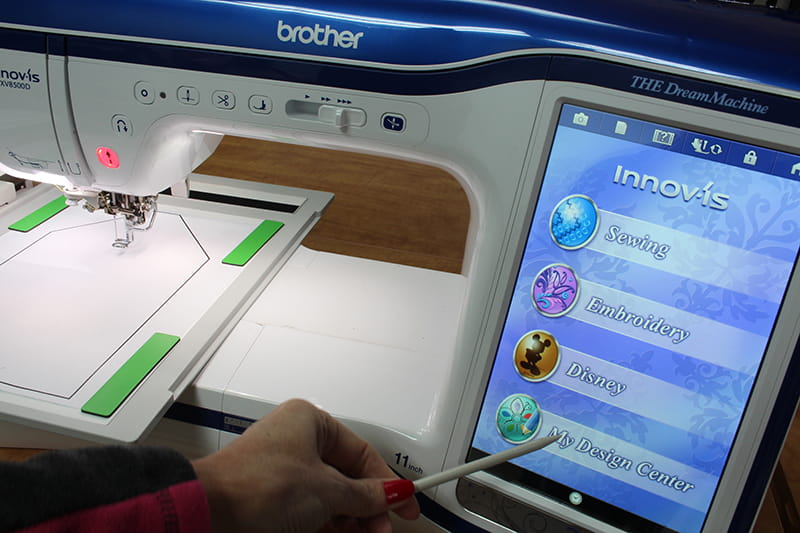
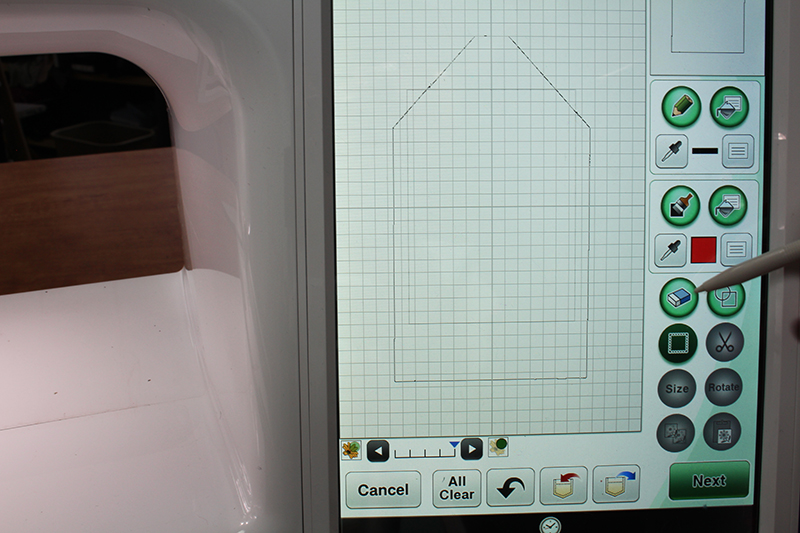
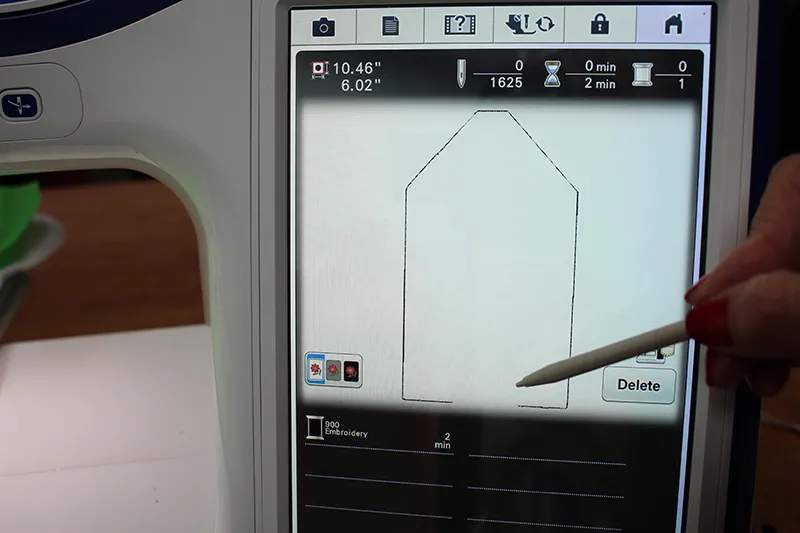
Use your embroidery machine’s My Design Center to scan the pattern as a line drawing.
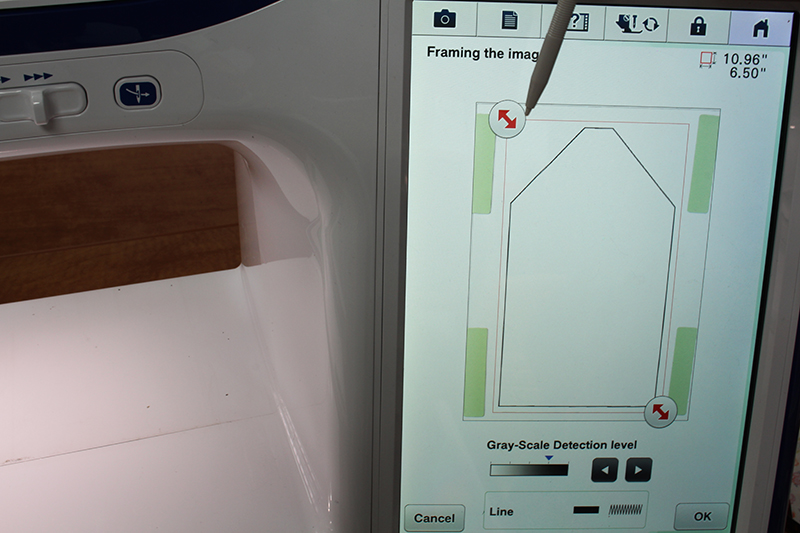
Adjust the design by sliding the red arrows to cut off the magnets. Click Ok and then Save the design to the embroidery machine.
Click on the Eraser icon. Erase an area about 3” wide along the bottom center edge.
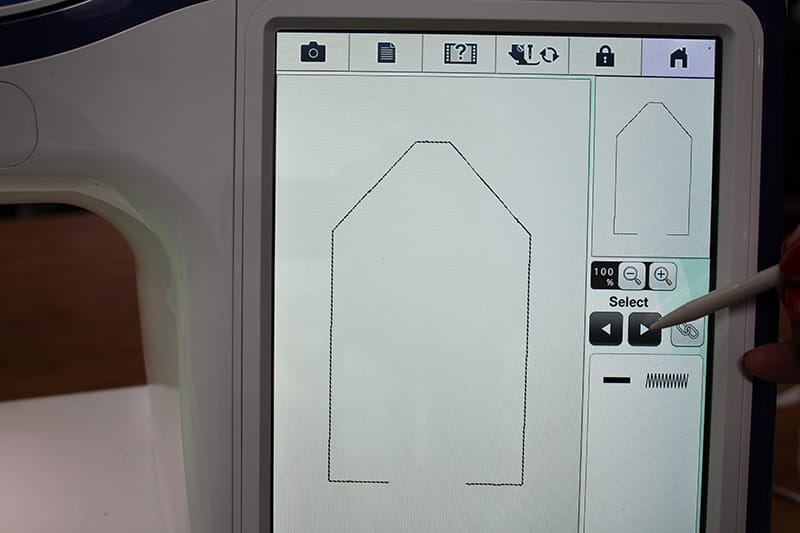
Turn this design into an embroidery design. You want to change the outline stitch to a triple stitch, and once the design is in the embroidery section, save it to the embroidery machine.

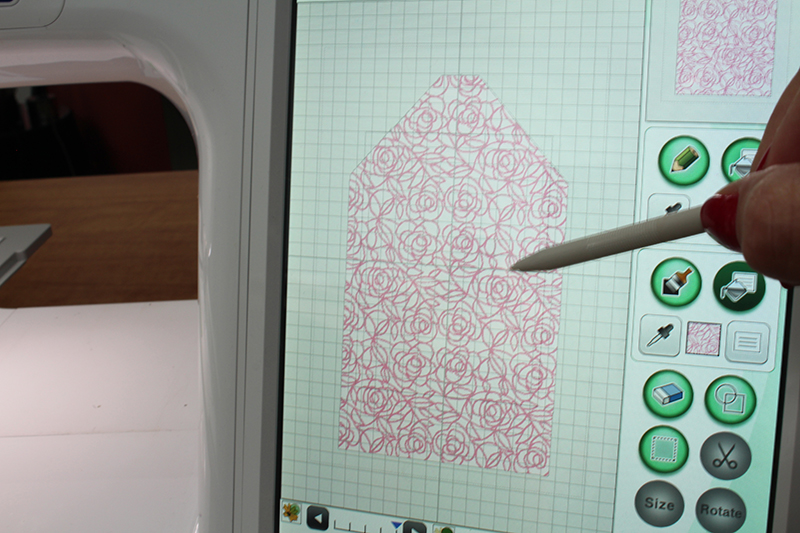
2. Add stippling
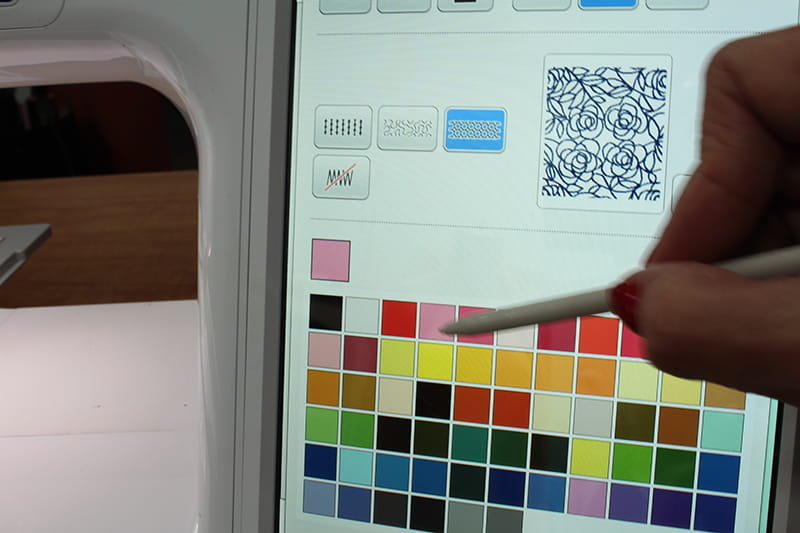
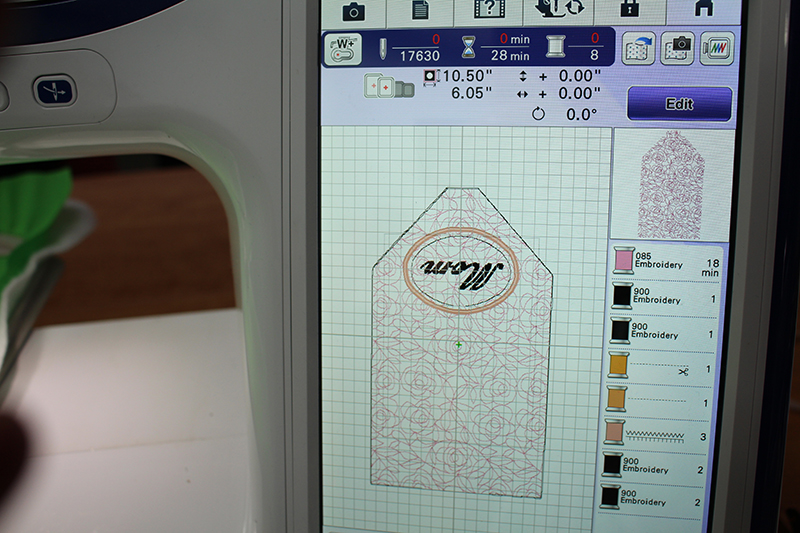
Open the original envelope pattern on your embroidery machine by clicking the Home icon and returning to My Design Center. Go to the memory and open the original envelope pattern. Select the Bucket Fill icon. Choose a decorative fill pattern and fill the envelope outline by touching inside the envelope pattern.
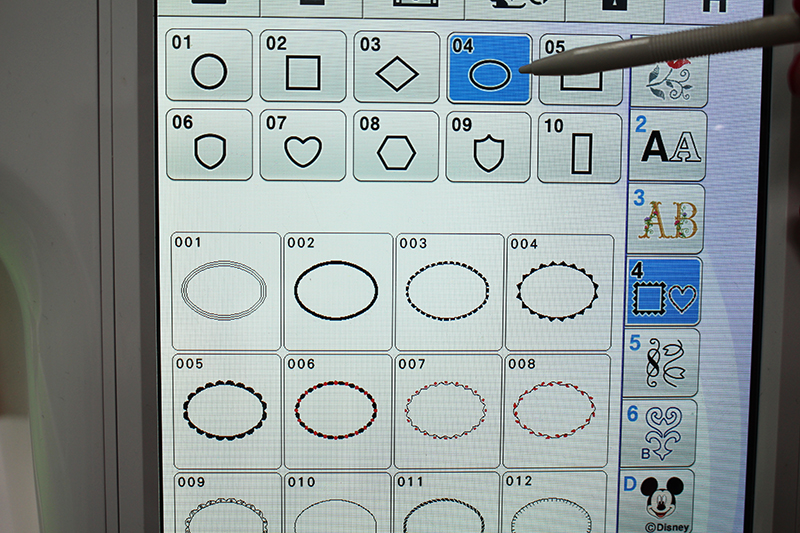
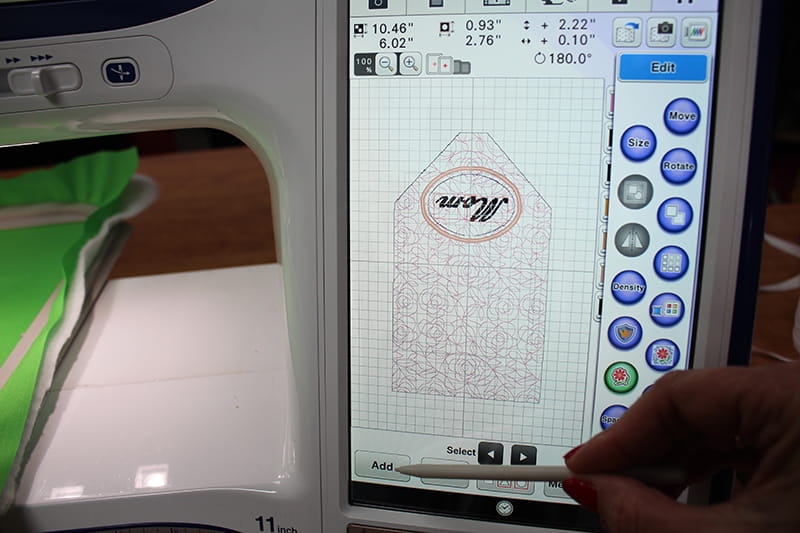
Turn the design into an embroidery design. Click Add, select the Oval Shape on the right side, and then click on Oval 010.
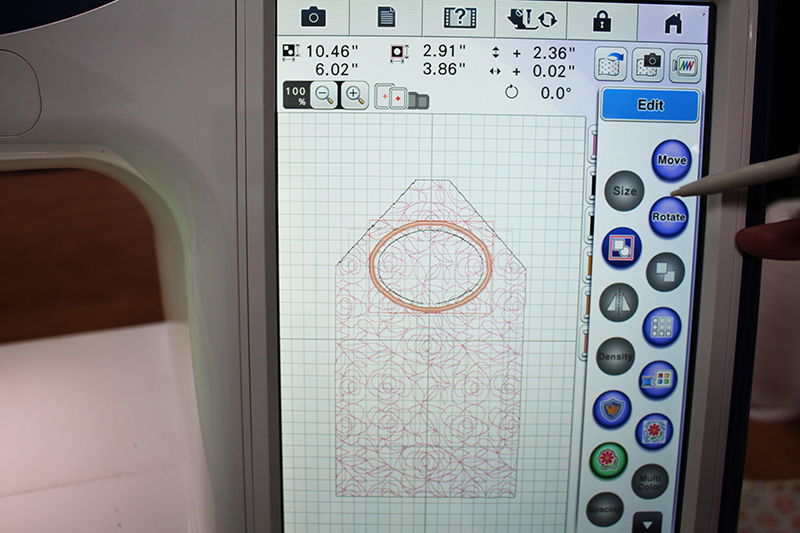
Click on Edit and then turn the oval into an Appliqué.
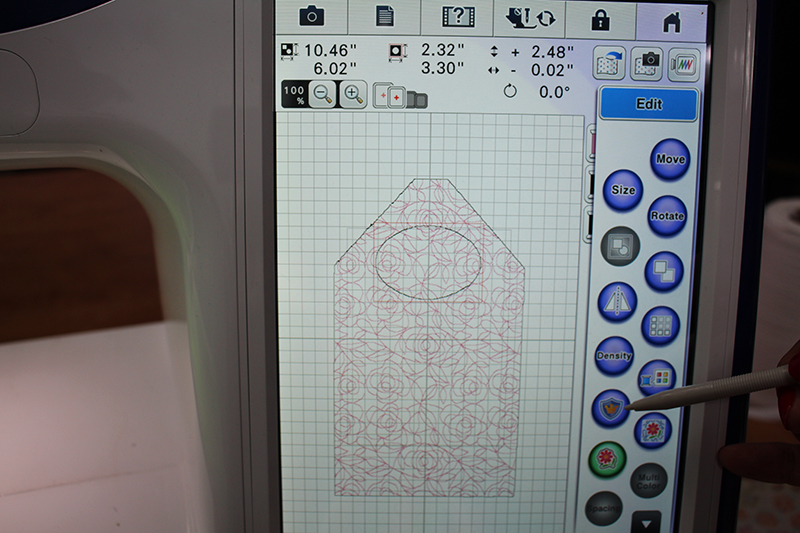
Slide the design to the upper area on the design; keep the oval away from the edges of the design.
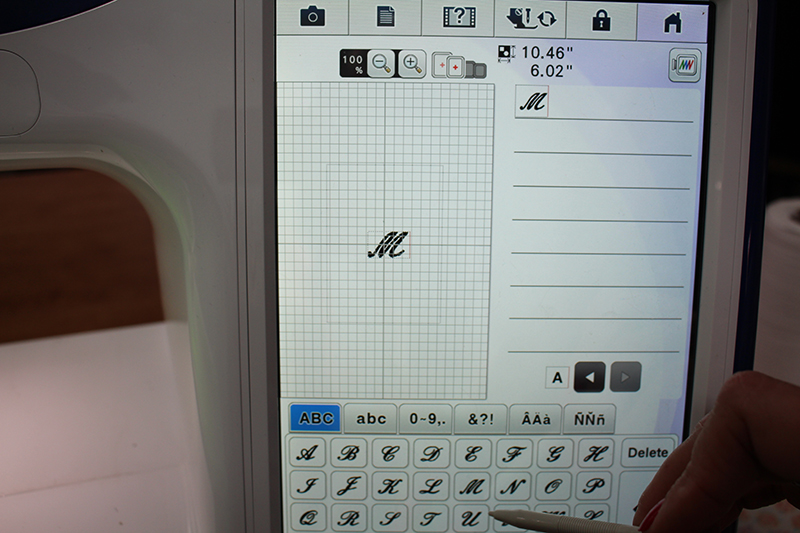
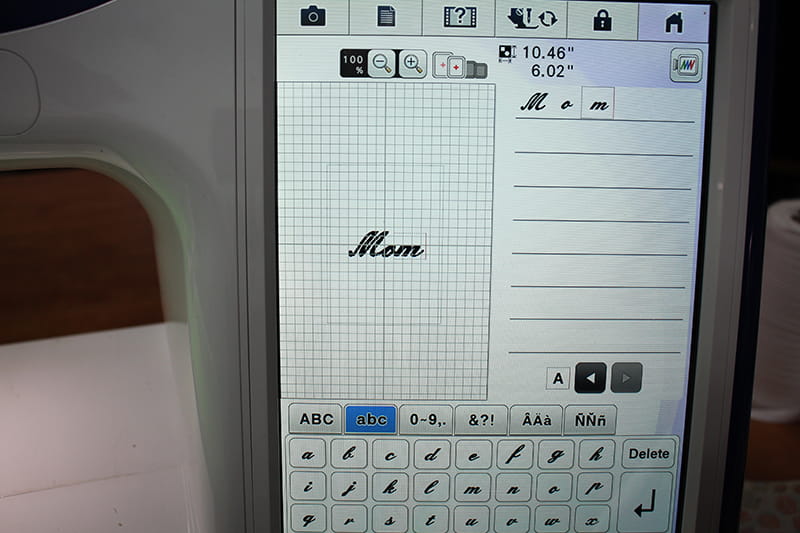
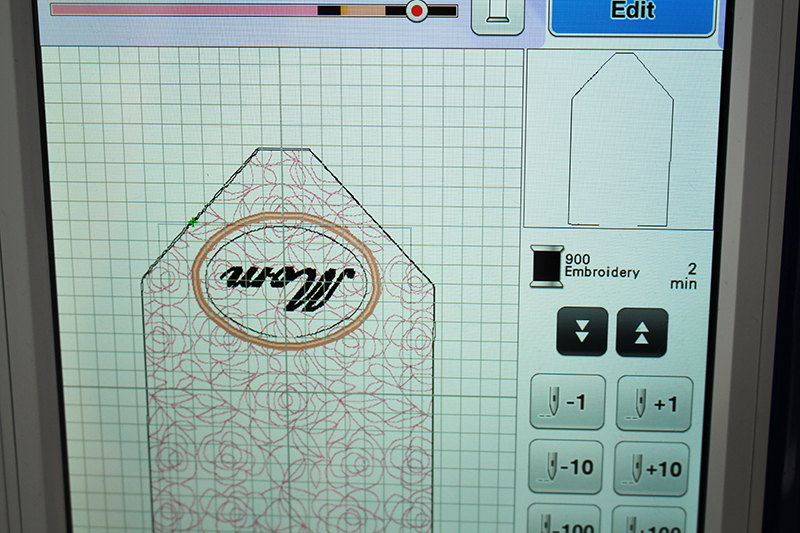
3. Add your monogram
Click Add and choose your font style. Enter your desired initials, name (e.g. “MOM”), or play around with words like “LOVE”.
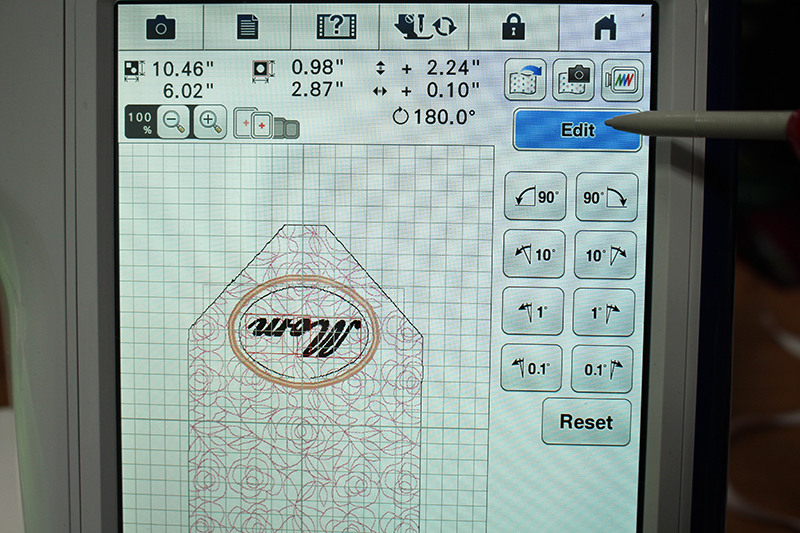
Resize and rotate the text to fit neatly into the oval frame. You can do this by sliding the text to the top of the screen within the oval. Click on Edit and Rotate, then rotate the text 180 degrees (upside down).
Then, select Size and decrease the size. Keep the letters inside an oval appliqué you can cut later.
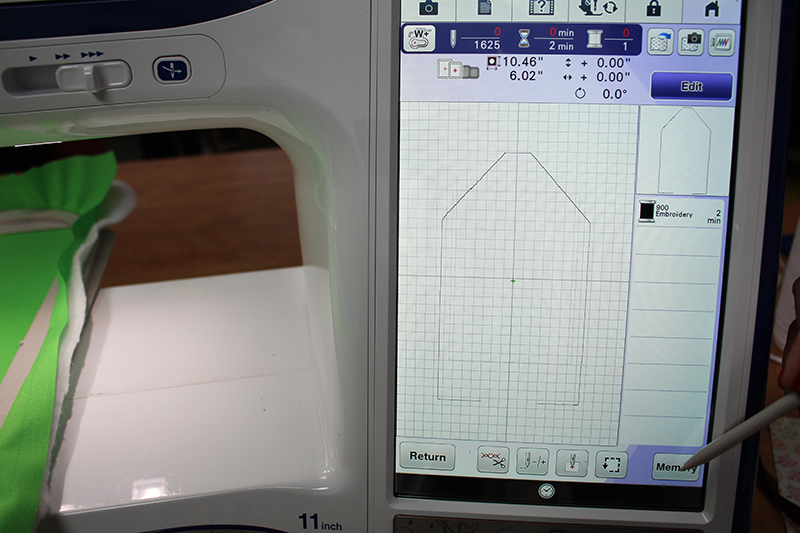
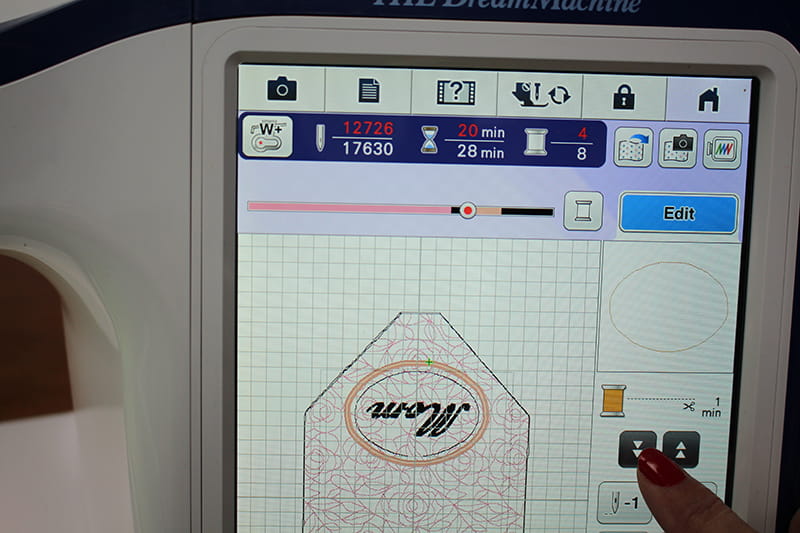
The last step is to add the envelope outline with the opening at the bottom. Select Add and find the outline you saved earlier.
4. Prepare your fabric,
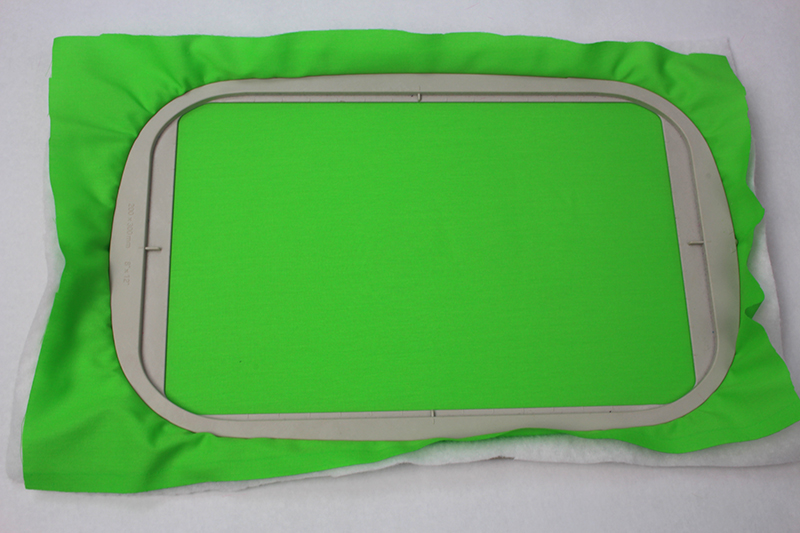
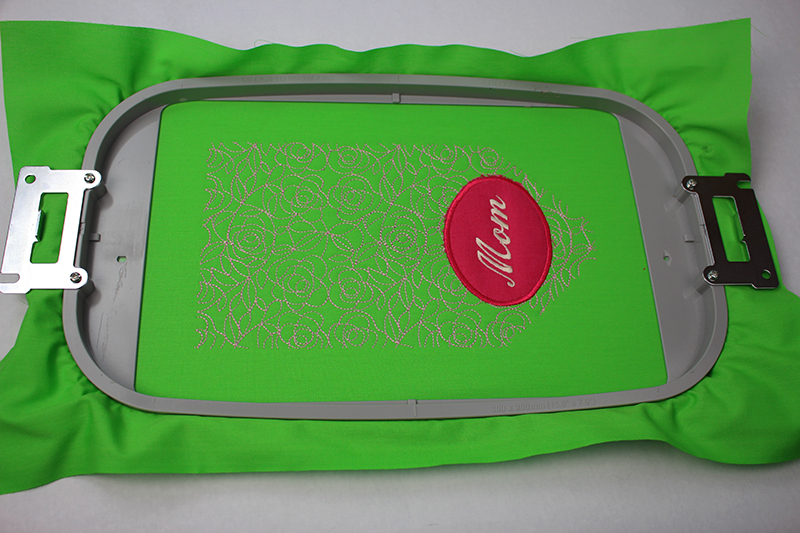
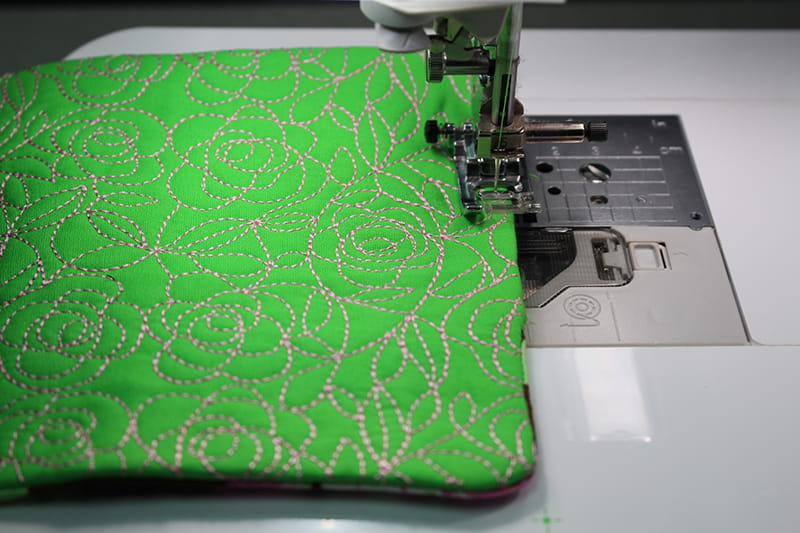
Hoop Fabric 1 (outer fabric) and batting together.
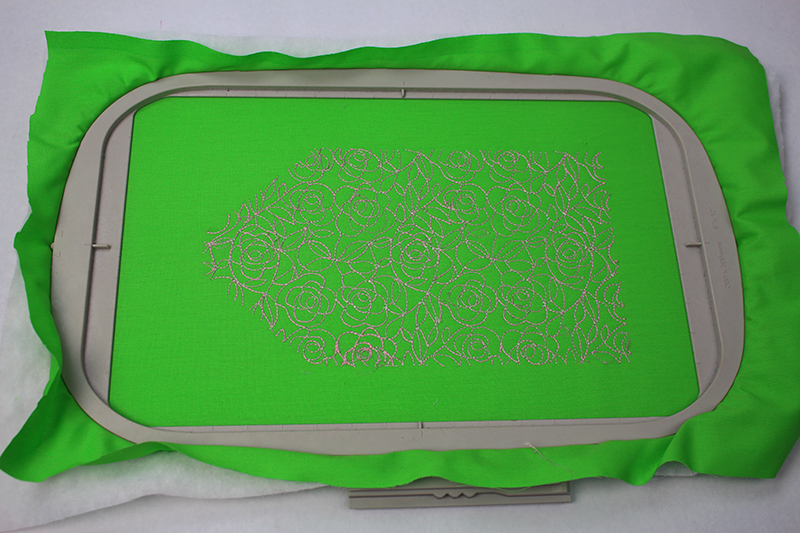
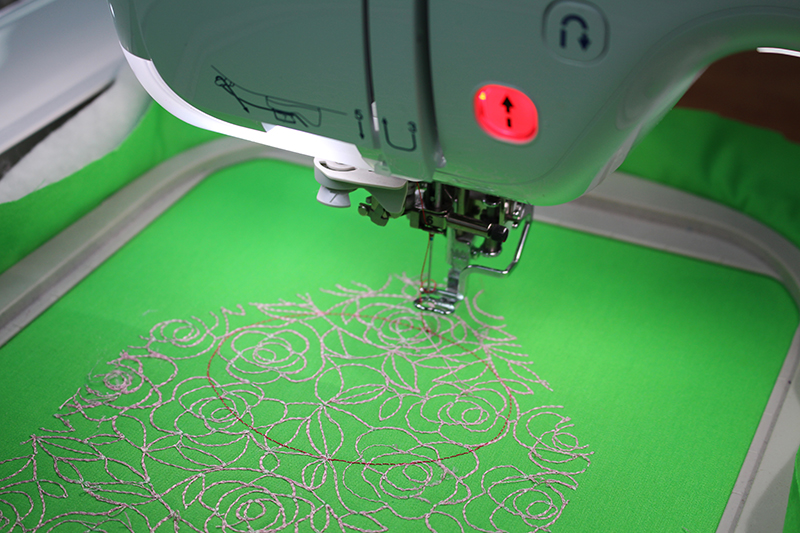
Begin embroidering the decorative fill pattern first. This should be the first item on the screen.
You can see the outline from the decorative fill, and it looks pretty good!
You can skip the next color block, the outline of the envelope. We want to focus on embroidering the appliqué.
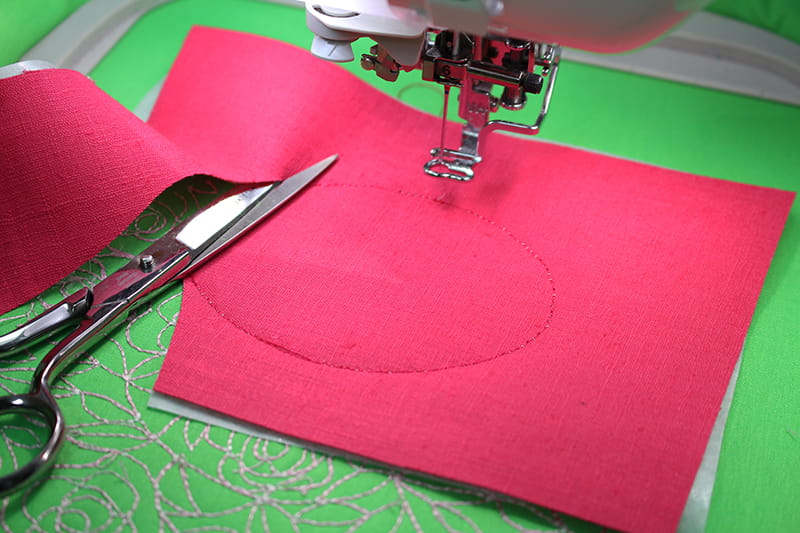
Place Fabric 3 (appliqué fabric) right side up on top of the stabilizer.

Embroider the appliqué placement line.
Place the fabric right side up on top of the hoop, making sure it fully covers the placement line. Embroider the 2nd oval in the appliqué, the tack down stitch. Trim around the oval, cutting as close to the stitch line as possible without cutting the stitches.
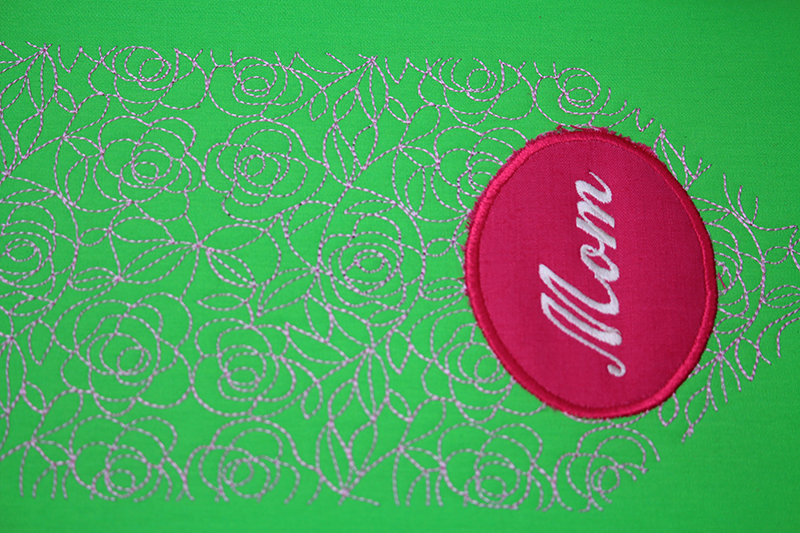
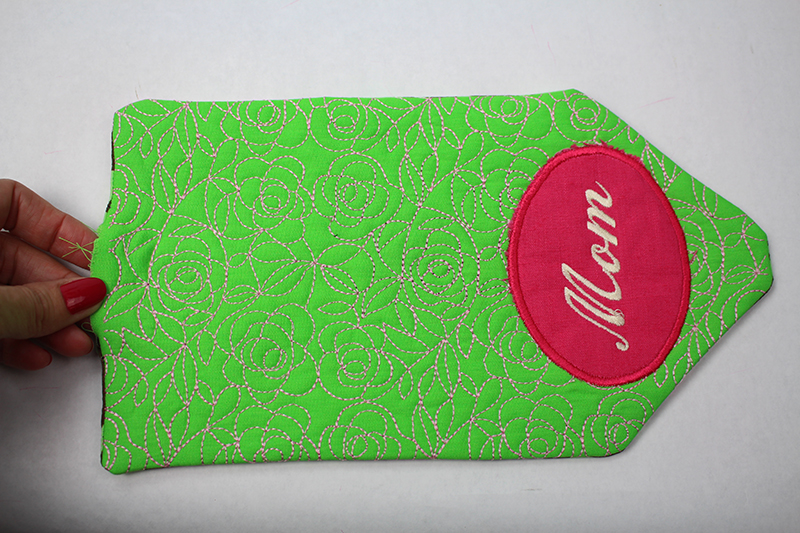
Embroider the appliqué outline and letters.
5. Assemble your envelope
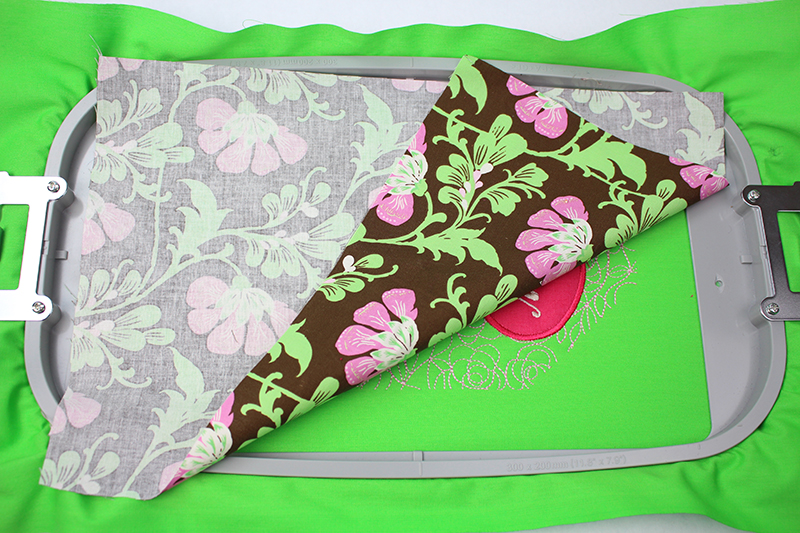
Place Fabric 2 (lining) face down on top of your embroidered outer fabric.
Note: These photos are with the hoop from Brother Entrepreneur 10 needle machine – these envelopes were so cute, I made a few 😊
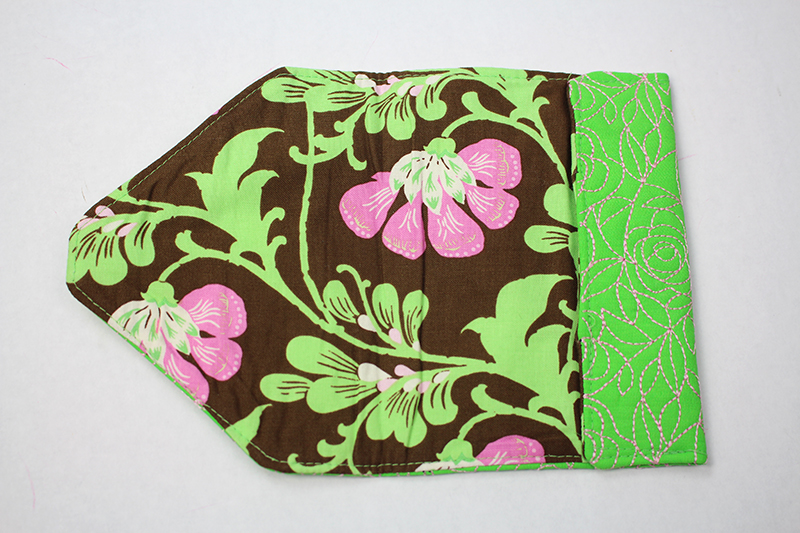
Embroider the final envelope outline, which will join the two fabrics together. Trim the edges, leaving a ¼” seam allowance. Turn the fabric right side out through the small hole in the bottom. Press flat.
Fold the seam allowances in, then stitch along the edge of the envelope, closing the opening at the bottom.
6. Final touches
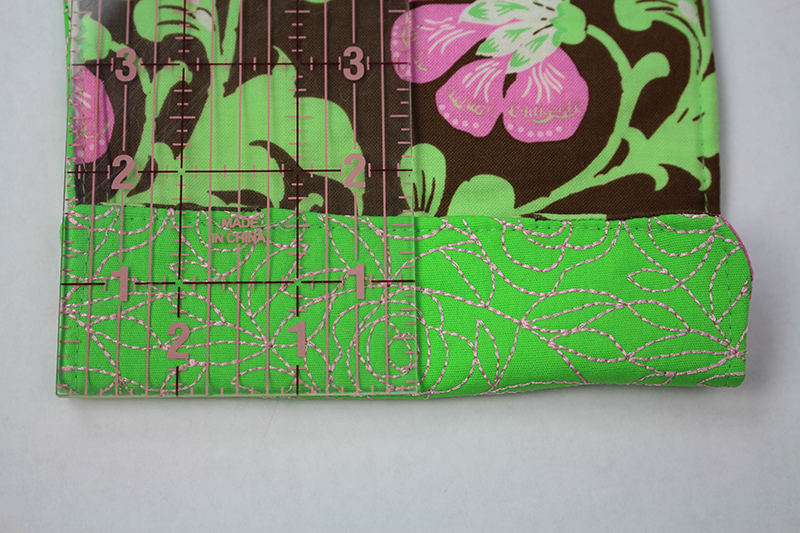
Fold the bottom edge up 1½” as shown. Press. Stitch each side.
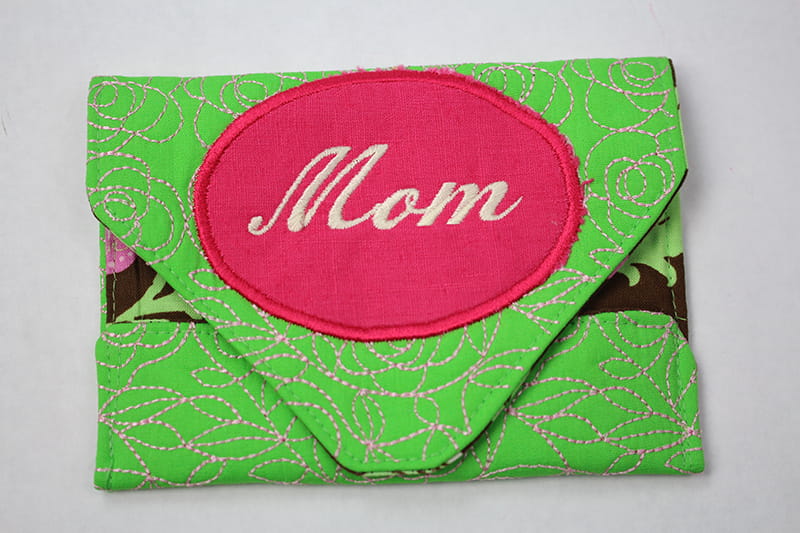
Fold the top flap over the pocket. Add an optional snap, button, or hook-and-loop fastener if you want the envelope to stay closed. Press the entire envelope, and voilà! Your monogrammed envelope is ready.
Create a heartfelt gift in minutes with this monogrammed envelope embroidery tutorial.
A monogrammed envelope adds a thoughtful, handcrafted touch to any Mother’s Day letter or small gift. You can give your loved ones something truly special this year with just a little time and effort. And if embroidery isn’t usually your thing, this project is a perfect starter.
Interested in more Mother’s Day gift ideas? Check out these Mother’s Day flower pots or this DIY Mother’s Day bouquet.
We’d love to see your take on this project! Share your finished envelopes with us using #AngelaWolf or tag us at @BrotherSews directly.
FAQs
Q: Do I need a specific embroidery machine for this project?
A: Any Brother embroidery machine with My Design Center will also work.
Q: What fabrics work best for this project?
A: Opt for durable but soft fabrics like cotton or linen for the exterior. Use lightweight cotton or silk for the lining. For example, you can create pillows with velvet fabric or a rose on cotton fabric.
Q: How do I care for the finished envelope?
A: Hand wash or spot clean only. Avoid putting it in a washing machine as it may ruin the monogram or delicate stitching.
Q: Can I personalize the design for other occasions?
A: Absolutely! Swap out the monogram for festive designs, holiday motifs, or even names to tailor envelopes for birthdays, weddings, or holidays. Check out these DIY football kitchen towels or this four-leaf clover t-shirt.
Happy Mother’s Day!
AngelaRelated Projects
Stay Connected
* Required fields