Free Design of the Month: Monogrammed Hanger Cover
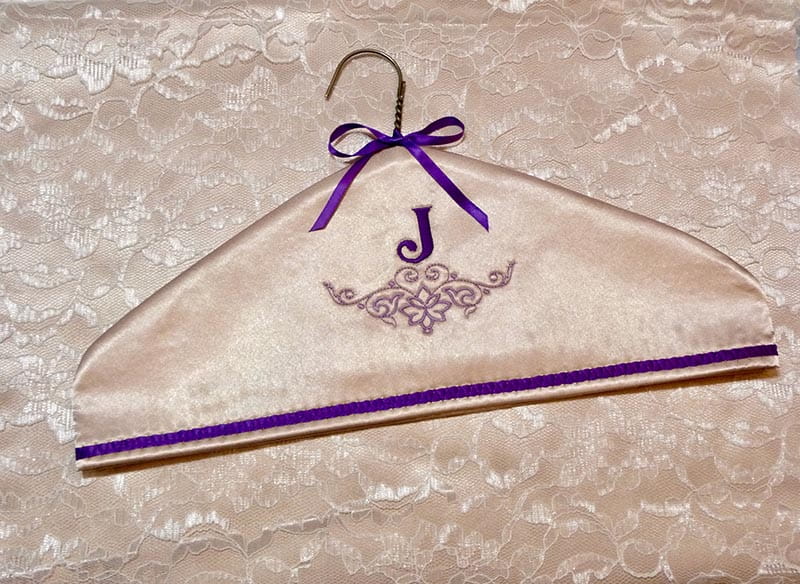
When the calendar says January, thoughts turn to starting the new year with a determination to organize and refresh items in your home. Why not start with your clothes closet and make some padded hanger covers? The Brother free design of the month is a nice accent for a monogram and makes a beautiful focal point on this decorative hanger cover. You can use any plain hanger to start with, but I love this technique for repurposing ordinary wire hangers. Personalized hanger covers make great gifts for family and friends too! Are you ready? Let’s go sew!
Tips for sewing and embroidering on satin fabric. Start with a new needle for embroidery. Choose designs with low density. Back fabric with fusible interfacing or fusible fleece. Add a layer of tear-away, floating it under the hoop. For sewing, I like a fine sharp needle for satin. Use sharp scissors and glass head pins.
Materials and Supplies for Embroidered Cosmetic Case:
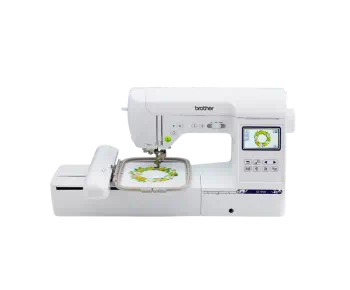
- Brother sewing and embroidery machine with 5-inch X 7-inch capability.
- SA580 Brother medium-weight tear-away stabilizer.
- SA141 Brother Braiding foot
- Embroidery threads and embroidery needle.
- Sewing thread to match fabric.
- Hanger of your choice.
- Paper or pattern transfer cloth for making a pattern.
- Fabric for hanger. Note: I chose synthetic satin, but you can use ordinary cotton in you wish. Create your pattern and use it to determine fabric size.
- Fusible craft fleece for backing on fabric.
- 1 ½-yards of ¼-inch wide satin ribbon for trim and top bow.
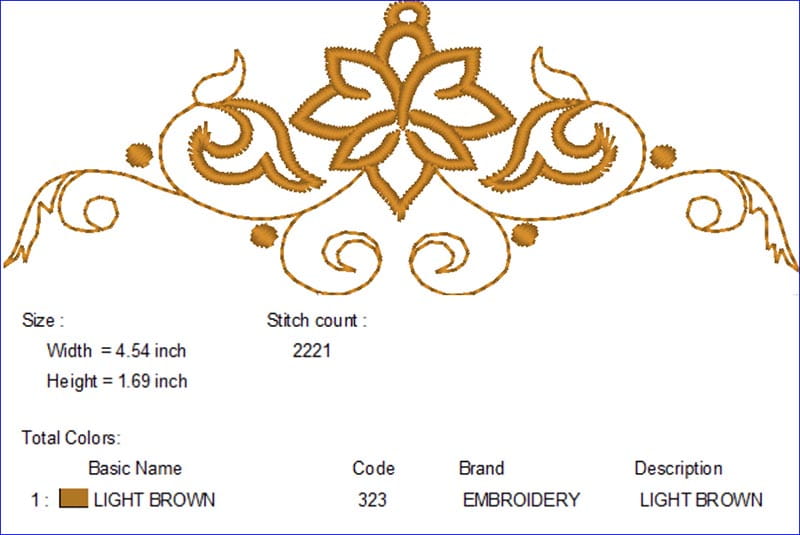
- Brother Free Design of the month January 2022: Floral Decorative Item Number: D125L .
Please read through all instructions before beginning this project. Basic steps are as follows:
- Create pattern.
- Cut and prep fabric.
- Embroider front.
- Cut out and construct cover.
Note: Project was created with the Brother Luminaire. You can use any Brother machine with 5” X 7” hoop capability to complete this project.
All Steps to Create Monogrammed Hanger Cover:
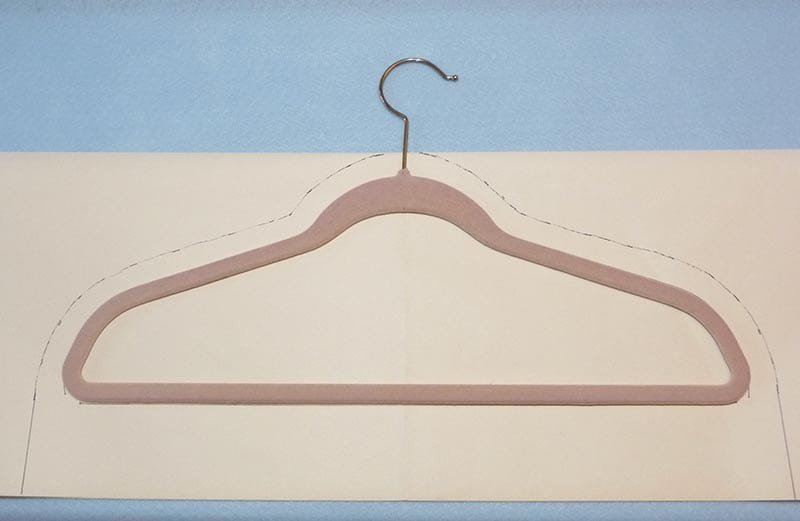
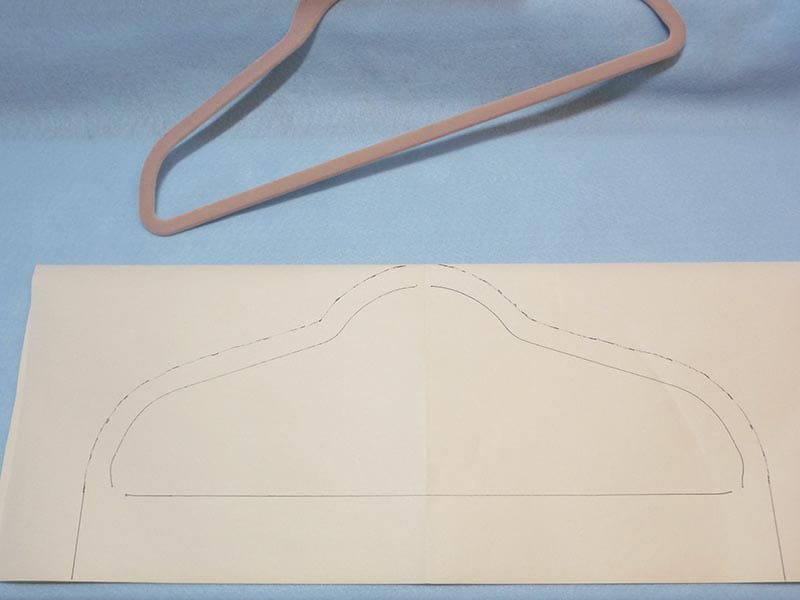
- Place hanger onto an oversized piece of paper or pattern transfer cloth folded in half, with the top of the hanger at the folded edge. Trace hanger adding a 5/8-inch seam allowance around outside edges, two inches along the bottom and leaving a 1-inch gap at the top edge for the hook opening. See Figure #2.
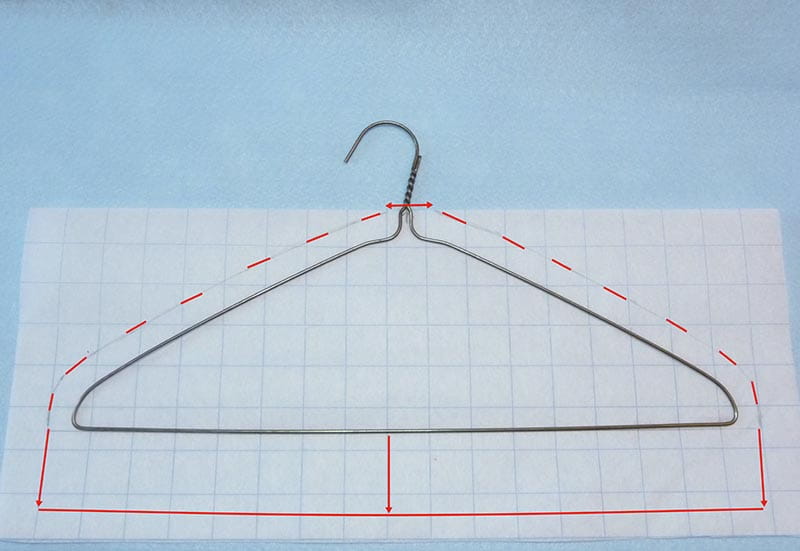
I used an ordinary wire hanger for this project as these are oftentimes cast offs in our closets. Adding the cover not only makes the hanger attractive, it makes it much more usable with the added padding. However, you can use any hanger you choose by simply following the same steps for pattern making, embroidering, and sewing the cover. See an alternative hanger choice in Figure #3a and Figure #3b.
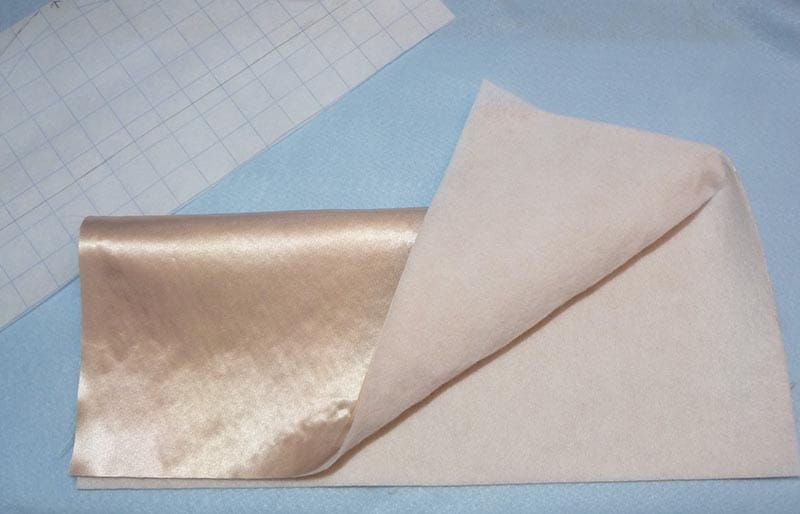
- With foldline on folded fabric, use the pattern to cut a rectangular piece of fabric and fuse fleece to the wrong side. See Figure #4.
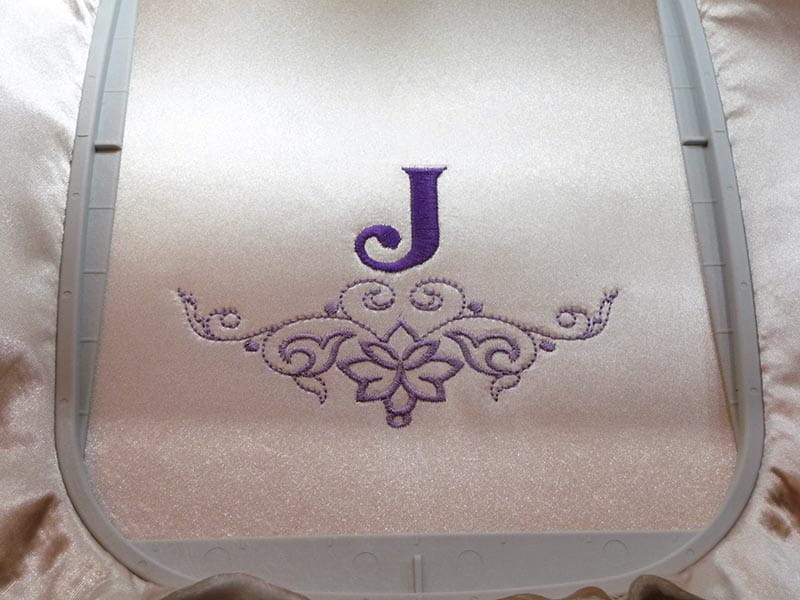
- Transfer free design to your machine. Create a combination design using the free design as an accent for a monogram letter as follows: Rotate design and add letter at the top, increasing the size of the letter to make it as large as possible. See Figure #5.

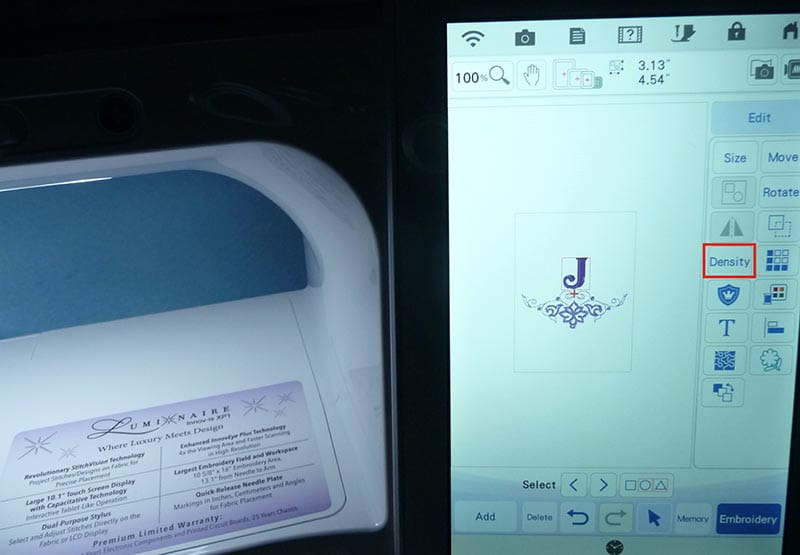
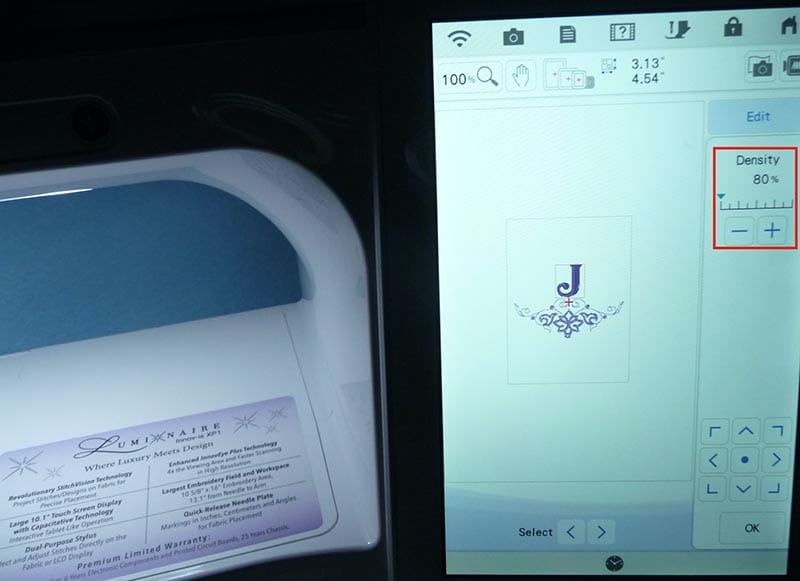
Use Density feature in Edit mode to reduce the density of the letter for stitching on satin. See Figure #6a and Figure #6b.
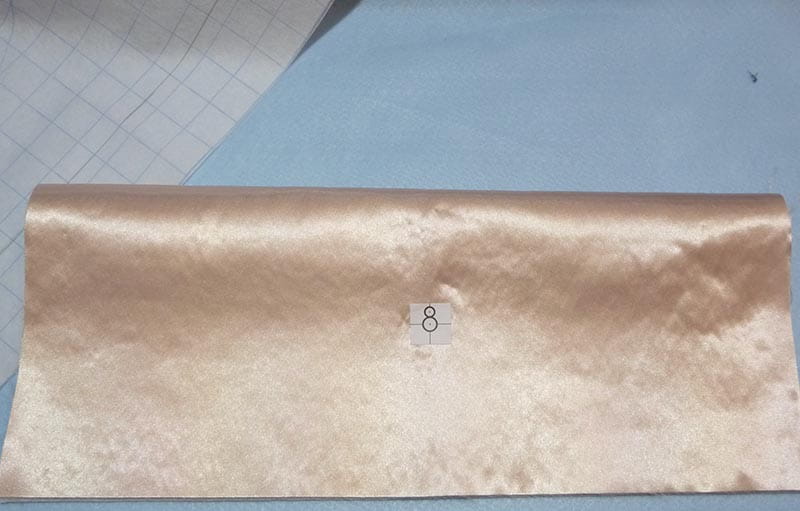
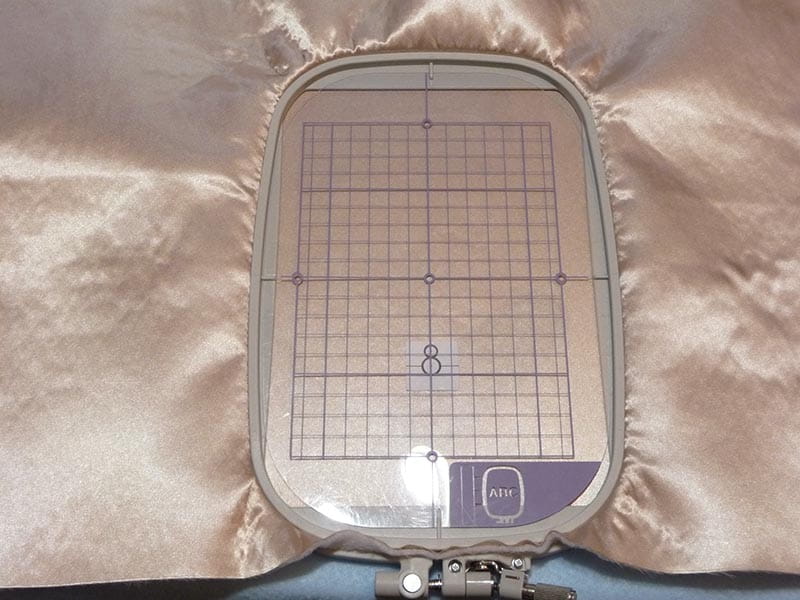
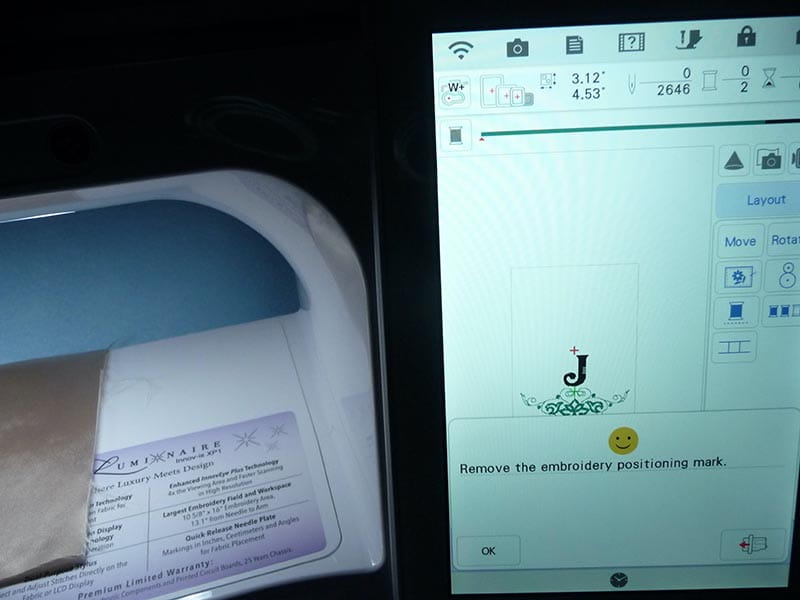
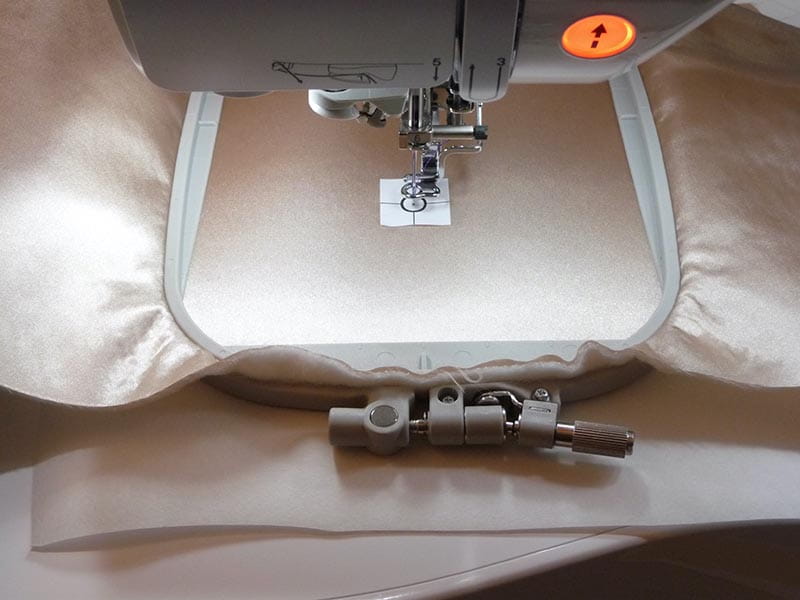
- Mark center point of lower half on folded piece for design position, then hoop and stitch combination design in the center, slipping a piece of tear away stabilizer under the hoop. Note: I used Brother Snowman Marker technology to position my design. In this case, it’s necessary to place the marker near the center of the hoop because the design itself takes up most of the width of the 5” X 7” hoop. Once fabric is hooped, select Snowman marker icon from Layout screen, scan for the default center position, and remove marker once the machine has targeted the design. Notice how the needle points directly to the center mark once the Snowman technology has worked its magic. See steps in Figure #7a through Figure #7e.
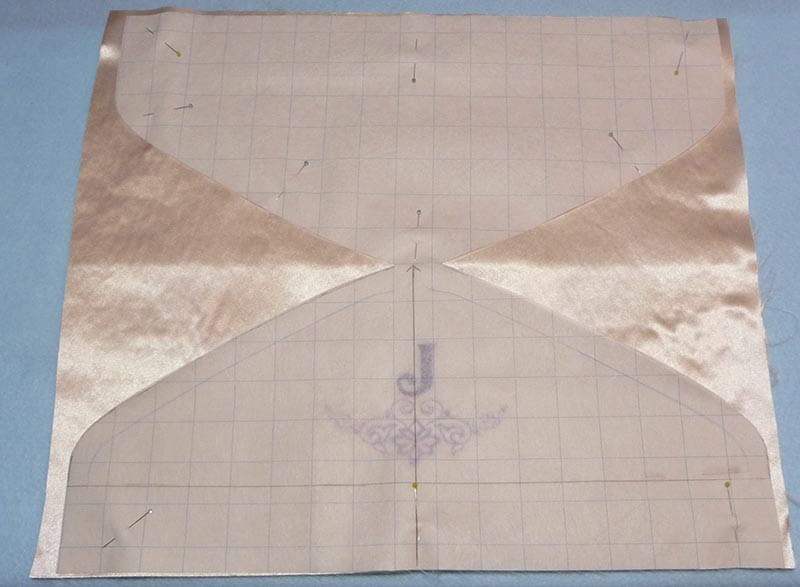
- Remove fabric from hoop and tear away bulk of stabilizer. Trim pattern piece along outside lines, place pattern on fabric, and cut out hanger cover. See Figure #8.
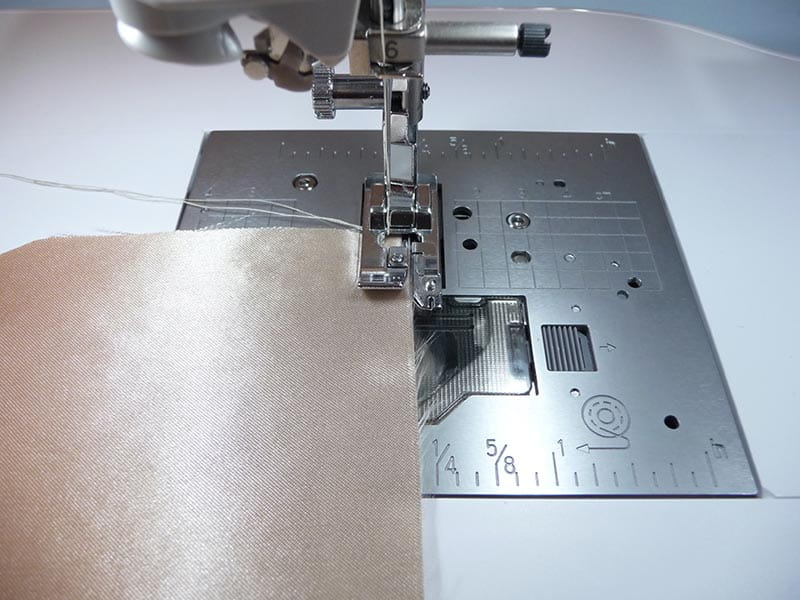
- Clean finish bottom raw edges with an overcasting stitch. Tip: I used presser foot “G” and a commonly found overcasting stitch to clean finish raw edges on this project. See Figure #9a and Figure #9b.
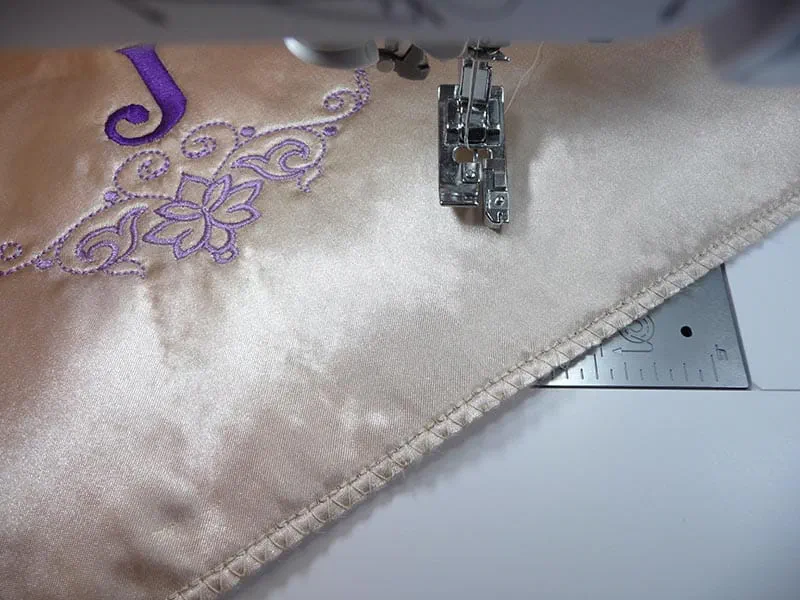
- Cut through small fold at the top. Place right sides together and sew seam using a ½-inch seam allowance, leaving 1-inch gap at the top edge for the hanger hook to slip through. Trim seam allowance to ¼-inch, tapering to ½-inch at the top edge. Overcast raw edges. See enhanced photo in Figure #10.
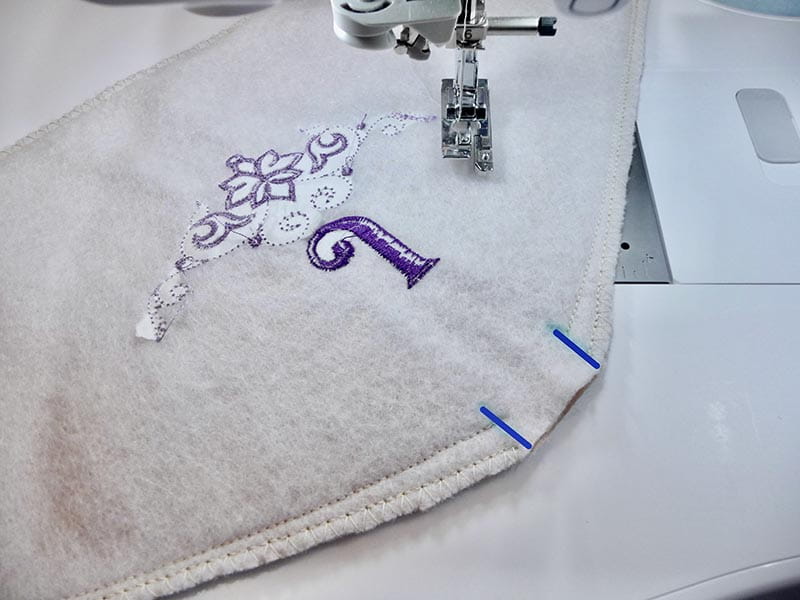
- Turn right side out, tucking in the excess fabric left for top opening. Press carefully. Next, turn and press under ½-inch on bottom edge and topstitch to secure hem. See Figure #11.
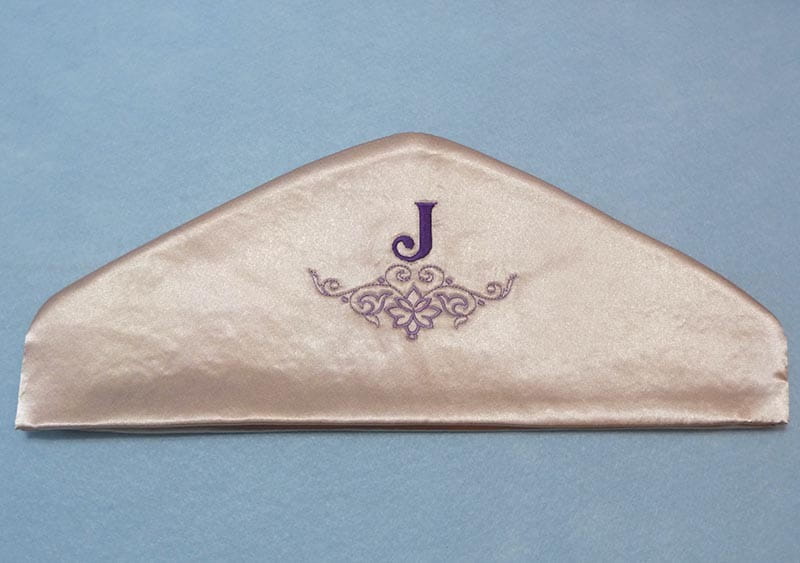
- You’re almost finished! It’s time to finish the hem with some attractive ribbon trim. Insert ribbon into adjustable opening in braiding foot. See Figure #12.
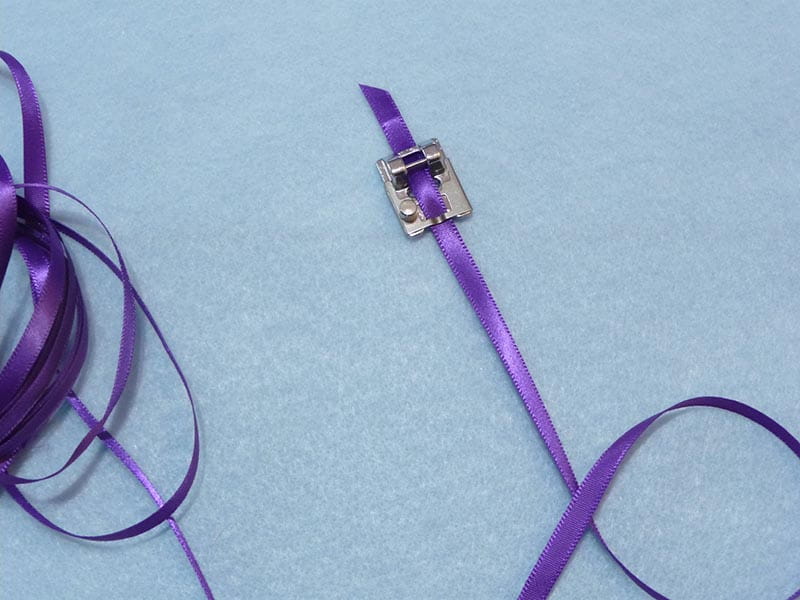
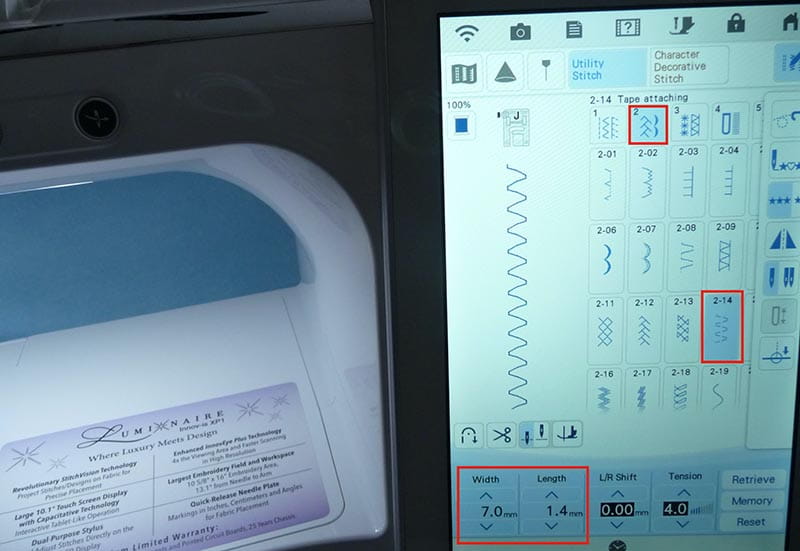
Attach foot to machine, thread with color to match ribbon, and select a wide zig zag stitch or the tape attaching stitch with modified settings shown in See Figure #13.
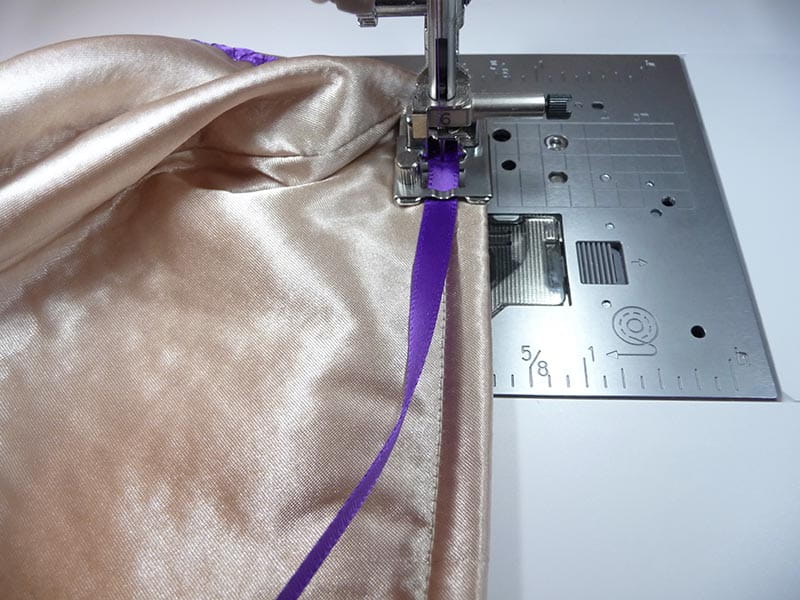
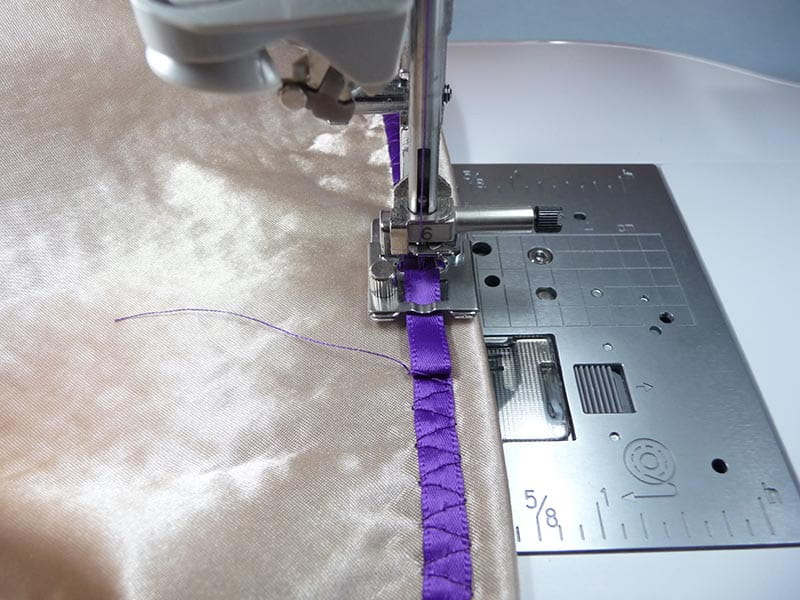
Beginning at the center of the back side, stitch over ribbon, covering topstitched hem. When you near the spot where you began, stop, trim ribbon so there is enough excess to turn under the raw edge, overlap previous end, and tie off stitches to finish. See Figure #14a and Figure #14b.
- Tie an 18-inch piece of ribbon at the top to complete the hanger cover. Trim ribbon ends at an angle. You are finished! Enjoy


