How To Embroider A Throw Blanket With Conversation Hearts
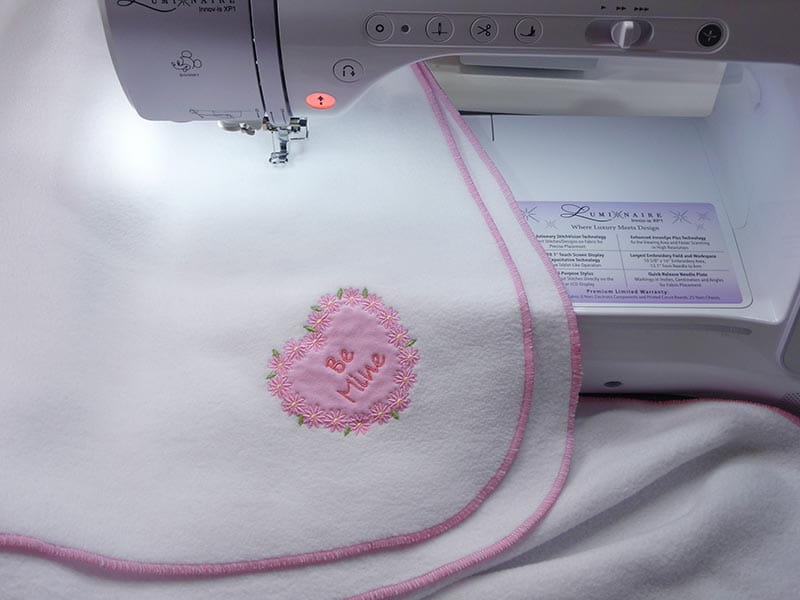
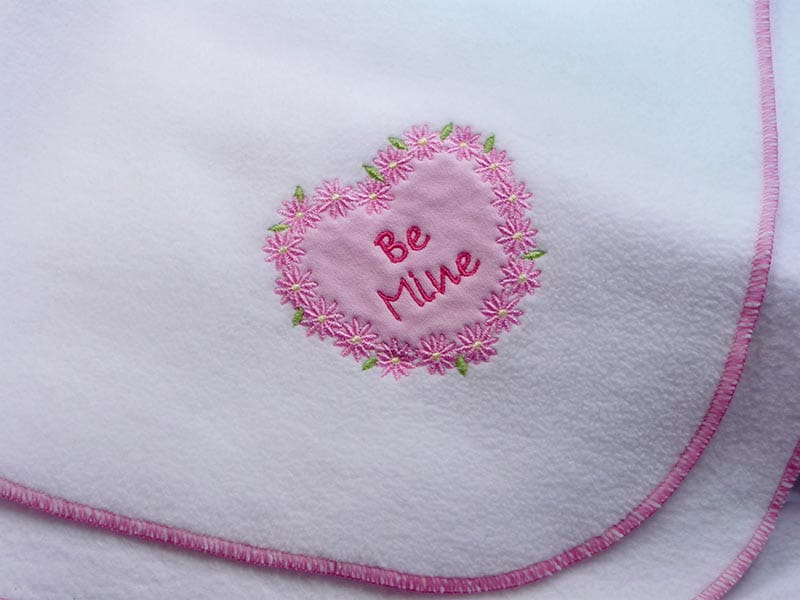
Conversation hearts are a popular motif in February, as we celebrate love and friendship with Valentine’s Day. The Brother free embroidery design this month is paired with a built-in heart shaped frame design to create a layered heart accent for a special touch on a fleece throw. Follow along and see how to create the design, add it to fleece yardage, and finally, finish the edge of the two with the speed of your Brother serger. Are you ready? Let’s go sew!
Materials and Supplies:
- Brother embroidery machine with 4-inch capability.
- Brother Serger
- SA5906 Brother adhesive-backed, water soluble stabilizer for stabilizer fleece corner for added embroidery.
- SA5931 Brother medium weight, fusible cut-away stabilizer for backing knit fabric for applique.
- SA520 Brother lightweight, water soluble topper for embroidering heart.
- SA530 Brother Centering Ruler
- 1 ¾ yard of good quality synthetic fleece for making blanket.
- Embroidery threads and embroidery needle.
- Curved tip scissors for trimming applique piece.
- Low tack tape to hold water soluble stabilizer in place.
- Serger thread for finishing fleece edges. I use one cove of polyester thread for the needle and two cones of texturized nylon thread for the loopers.
- 4 ½ inch square of cotton knit fabric for applique.
- Seam sealant for securing serger thread tails.
- Brother Free Design of the month FD_2_2022.

Please read through all instructions before beginning this project. Basic steps are as follows:
- Create combination design.
- Prepare applique fabric and embroidery design on corner of fabric.
- Finish edges of fleece fabric to create throw.
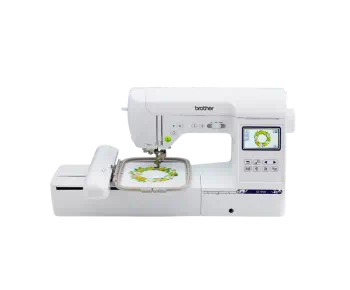
Note: Project was created with the Brother Luminaire and Brother Serger model 5234PRW. You can use any Brother machine with 4-inch hoop capability and any Brother Serger to complete this project.
All Steps to Create Conversation Heart on Fleece Throw:
1. Transfer free embroidery design to machine and prepare to create a combination design as follows:
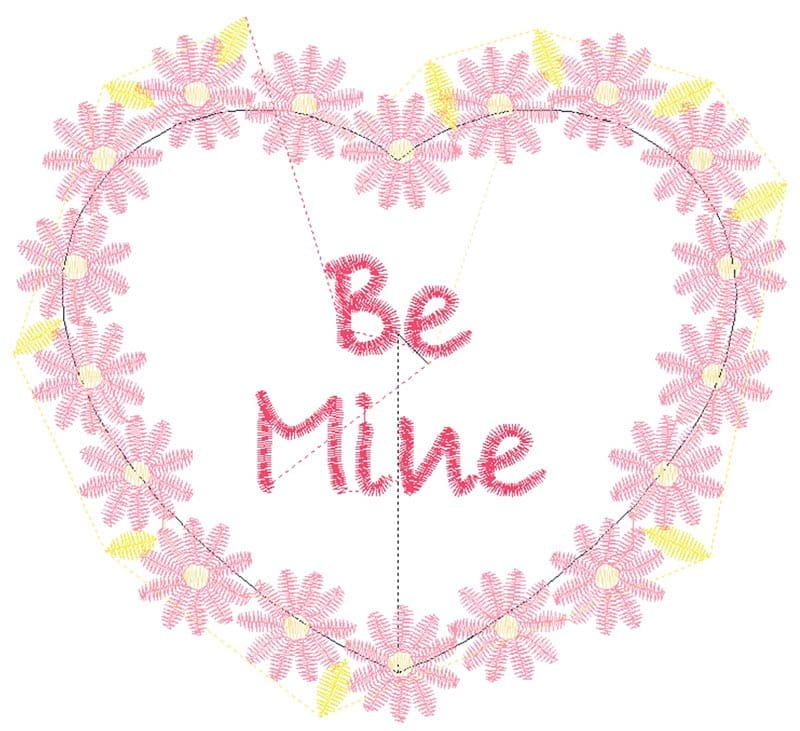
Begin by selecting the triple stitch heart shape from built in frame shape patterns built into the machine. Re-size the heart to equal 2.83” High X 3.39” Wide. Add the free floral heart design. Select the heart shape and move it slightly so it is more centered within the floral heart. Finally, add lettering to complete your “conversation” heart. See completed combination design in Figure #2.
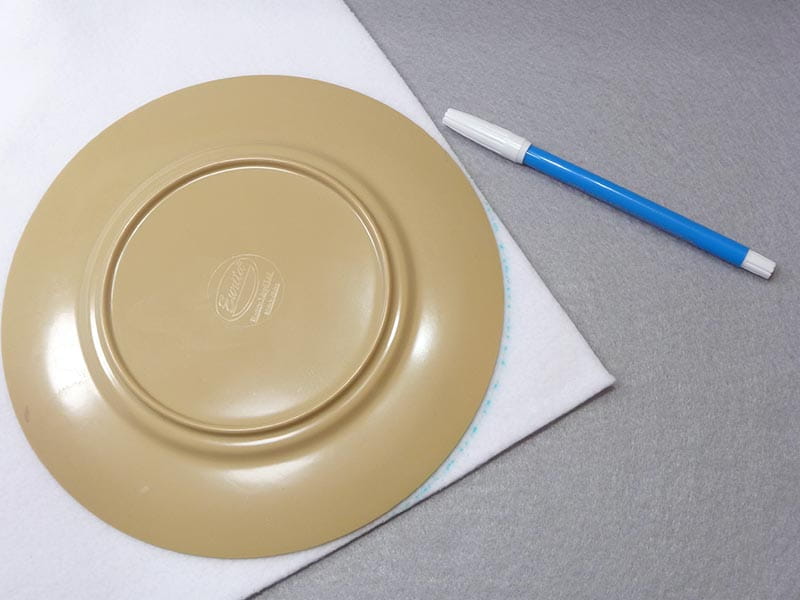
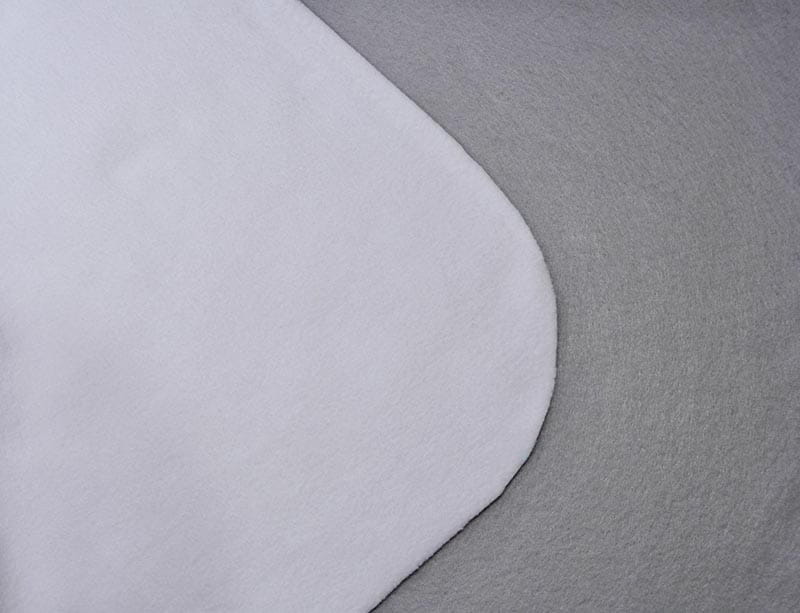
2. Prepare fleece for embroidery as follows: Wash and dry fleece, trim away all selvedge edges and use a small plate to crate rounded corners.

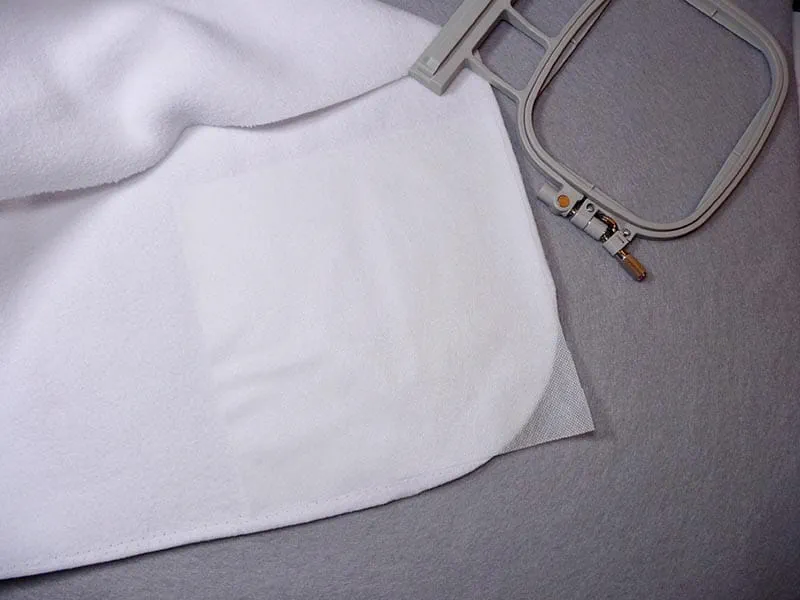
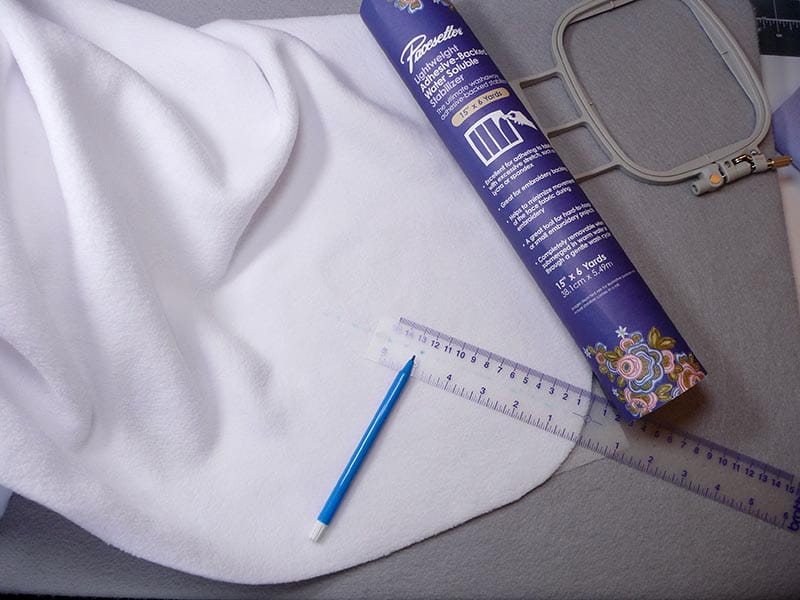
3. Cut an 8-inch square of the adhesive backed stabilizer and apply to the wrong side of one of the blanket corners. This will keep the fleece from stretching, allowing for firm hooping of the fabric. Another advantage of this stabilizer is the fact that it will completely wash out, leaving no unsightly stabilizer on the wrong side of the fabric. Next, mark the center point for the design 5-inches from the corner. Hoop fabric with marking in the center.
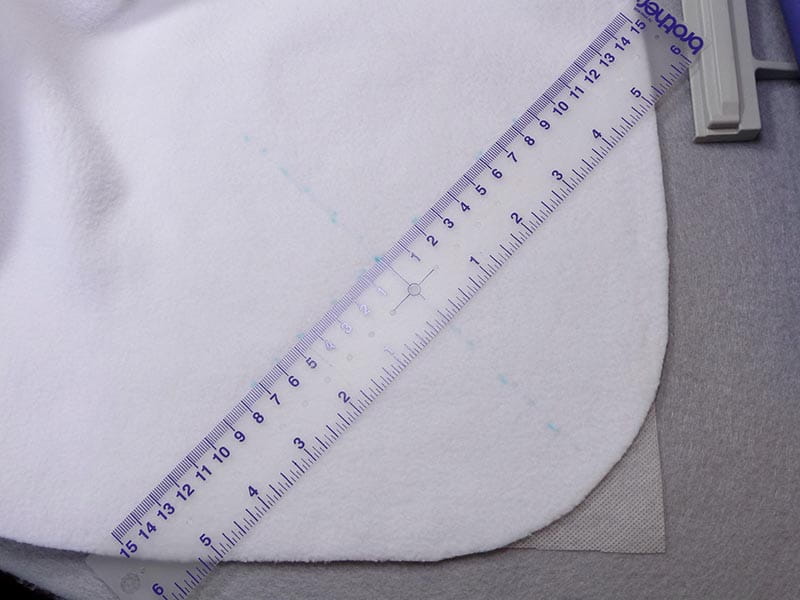
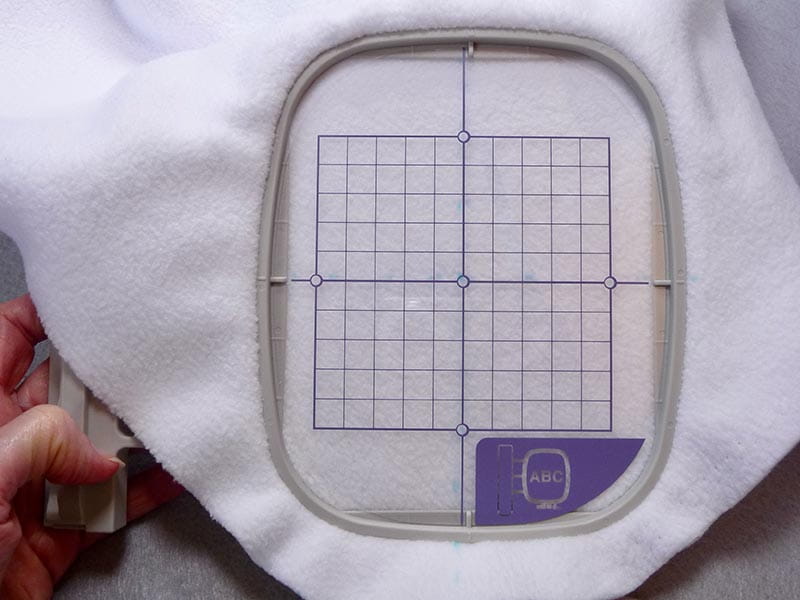
4. Prepare knit fabric by fusing mesh stabilizer to wrong side. Cut a small piece of the clear water soluble to use as a topper.
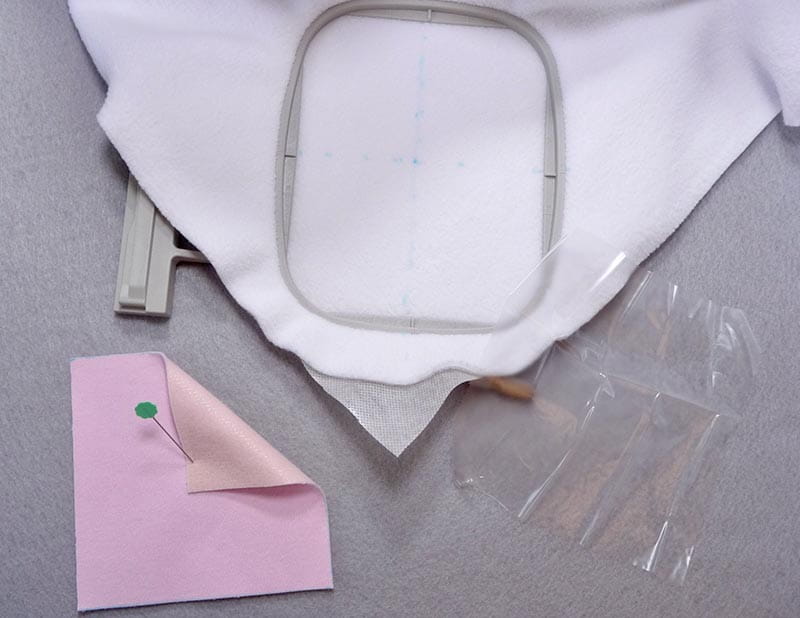
Place hoop on machine. Layer the knit square in the center of the hoop and stitch the heart shape. Stop and trim fabric away from outside edge of the heart. Tip: Cut slits up to the edge of the heart to make trimming easier.
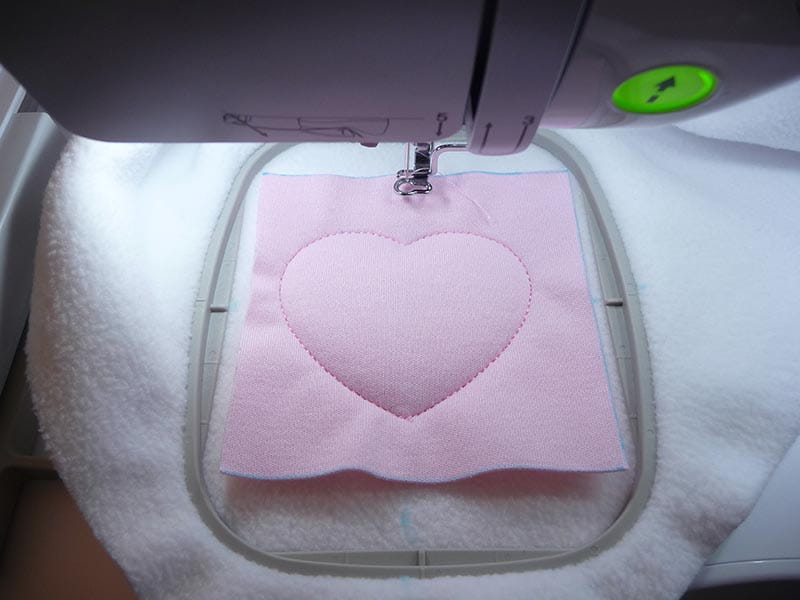
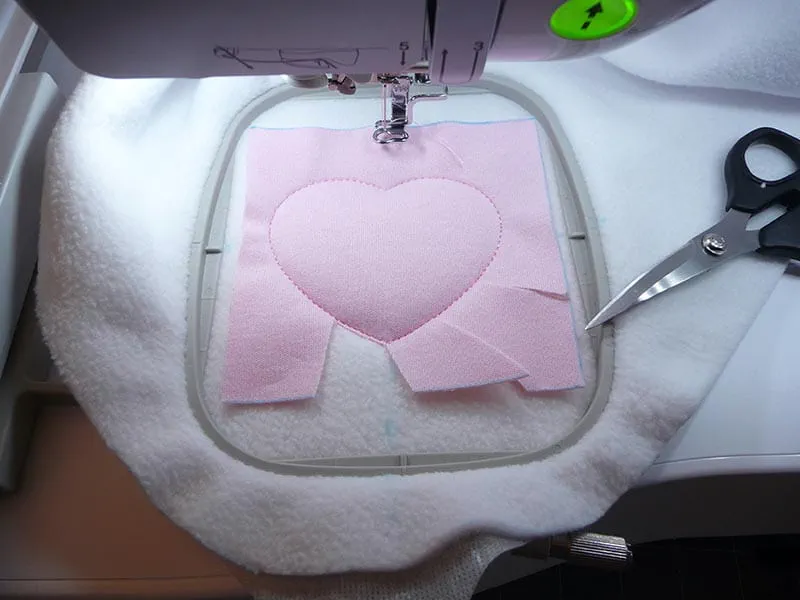
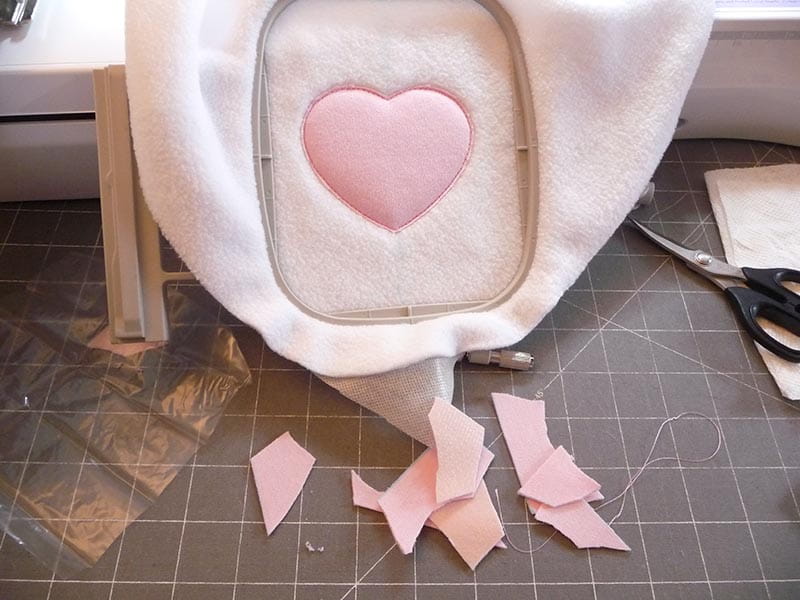
Place topper over heart and stitch the rest of the design.
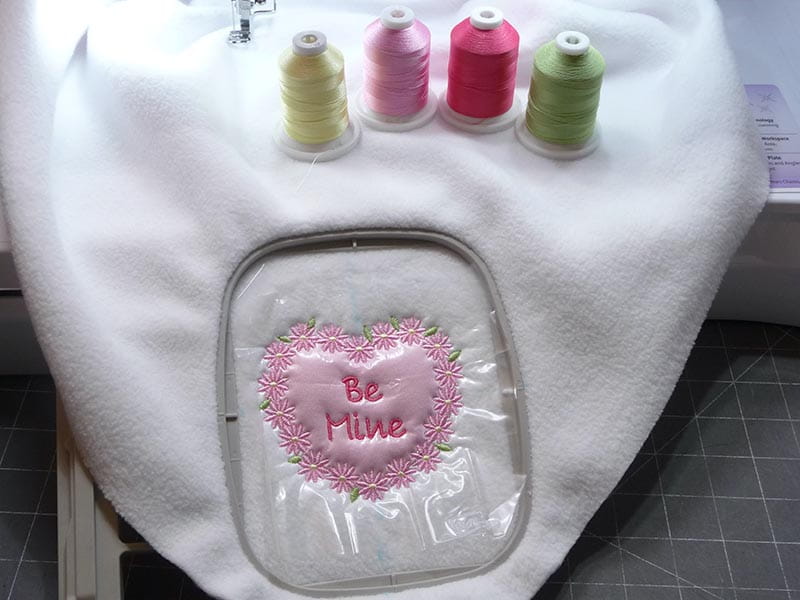
Remove excess stabilizer.
5. Set up serger for sewing a three-thread balanced stitch with the texturized nylon in both loopers. Test stitch on scraps, then begin serging along one of the straight edges, trimming the fabric ever so slightly.
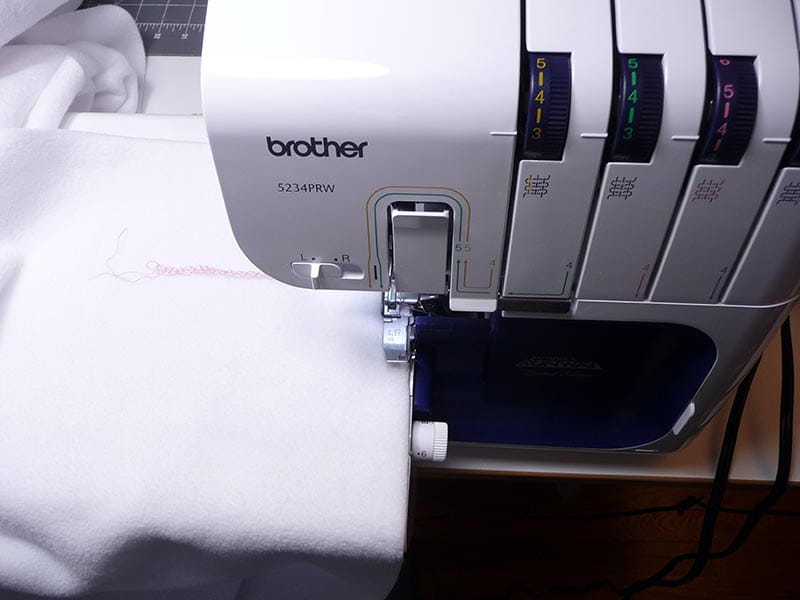
Serger continuously until you are approximately 1-inch from where you started. Lower the blade and continue to stitch until the stitches are slightly overlapped. To end the stitching neatly, stop and raise the presser foot and pull a slight amount of slack in the needle thread. Gently pull the blanket edge out from under the area where the stitch is forming, then lower the presser foot and continue to stitch a tail of thread.
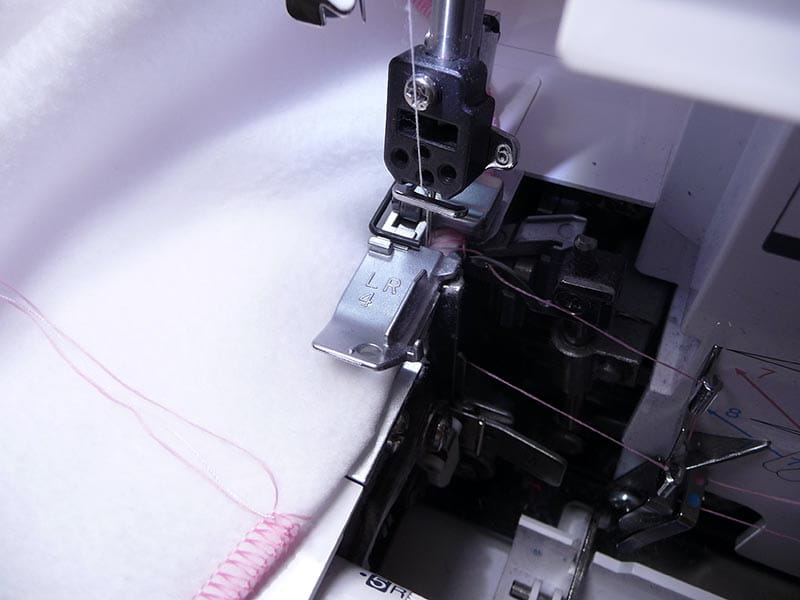
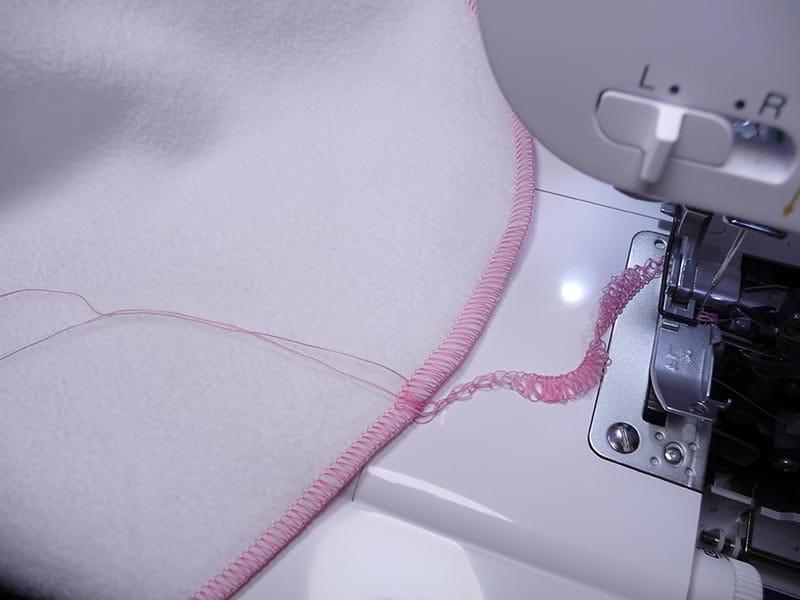
Hand tie thread tails, then dab a small amount of seam sealant to the knots. Let dry and trim excess Wash out all excess stabilizer and your custom hand-embroidered blanket is finished!
