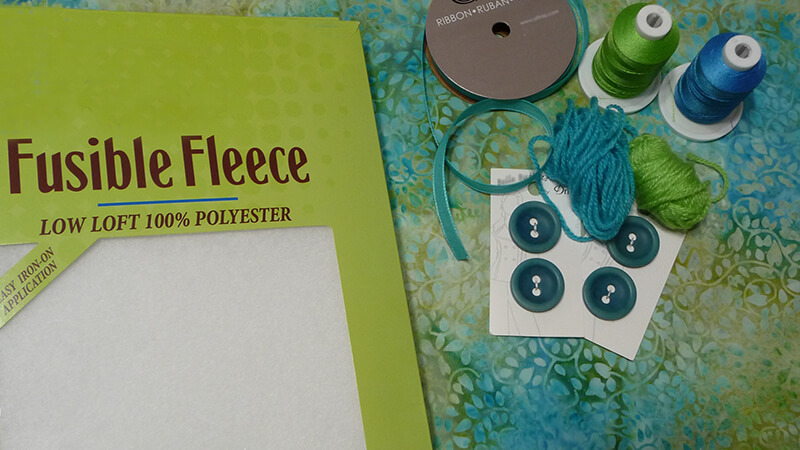
Monogrammed Tech Cover with Couched Accents
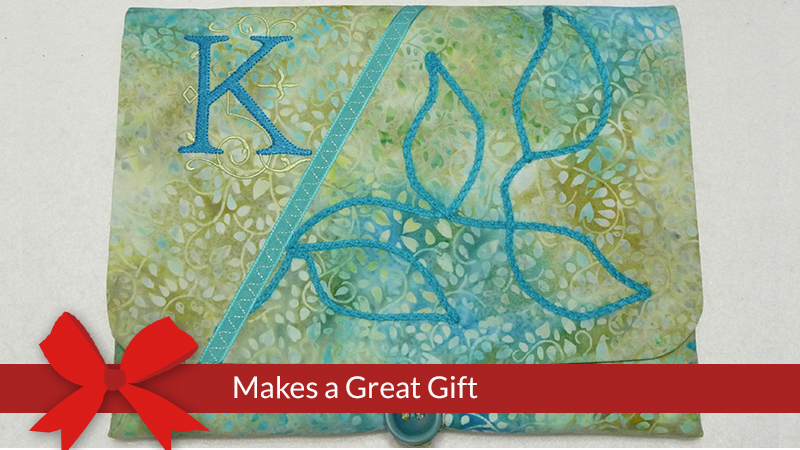
This custom tech cover features yarn trim couched with the Brother foot of the month, the MuVit™ Dual Feed foot, along with the couching attachment. The couching accessory is fun to use for surface embellishment on most any fabric. This example features a multi-color batik with color coordinated couched yarn applied across the front flap of the cover. With a few simple measurements you can make a custom cover for almost any device you choose. Add an elegant monogram to make this into make a customized and special gift!
Machine & Accessories
- Brother Sewing and Embroidery Machine
with MuVit™ Dual Feed Foot
capability. - Couching Dual Feed Foot Accessory
for the MuVit™ Dual Feed Foot. Check with your local Brother dealer for available attachments for your machine.
Note: SA196, the MuVit™ Dual Feed foot is featured in this project. This foot is included with some Brother machines and an optional accessory for others. Check with your local Brother dealer for more details
. For machines without this capability please see Options and Ideas at the end of these instructions.
. For machines without this capability please see Options and Ideas at the end of these instructions.
Materials and Supplies
- Brother Stabilizer
for embroidering monogram - Brother Embroidery Thread and Bobbin Thread
- Yarn for couching– Medium size 4 is recommended.
- Sharp Jeans needle size 14 for stitching multiple layers
- Basic sewing notions plus a removable marker and a pin or bodkin for inserting elastic.
- Narrow ribbon for trim
- Paper for making pattern
- Tapestry needle or seam sealant for treating ends of yarn
- One 1 ⅛-inch diameter button and a piece of elastic measuring ¼-inch wide X 2-inches long for closure
Fabric Requirements:
- For the outer cover select a cotton or cotton blend fabric. Cotton Batik is featured in this example. For lining select coordinating cotton or cotton blend fabric.
- Fusible craft fleece for inner padding on outer cover and lining pieces.
- Medium weight fusible interfacing for outer flap piece.
Note: See instructions below for specific measurements. To determine yardage you can create your custom pattern and take it along to purchase the necessary amount of fabrics. Launder fabrics prior to sewing.
Creating Pattern
Begin by taking measurements of the tablet or device you will be covering as follows: Using a flexible tape measure, loosely wrap the tape measure across the width of the device, forming a loop. Record this measurement for the width. Next, loosely wrap the tape measure across the length of the device, forming a loop. Record this measurement for the length.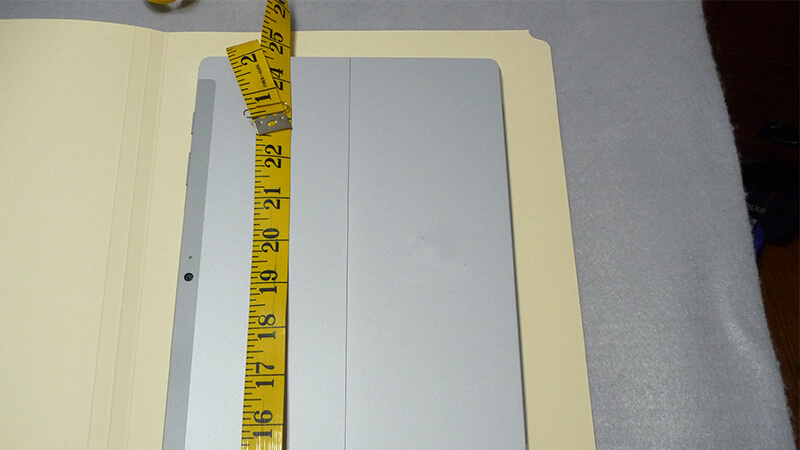
Width Measurement: 22 1/2-inches
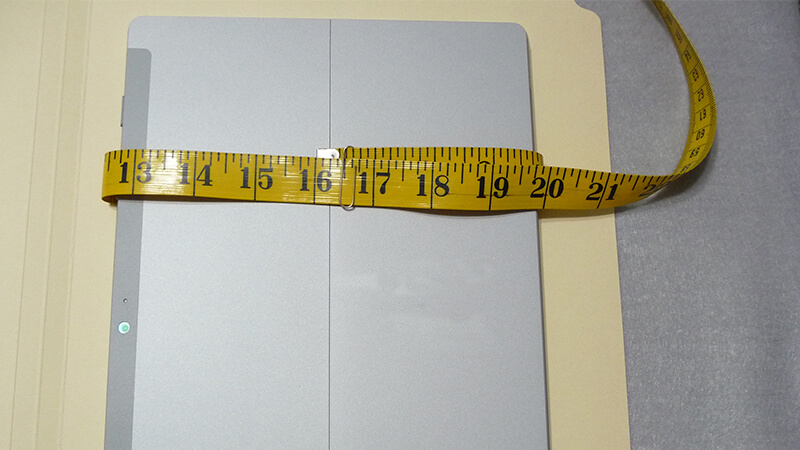
Length Measurement: 16 1/2-inches
Note: Round up numbers to the nearest half or whole number to make pattern making easier. I left the width the same as the tape measure, but rounded up the length by half and inch just so you can see that it's OK to do so.
To create exact pattern size for front and back of cover and cover lining, add 3-inches to each measurement. Next, divide measurements in half and draw a rectangle on paper to equal these two measurements.
Note: The 3" you have added to your pattern includes the appropriate seam allowance, so don't add extra for seam allowance.
Example:
Width - 22 ½-inches + 3 = 25 ½-inches divided by 2=12 ¾-inches.
Length – 16 ½-inches + 3 = 19 ½-inches divided by 2 = 9 ¾-inches.
Final pattern for front and back of cover and cover lining is as follows:
12 ¾-inches Wide x 9 ¾-inches Long
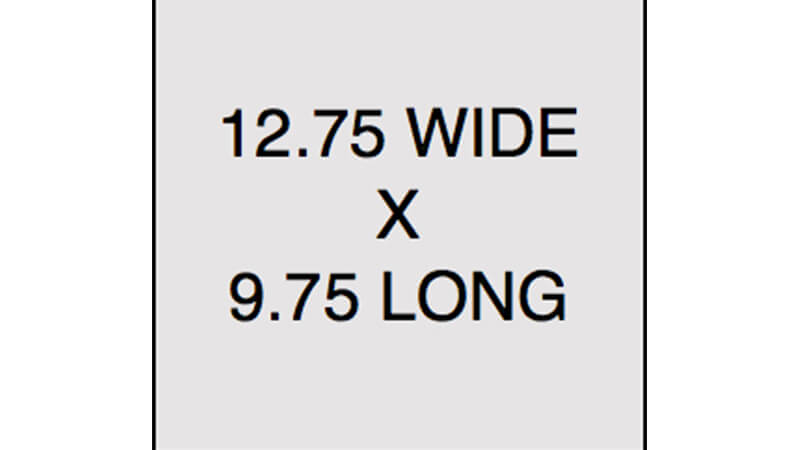
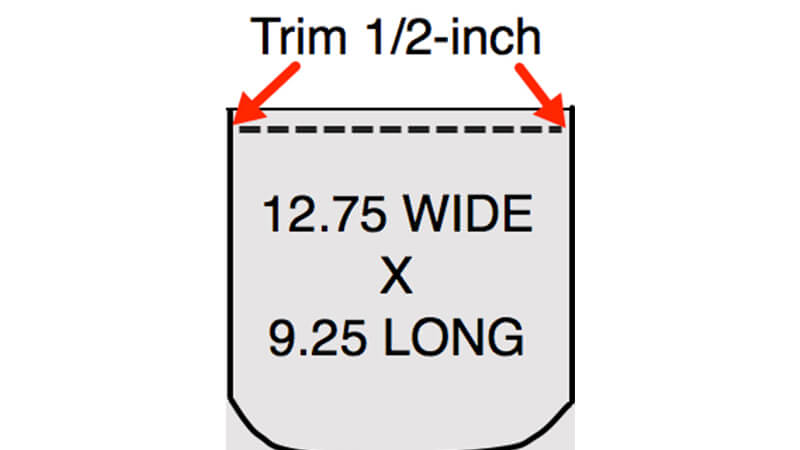
Draw another rectangle the same size for the flap pattern. Next, modify the flap pattern piece by rounding off two corner edges so the flap is rounded at the bottom. Trim ½-inch from the opposite edge to make the flap slightly shorter than the front of the cover.
Cutting Pieces
Cutting Instructions for fabric:- Use main pattern to cut one front and one back from outer fabric.
- Use main pattern to cut one front and one back from lining fabric.
- Use flap pattern to cut two pieces from outer fabric, one for outer flap and one for lining.
- Cut a strip of fabric measuring 1 ½-inches wide X 5-inches long for loop closure.
- Cut one piece of fusible interfacing from flap pattern.
- Use main pattern to cut four pieces of fusible fleece, trimming away 5/8-inch from each edge of the pattern, all around, to eliminate bulk at the seam line.
Steps to Create Cover
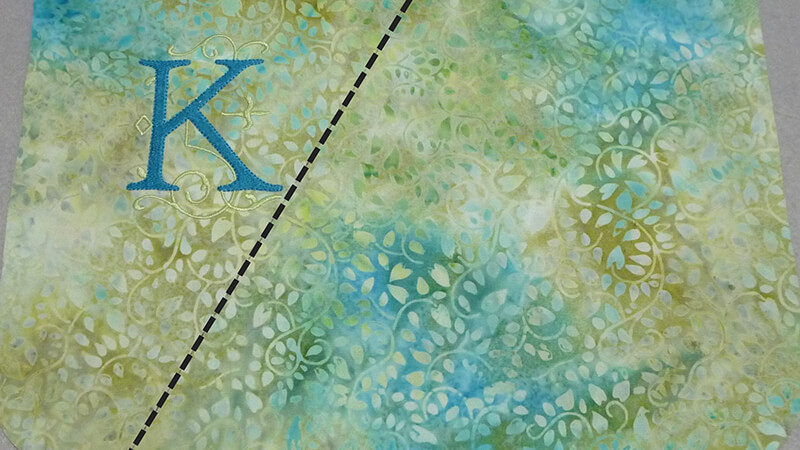
- Fuse interfacing to entire outer flap piece. Use appropriate stabilizer and embroider a monogram on the flap.
Note: You may find it necessary to hoop fabric by attaching to a re-movable sticky stabilizer or by using temporary adhesive spray to secure flap piece to stabilizer. Be sure to leave blank space for embellishing with couching. In this example a diagonal line divides the area between the monogram and the area for couching. Once couching is finished this line can be covered with ribbon.
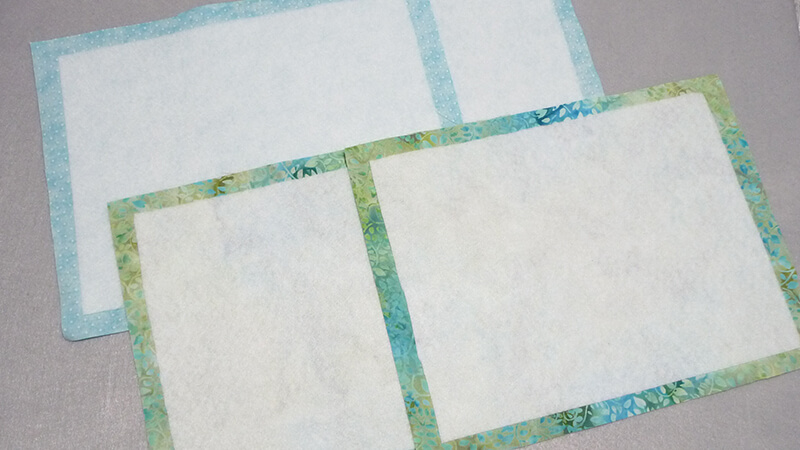
- Fuse fleece to wrong side of each outer fabric piece and each lining piece to thoroughly pad the cover.
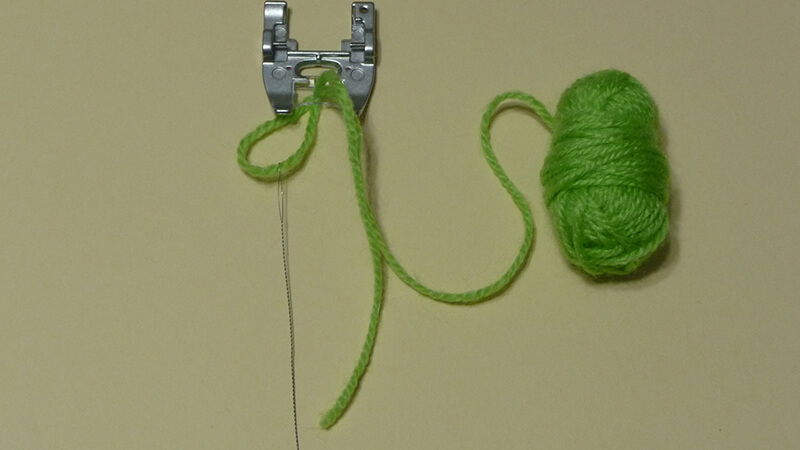
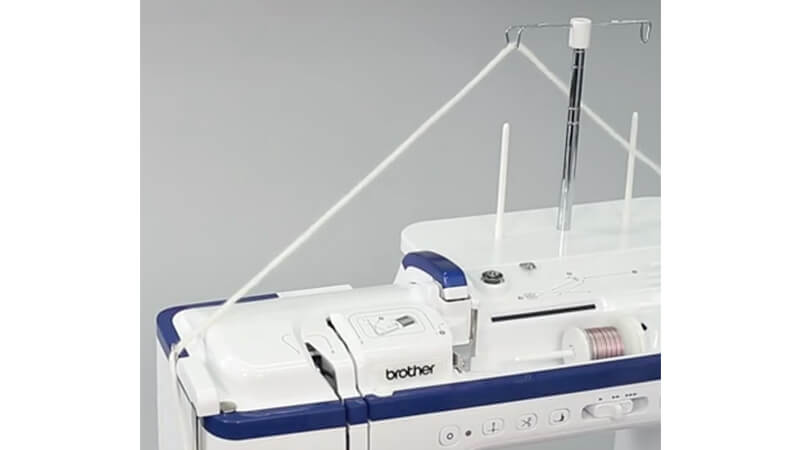
- To prepare for couching you can draw lines on your fabric, or you can create free form lines as you stitch. For yet another option, you can use quilt stencils or templates to make shapes and lines. Use the included wire threader to insert yarn into hole on foot. You may find it helpful to insert the yarn into the hole in the foot before attaching it to the MuVit™ Dual Feed Foot
. Manually feed the needle thread under the foot before you begin stitching. Read instructions included with your attachment for inserting yarn guide into your machine and suggestions for feeding the yarn from the spool stand.
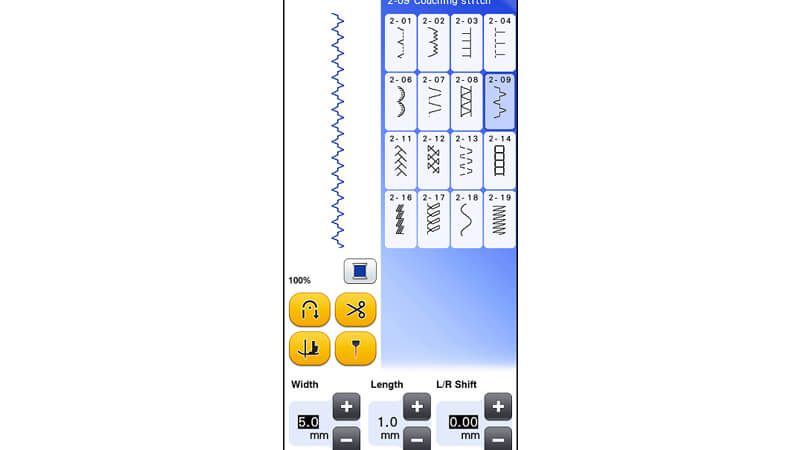
 Experiment with various stitches and different settings for stitch length and width.
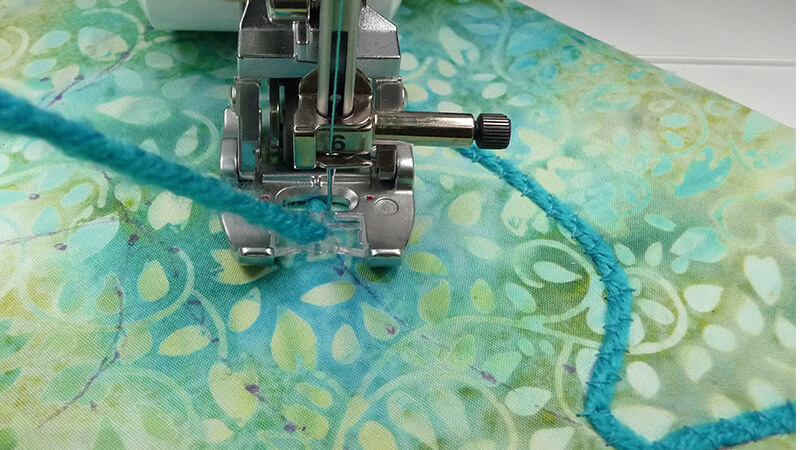
Additional tips for couching with the MuVit™ Dual Feed Foot:
- It’s a good idea to practice this technique on scrap fabric before beginning your project. To stitch a smooth path with yarn you will want to follow a continuous line and avoid stitching multiple times in the same location. Determine where you will start and stop and mark if necessary.
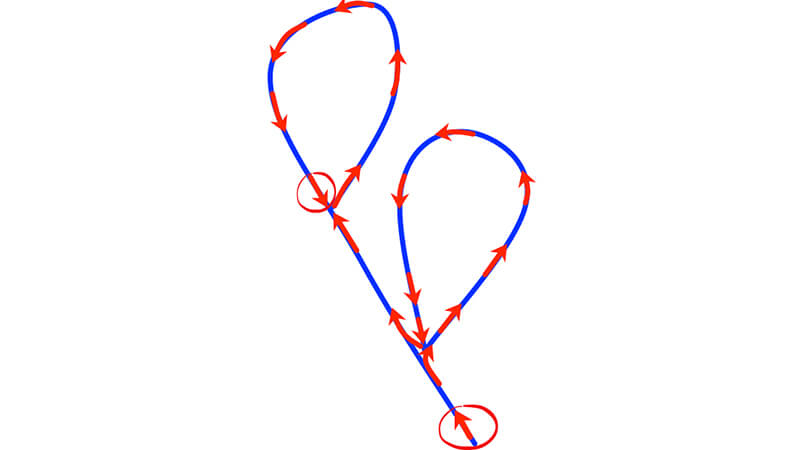
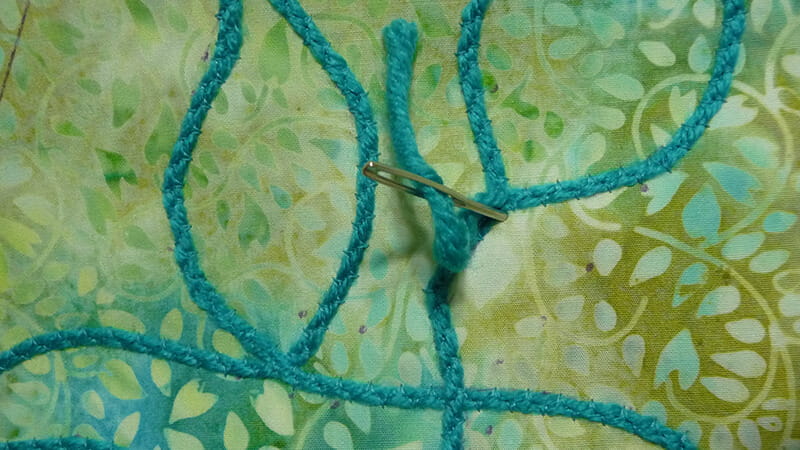
- When you are finished you can thread yarn into a tapestry needle and feed it to the wrong side of the fabric or clip the end and treat with seam sealant.
Constructing Cover
- Change to standard attachment for the MuVit™ Dual Feed Foot for sewing.
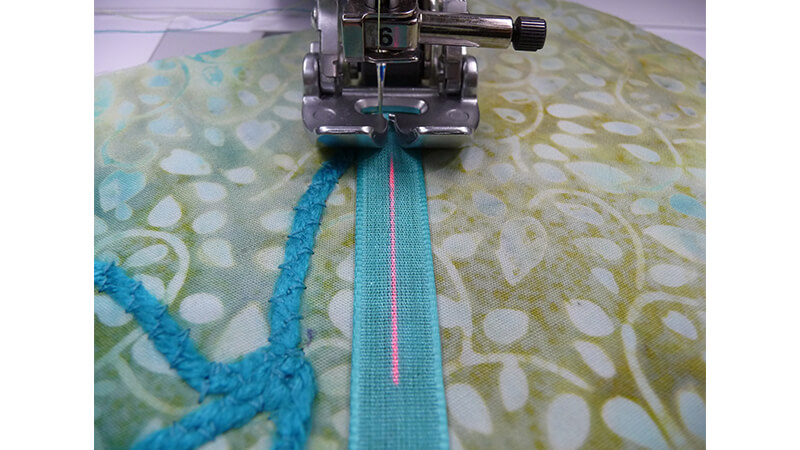
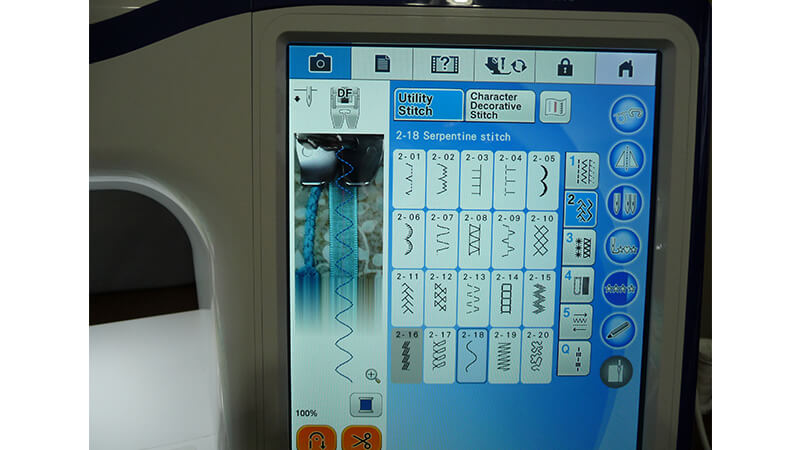
- Use a decorative stitch to attach ribbon trim and cover diagonal line. Use InnovEye® technology to line up the stitch and the Sew Straight™ laser as a guide if your Brother machine has this capability.
- Change to a straight stitch. Fold the 1 ½” X 5” strip in half, right sides together, and sew along the long raw edge with a ¼-inch seam allowance. Turn right side out and press. Insert the small piece of elastic and sew across ends to secure elastic.
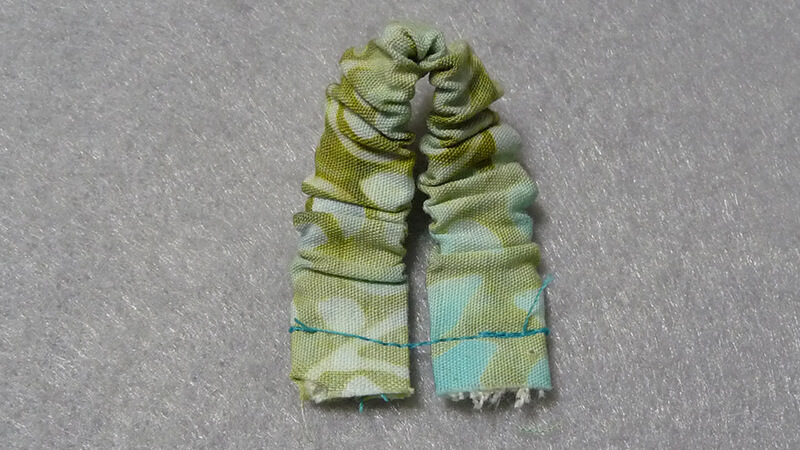
- Fold the loop in half and center on the edge of the flap between the curved edges. Place flap pieces right sides together. Sew the entire curved seam using a 5/8-inch seam allowance, leaving the top, straight edge open. Trim seams, clip curves, turn right side out, and press.
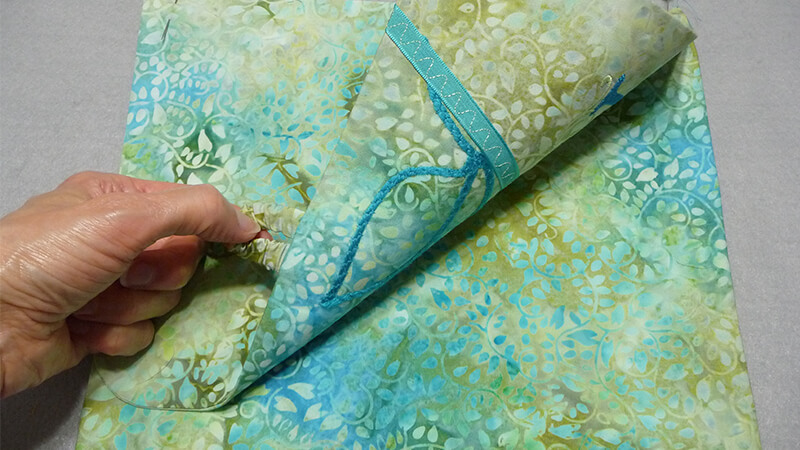
- Pin lining pieces right sides together. Sew side seams using a 5/8-inch seam allowance. Sew bottom seam in the same manner, leaving an opening at the center for turning bag right side out when finished. Press seams.
- Pin outer cover pieces right sides together. Sew sides and bottom seam using a ½-inch seam allowance. Turn right side out and press. Pin flap to one unfinished edge of outer cover and baste across the top.
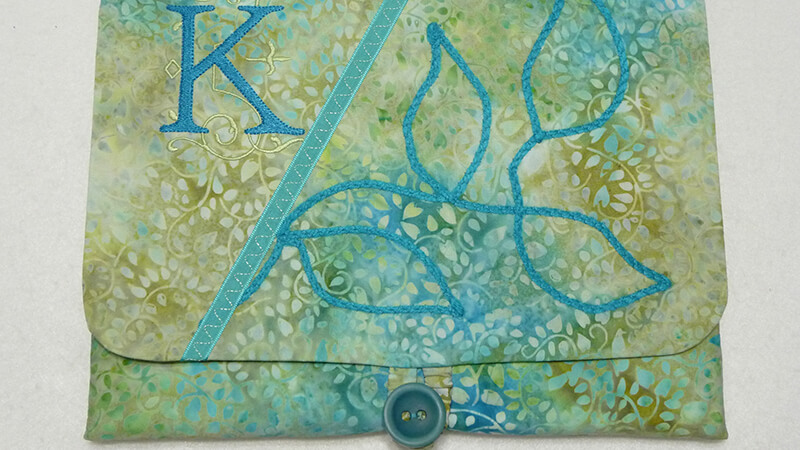
- Place outer cover inside lining with right sides together. Match side seams and pin top raw edges so they are even and then sew all around the top edge using a ½-inch seam allowance and easing as necessary.
Tip: Switch to the free arm to make stitching this seam easier.
- Turn right side out. Hand sew opening closed. Push lining into outer bag. Press carefully. Sew button to correspond with loop to finish. Slip the device into the pocket and you are ready to take your tech device anywhere you want to go!
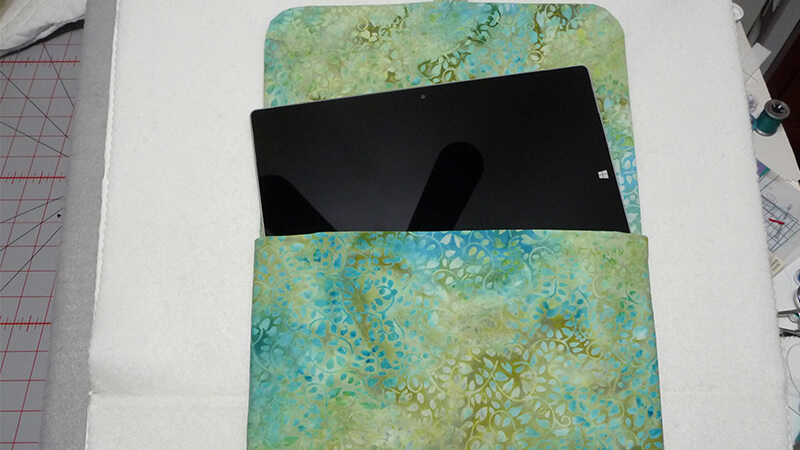
Additional Options and Ideas
- Substitute with a walking foot
if you do not have the MuVit™ Dual Feed Foot capability. Accent the front of the cover with trims as desired. - Consider treating finished item with fabric protectant to resist water and stains.
- Use this method to create a custom cover for a variety of tech devices, including items such as e-readers, tablets, notebook computers, laptops, etc. If you are making this as a gift you may find the dimensions listed in a product description online. Be sure to add the depth measurement of the device to both of your custom width and length measurements. The formula for this project creates a cover that is slightly oversized. You can estimate the measurements and allow a little extra to make sure the device fits.
- Assemble all supplies before you begin and audition trim and yarn to see what combinations you like best.
