New Disney Tsum Tsum Designs Shirt and Shorts Project
Enchanted by Disney’s tiny Tsum Tsums
, your little one will be delighted when decked out with their favorite characters. This is an easy sewing project. A Simplicity pattern, your Brother combo machine
(sewing and embroidery) and iBroidery.com’s Tsum Tsum designs
team up to stitch Minnie Mouse, with her signature red polka dot bow. A Tsum Tsum logo
and a variety of Disney personalities are embroidered on the ruffled shorts. At iBroidery.com
see the Tsum Tsum logo
and 22 characters
, many offered in multiple sizes. Make this little Disney outfit for summer.
Materials List
- Your Brother Sewing and Embroidery machine
- Fabric yardage for chosen size:
- White for view B top and view E shorts
- Red polka dot for bow, front lining, shorts ruffle, pockets and optional piping
- Thread for and construction
- Embroidery thread
- 3/4yd of 1” elastic as per pattern
- Lightweight fusible interfacing
- Pacesetter Medium Weight Tearaway Stabilizer SA5810
- cording for optional piping
- 4x4 frame
- Tsum Tsum designs
from iBroidery.com - Simplicity pattern 1475
- Washaway Fabric Marking Pen
- Optional: polka dot piping (bias cut unnecessary~cut on straight of grain)
- Optional: SA192-Brother's Piping Foot
- Optional: SA177-Brother's 7MM Side Cutter
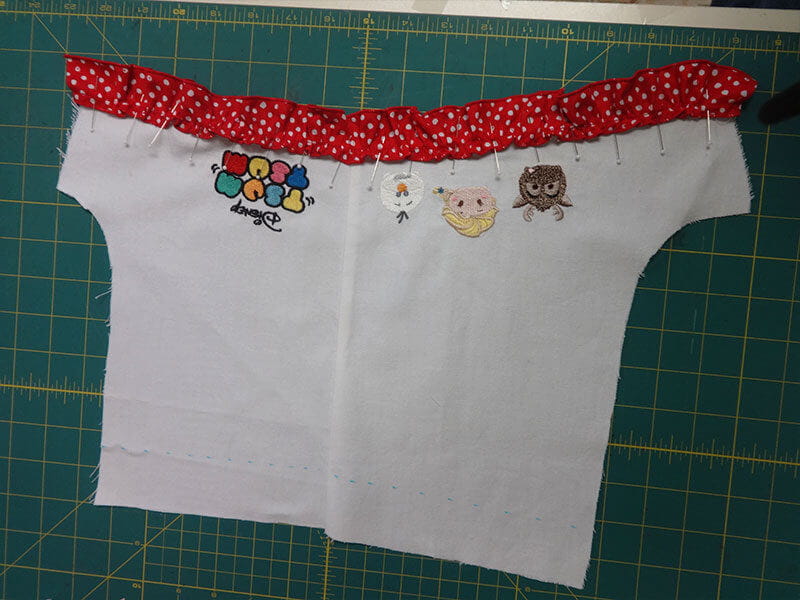
View B (Play Top):
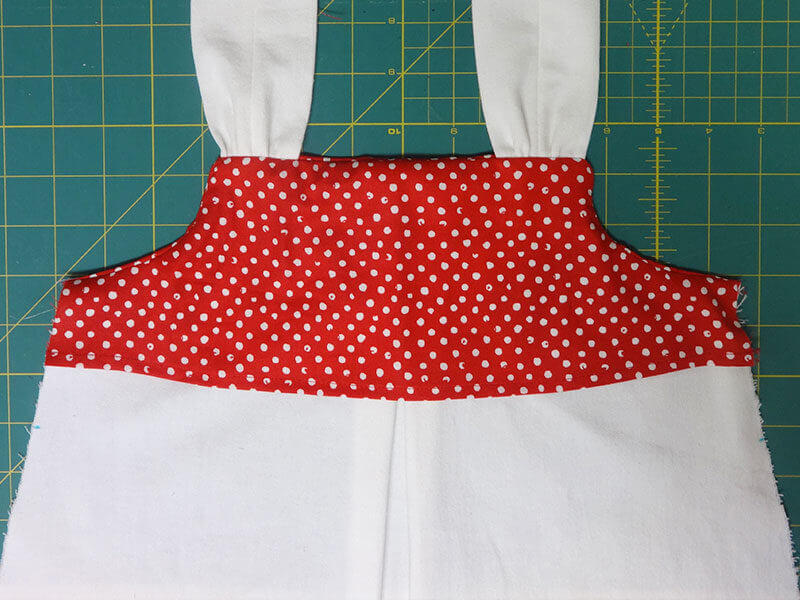
- Apply lightweight fusible interfacing to polka dot bow pattern piece. Construct bow as instructed.
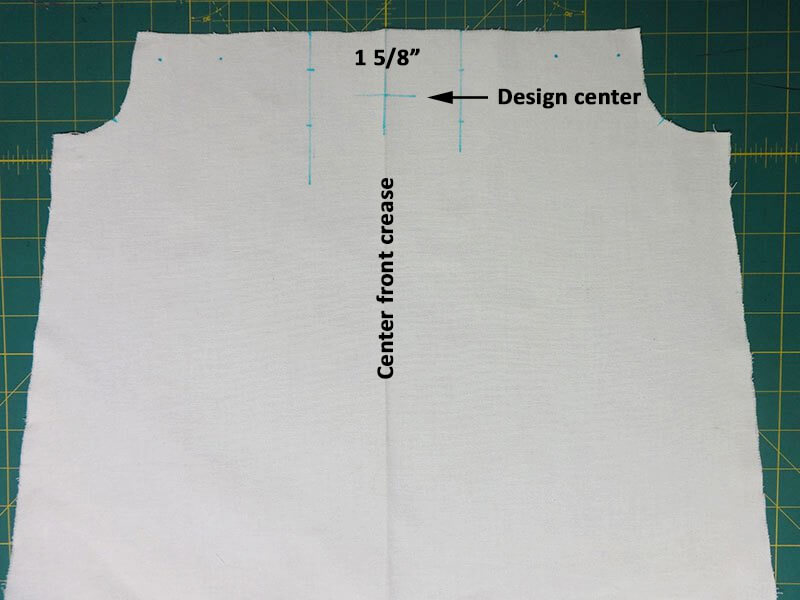
- Cut view B with white fabric, according to pattern directions, transferring all marks. Cut front facing from polka dot fabric.
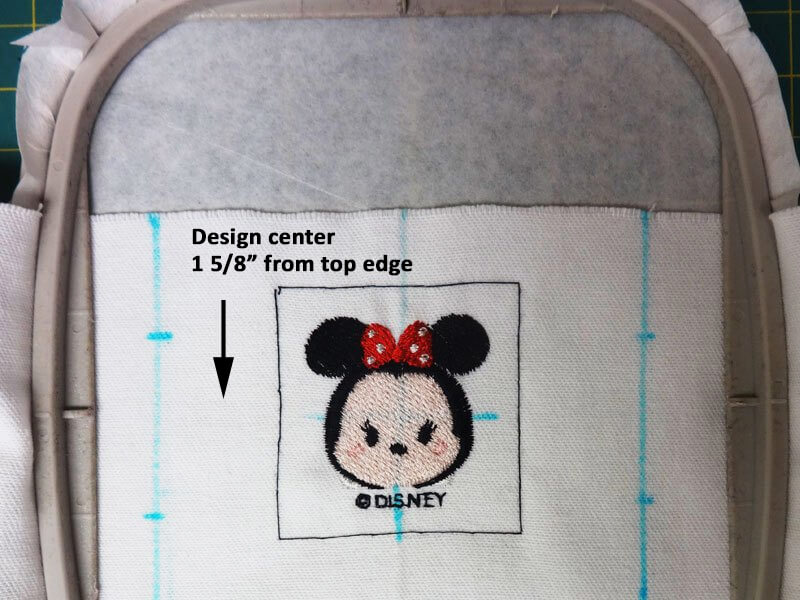
- Press center front fold and place mark on center crease 1 5/8” from neck edge for design, center tm07
, the smallest Minnie Mouse design.
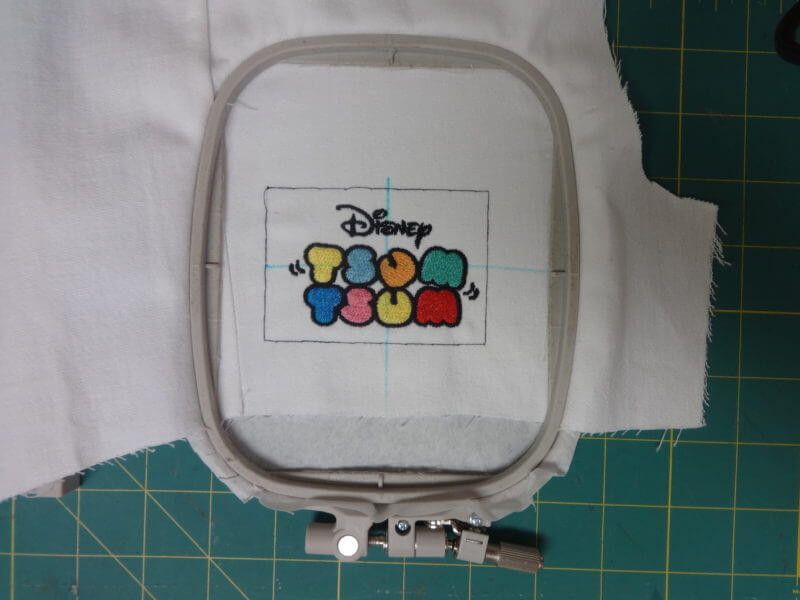
- Hoop tearaway stabilizer in 4” x 4” frame. Baste front in place to accommodate design.
- Center design tm07 on mark and embroider.
Playtop Construction:
- Continue with construction as per pattern instructions. Stitch pleat, make buttonhole, construct straps and hem front facing.
- OPTIONAL: Make and apply piping with Brother's piping foot.
- Stitch straps to front between dots.
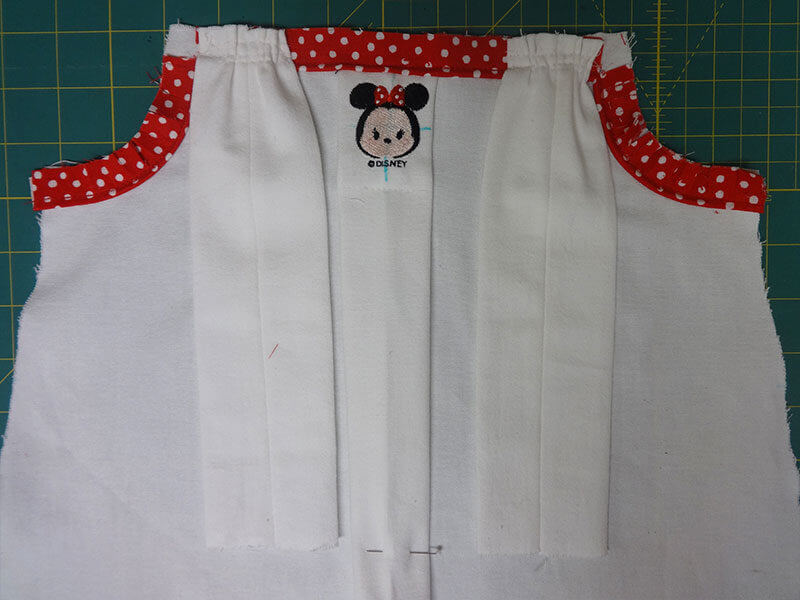
- Attach front facing around armholes and across top. Clip curves and grade seams.
- Follow instructions for constructing back. Make casing, insert elastic, seam back to front and attach straps to back.
- Seam front and back side seams. Serge, zig zag or use Brother's side cutter to clean finish the side seams. With the side cutter, you don't even need to change your thread!
- Hem (5/8” allowed) as directed.
View E shorts: Please disregard pattern directions
- Seam fronts to back at side seams. Clean finish seams and press toward shorts back.
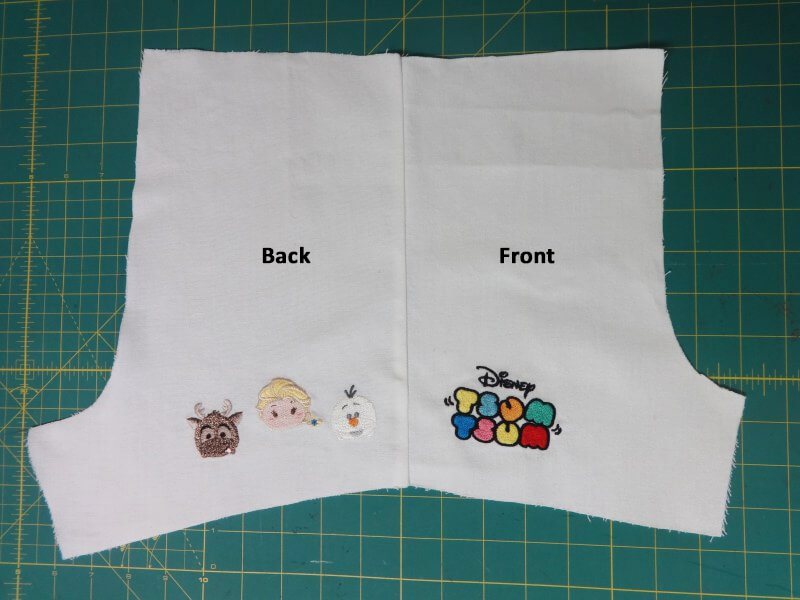
- Select Tsum Tsum text design tm01
. - Mark design center on right shorts front 2 ¼” from raw hem edge and 2 ¼” from side seam.v
- Hoop tearaway stabilizer. Position fabric on stabilizer and secure with basting frame or built in frame design.
- Embroider Tsum Tsum text design.
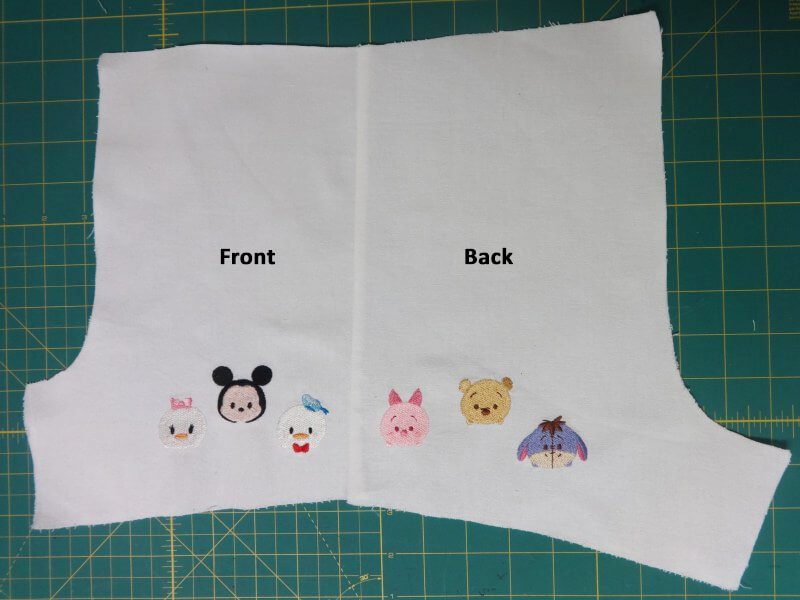
- Embroider Tsum Tsum character designs around hem edge of shorts, keeping in mind the 5/8” hem allowance. I used: Sven – tm27
, Elsa 2 – tm22
, Olaf 2 - tm26
on right leg and Daisy Duck 2- tm11
, Mickey Mouse 3 – tm04
, Donald Duck 2 – tm09
, Piglet - tm18
, Pooh – tm17
, Eeyore – tm20
on the left.
- Hem as directed with 5/8” seam allowance. With heavier fabric like denim, trim away ¼”, clean finish by serging or zig zagging raw edge.
- Cut ruffle from red fabric and clean finish both edges in chosen manner --shirttail hem, zig zag or serged—so as to finish with 1 ¼” ruffle width.
- Run gathering thread ¼” from top edge of ruffle. Draw up to fit leg, distributing gathers evenly.
- Mark fold line for waistline casing 1 ½” from top raw edge. Pin ruffle to shorts leg with gathering thread directly on top of hem stitches. Stitch over gathering thread to join ruffle to leg.
- Stack legs right sides together. Pin and stitch both front and back seam. Do not stitch short ends together. Clean finish with serging or zig zag stitch.
- Bring short crotch pieces together. Pin seam allowances in opposite directions to reduce bulk.

- Stitch crotch and clean finish the seam edge.
- Clean finish waist line with zig zag or serge. If this raw edge is folded under ¼” and stitch in place as directed in pattern, the 1/8” header must be eliminated to insure enough casing width for the 1” elastic.
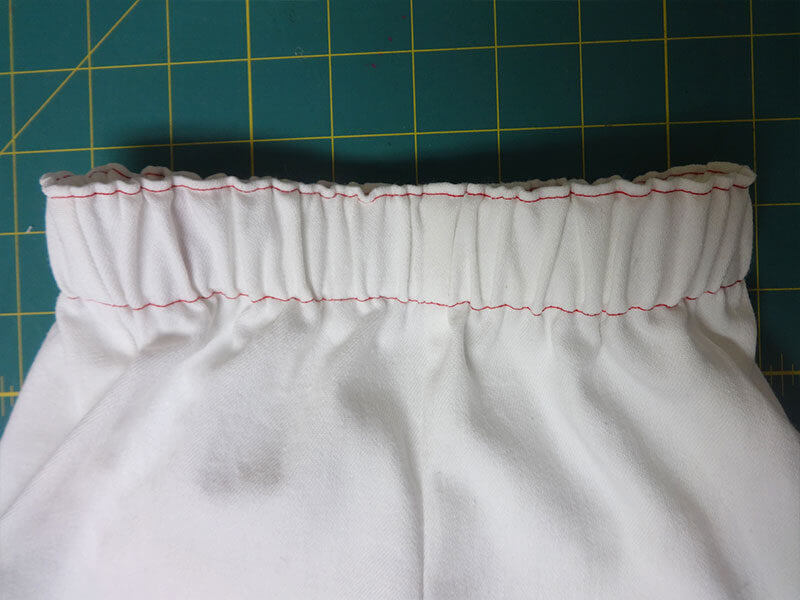
- Stitch scant 1/8” from folded edge to create tiny header.
- Finish casing and insert elastic as directed in pattern.
Editors Note: If you aren't familiar with Janice, you may not know that she doesn't do anything half way. For the rest of the story about this outfit and the definition of what Tsum Tsum means (thanks Janice for doing the research, it is important info for Nanas and others alike), pop over to Janice Ferguson Sews
to read all about it!
to read all about it!
Related Projects
Stay Connected
* Required fields