Quilt As You Go! Create a Decorative Table Runner
You’ll be amazed at how fast you can finish this table runner! The secret is in the serger style “quilt as you go” method of construction. Begin with an embroidered center block and two embroidered end pieces. Add accent strips in between and serge the pieces together and you have yourself a reversible table runner. This project is ideal for monochrome embroidery and a quilting design built-in to the Brother Persona embroidery machine is at the center of it all. Make this in a few hours and enjoy it as a great table decoration for a long time to come.
Brother Sewing Machines and Materials:
- Brother Persona PRS-100 Embroidery Machine
- Brother Sewing Machine
- Brother Serger 1034D
- SA5820 Medium Weight Tear-Away Stabilizer
- Brother Embroidery Thread and Brother Bobbin Thread
Supplies:
- Basic sewing notions including thread to match fabrics for sewing, a curved fashion ruler, and a rotary cutter and ruler for cutting.
- Four spools of serger thread to blend with fabrics
- Coordinating Fabrics and batting for table runner:
- Fabric for oversized center square: two pieces measuring 16-inches square, one piece for front and one piece for back. (Choose light color fabric for center square).
- One 16-inch square piece of thin cotton batting
- Fabric for oversized embroidered end strips: two matching pieces for front and two matching pieces for back, each measuring 16-inches wide X 13-inches long. (Choose dark color for embroidered strips).
- Two 16-inches wide X 13-inches long pieces of thin cotton batting
- Fabric for accent strips: four pieces of light fabric measuring 4 ½-inches wide X 15-inches long, two for front and two for back Four pieces of dark fabric measuring 4 ½-inches wide X 15-inches long, two for front and two for back.
- Four 4 ½-inches wide X 15-inches long pieces of thin cotton batting
- Coordinating fabric to make custom bias binding, or pre-purchased bias binding for finishing edges. Note: you will need approximately 120 inches of binding to finish this size table runner.

Click here to download the
October 2017_Golden Motif.pes
Note: The featured machine for this project is the Brother Persona PRS-100, along with an 8-inch hoop. As an alternative you could stitch your own version of a center quilt block and combine three designs to in separate hooping to form the triple design motif.
Steps to Create Table Runner
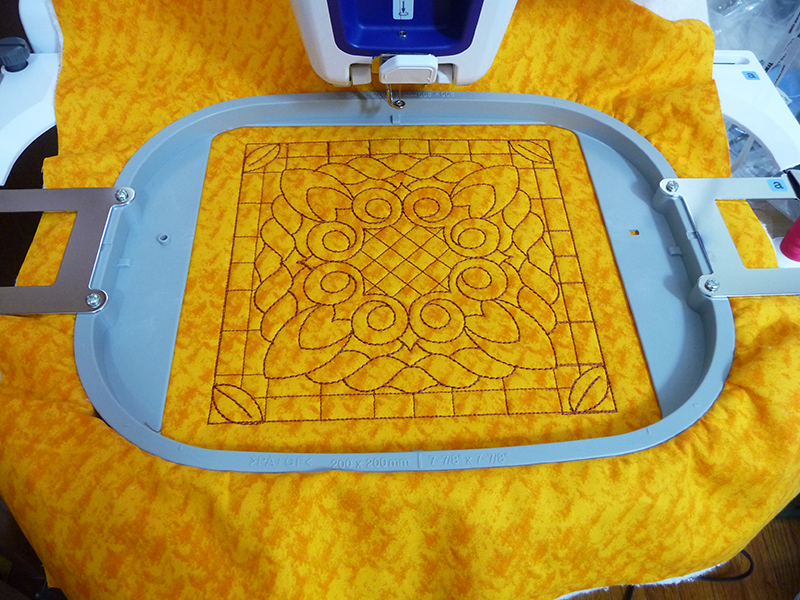
- Layer the two light 16-inch squares with batting sandwiched in the center. Hoop the square having it centered in the 8-inch hoop. Right side should face outward on both pieces.
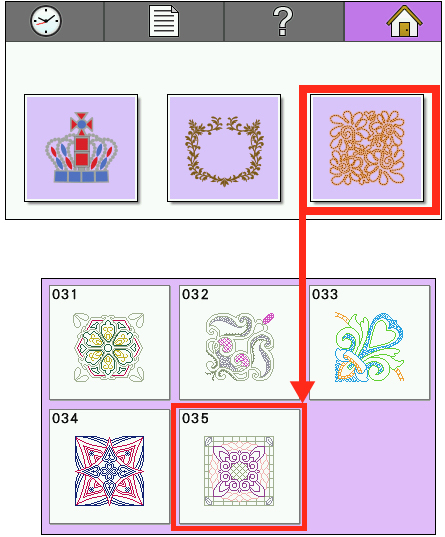
- Select one contrasting thread color for your quilt design. Wind a bobbin to match top thread. Select quilt design 035 from built-in menu.
Tip: To embroider the quilt design with a neat finish on both front and back you will want to pull the bobbin thread to the top side at the beginning, and each time machine stops for a color change. Here are the steps:
- Turn off the jump stitch trim.

- At the start of the design advance to the first stitch.

- At the beginning and at each color change, use the needle position button to send the needle down and then up. Tug on the needle thread to pull the bobbin thread to the surface.

- Hold tails, start the machine and take a few stitches, then stop, clip thread tails, and resume stitching.
- Embroider design No.035 in center of square.
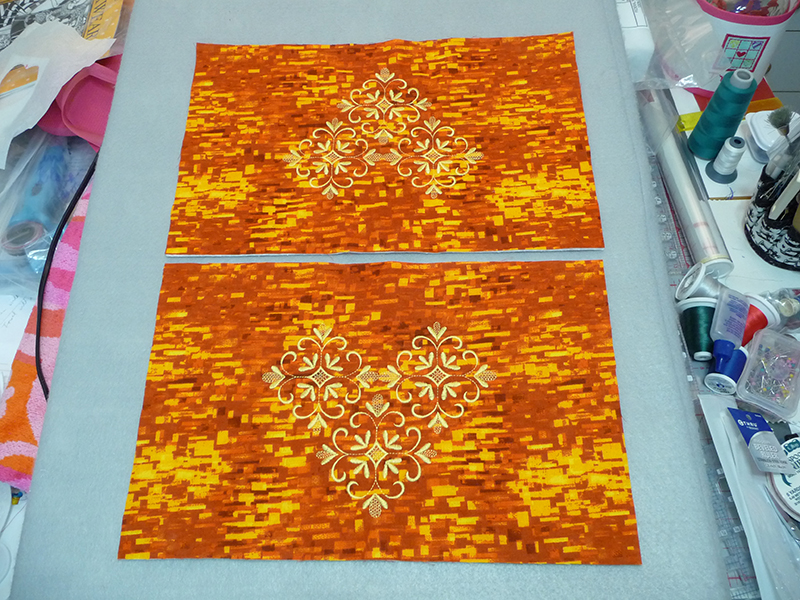
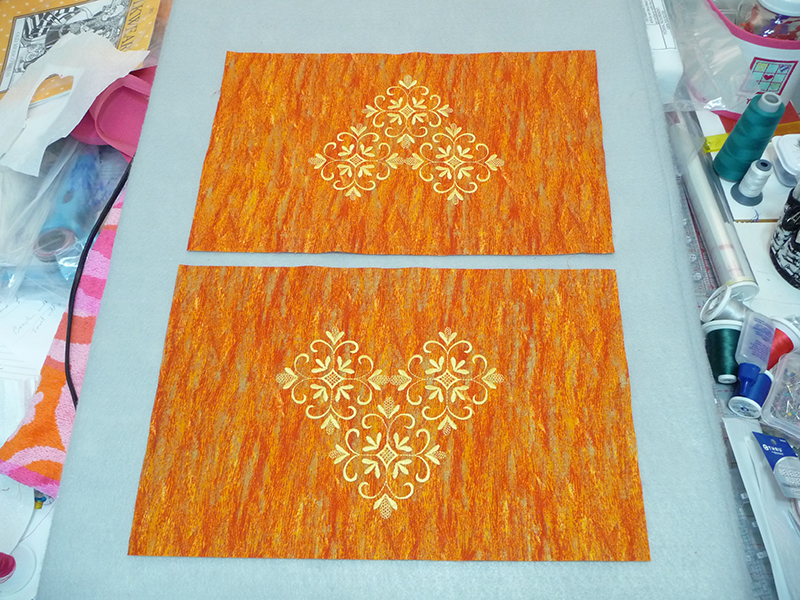
- Prepare to embroider each of the dark end strips measuring 16-inches wide X 13-inches long. Separate the matching sets of fabric pieces into two piles, one set to embroider with batting and one set to embroider with tear away stabilizer. Begin by hooping one piece layered with batting on the wrong side, with the width of the fabric placed horizontally in the hoop. Create a combination design using the featured design and a layout that forms a modified point.
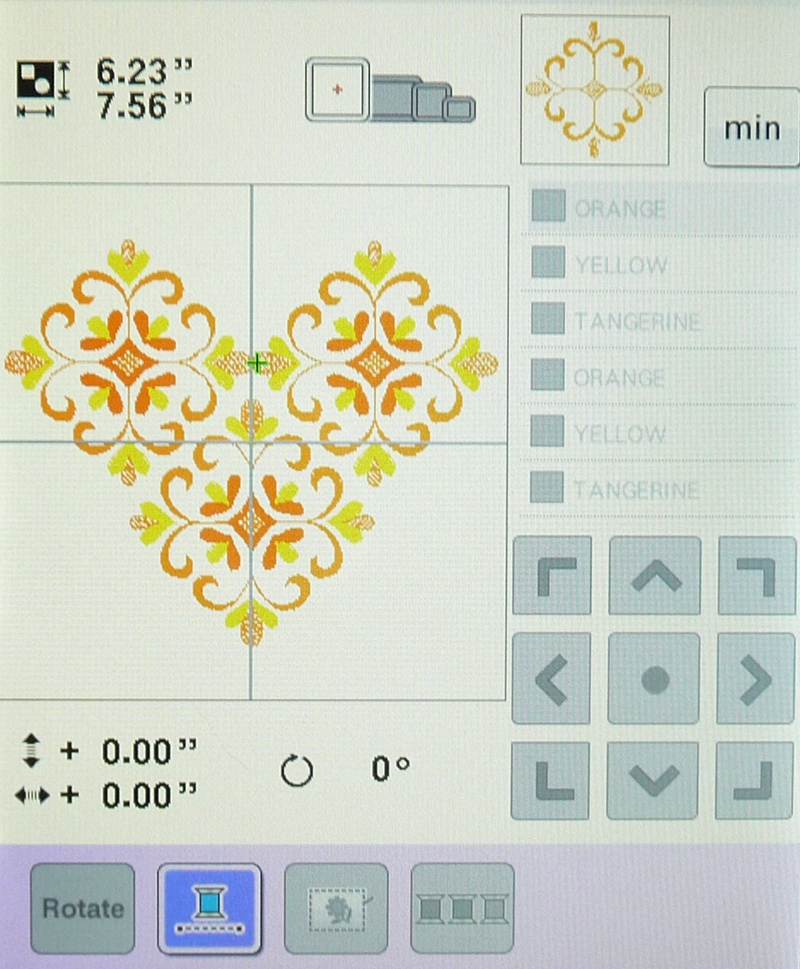
- Select the Uninterrupted Embroidery Key to embroider a monochrome design on each of the two dark end pieces layered with batting. In the same manner, embroider the identical design on the second set of dark pieces, using tear away stabilizer in place of batting. Remove excess tear away when finished.
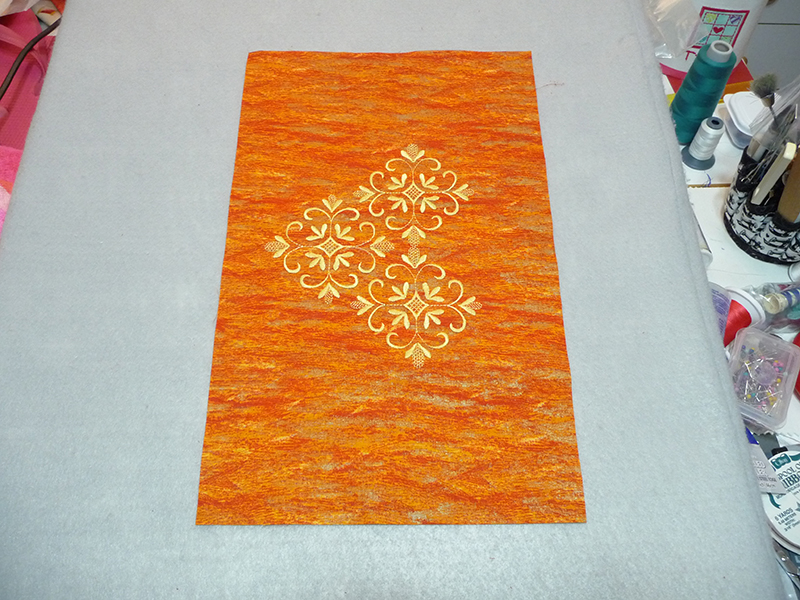
- Press embroidered end pieces and then trim each to equal 15-inches wide X 9-inches long, having the embroidery design in the center of the fabric.
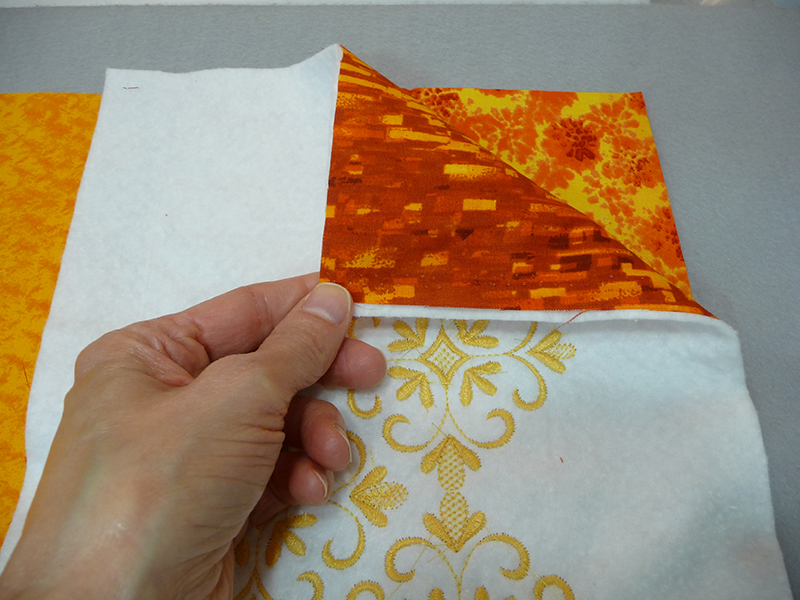
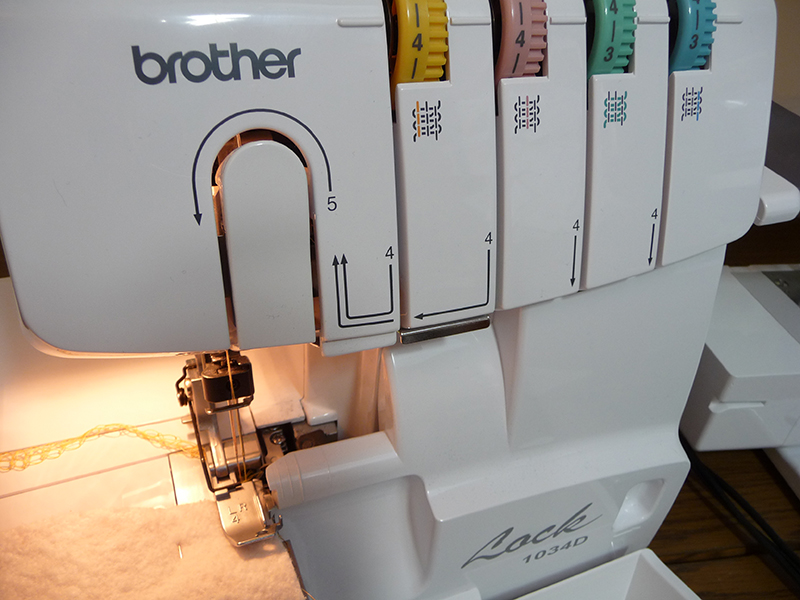
- Set up the serger for a four thread balanced stitch.
Tip: Set the stitch length to the longest possible. Adjust tension as necessary make sure to use size 14 needles in the machine. Last but not least, test your stitch on scraps before you serge the strips. You will have layers that consist of two layers of batting and four layers of fabric combined together.
- Prepare to serge the first set of layers together to construct table runner with the serger. See the following steps for the first set of layered and serged strips. Repeat all steps for the opposite side.
Step One
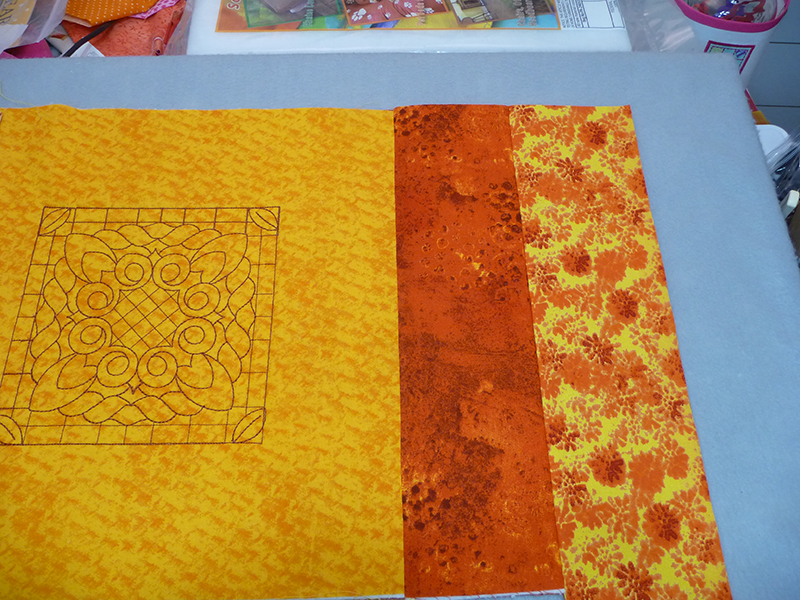
- Select one (dark) 4 ½” X 15” strip and place right side facing up. Place center block on top.
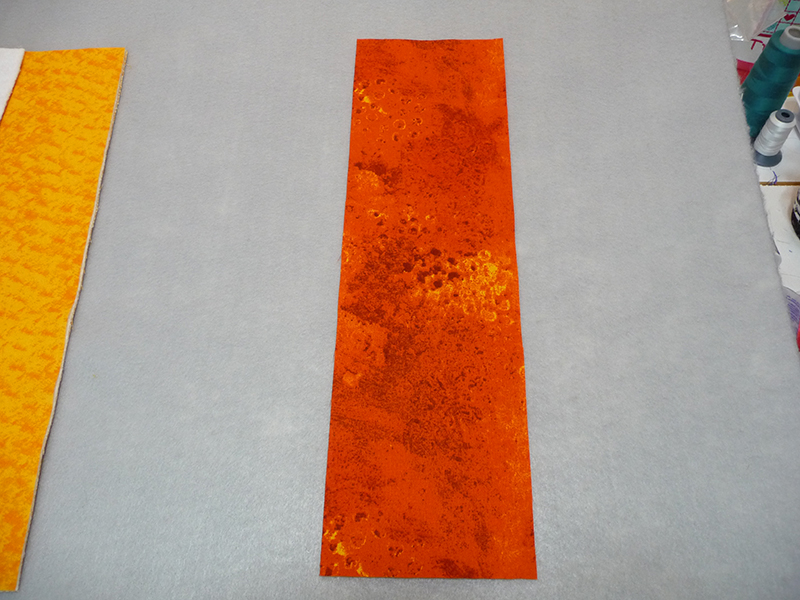
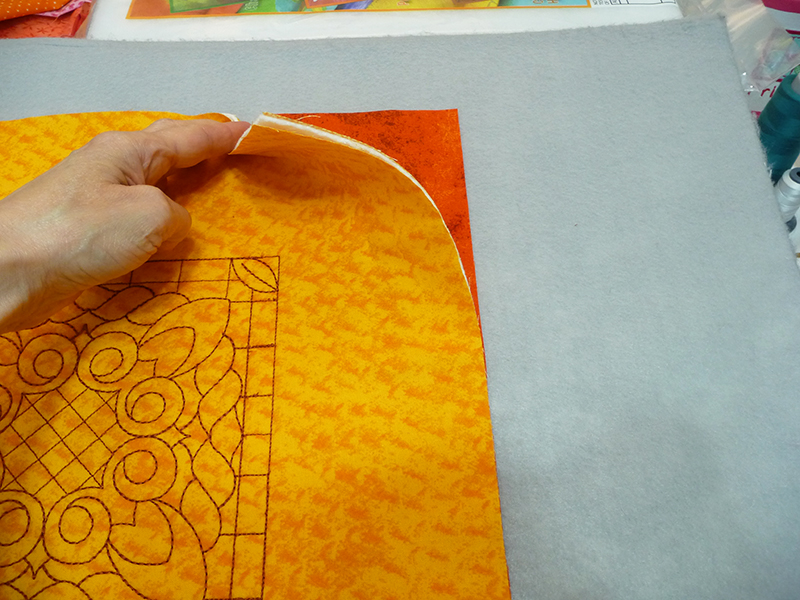
Step Two
- Select the second (dark) 4 ½” X 15” strip and place on top with right side facing down.
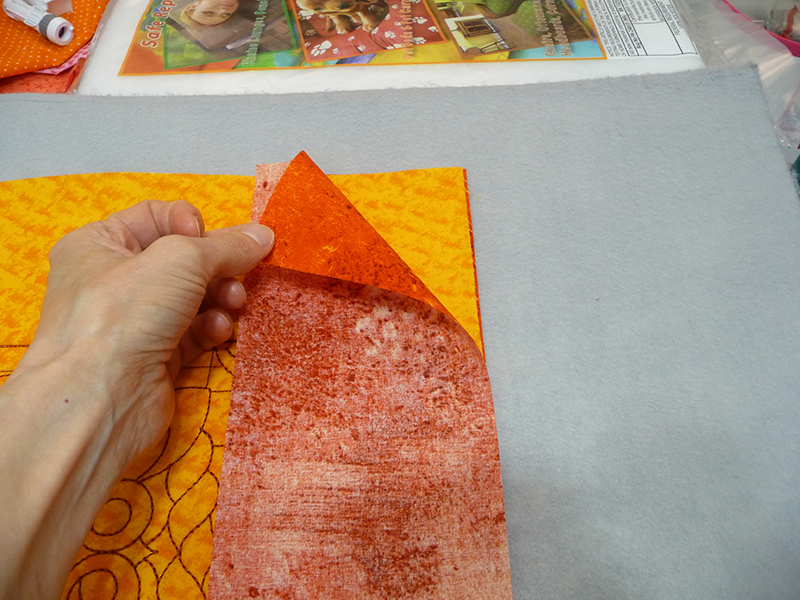
Step Three
- Finally, place 4 ½” X 15” strip of batting on top.
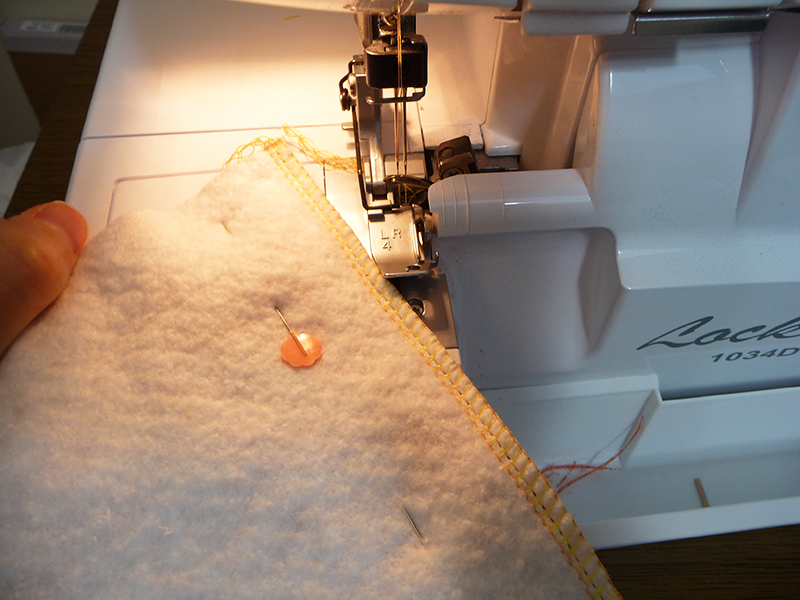
- Pin and serge layers together.
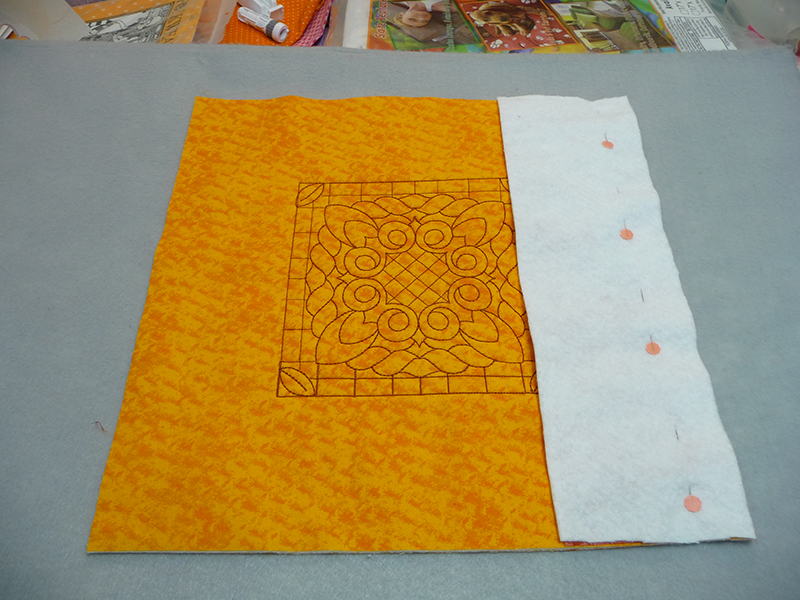
Step Four
- Open out strips, press, and trim as necessary.
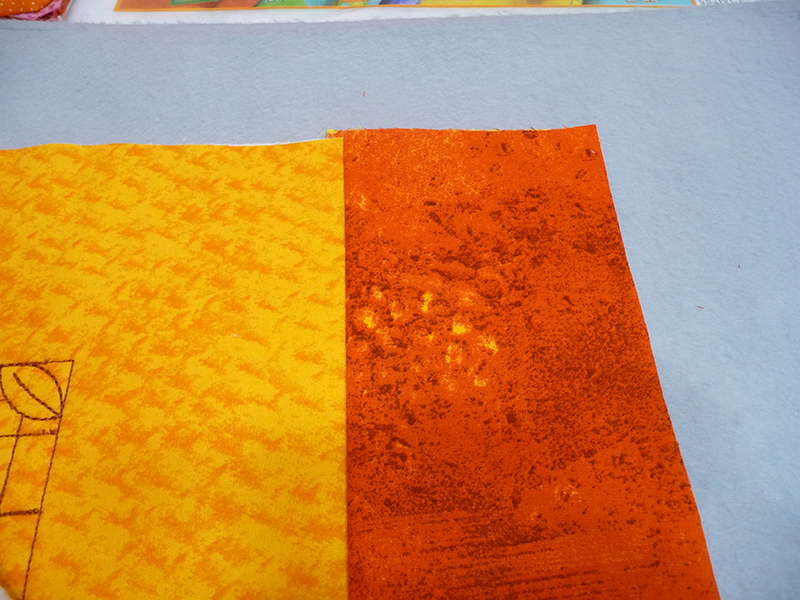
Important: Once you have stitched strips on each side of the center block, the basic order of stitching is the same as you work your way across the table runner. The first piece goes down right side up. The next piece will have a finished top and bottom with right sides facing out on each one. Next you’ll layer a strip that matches your first piece, and finally you’ll add a layer of batting. For the remainder of construction you will work from the center outward, repeating all steps on each side of the table runner so that the entire top and back are finished in the process. Open out each layer and press as you go, then use the rotary cutter and ruler to trim any excess fabric and batting so raw edges are perfectly even before you proceed with the next set of layered fabrics. Long edges of each strip must match with all raw edges even. Pin layers to secure, pinning a good distance from the edge to avoid contact with the serger blades.
- Prepare to layer and serge the light 4 ½” X 15” strips, following the same basic method you did before. Select the light strip and place it with the right side facing up. Next, layer the previously stitched piece on top. Add the matching light piece and then end with a layer of batting.
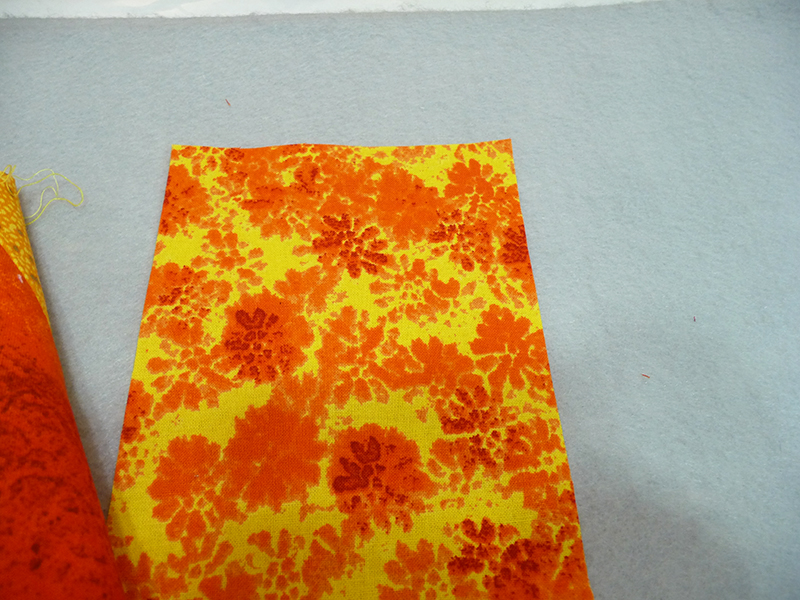
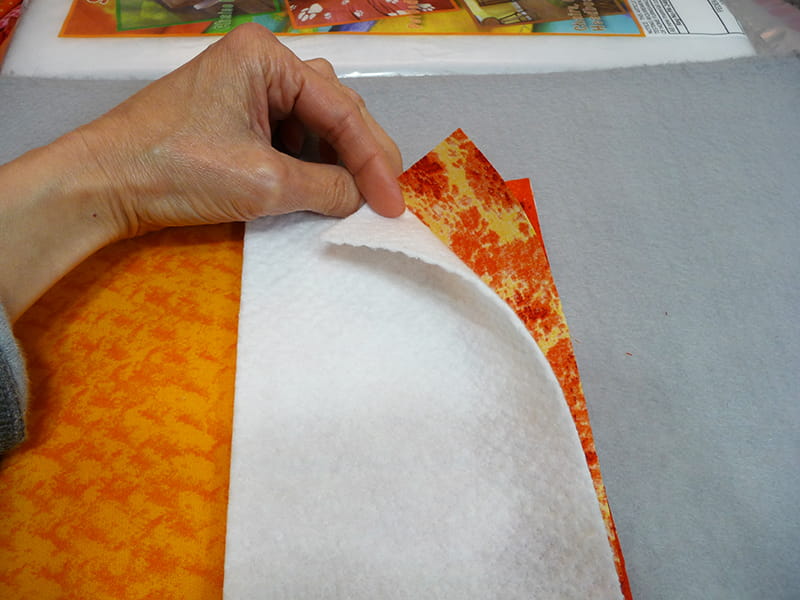
- Serge seam. Open out strips, press, and trim as necessary.
- Repeat for opposite side.
- Prepare to layer and serge the last set of strips, the embroidered end pieces. Select the piece embroidered with the tear away and place it face up. Next, layer the previously stitched piece on top. Finish with the end piece embroidered with batting, placing it right side facing down.
- Serge seam. Open out strips, press, and trim as necessary.
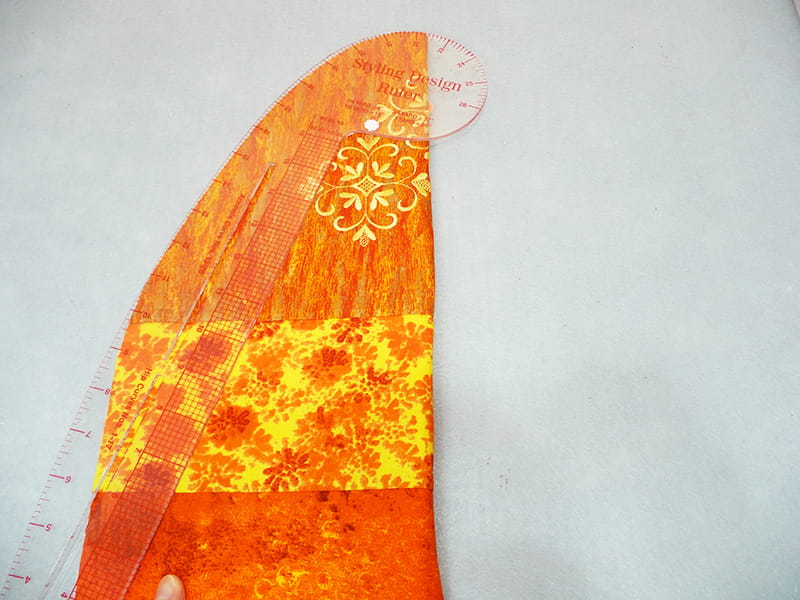
- This completes the piecing of your table runner. Use a curved ruler to taper the end pieces and form a modified point.
- To finish, bind the edges using your favorite method. Enjoy your new reversible table runner!

