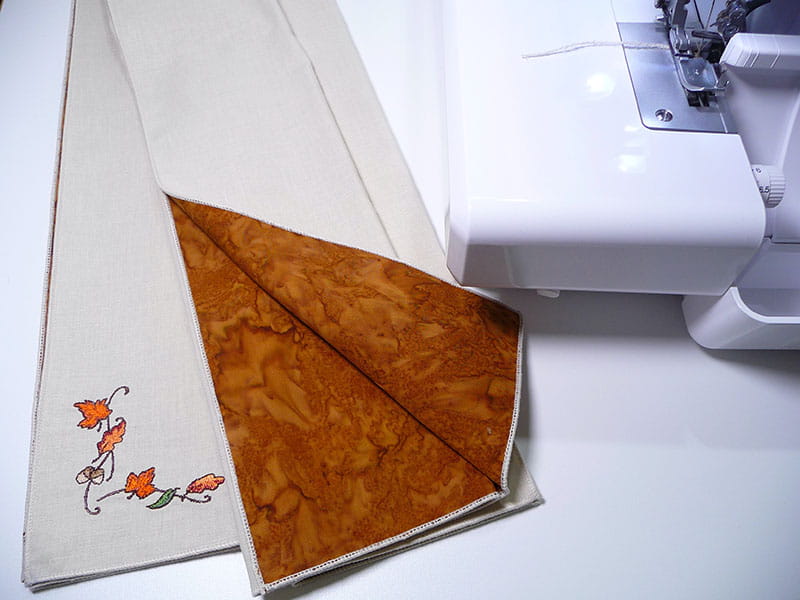
Free Design of the Month for October – Reversible Embroidered and Serge Finished Napkins for Fall
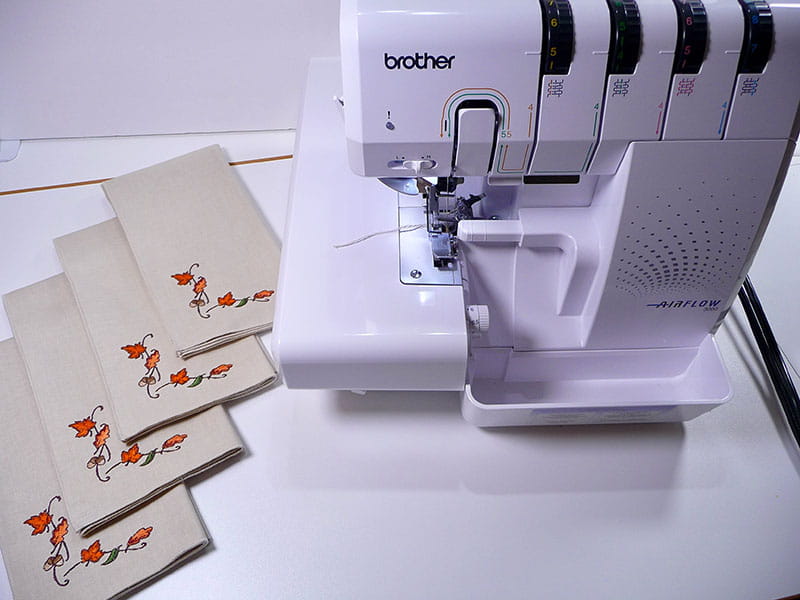
Fall foliage colors are so inspiring! Our Brother Free Design for this month will inspire you to bring these striking colors indoors to decorate your table with embroidered napkins. These reversible, two-sided napkins feature a rich color play, with a solid color as a base for the embroidery on one side and a complimentary print on the opposite side. Adding embroidery to the corner is an elegant accent sure to dress up your table for fall festivities. Finishing raw edges of napkins is a breeze when you use your Brother Serger set for a rolled hem. This project features the Brother Airflow 3000 model with must have features like fast air jet threading, an automatic needle threader, and customizable settings for perfecting the edge finish with the rolled hem. Are you ready? Let’s go sew!
Materials and Supplies for Embroidered Napkins:
- Brother sewing and embroidery machine with 4-inch hoop capability.
- Brother serger.
- SA5815 Brother medium-weight adhesive backed tear-away stabilizer for embroidering napkin corners.
- Long fine pins for securing layers together.
- Seam sealant and small tapestry needle for neatly and securely finishing serger threads.
- Three cones of serger thread to match, contrast, or blend with fabric.
Tip: Select a thread color to match the neutral fabric and it won’t compete with the colorful embroidery design. - Size 12-14 needle for serger.
- Brother Free Design of the Month FD_10_2023. See Figure #1 below.
- Fabrics for a standard dinner size napkin:
- Select two complimentary quilt quality cotton fabrics, choosing a neutral color for one side to showcase the embroidery design. Cut one 20-inch square of fabric #1 and fabric #2 for each napkin.
Note: 1 & ¼ yard of 44”/45” wide fabric will yield four napkins. Pre-wash, dry, and press fabric before cutting. You’ll find a rotary cutter, ruler, and mat ideal for cutting neat squares. Save strips of fabric for testing serger stitch.
Figure #1
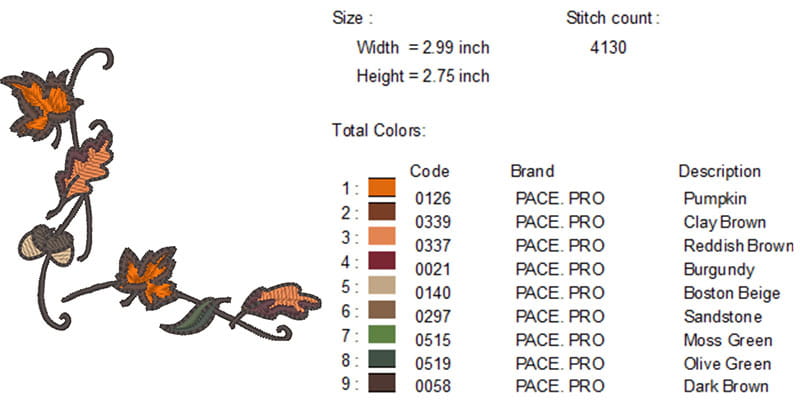
Note: Feel free to use my modified color palette shown here or use your own color combination.
Basic steps to create napkins:
- Prep fabric by laundering, then cut squares.
- Embroider one corner of neutral fabric piece.
- Layer fabric #1 and fabric #2 and finish with rolled hem.
All Steps to Create Embroidered Napkins:
- Transfer design to your machine. Gather fabric pieces and select thread for design. See Figure #2.
Figure #2

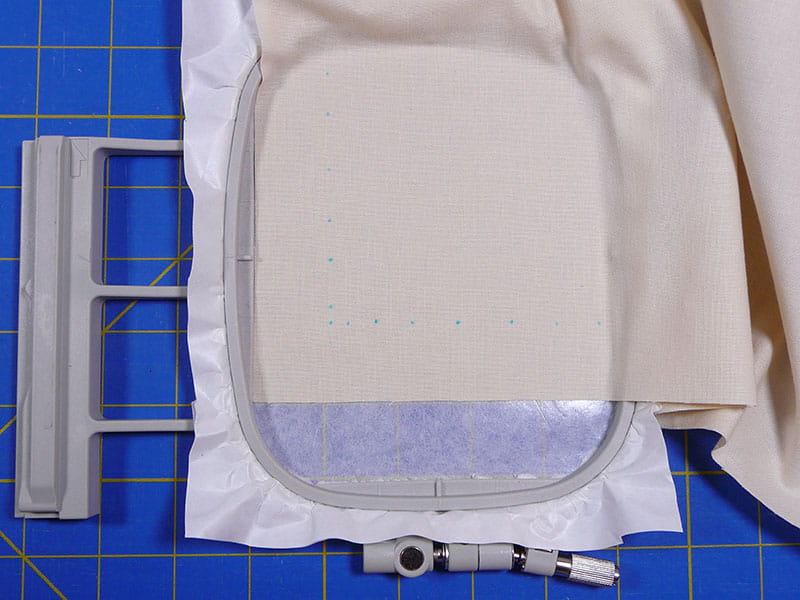
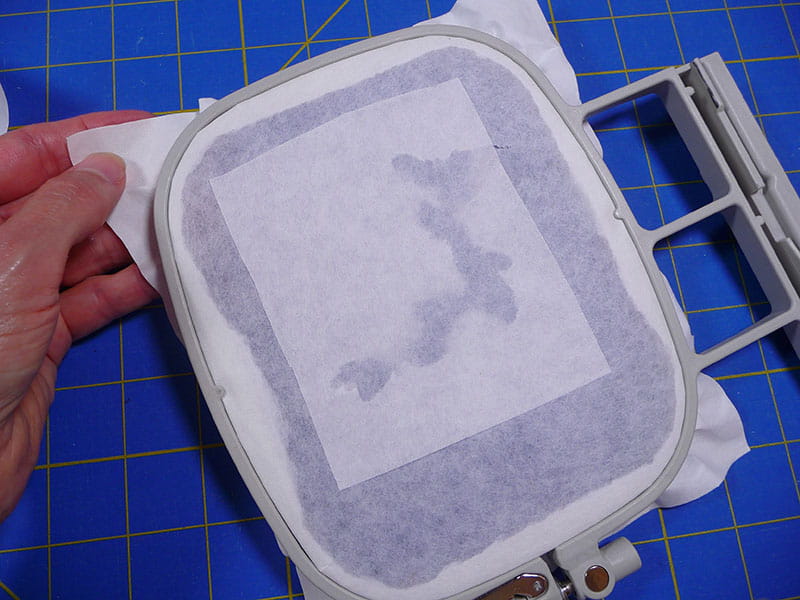
- Hoop adhesive backed stabilizer with shiny side up, then score paper with a pin and expose adhesive by tearing away protective paper. Mark corner of fabric 1-inch from the raw edge, then attach corner of fabric square with left edge along the edge of the inner hoop ring and lower edge 1-inch from the bottom. Tip: I placed my hoop on a gridded mat to help align fabric in the hoop. See Figure #3.
Figure #3
- Embroider corner design for each napkin piece, with left and bottom edge along the 1-inch marking. Tip: I used the Brother Luminaire projector in embroidery mode to precisely align my design, using the arrow keys on the screen to nudge the design along marked lines See Figure #4a and Figure #4b.
Figure #4a
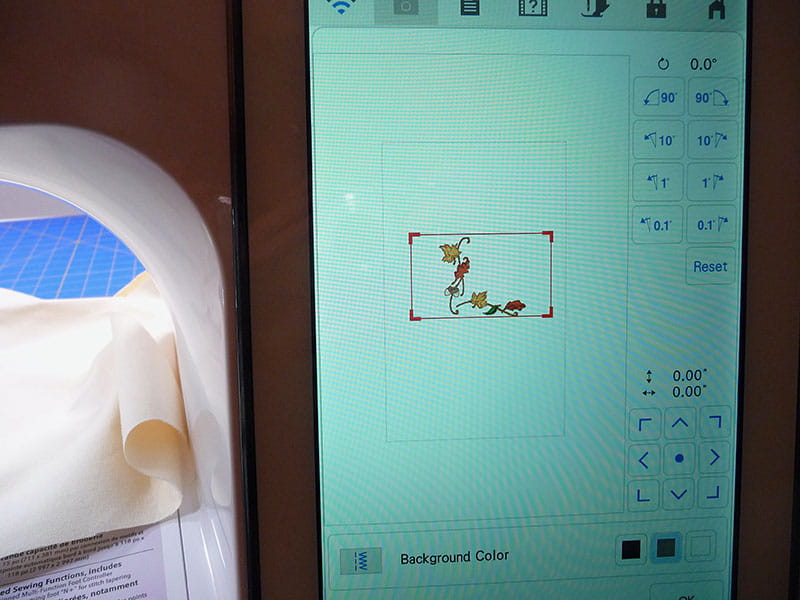
Figure #4b
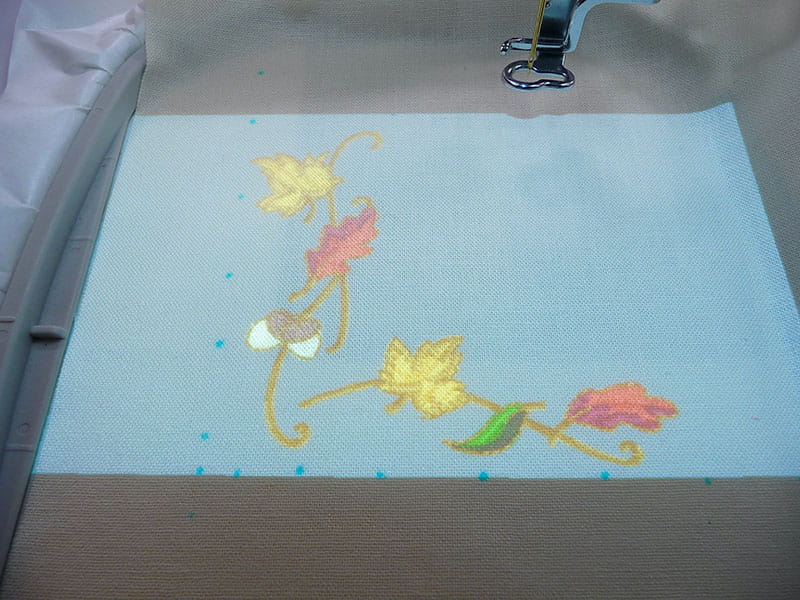
Note: Depending on your machine model, there are multiple ways to align a design. You could make use of the trial function key which is common to all Brother embroidery machines. This function will show the parameters for any design location. You can use the arrow keys to adjust the position before embroidering.
See finished embroidery in Figure #5a and Figure #5b.
Figure #5a
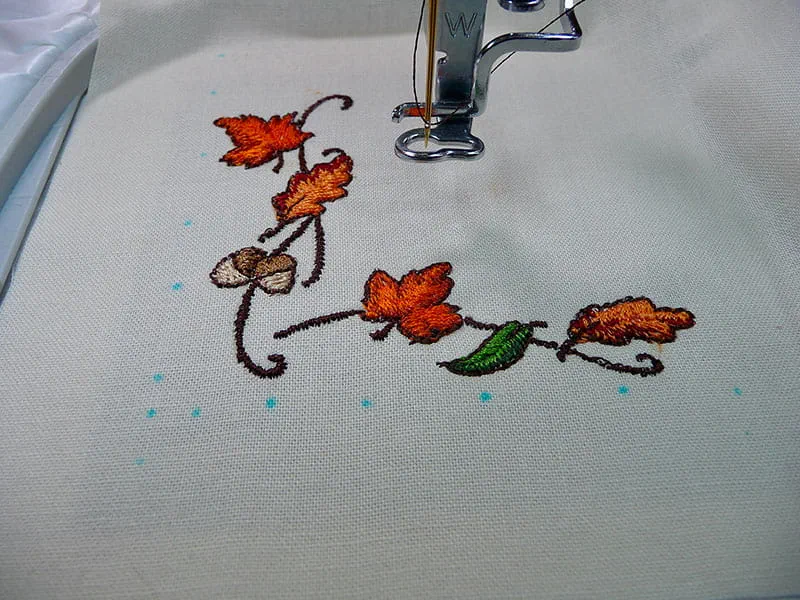
Figure #5b
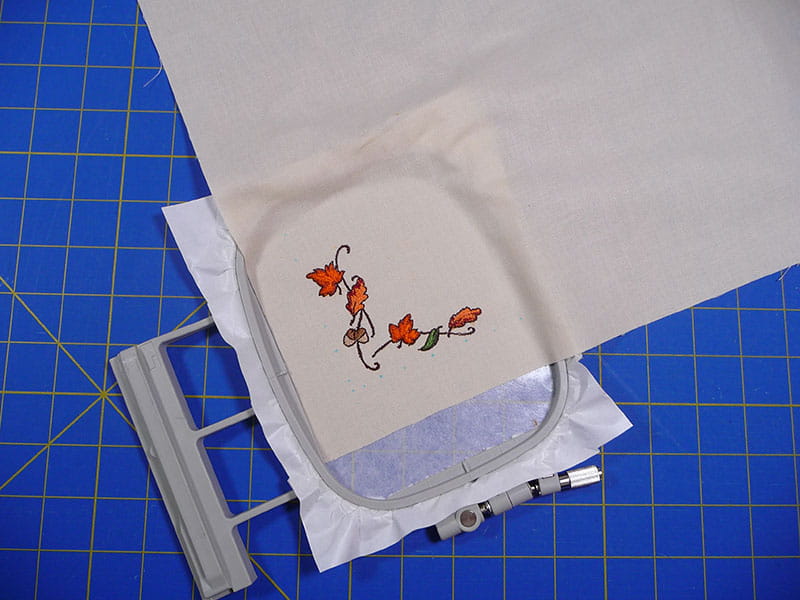
- Carefully remove fabric from stabilizer when embroidery is finished. Remove excess stabilizer from wrong side of each embroidered piece. Tip: Patch torn area of stabilizer and continue with additional pieces. You can continue to patch as long as the stabilizer remains tacky, and each new patch has a firm hold. See Figure #6.
Figure #6
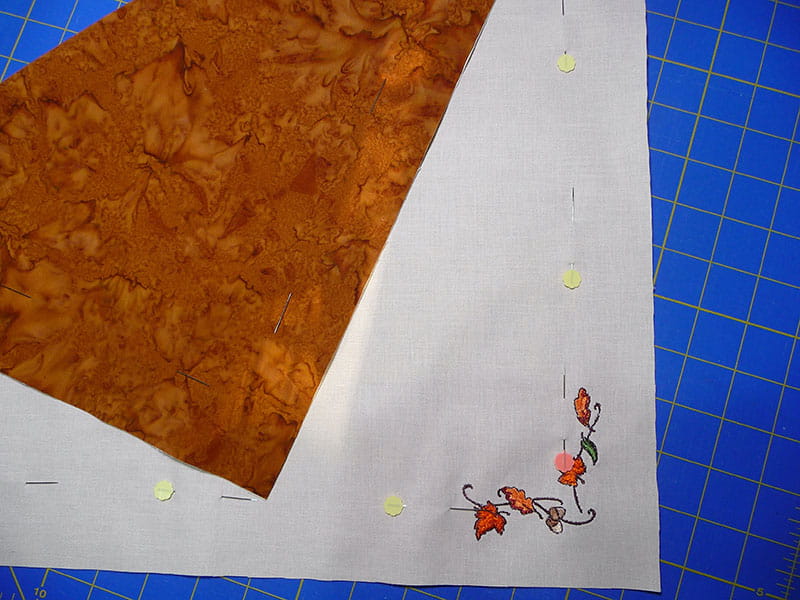
- Layer each embroidered napkin piece with second fabric square, having wrong sides together and all raw edges even. Trim if necessary so all edges match and are perfectly square. Pin layers together, pinning at least 1-inch away from raw edges to avoid having pins get in the way when you serge finish edges. See Figure #7.
Figure #7
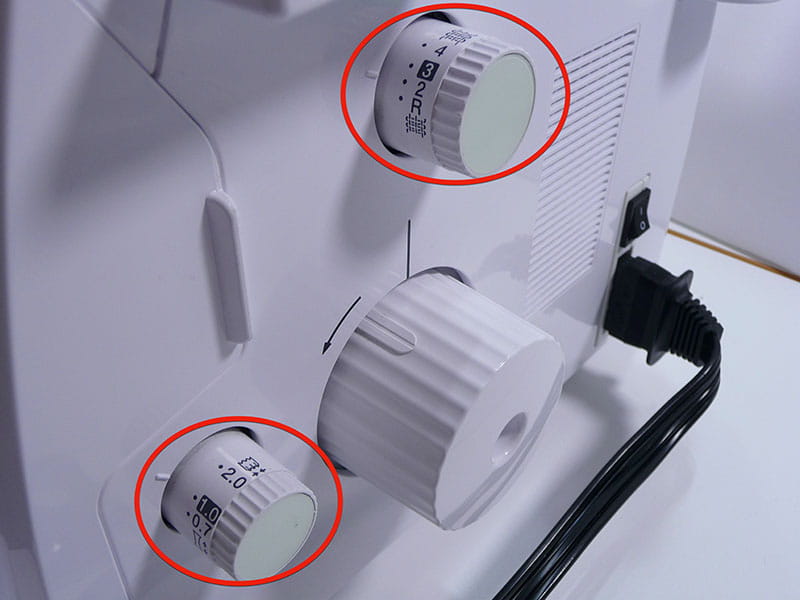
- Set up serger for rolled hem on a medium weight fabric using settings in your manual as a guide. See Figure #8a and Figure #8b for my tension settings, cutting width setting, stitch length and differential feed setting on the Brother Airflow 3000 serger.
Tip: Settings vary from machine to machine. Test your stitching on long fabric strips, adjusting as necessary until you achieve a nice, rolled hem.
Figure #8a
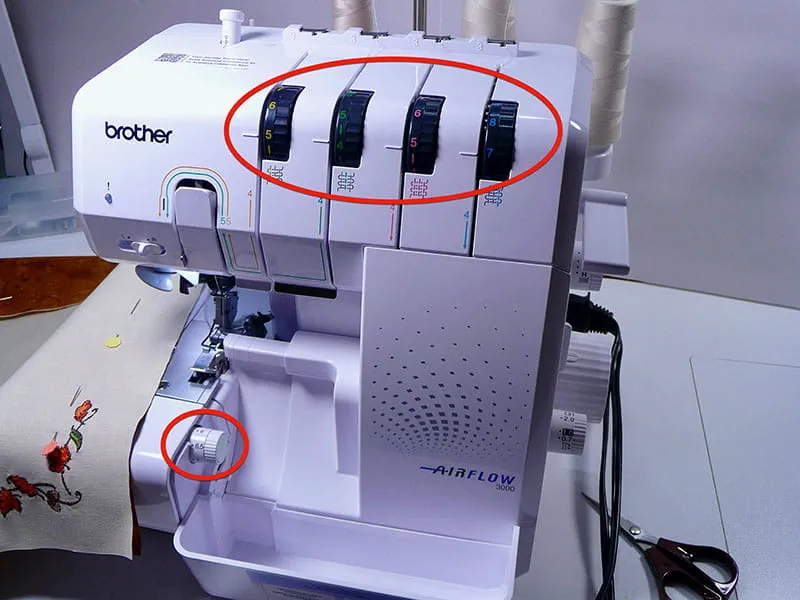
Figure #8b
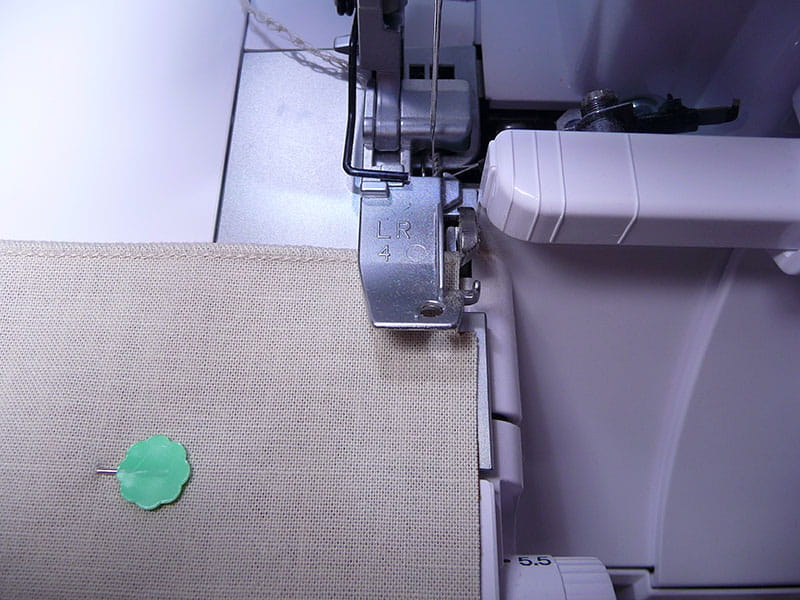
- Serge each edge, trimming slightly as you go. When you reach an edge with a tail of serger thread, clip the tail and then pre-trim 1/8-inch of fabric away from unstitched edge. Place fabric under foot and continue to serge. See Figure #9a and Figure #9b.
Figure #9a
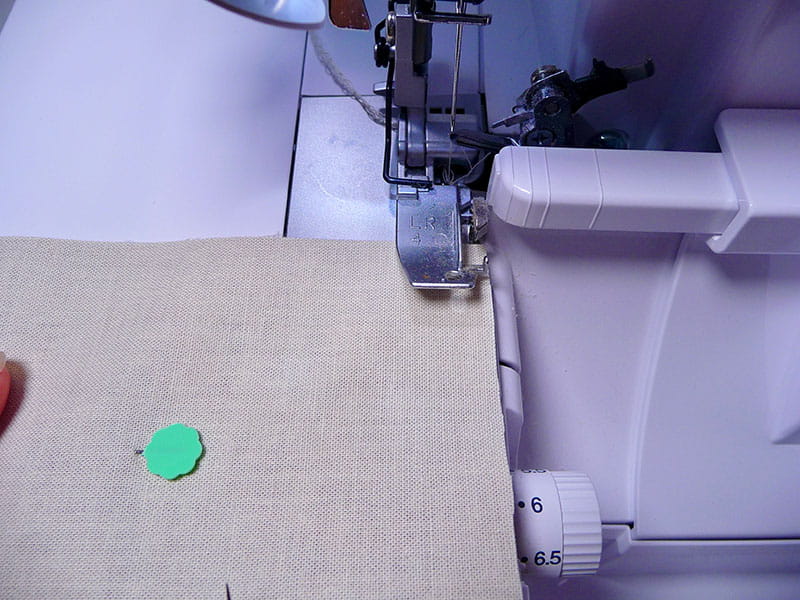
Figure #9b
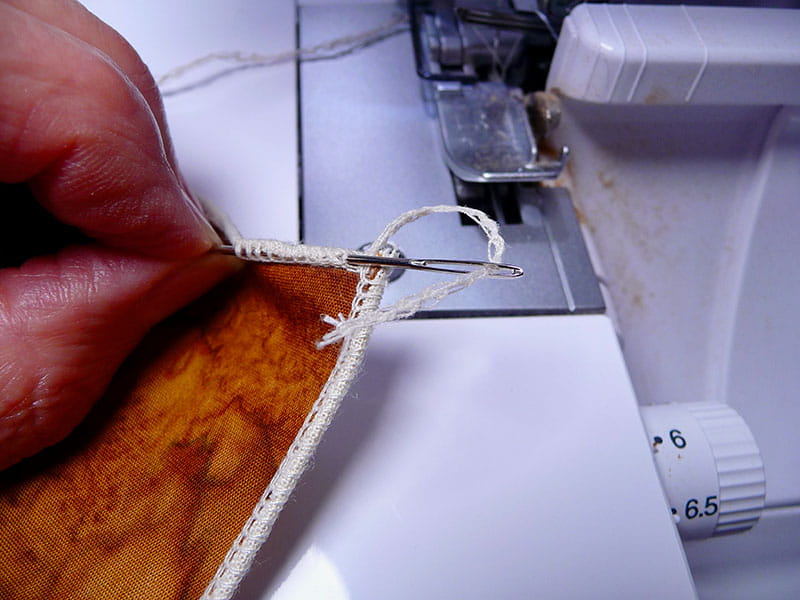
- For a neat and secure finish on each corner, I like to first treat the fabric with a small amount of seam sealant, blotting with a paper towel to absorb excess. Then, I use a tapestry needle to weave the thread tail under the stitches, trimming away the excess tail as a final step. Let dry and press. See Figure #10a and Figure #10b. Tip: Always test seam sealant on a scrap of fabric before using on a project.
Figure #10a
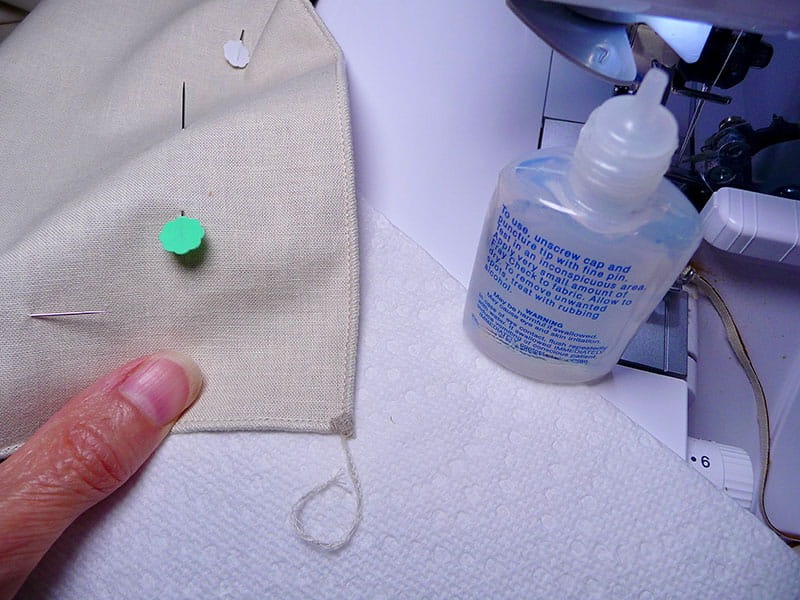
Figure #10b
Your napkins are finished! Take a look at the beautiful, rolled hem edging on these reversible napkins in Figure #11!
Figure #11
