Serger Trimmed Ribbons
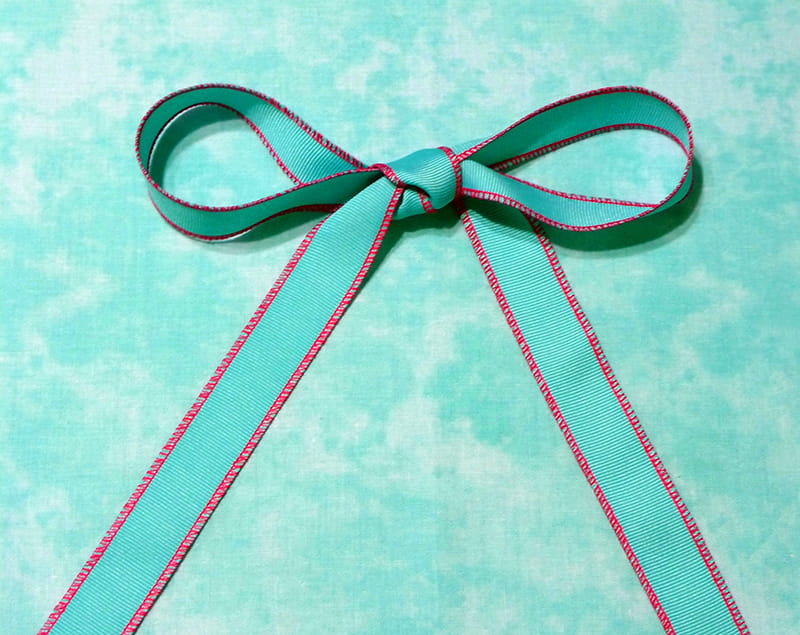
Decorating grosgrain ribbon is easy and fun! For a simple two-tone ribbon, use your serger to add a unique edge finish. Spice up the ribbon even more by using your sewing machine to add decorative motifs down the center. The end result is custom trim that is economical, and color matched to whatever project you wish to add it to! The reversable look of the rolled hem means this ribbon looks good on both the right and wrong sides. Tie it into a bow or apply it as a flat trim. You can use it to accent any garment or craft project you like!
Materials and Supplies:
- Brother Serger
with rolled hem capability. - Three cones of serger thread to compliment ribbon.
- Grosgrain ribbon in desired width. Note: Cut a length of ribbon measuring twice the amount needed for your finished project so you have enough to test your rolled hem stitching and your decorative stitching.
- Light starch for pressing ribbon.
- Seam sealant to treat ribbon ends.
Additional supplies for ribbon with decorative stitching:
- Brother Sewing Machine
with decorative stitch capability. - Brother SA145
(7mm) or Brother SA144
(5mm) Clear View Foot for decorative stitching. Note: SA145 is for machines with a 7mm throat plate opening, SA144 is for machines with a 5mm opening. - Embroidery Thread to match your serger thread.
- Size 11 embroidery needle.
- Strips of stabilizer - Use Brother SA5810 tear away stabilizer
if you don’t need reversible ribbon. Use Brother SA540 water soluble mesh stabilizer
for reversible ribbon.
Creating Serger Stitched Ribbons
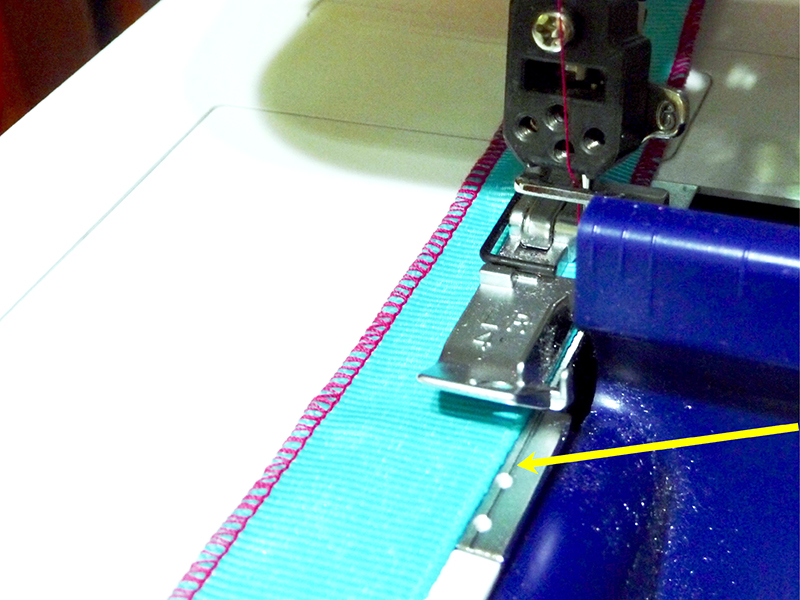
- Set up Serger for a three-thread rolled hem, disengaging the cutting blade to prevent cutting ribbon. For this type of project it is best to set the stitch length a little longer than standard for a rolled hem. I used a length setting of 2.0. Note: You are not actually rolling the edge. You are simply using the rolled hem stitch to accent the edge of the ribbon. When stitching, be sure to guide the ribbon evenly so that the rolled hem stitch forms right along the finished edge. I got good results by guiding the edge of the ribbon just to the left of a prominent line on the throat plate. See Figure #1.
 Figure #1[/caption]
- Press ribbon with starch to smooth it out.
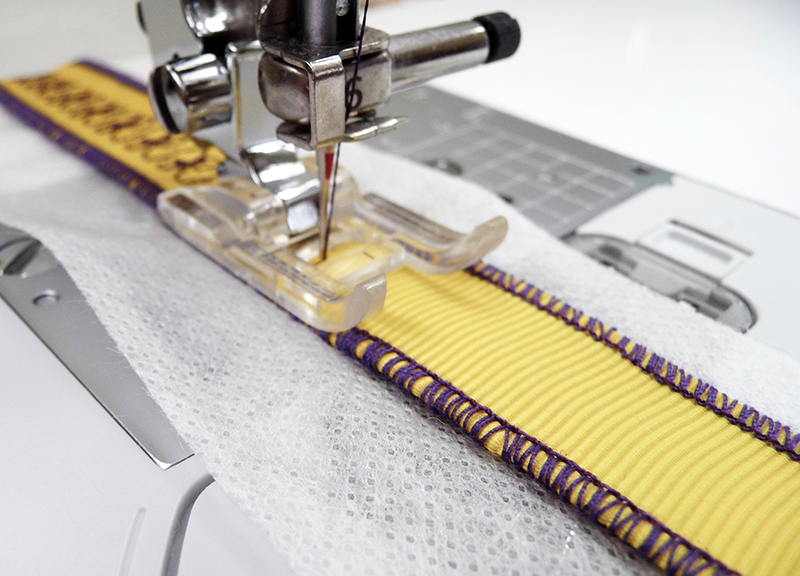
- Prepare for optional decorative stitching as follows:
- When satisfied with test samples, stitch down the center of the ribbon. See Figure #2.
 Figure #2[/caption]
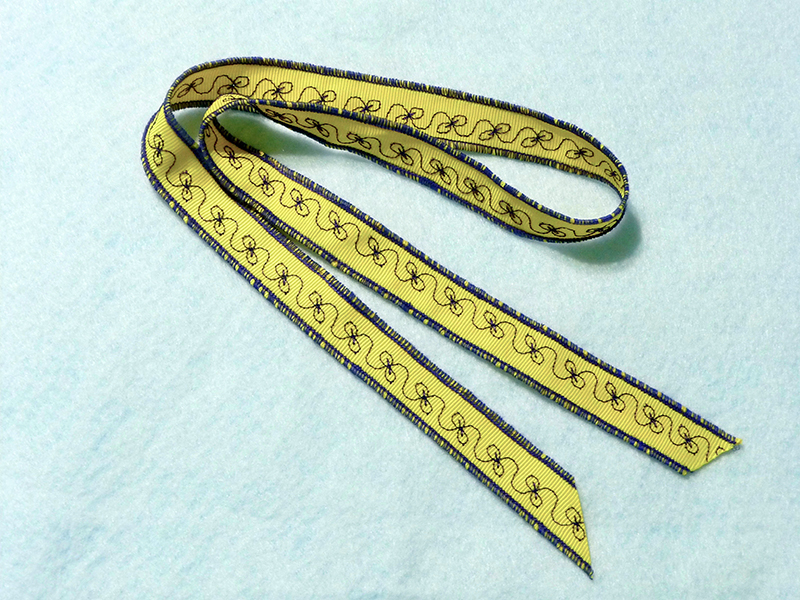
- Remove stabilizer and press one final time with light starch. Trim to desired length, cutting ends at an angle. Treat ends with a light application of seam sealant. See Figure #3.
 Figure #3[/caption]
Options and Ideas:
 Use this decorative ribbon to tie around a vase, trim a pillowcase, accent garments, decorate ready-made placemats, trim baskets and flowerpots, embellish gift packages, turn into hair ribbons, and more! Consider making trims using school colors for unique gifts for students.

