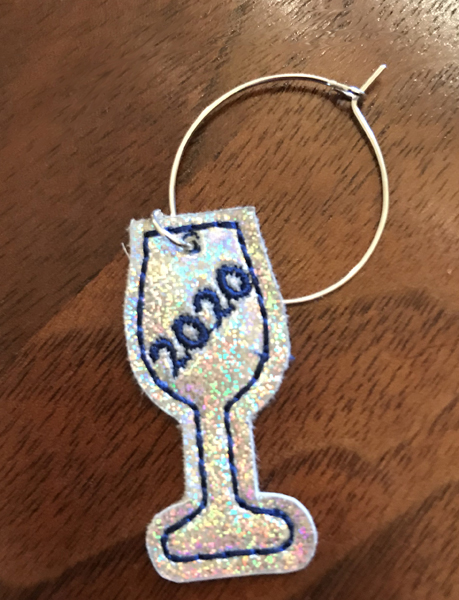
Ultimate New Year's Eve Sew A Long: Charming Wine Charms
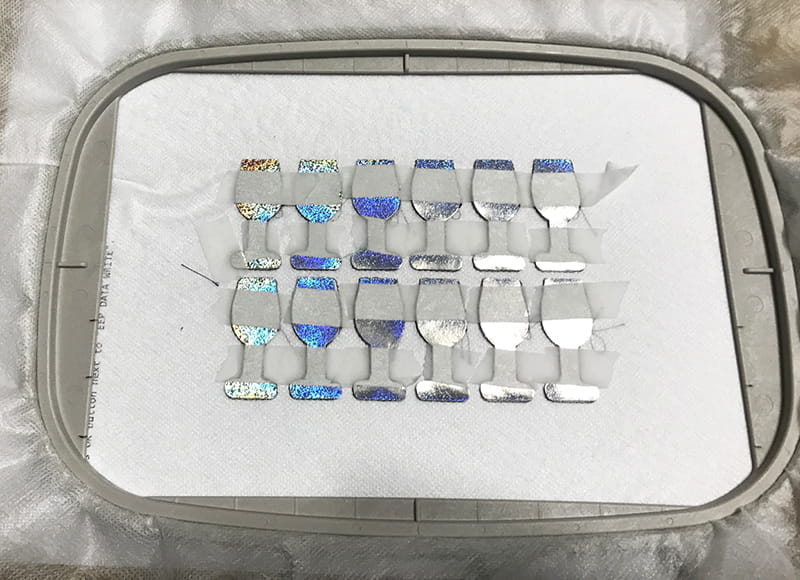
 Wine Charms also make a great hostess gift or great decorations for your own New Year’s Eve party. These go together quickly so they can be created last minute as well. You do need to have the supplies on hand (the charm hardware), but they can be made of fabric or vinyl. I found some fun vinyl at my local craft store. It was thinner than marine vinyl and was perfect for this project. I initially created these by precutting all the pieces with my ScanNCut machine and then taping them to the stabilizer. I had all the pictures I needed to show, and the instructions written (without pictures inserted) for that process when it occurred to me to cut the charms out AFTER I embroidered them with the fronts and backs already embroidered together. This worked out great! The ScanNCut SDX225
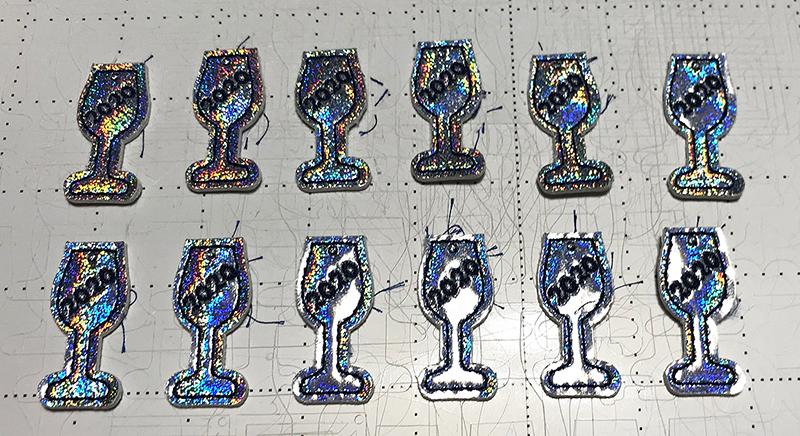
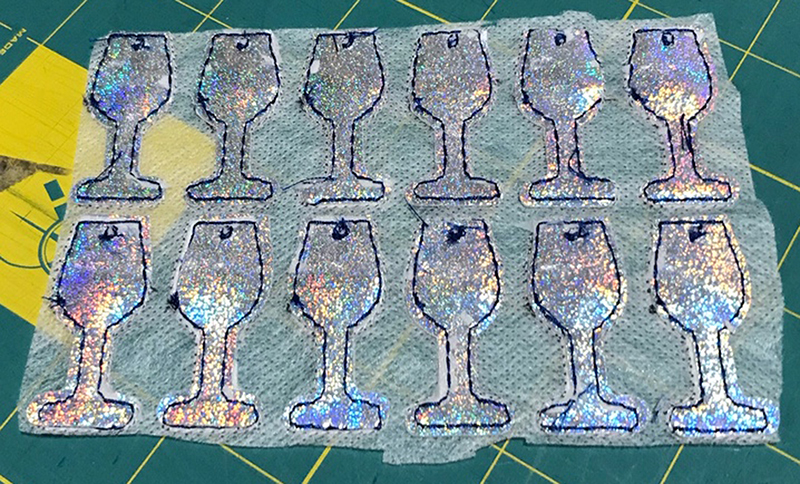
cut the vinyl beautifully and automatically detected that it needed to cut the vinyl twice to cut through the layers (2 layers of Vinyl and one layer of stabilizer). The best part is that the charms look much better this way. The backs match up with the fronts. Of course, the ones I sent in for photography were before I had this bright idea. (LOL)
Material needed
- BES 4 with PP1 and PP2
- Brother
Embroidery machine - 5x7 hoop (you can use a larger or smaller hoop if you want to make a different number or charms)
- Rotary cutter
- Cutting mat
- 60 weight Embroidery thread to coordinate with the project
- Size 75/11 needle
- Matching bobbin thread
- Water-soluble stabilizer (SA 541)
- Medical paper tape or Washi tape
- Two (2) 5.5 x 8-inch pieces Vinyl (Mine is a Silver holographic)
- ScanNCut SDX225
(the instructions are written for the SDX225) or SDX230 machine (Another ScanNCut machine may be used, but you will need to manually set the blade depth of the Deep Cut blade and may need to cut twice.) - Standard tack mat
- Black Auto Blade
- Wine glass charm rings (This can be found online, or you may find the at a craft store in the jewelry making section).You can substitute ribbon if you don’t want to purchase the rings).
- Jewelry jump rings (This can be found online or at a craft store in the jewelry making section).
 I began this project by saving the wine glass from the ScanNCut to a USB flash drive. This is in the "Things Around the House" category.
• To Save the pattern from the ScanNCut machine, at the ScanNCut machine, touch Patterns.
• Touch the Second menu and then touch the Things Around the House Category.
• Navigate to page 2, Select the wine glass (AR-E020). Touch OK. Touch OK again. Touch Set. Insert a USB flash drive into the machine. Touch Save. Touch USB.
Once I had the glass, I inserted the USB drive into my computer so I could work with it in my BES 4 software program. See the video for how to create the wine charm in the BES 4 Software program.
[youtube id="c_735-G-hGc"]
I began this project by saving the wine glass from the ScanNCut to a USB flash drive. This is in the "Things Around the House" category.
• To Save the pattern from the ScanNCut machine, at the ScanNCut machine, touch Patterns.
• Touch the Second menu and then touch the Things Around the House Category.
• Navigate to page 2, Select the wine glass (AR-E020). Touch OK. Touch OK again. Touch Set. Insert a USB flash drive into the machine. Touch Save. Touch USB.
Once I had the glass, I inserted the USB drive into my computer so I could work with it in my BES 4 software program. See the video for how to create the wine charm in the BES 4 Software program.
[youtube id="c_735-G-hGc"]
Embroidery Instructions
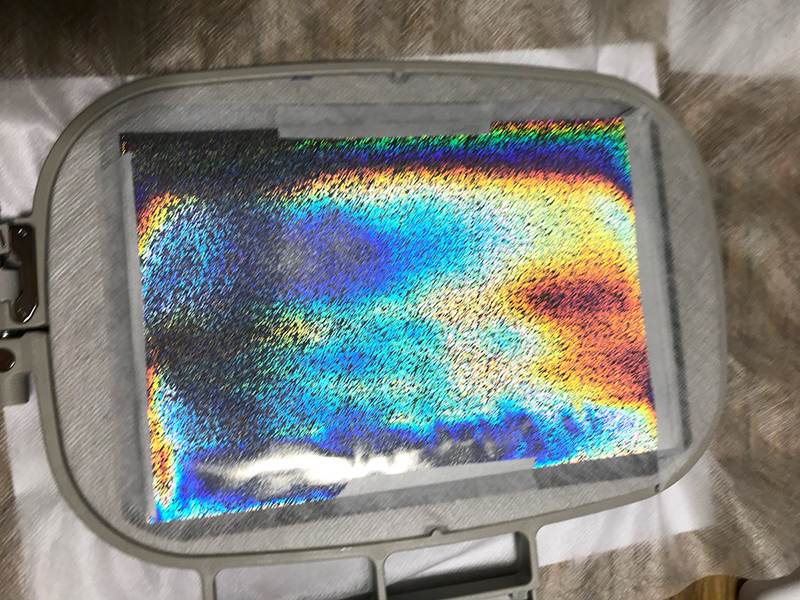
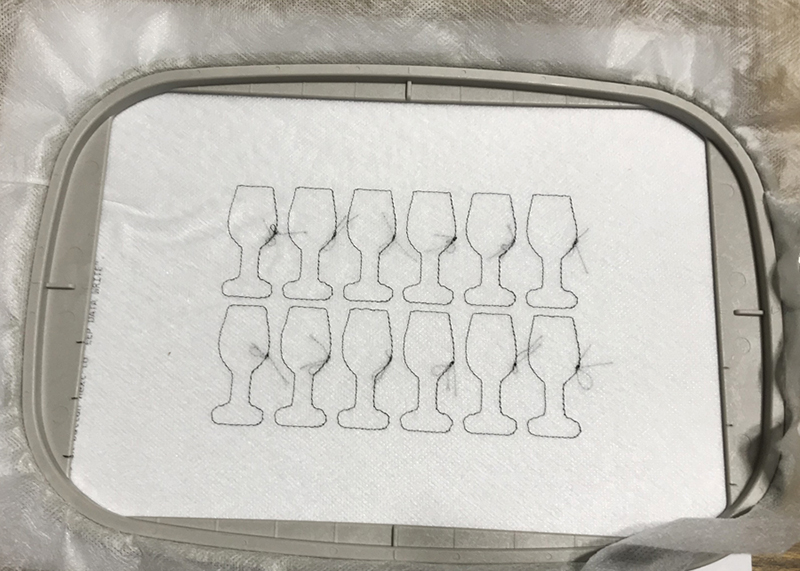
• Hoop a piece of Water-Soluble stabilizer. Wind a bobbin to match your top embroidery thread. (I used 60 weight in my bobbin as well as for my top thread. The small text needs the 60-weight thread.) • Insert the matching bobbin before starting your project. Note: If you want to wait until the you put the back on you can do that, but you may forget to substitute the bobbin thread out. • Lay one piece of the Vinyl on top on the stabilizer in the center of the hoop.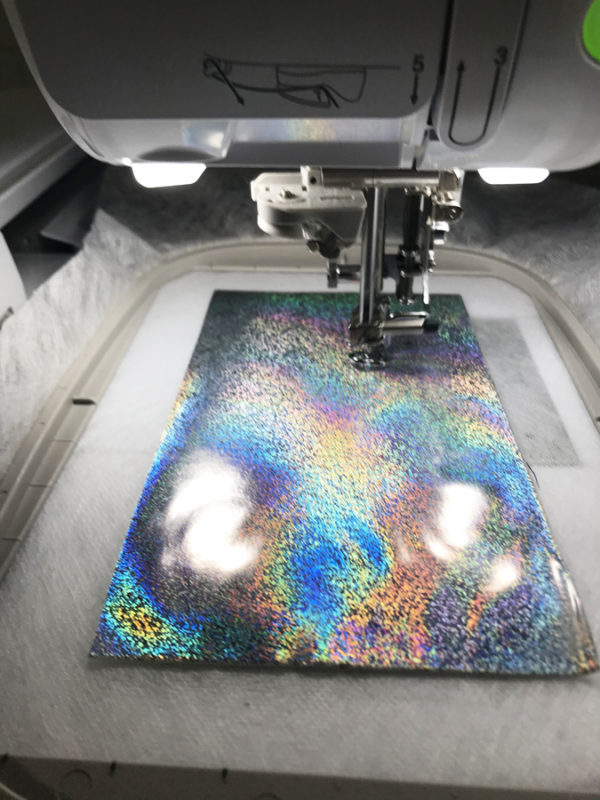 • Stitch the basting stitch, the first stitch of each glass and the numbers.
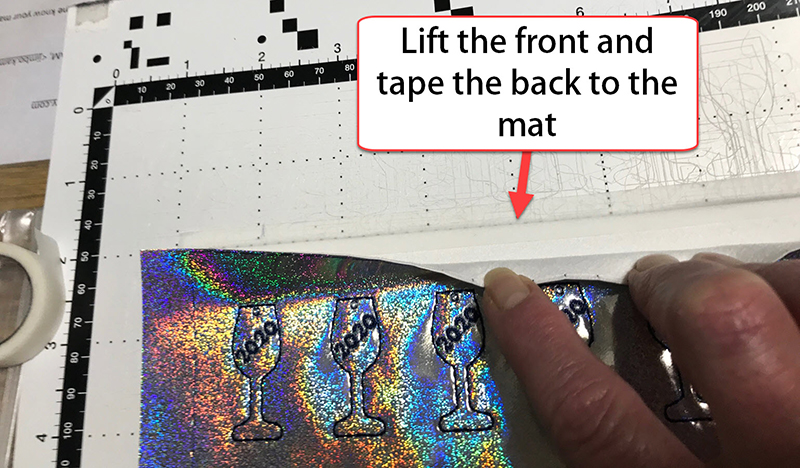
 • Remove the hoop from the machine and then tape the second piece of vinyl to the back of the hoop (face out).
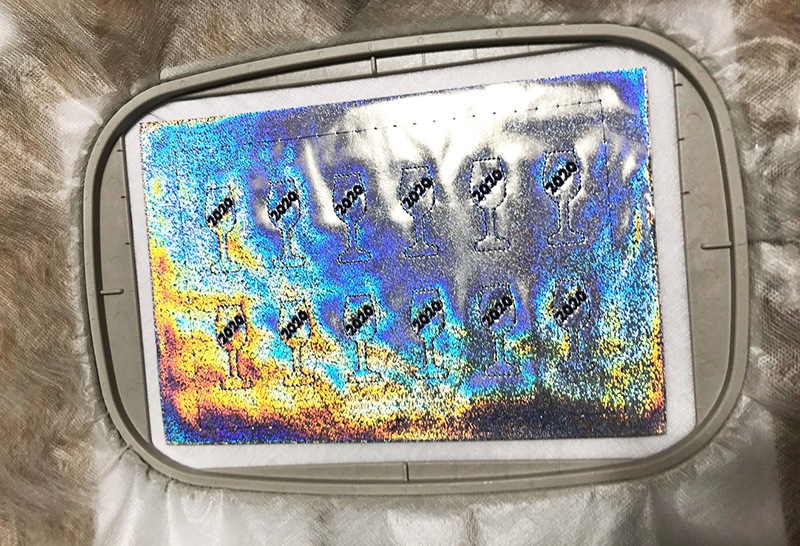
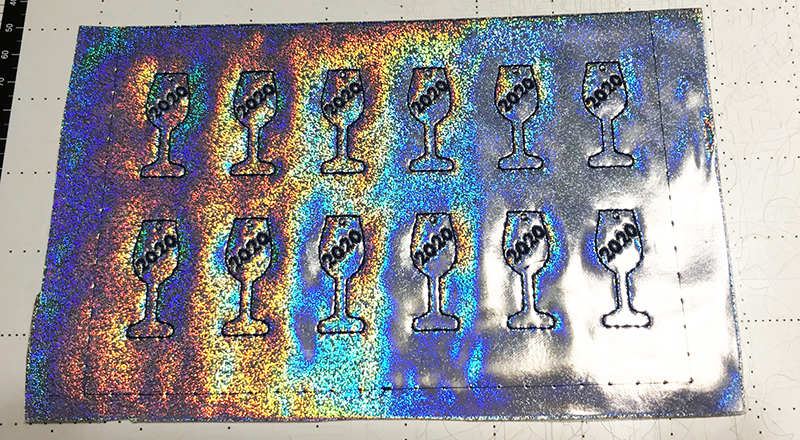
 • Put the hoop back in the machine and finish the embroidery. Remove from the machine and from the hoop. Place a ruler across the top of the basting stitch at the top of the glasses. This will be your straight line to line up your glasses when you are at the ScanNCut machine. Cut along the stitch line with a rotary cutter.
 • Cut away the excess stabilizer around the vinyl. You are now ready to go to the ScanNCut machine.
Cutting out the Charms at the ScanNCut machine.
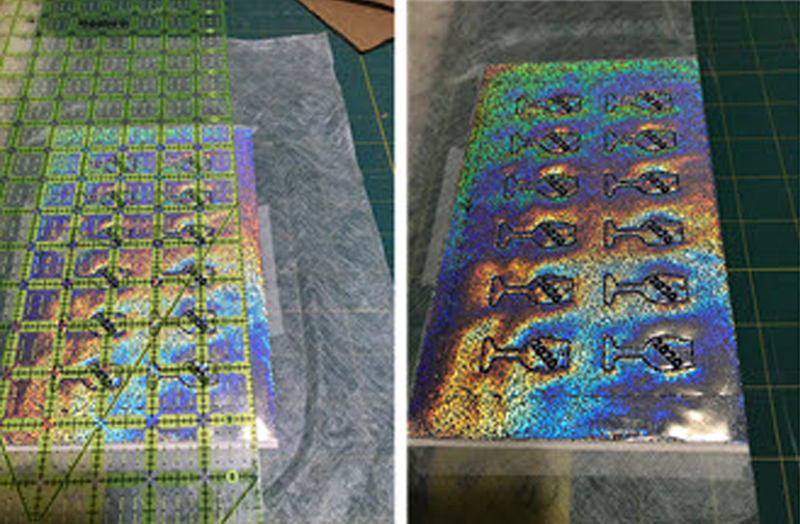
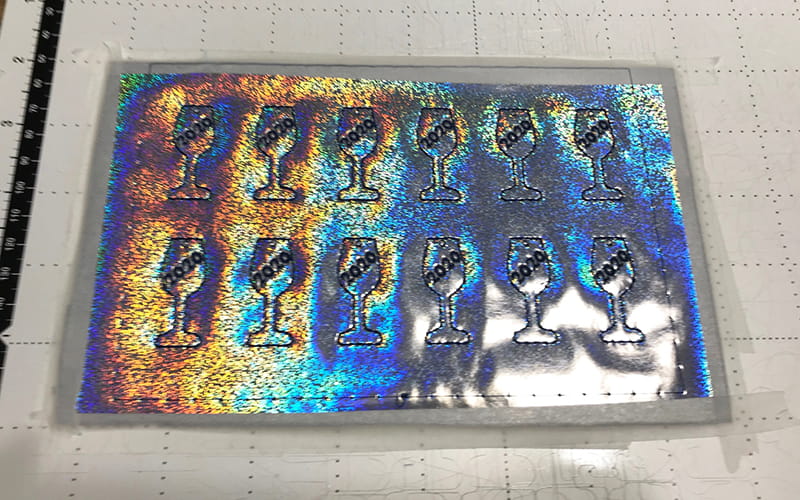
• Place the embroidered vinyl along a grid line on the Standard Tack mat.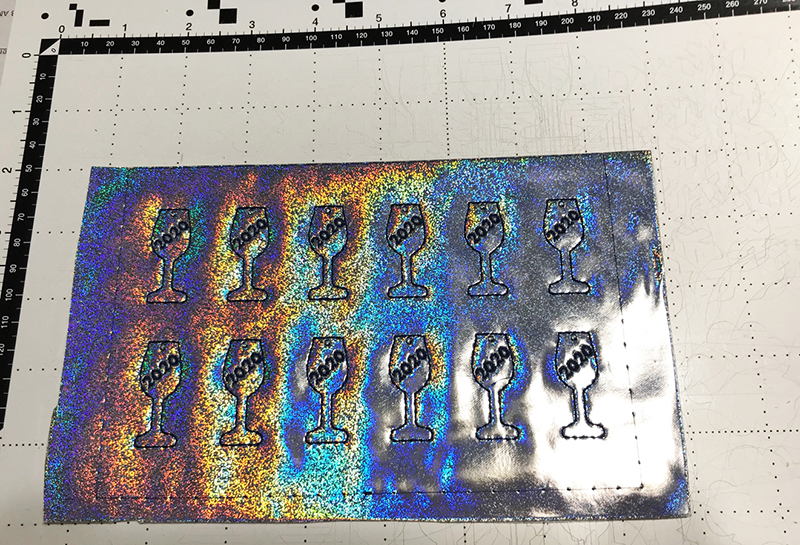 • Tape the back layer to the mat with medical paper tape all the way around the vinyl.
 • Tape the top layer to the mat with medical paper tape. This will keep the layers in place after they are cut through.
 • Load the mat into the machine. Press Retrieve Pattern. Choose either Cloud or USB (depends on which way you sent the fcm.file).
• Touch Background Scan. Touch Edit. Touch Select (the three red squares). Touch Select All. Touch OK. Touch Object Edit.
• Touch Unify. Touch Fill. Touch Off.
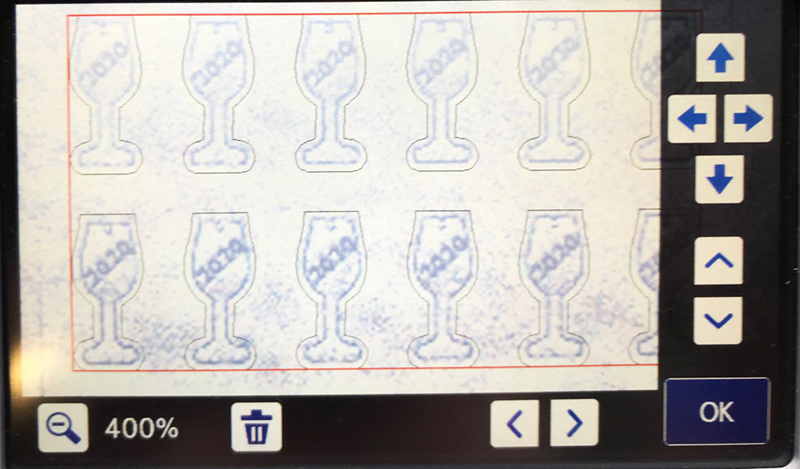
• Touch OK. Touch OK again. Arrange the glasses so they fit on the vinyl. I zoomed in to make this process easier to view.
• Load the mat into the machine. Press Retrieve Pattern. Choose either Cloud or USB (depends on which way you sent the fcm.file).
• Touch Background Scan. Touch Edit. Touch Select (the three red squares). Touch Select All. Touch OK. Touch Object Edit.
• Touch Unify. Touch Fill. Touch Off.
• Touch OK. Touch OK again. Arrange the glasses so they fit on the vinyl. I zoomed in to make this process easier to view.
 • Touch OK. Touch OK. If you zoomed in, you will need to touch OK one more time. Touch Please Select.
• Touch Cut to see if Half Cut is turned on or off. If Half Cut in turned on, touch Settings.
• Go to page 2. Turn off Half Cut and then touch OK. Touch Test. Move the test cut to a place that doesn’t have a wine glass. Touch Start.
• If the test cut is a clean cut, touch start again. If the test cut didn’t cut cleanly, choose test again. Increase your Auto Blade pressure on page 1 in the Settings menu and test again. Once you have a good test, continue cutting.
• Touch OK. Touch OK. If you zoomed in, you will need to touch OK one more time. Touch Please Select.
• Touch Cut to see if Half Cut is turned on or off. If Half Cut in turned on, touch Settings.
• Go to page 2. Turn off Half Cut and then touch OK. Touch Test. Move the test cut to a place that doesn’t have a wine glass. Touch Start.
• If the test cut is a clean cut, touch start again. If the test cut didn’t cut cleanly, choose test again. Increase your Auto Blade pressure on page 1 in the Settings menu and test again. Once you have a good test, continue cutting.
Finishing the Project
• Take the awl that came with your embroidery machine and push it through the hole at the top of the charm. If you don’t have the awl anymore, you can poke through the hole with any sharp object including your ScanNCut weeding tool. • Insert a jump ring into the holes. Insert the Wine Charm rings through the jump rings.
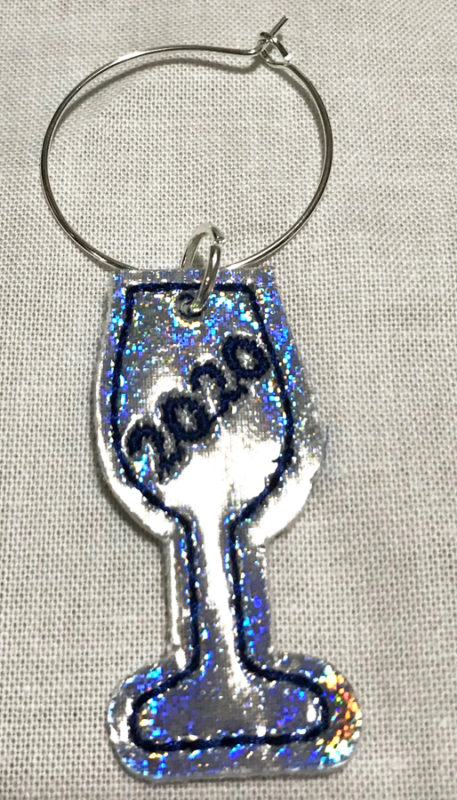
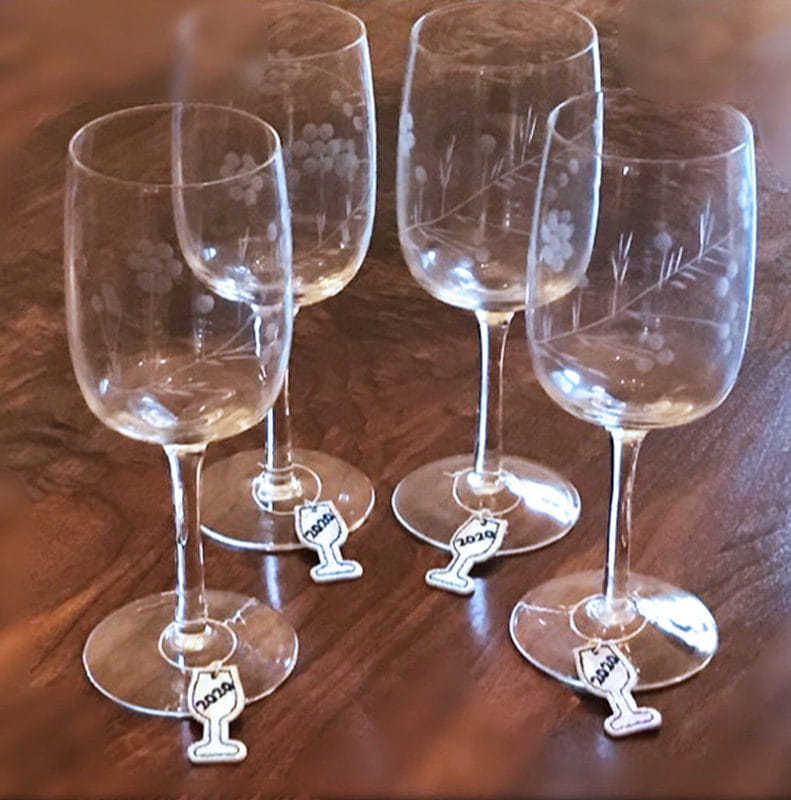
Put on your glasses and enjoy!
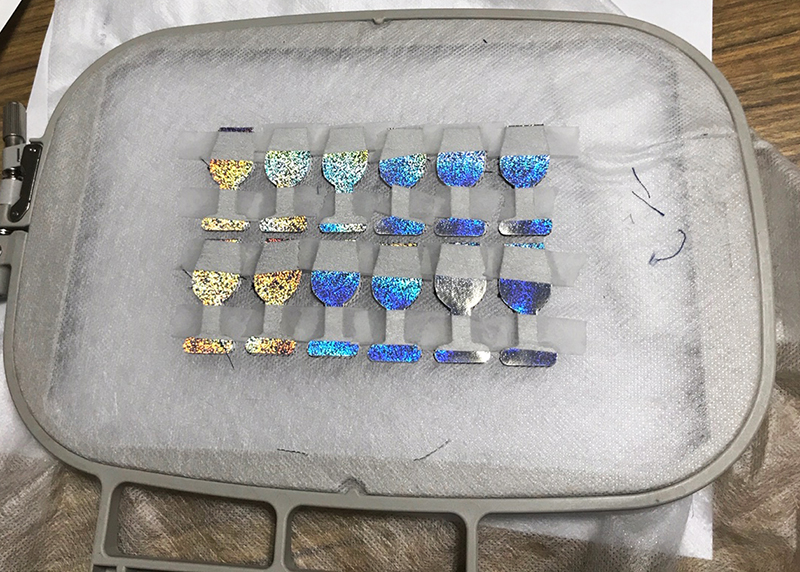
Note: If you chose to individually cut out the glasses before embroidering, these are your steps. This method takes a bit longer and is more tedious.
ScanNCut Directions
• Place Vinyl right side up on the Standard mat. Load the mat onto the machine. Press Retrieve Pattern. • Choose either Cloud or USB (depends on which way you sent the fcm file). • Touch Background Scan. Touch Edit. Touch Select (the three red squares). Touch Select All. Touch OK. • Touch Object Edit. Touch Unify. Touch duplicate. Increase the number of sets to 12 Insert 12. Touch OK. • Arrange the glasses so they fit on the vinyl.
• Touch OK. Touch OK. Touch Please Select. Touch Cut.
• Check to see if Half-Cut is turned on or off. If Half cut in turned on, touch Settings.
• Go to page 2. Turn off Half Cut and then touch OK. Touch Test. Move the test cut to a place that doesn’t have a wine glass. Touch Start.
• If the test cut is a clean cut, touch start again. If the test cut didn’t cut cleanly, choose test again.
Increase your Auto Blade pressure in the Settings menu and test again. Once you have a good test, continue cutting.
Put these aside, make sure you keep right sides and left sides in separate piles. The left sides are the top, the right sides the bottom.
• Hoop a piece of Heavy Water-soluble stabilizer. Stitch the placement stitch onto the stabilizer.
 • Remove the hoop from the machine. Tape the left glasses on top of the placement stitches with medical paper tape or washi tape.
 • Insert the hoop back into the machine and stitch the tack down stitch and the 2020.
 • Remove the hoop from the machine and tape the right glasses to the back of the hoop.
 • Insert the hoop back into the machine (make sure you have a matching bobbin this time.) Stitch the triple stitch and circle. Remove the hoop from the machine and the project from the hoop. Cutaway the excess water-soluble and remove all tape from the project.
 • Rinse the rest away. The placement stitches should remove as well since they were only stitched onto the water-soluble stabilizer. Poke a hole through the center of the circle
• Insert jump ring through the hole. Insert wine charm hardware through the jump ring Insert finished you pick the image.
Alternatives: If you can’t find wine charm hardware, you can run ribbons through the jump rings and tie the wine charms to your glasses. A cute way to distinguish the glass owner would be to use different colored ribbons. If you can’t find a craft vinyl that you like, you can iron on holographic or glitter vinyl onto muslin or canvas and use that instead of vinyl for your material.
• Rinse the rest away. The placement stitches should remove as well since they were only stitched onto the water-soluble stabilizer. Poke a hole through the center of the circle
• Insert jump ring through the hole. Insert wine charm hardware through the jump ring Insert finished you pick the image.
Alternatives: If you can’t find wine charm hardware, you can run ribbons through the jump rings and tie the wine charms to your glasses. A cute way to distinguish the glass owner would be to use different colored ribbons. If you can’t find a craft vinyl that you like, you can iron on holographic or glitter vinyl onto muslin or canvas and use that instead of vinyl for your material.
Related Projects
Stay Connected
* Required fields