Ultimate New Year's Eve Sew A Long: Starburst Designed Apron

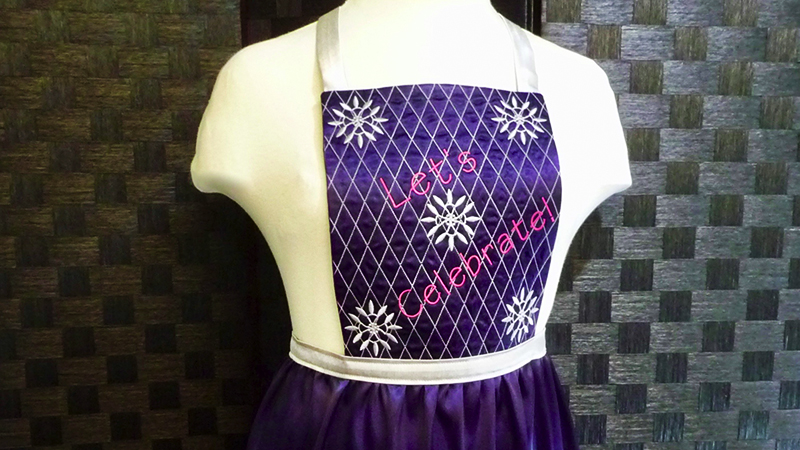
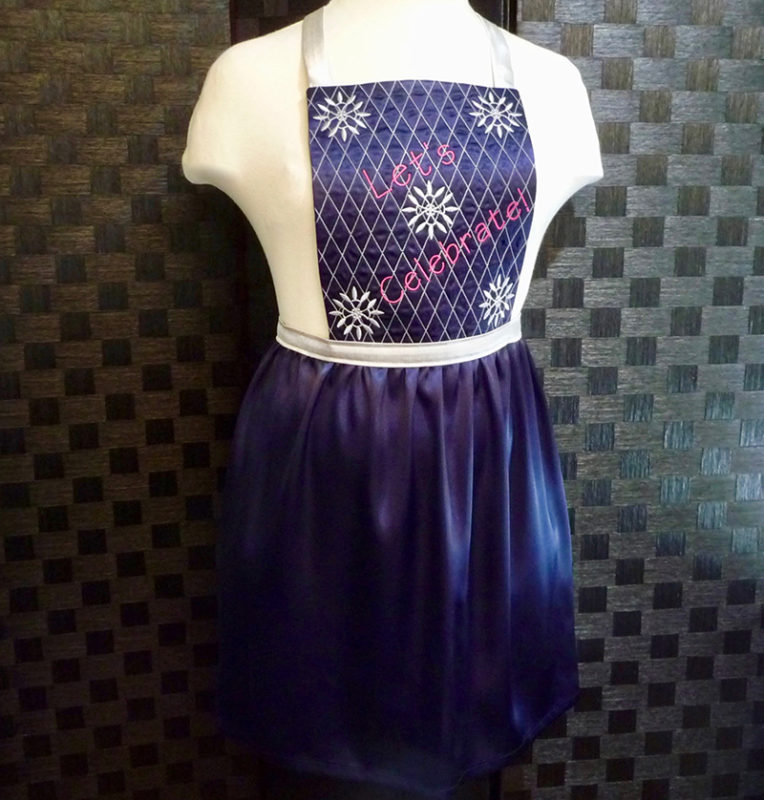
My fellow Brother brand ambassadors have created some fabulous fashions for celebrating the new year in style! How about creating a coordinating apron to keep your clothes pristine and still feel festive? This dressy apron will coordinate with the special occasion outfits you’ve seen so far. Perhaps you want to keep it casual. I designed this apron so you can still feel fancy, even if you decide to dress down for your holiday celebration. It’s easy to make and you’ll look great dressed up or down. Enjoy!
Our Brother Free Design
for this month is a starburst style design that’s ideal for adding pizazz to a holiday apron with a quilted bib accented with lettering and the free design. Celebrating with a party at home? This apron can be paired with your best New Year’s Eve outfit for a dressy dinner. Looks chic with jeans and a sparkly top too!
Materials and Supplies
- Brother Sewing and Embroidery Machine
- Brother Embroidery Thread
and Brother Bobbin Thread - Brother Free Design: FD_12_2019.pes
. - Note: Design fits within a 4-inch hoop. This project features a quilted background with multiple repeats of the design and added lettering for a combination design created for a 9 ½” X 14” hoop. See Step 2 of instructions for options with smaller hoops.
- Basic sewing notions, including good quality thread for sewing and a tool for turning tubes right side out.
- Optional but recommended, a rotary cutter and quilting ruler for trimming fabrics to specific size needed for the quilted apron bib.
Fabric for apron: Cut the following pieces:
- One piece measuring 42-inches wide X 20-inches long for apron skirt.
- One oversized piece measuring 14-inches wide X 23-inches long for apron bib front embroidered in 9 ½” X 14” hoop.
- One piece measuring 10-inches wide X 12-inches long for apron bib lining.
- One piece measuring 3-inches wide X 72-inches long for waistband and waist ties. Piece as necessary for 72-inch length.
- One piece measuring 3-inches wide X 22-inches long for strap at neckline.
- Thin batting for backing bib front.
Brother Free Design of the Month:
- 2.26” Wide X 2.28” High.
- This image can be found on iBroidery
as well.


Steps to Create Apron
1. Set up machine for embroidery. Create a design combination for the embroidered bib front with a finished size of 9-inches wide X 11-inches long. See example in Figure #1.

Figure #1
2. Hoop the 14-inches wide X 23-inches long fabric cut for the embroidered bib, layering it with a matching piece of batting. See Figure #2.

Figure #2

Figure #3
3. Set up the machine for ordinary sewing. Trim the embroidered bib front piece to measure 10-inches wide X 12-inches long, leaving a ½-inch seam allowance outside the quilted line so piece matches lining. See Figure #4a and #4b.

Figure #4a

Figure #4b
4. Gather pieces for bib and ties. See below:

5. Select strip cut for neckline strap. Fold in half lengthwise and sew a ½-inch seam to form a tube. Turn right side out and press so seam is in the center of the back side of the strip. Sew, turn, and press strip cut for waistline in the same manner as the neckline strap. Place lining and embroidered bib pieces right sides together, inserting raw ends of strap at each end of the top edge. Pin, leaving bottom edge open for turning. See below:


6. Sew bib pieces together, using a ½-inch seam allowance and catching the outer outline within the seam. See Figure #5.

7. Clip corners, turn right side out and press. Finish the bottom raw edge using a serger or overcast stitch on the sewing machine. Set aside for later use.
8. Select waistband piece. Fold short raw ends in and sew opening closed using hand or machine stitches.
9. Select skirt piece. Hem bottom and sides with a double turned ½-inch hem allowance. See Figure #6.

Finish top raw edge of skirt using a serger or overcast stitch on the sewing machine. Turn and press under a 1-inch single hem. Next, sew two rows of basting stitches at the top edge, sewing the first row ¼-inch from the folded edge and the second row ¼-inch from the first basting line. Mark center of bib and skirt. Place bib over top edge of skirt, overlapping the bib ¾-inch and matching centers. Pull up the gathers, distributing them evenly until the top edge of the skirt measures approximately 24-inches wide. See below:

10. Place finished waistband over the bib and skirt and pin in place so band is even and covers the gathering stitches. See Figure #7.

Figure #7
11. Topstitch ¼-inch along each long edge of the waistband and waist tie piece. See Figure #8.

Figure #8
Note: Waist ties extend beyond the gathered edge of the skirt.

Your apron is complete! You are ready to entertain in style!

