How To Upcycle A T-Shirt
-Brother Sews Blogger
T-shirts are an essential part of our weekend wardrobe and nowadays even our work wear. We all have wearable concert t-shirts, sports t-shirts, and countless other beloved shirts, all stuffed into a drawer. Some tee shirts sold at vintage shops will have your jaw dropping at the high price of this pieces of the past. But are you ever going to wear them again? Instead of tossing those old t-shirts or letting them sit in your closet, I’ve got a stylish idea on how you can elevate an old t-shirt and turn it into a trendy new look. It's a small, easy refashioning project that will deliver big style when you make it yourself.

Supplies:
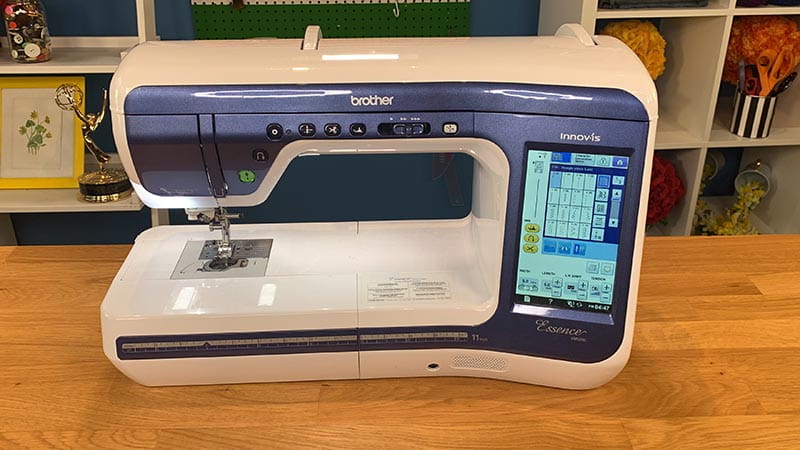
- Brother Sewing Machine
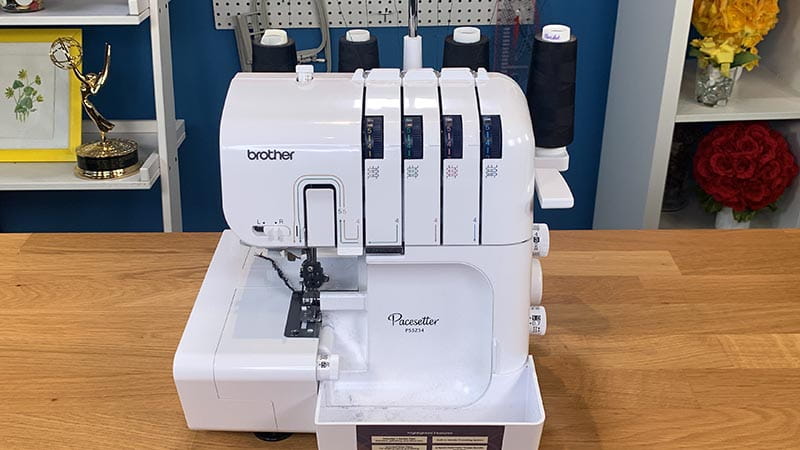
- Brother Serger
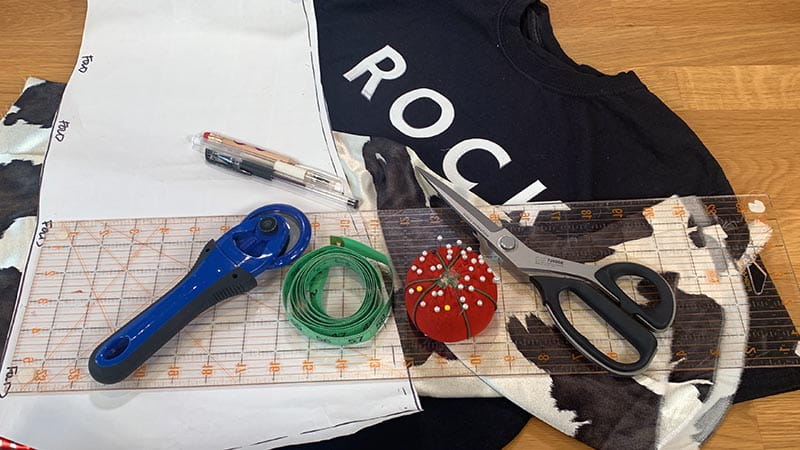
- An old t-shirt
- 1 yard of flowy, soft fabric like polyester chiffon, charmeuse, or rayon
- Pattern paper and marking pen
- Straight edge and rotary cutter
- Measuring tape
- Straight pins
- Scissors
Make it:
First cut off the sleeves of your tee shirt at the armhole seam.
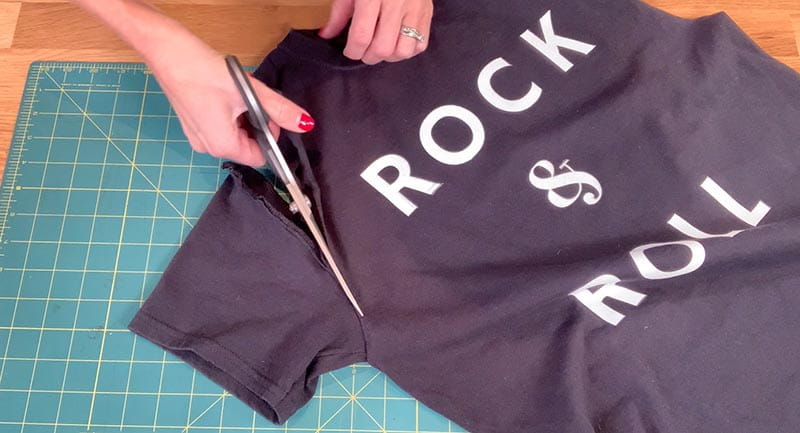
If your shirt is oversized and you want a more fitted look, modify the sides to your desired fit now.
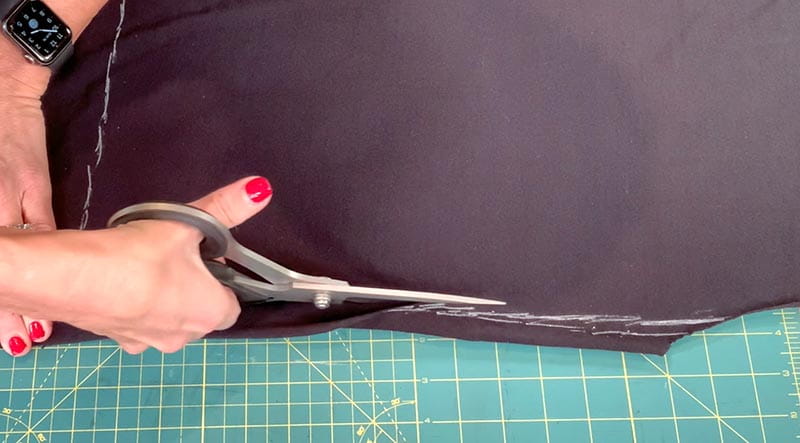
You can also determine the length of the shirt too so cut it to the length you want leaving room for a hem.
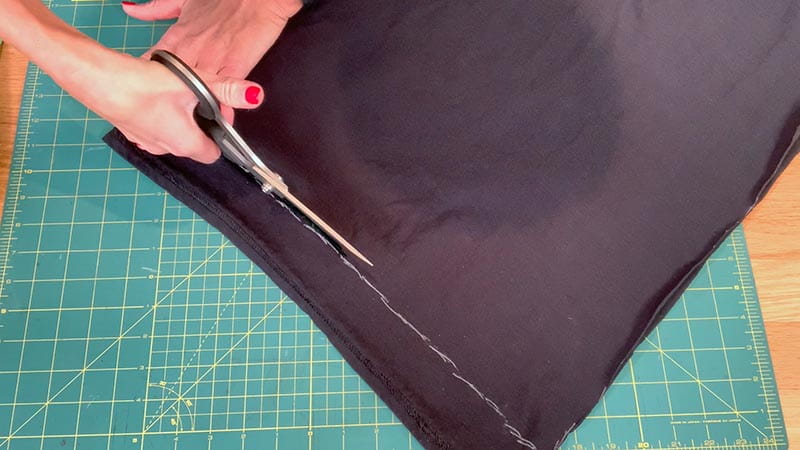
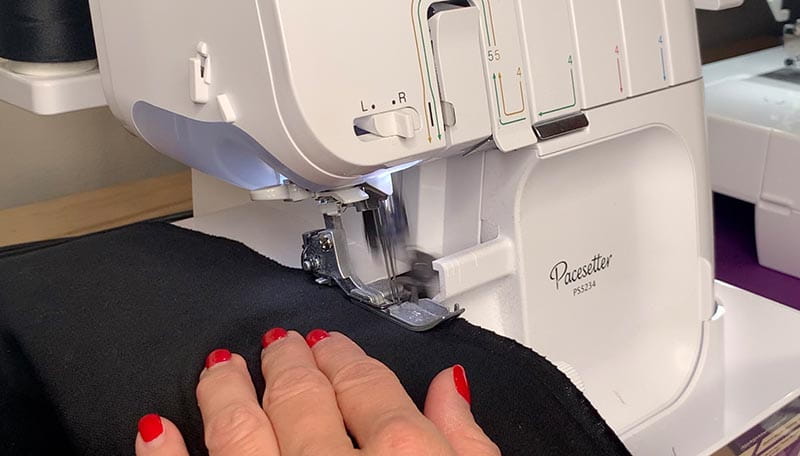
Marking the base of the armhole with a pin, put the right sides of the tee shirt together and serge
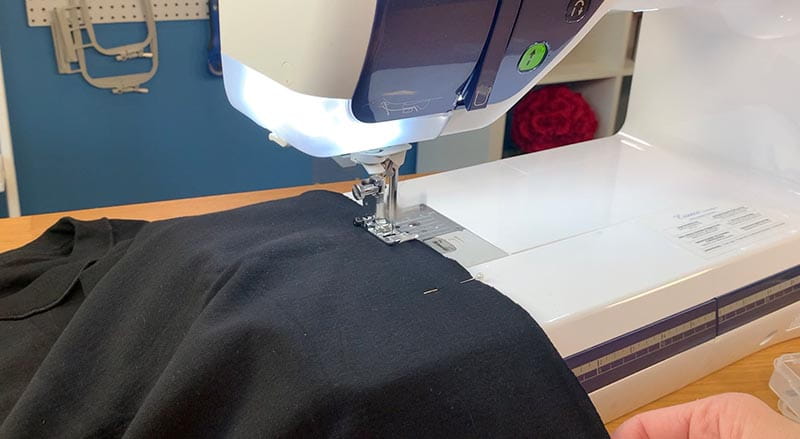
Then sew the side seams.
Put the shirt aside and create a pattern for the sleeves.
You can create any type of sleeve you want but for this project we are making flared sleeves.
To do this, first, measure the size of the armhole opening adding in a seam allowance plus an inch or so that we will use to create a gather around at the top of the shoulder.
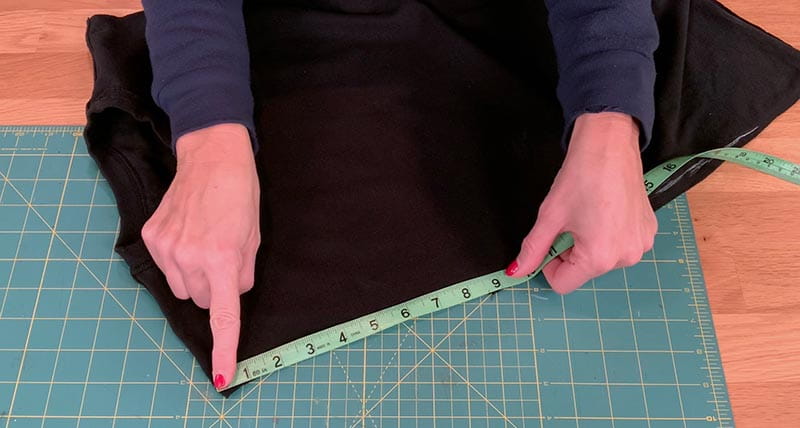
This measurement will be one edge of your pattern.
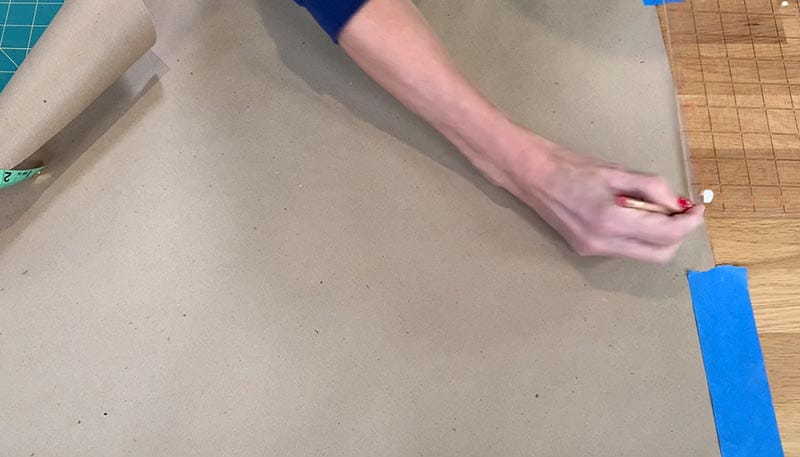
Using a straight edge, draw the arm length on an angle starting at the base of the armhole measurement; this angled line will create the flare for the sleeve and, it will be the bottom of your pattern.
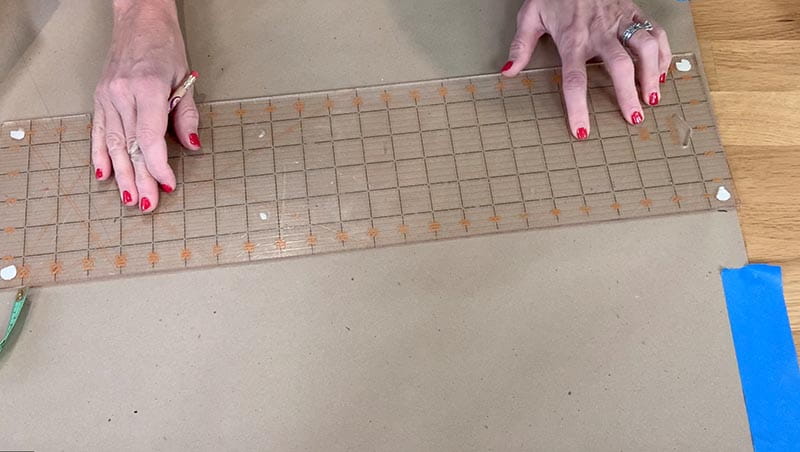
Finish the pattern by connecting the bottom edge to the top of the pattern. The top of the pattern will be the fold of the fabric, and the top of the sleeve when finished.
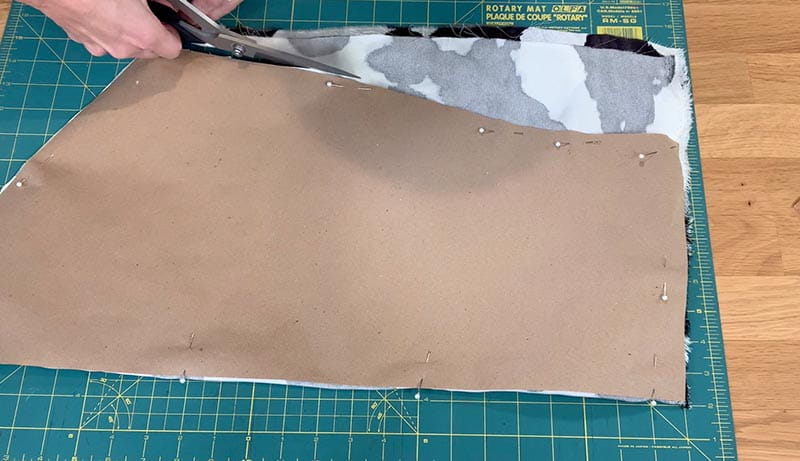
Be sure to leave enough seam allowance for shoulder placement and for hemming.
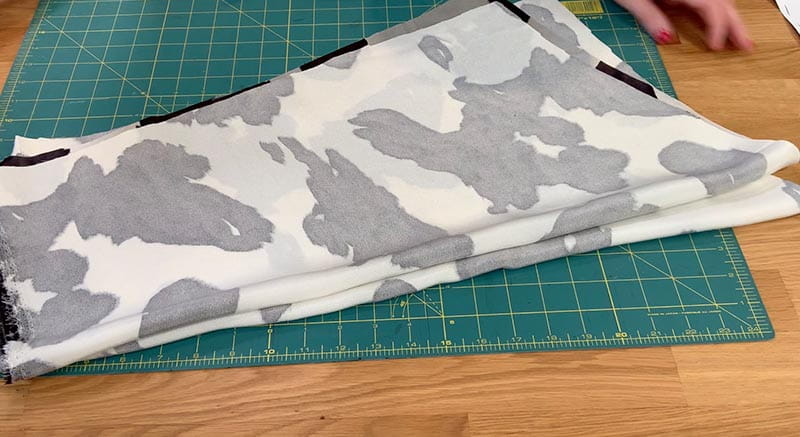
Serge the raw edges of the fabric.
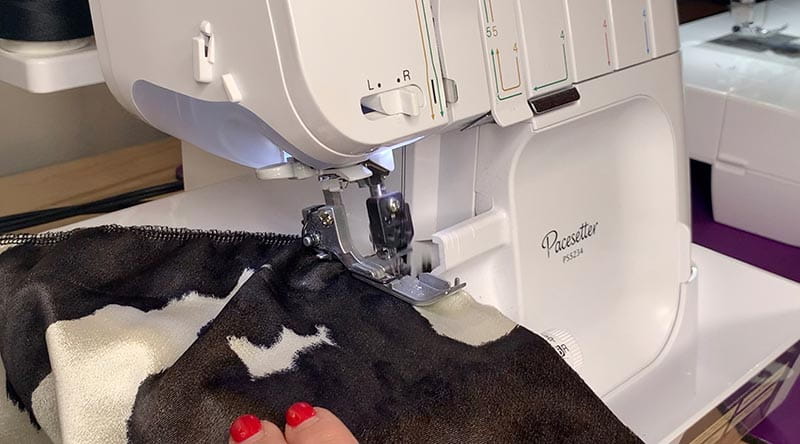
With the right sides together serge the long edge of the sleeves and then sew them.
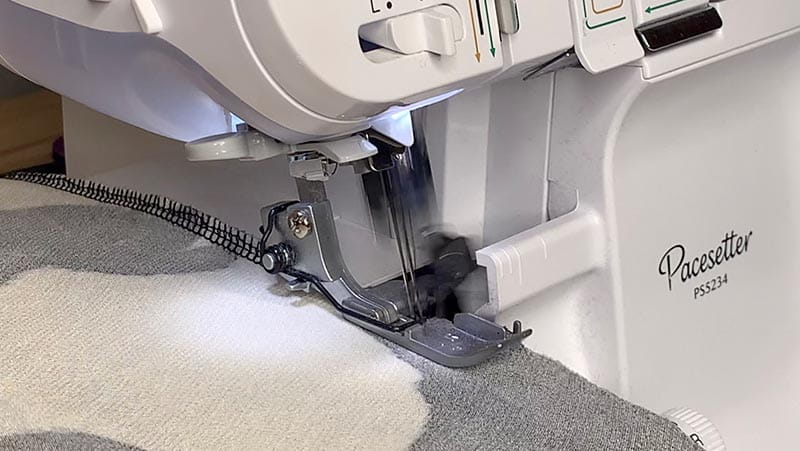
Before you add the sleeves to the shirt create a small gather on the top of the sleeve at the shoulder.
Set your machine to a long stitch length anywhere from 4 -5.
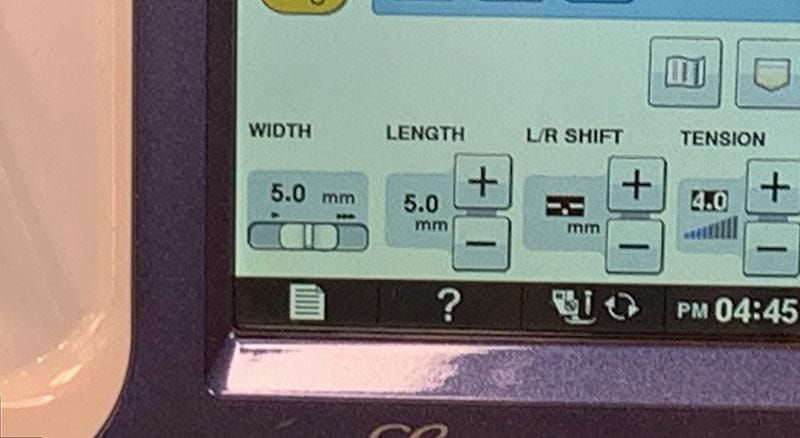
Make sure you have long tails on the thread in the machine.
Sew the sleeve armhole fabric around the shoulder leaving the thread tails long at the end.
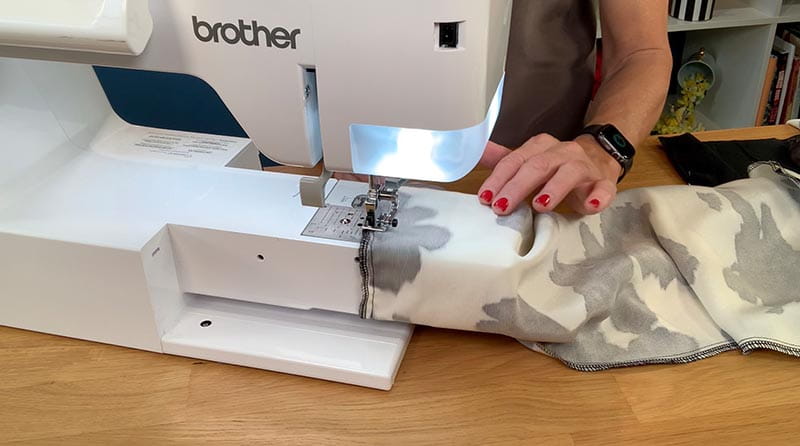
It is important not to backstitch at the beginning or end of these stitches because the threads need to be loose!
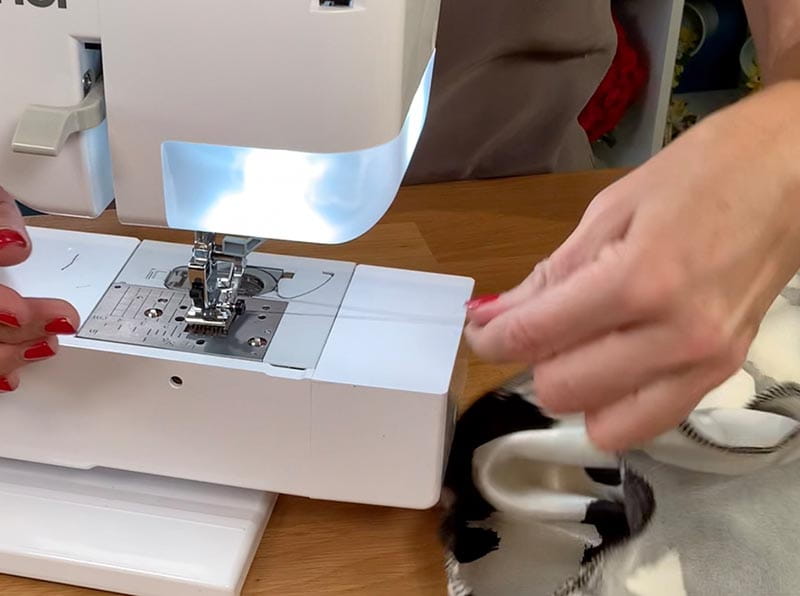
Pull the threads with one hand while guiding the fabric with the other to create a small gather.
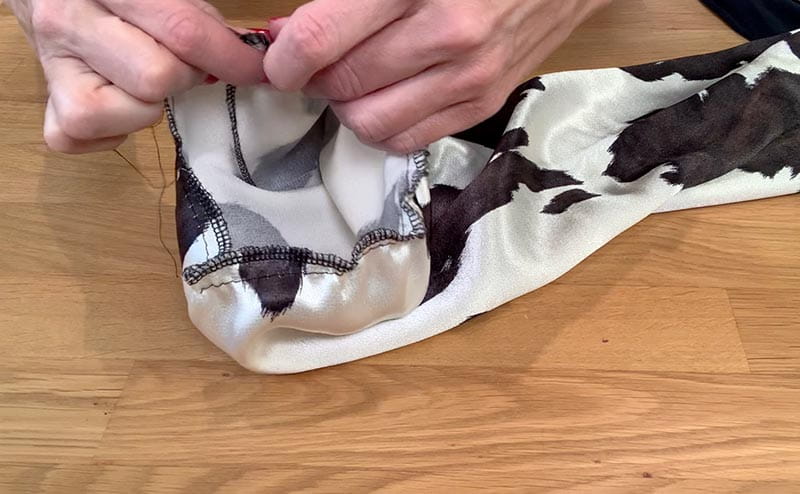
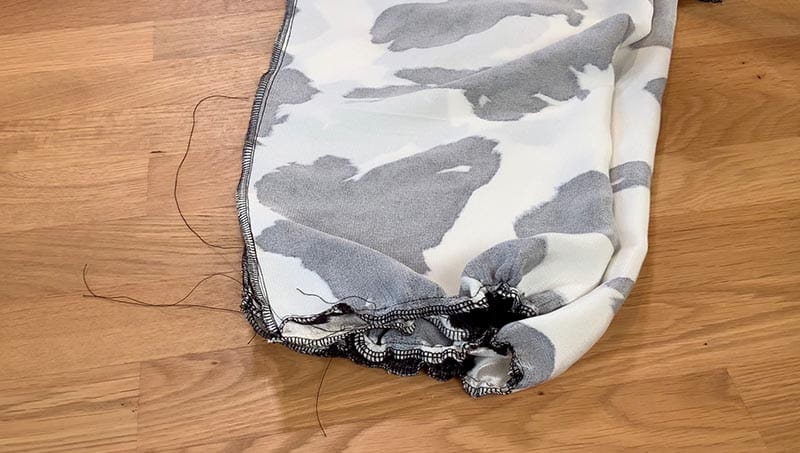
With the tee shirt wrong side facing out and the sleeves right side out, put the sleeves inside the arms holes.
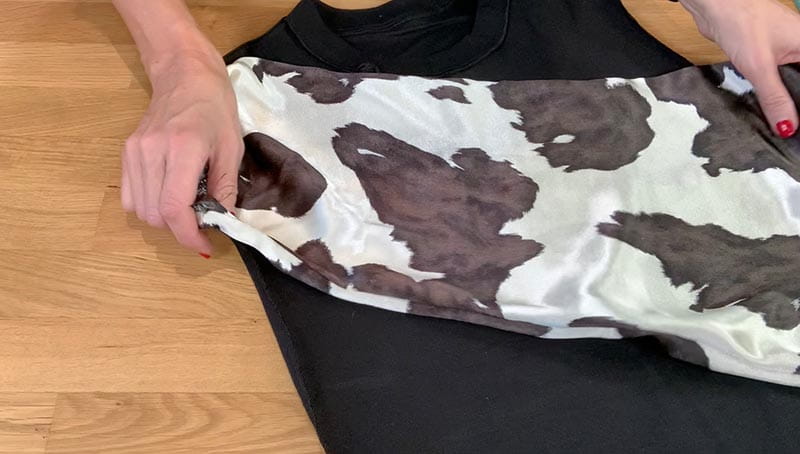
Lining up the shirt side seam and the sleeve seam pin the sleeve in place.
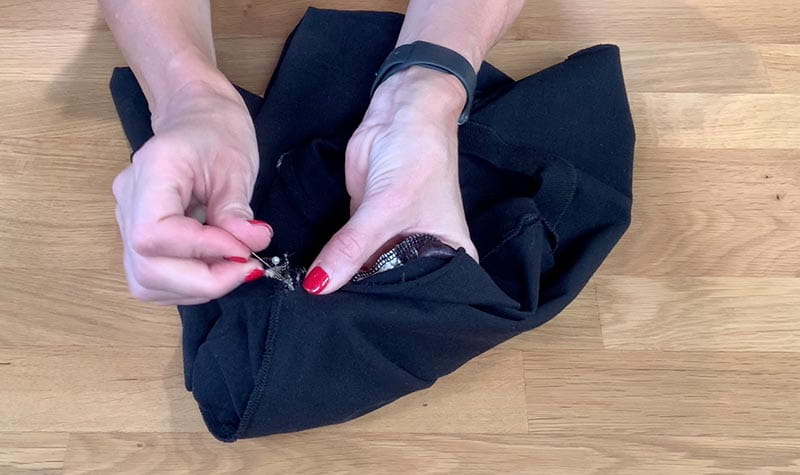
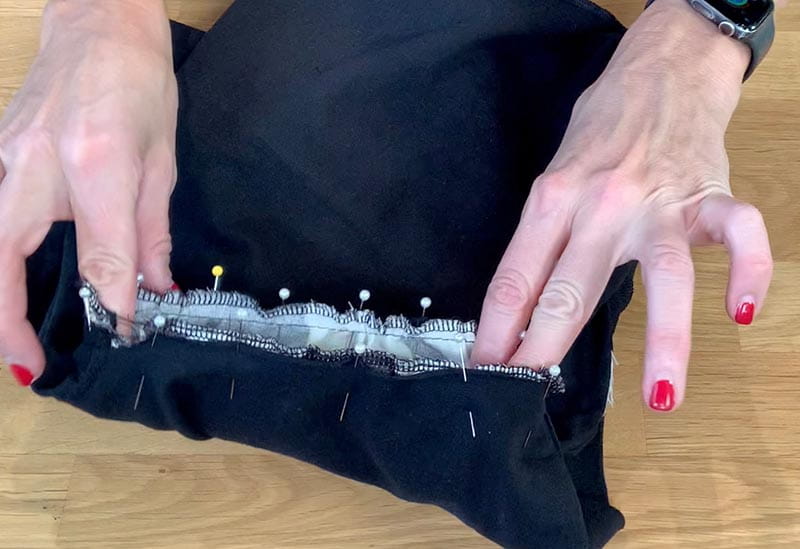
Reset the stitch length on your machine and sew around the arm hole.
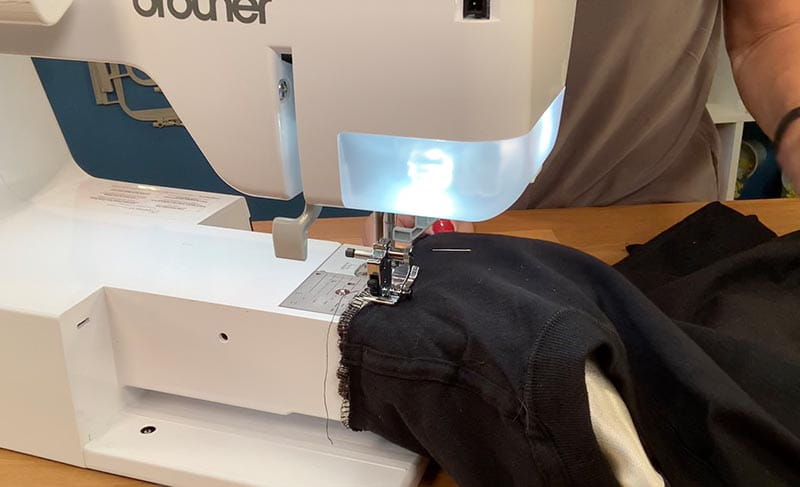
Do the same for the other sleeve.
Pull the sleeves out and turn the tee shirt right side out.
Finally, hem the tee shirt by folding the bottom up, press and sew it in place using a zig zag stitch.
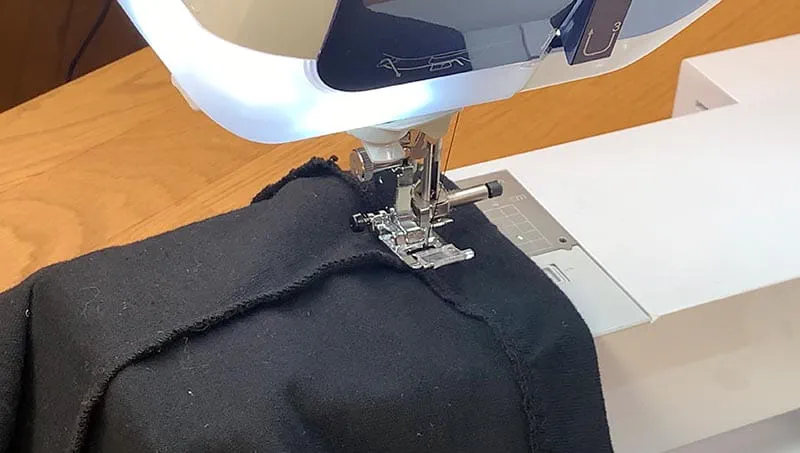
Turn the raw edge of each sleeve in and hem.
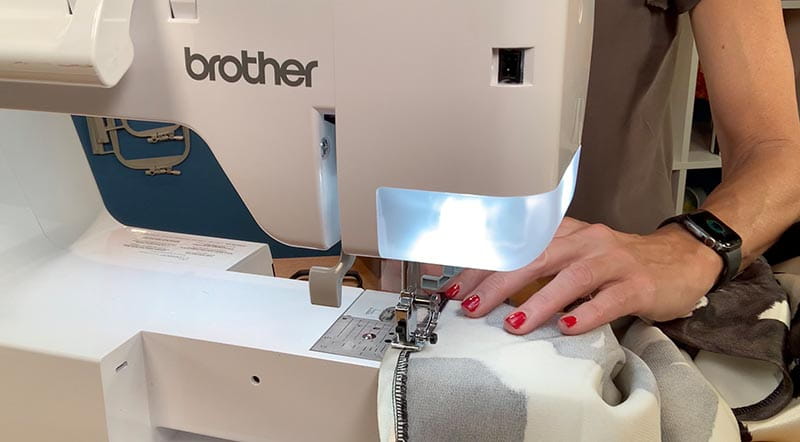
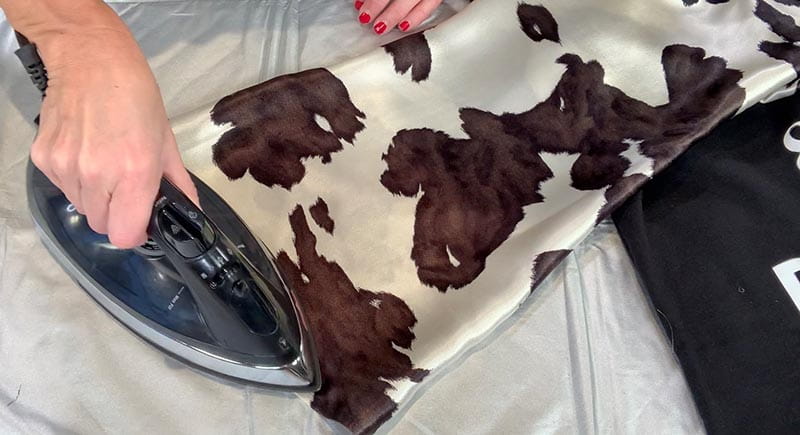
To finish the look, press the seams flat. This helps smooth and blend the stitches into the fabric for a professional look.
Additional note, you can take this project one step further and create your own tee shirt design using the Brother ScanNCut DX.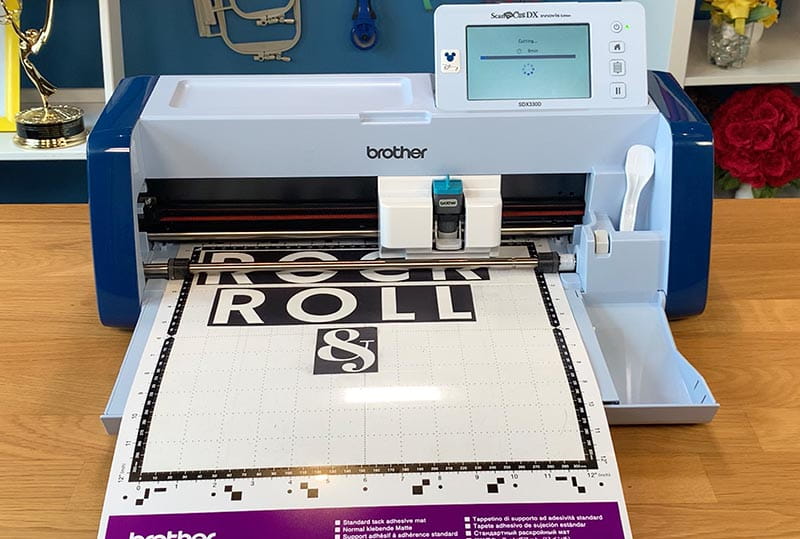
Simply create a design on the ScanNCut machine or scan one in, cut it out using iron on transfer paper, and add it to the front of your blank shirt.
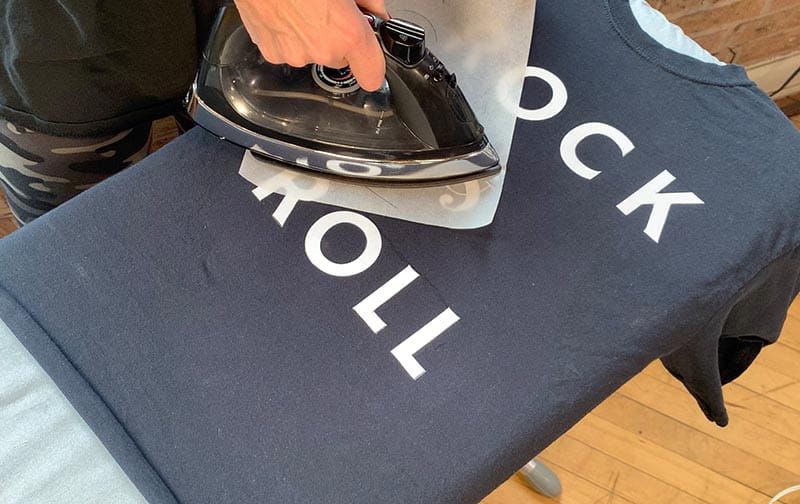
And there you have it, an upcycled, elevated tee shirt. And a job well done!

There are so many ways to repurpose old tee shirts so if you can’t image your life without them, this is just another way you can refashion tees into runway ready apparel.

T-shirts are an essential part of our weekend wardrobe and nowadays even our work wear. We all have wearable concert t-shirts, sports t-shirts, and countless other beloved shirts, all stuffed into a drawer. Some tee shirts sold at vintage shops will have your jaw dropping at the high price of this pieces of the past. But are you ever going to wear them again? Instead of tossing those old t-shirts or letting them sit in your closet, I’ve got a stylish idea on how you can elevate an old t-shirt and turn it into a trendy new look. It's a small, easy refashioning project that will deliver big style when you make it yourself.

Supplies:

- Brother Sewing Machine

- Brother Serger

- An old t-shirt
- 1 yard of flowy, soft fabric like polyester chiffon, charmeuse, or rayon
- Pattern paper and marking pen
- Straight edge and rotary cutter
- Measuring tape
- Straight pins
- Scissors
Make it:
First cut off the sleeves of your tee shirt at the armhole seam.

If your shirt is oversized and you want a more fitted look, modify the sides to your desired fit now.

You can also determine the length of the shirt too so cut it to the length you want leaving room for a hem.

Marking the base of the armhole with a pin, put the right sides of the tee shirt together and serge

Then sew the side seams.

Put the shirt aside and create a pattern for the sleeves.
You can create any type of sleeve you want but for this project we are making flared sleeves.
To do this, first, measure the size of the armhole opening adding in a seam allowance plus an inch or so that we will use to create a gather around at the top of the shoulder.

This measurement will be one edge of your pattern.

Using a straight edge, draw the arm length on an angle starting at the base of the armhole measurement; this angled line will create the flare for the sleeve and, it will be the bottom of your pattern.

Finish the pattern by connecting the bottom edge to the top of the pattern. The top of the pattern will be the fold of the fabric, and the top of the sleeve when finished.

Be sure to leave enough seam allowance for shoulder placement and for hemming.

Serge the raw edges of the fabric.

With the right sides together serge the long edge of the sleeves and then sew them.

Before you add the sleeves to the shirt create a small gather on the top of the sleeve at the shoulder.
Set your machine to a long stitch length anywhere from 4 -5.

Make sure you have long tails on the thread in the machine.
Sew the sleeve armhole fabric around the shoulder leaving the thread tails long at the end.

It is important not to backstitch at the beginning or end of these stitches because the threads need to be loose!

Pull the threads with one hand while guiding the fabric with the other to create a small gather.


With the tee shirt wrong side facing out and the sleeves right side out, put the sleeves inside the arms holes.

Lining up the shirt side seam and the sleeve seam pin the sleeve in place.


Reset the stitch length on your machine and sew around the arm hole.

Do the same for the other sleeve.
Pull the sleeves out and turn the tee shirt right side out.
Finally, hem the tee shirt by folding the bottom up, press and sew it in place using a zig zag stitch.

Turn the raw edge of each sleeve in and hem.

To finish the look, press the seams flat. This helps smooth and blend the stitches into the fabric for a professional look.

Additional note, you can take this project one step further and create your own tee shirt design using the Brother ScanNCut DX.

Simply create a design on the ScanNCut machine or scan one in, cut it out using iron on transfer paper, and add it to the front of your blank shirt.

And there you have it, an upcycled, elevated tee shirt. And a job well done!

There are so many ways to repurpose old tee shirts so if you can’t image your life without them, this is just another way you can refashion tees into runway ready apparel.


