Upcycled Towel Festival Wristbands

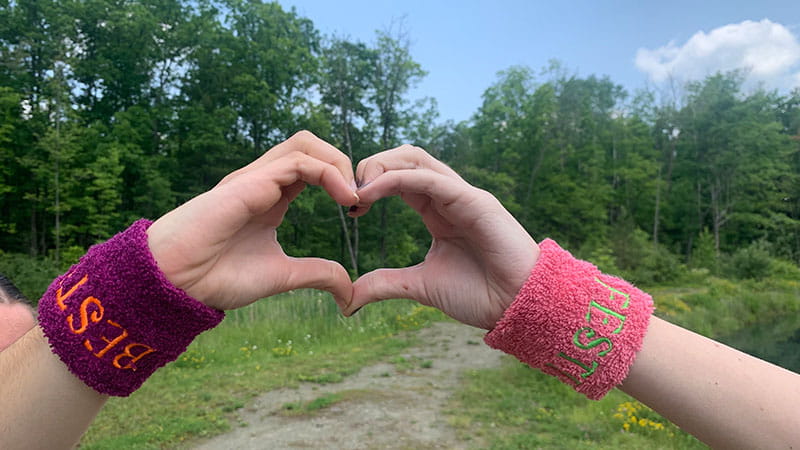
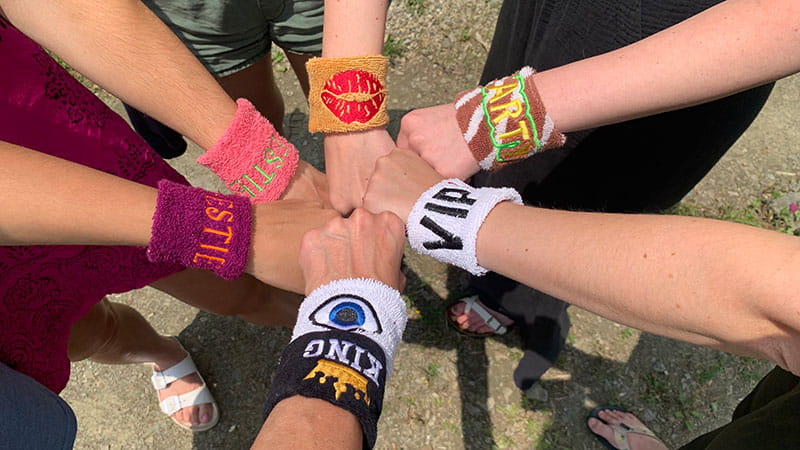
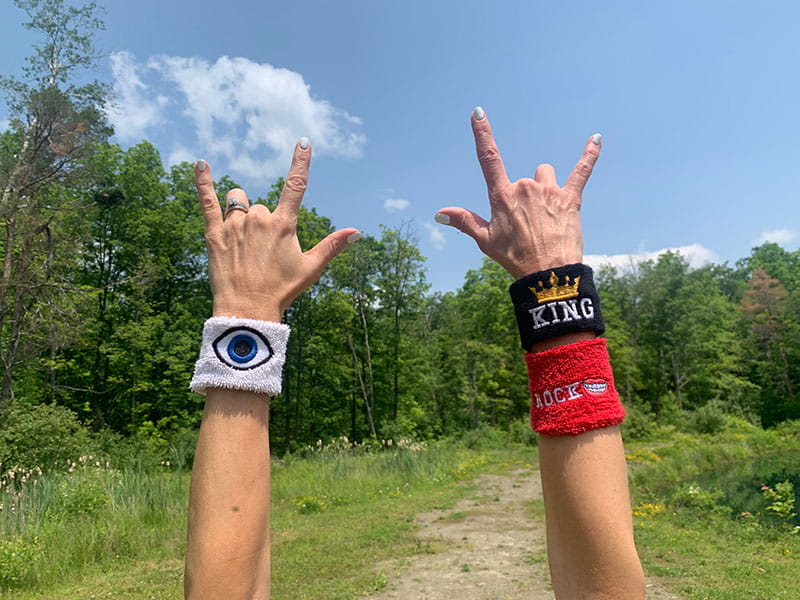
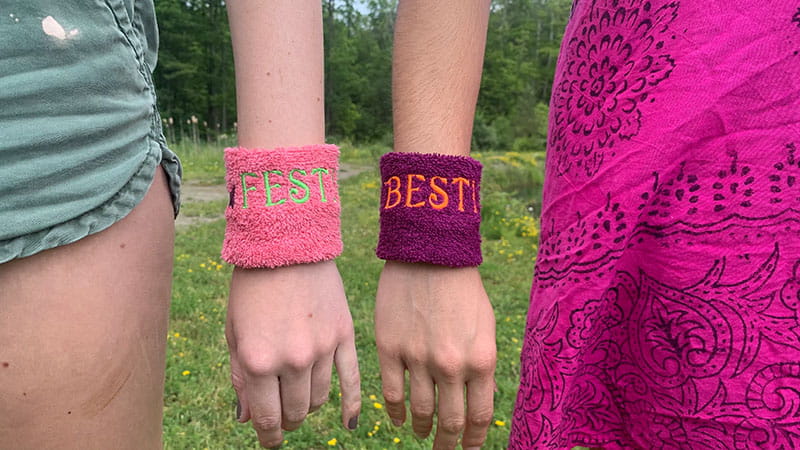
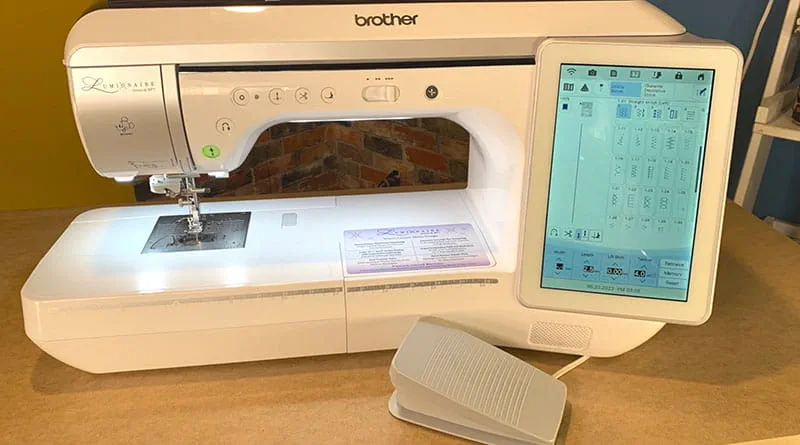
Sweatbands add great style to any festival outfit, plus, they are a great way to wick away moisture on a hot day. Wrist sweatbands are typically made of terry cloth which is a very absorbent and comfortable material. You can get creative with your design and personalize your sweatband, too! There are so many reasons to slip on a wrist sweatband, but the best is that you can make your own using an old towel and your Brother sewing and embroidery machine. This is an easy project to make multiple sweatbands for all your friends and all your festivals.
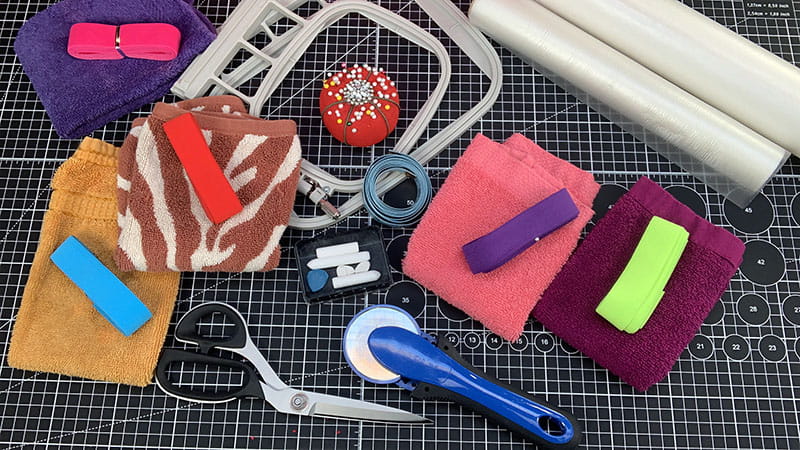
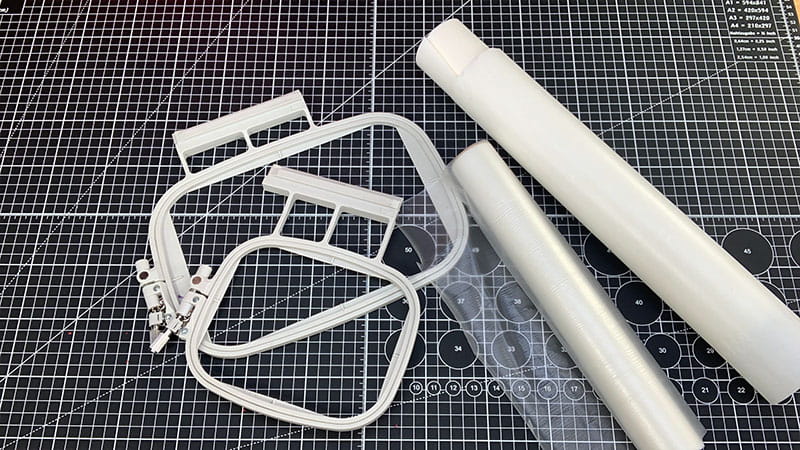
Supplies:
- Your Brother sewing and embroidery machine.
- An old towel
- 1”-2” thick elastic
- Medium-weight stabilizer
- Water-soluble topping stabilizer
- Rotary cutter and straight edge
- Scissors
- Marking chalk
- Straight pins
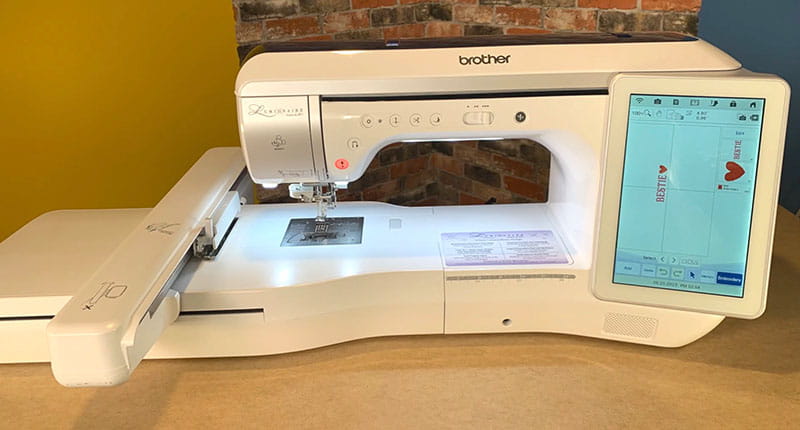
First, hoop the towel using a medium-weight stabilizer and a water-soluble stabilizer on the top to keep the stitches from sinking into the terrycloth.
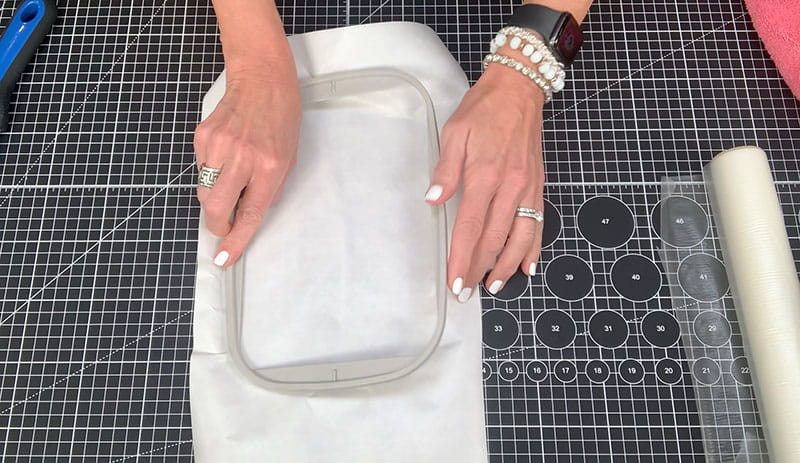
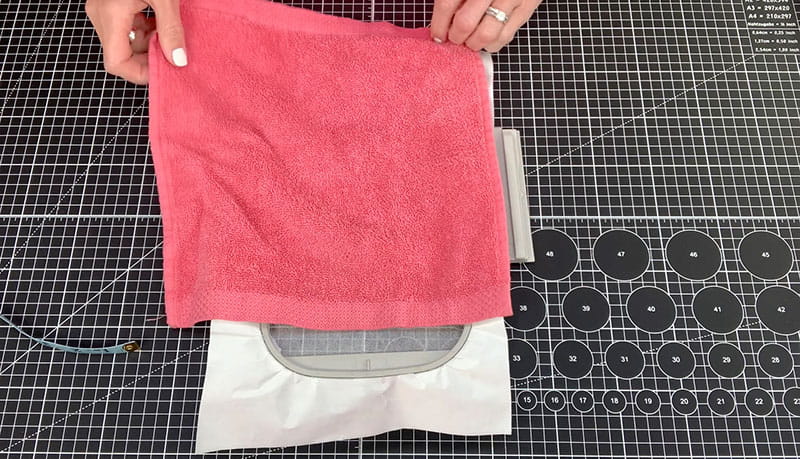

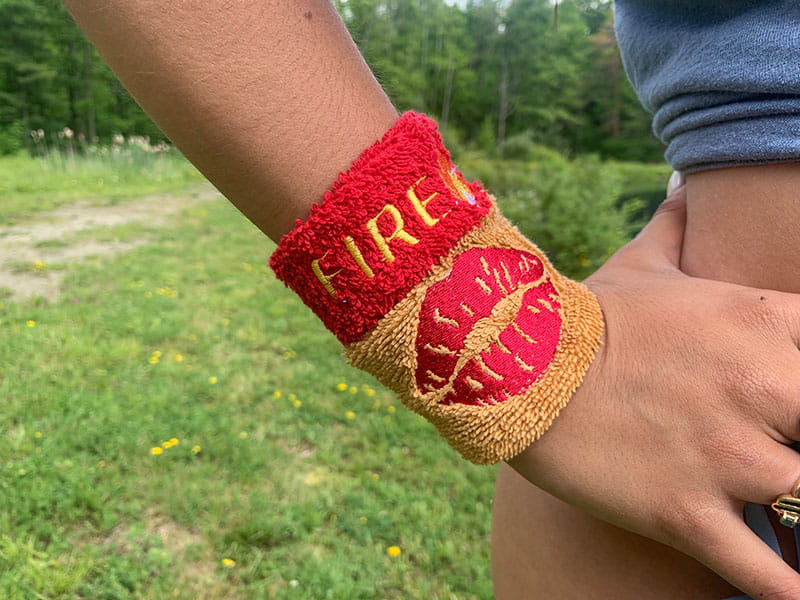
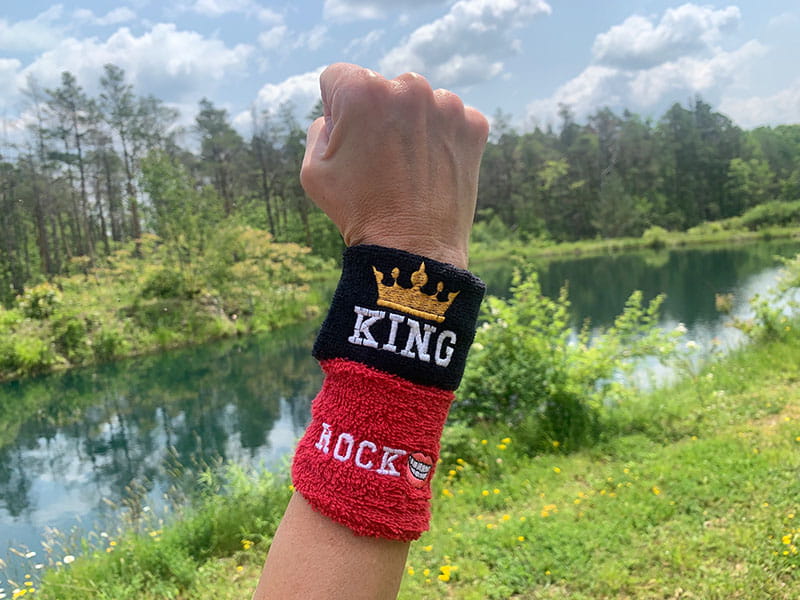
Get creative and personalize your sweatband. Decided on a statement word or fun symbol to add to your wristband. Pick words that best describe you, your friends, or the festival you’re attending.
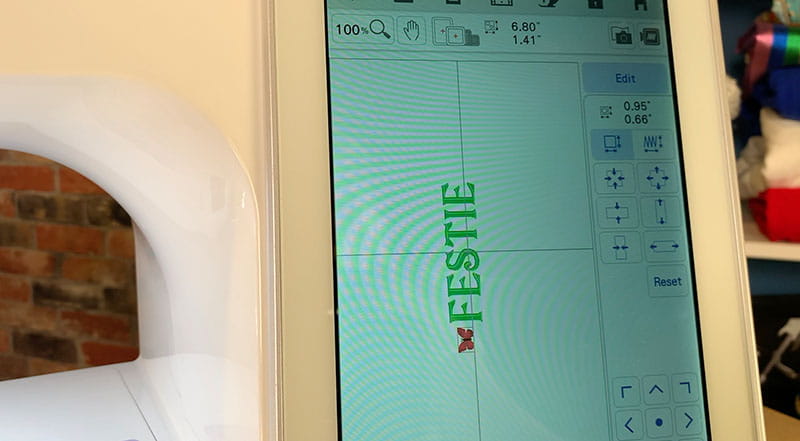
Place a mark on the towel where you want the embroidery and start the process. Measure and mark the size of the wristband on the towel before you embroider to ensure you are getting the proper design size. In this case, the wristband is 3” x 6” which means you need to mark a 6” width and 7” length. Place the embroidery design in the middle.
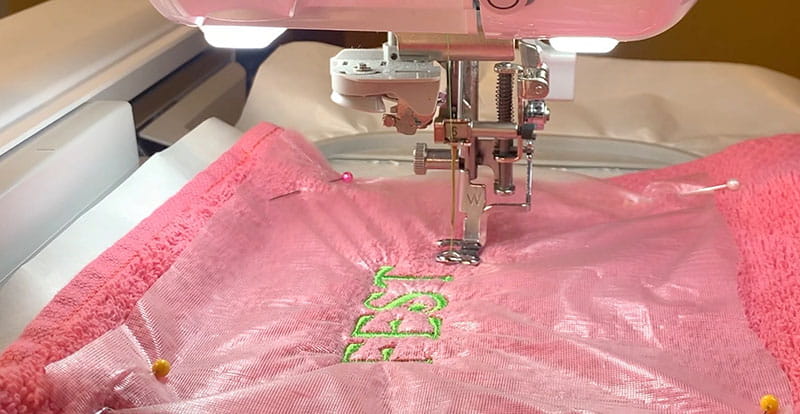
After embroidering, gently tear the water-soluble stabilizer away from the top. And trim or cutaway the stabilizer on the back.
Next do the final measurements and cut the towel. Because the wristband is 3” wide cut the towel to 6” for the width. We will be adding elastic to the backside of the band for stretch so cut the length 7”.


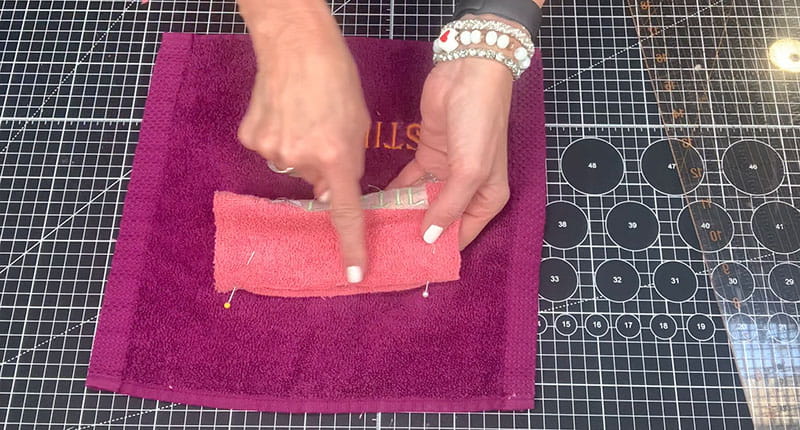
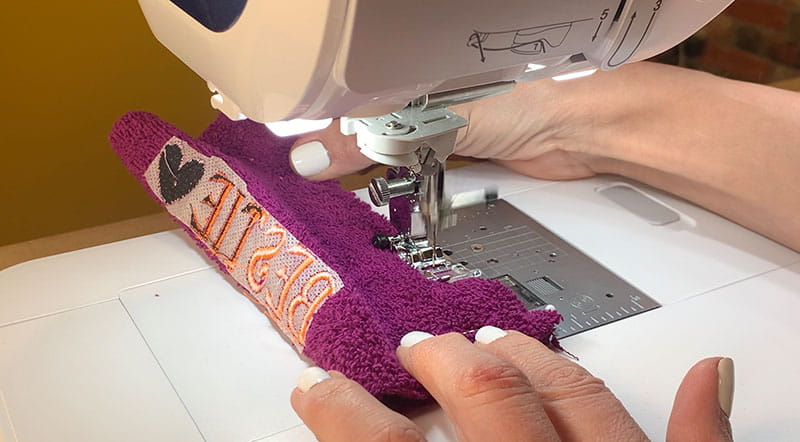
Fold the embroidered fabric band in half lengthwise with the right sides facing each other and sew the edges together. Turn the band right side out.
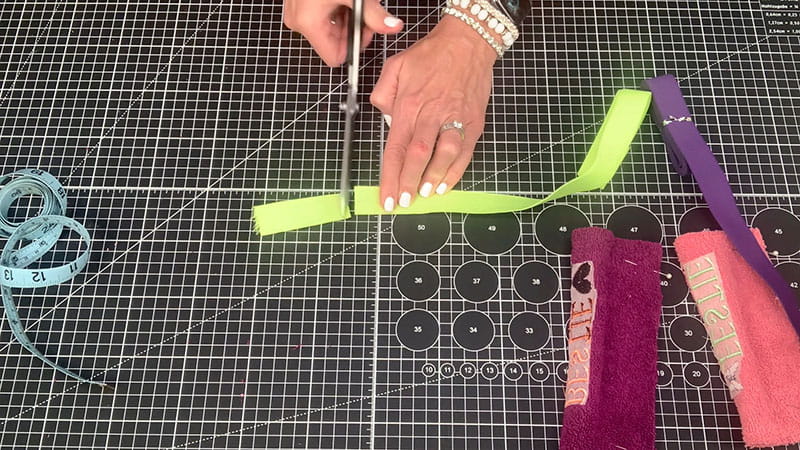
To ensure the wristband can stretch over your hand on fit snuggly on your wrist, cut two pieces of elastic about 3” long.
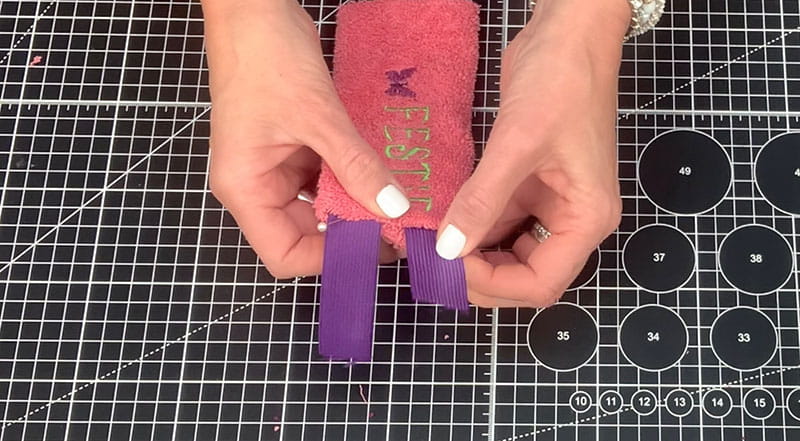
Back on your wristband, turn the raw edges of the band in. Then, place one end of the elastic inside the opening of the folded in end and pin in place.
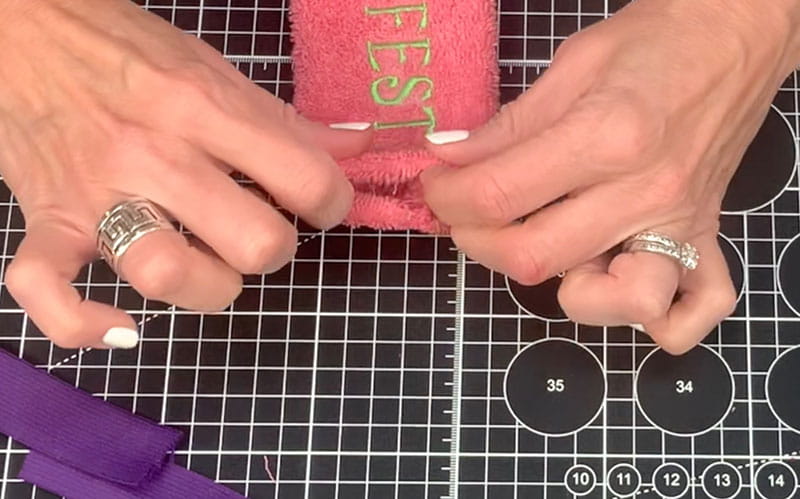
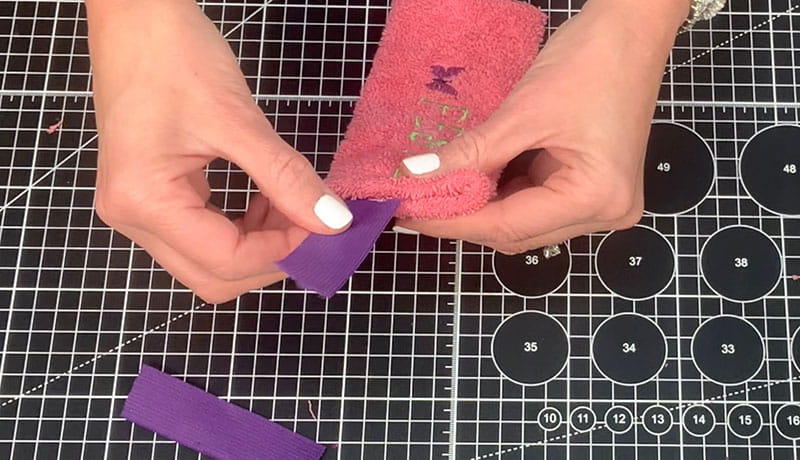
Do the same with the second piece of elastic.
Note: if you are using a 3” piece of elastic you will only cut one to add to the wristband.
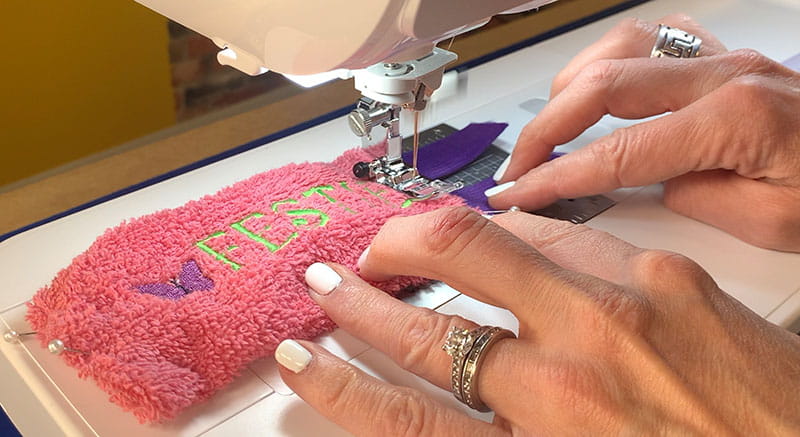
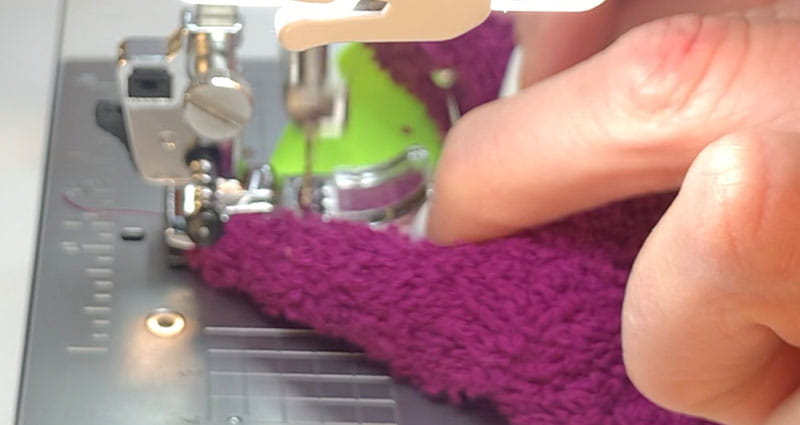
Topstitch the elastic in place on one side of the wristband.
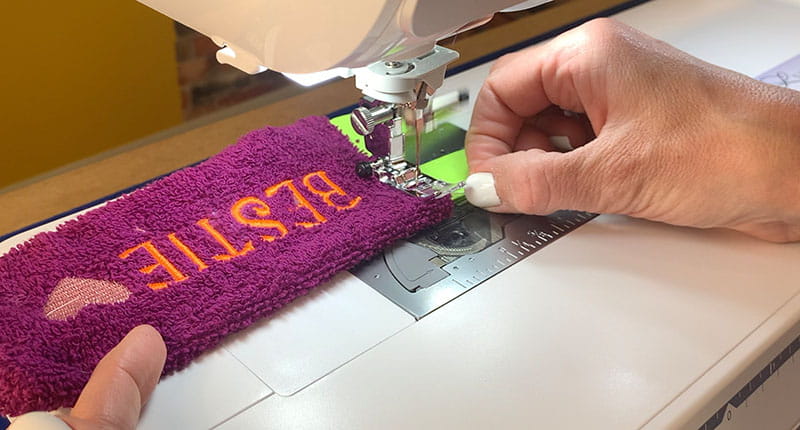
Pin the second side of the band with the elastic inserted and sew the elastic pieces in place.
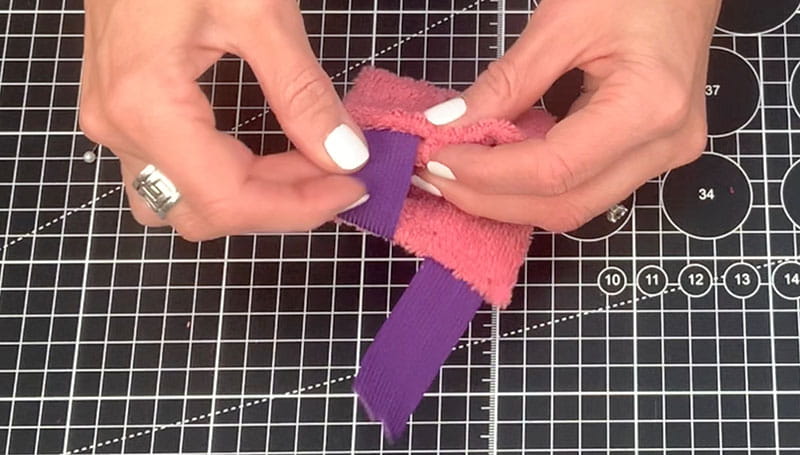
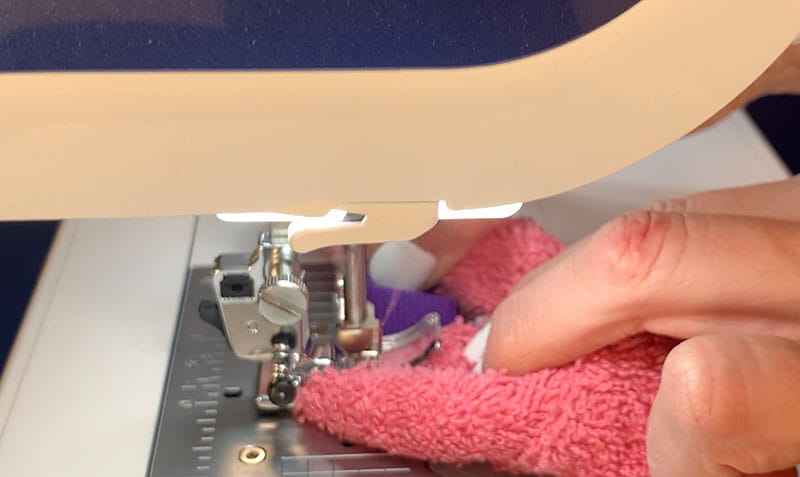
Turn the band right side out, slide it on your wrist and you have a personalized, recycled towel wristband!
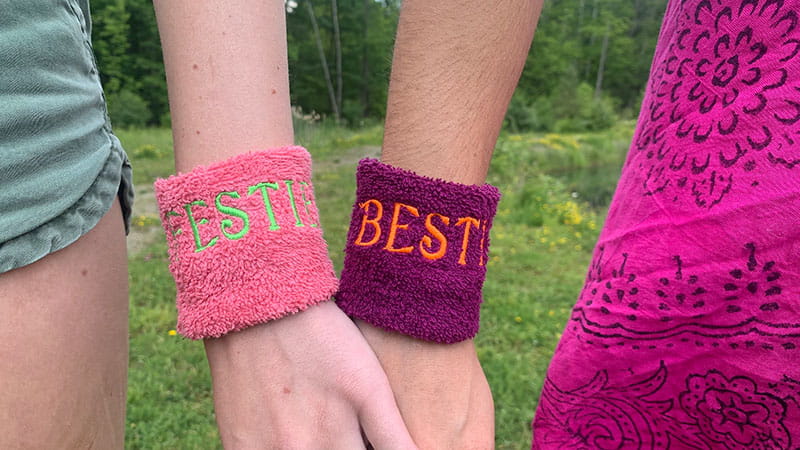
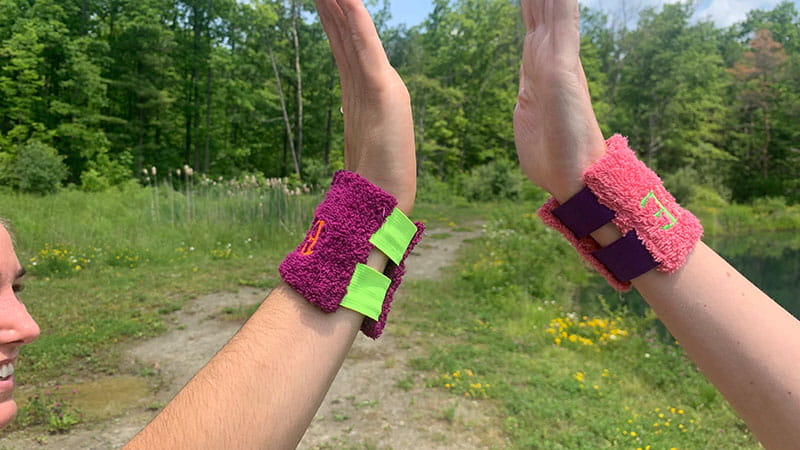
Don’t sweat it, personalize your own wristband with this easy sewing project!
