How to sew a Patchwork Denim Hoodie


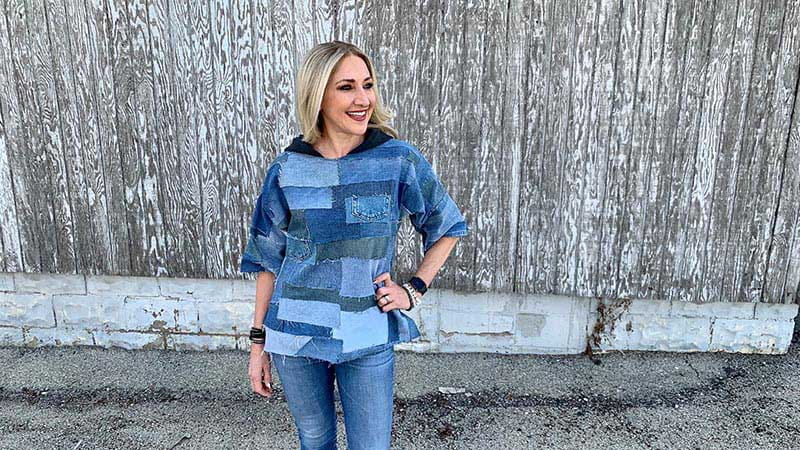
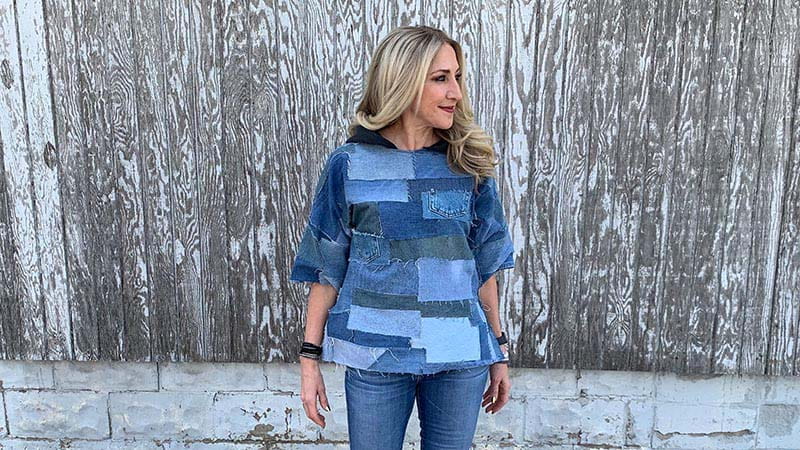
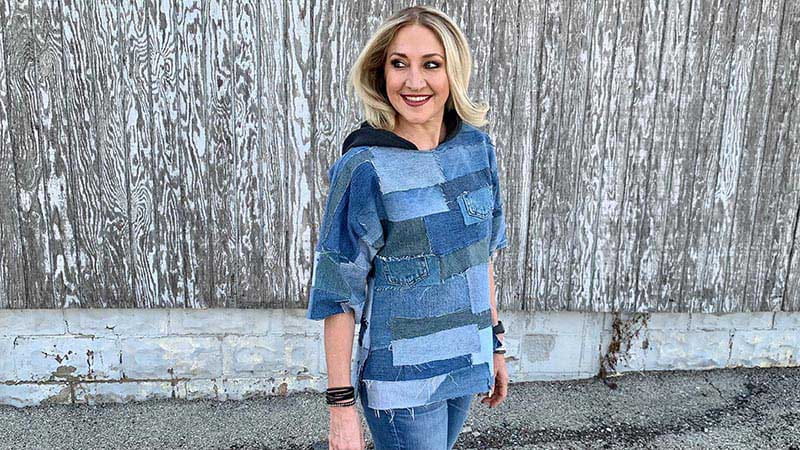
Upcycling denim is a great way to create your own textile and the denim patchwork design is being shown all over social media. This project will show you how to take this streetwear idea to your sewing room and create the popular deconstructed denim look. Learn how to create a patchwork denim hoodie.
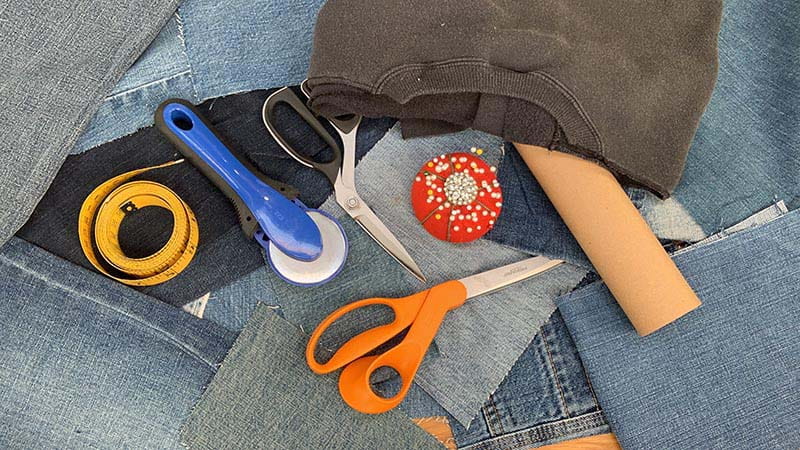
Supplies:
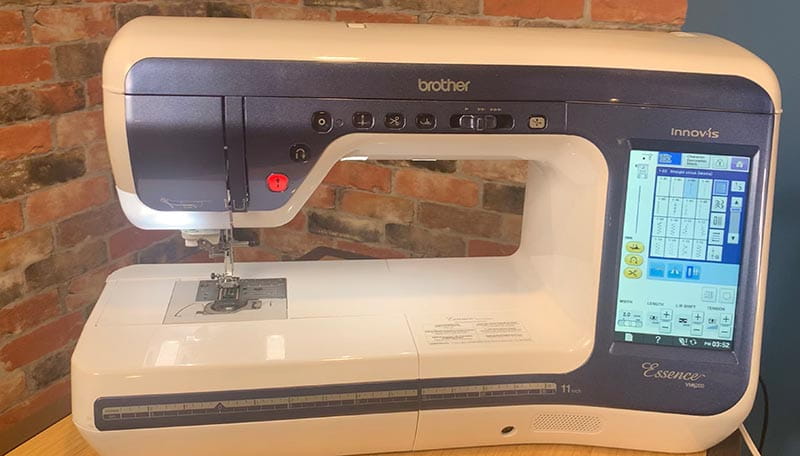
- Brother Sewing machine
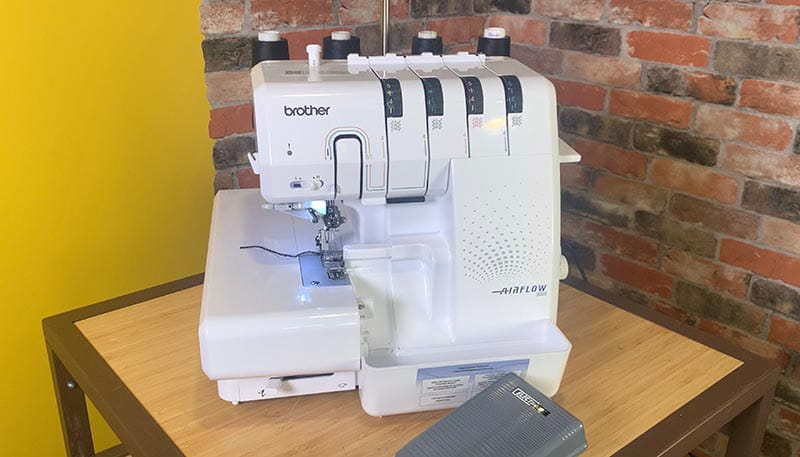
- Brother Serger (optional)
- Denim fabric scraps from once loved garments.
- Fabric scissors
- Rotary cutter and straight edge
- Straight pins
- Measuring tape
- Pattern paper and paper scissors
- An old sweatshirt or alternate material to create the hood.
Creating the textile
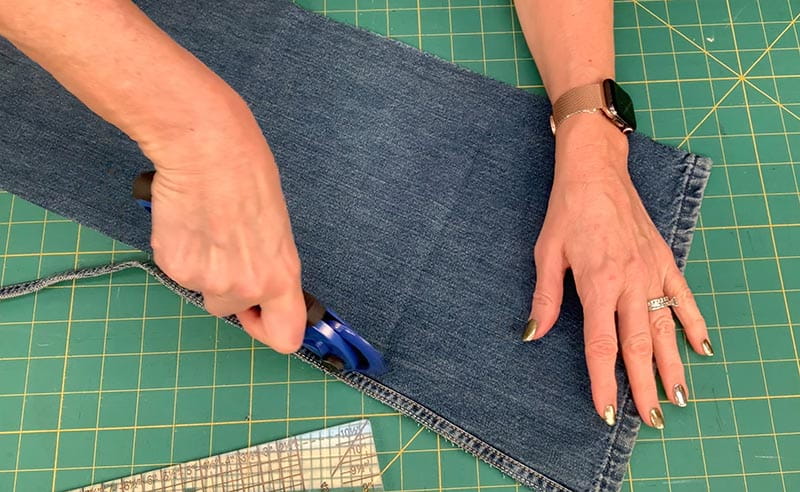
Cut the old denim garments and scraps to create various sizes and shaped pieces. The goal is to create two large pieces of textile to use at the fabric for the shirt.
To create the textile, start by pinning a few pieces of denim together.
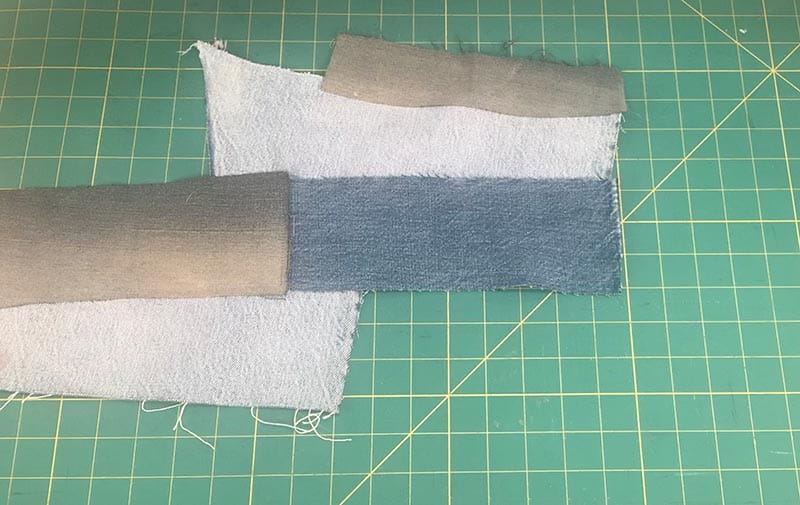
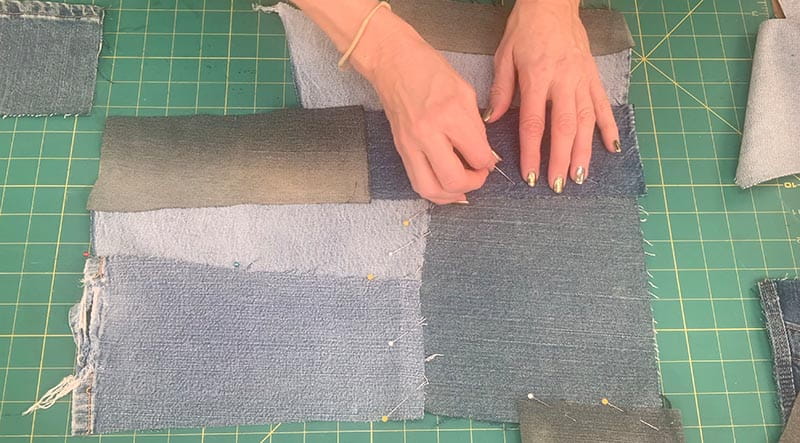
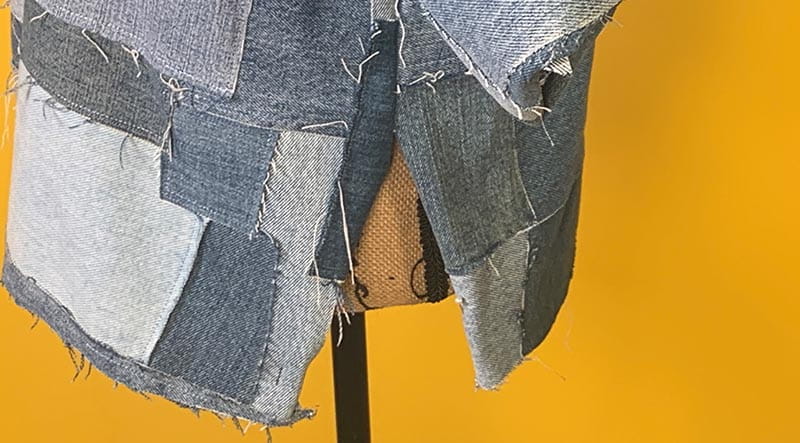
Overlap the edges and leave the raw edges exposed to get a textured design.
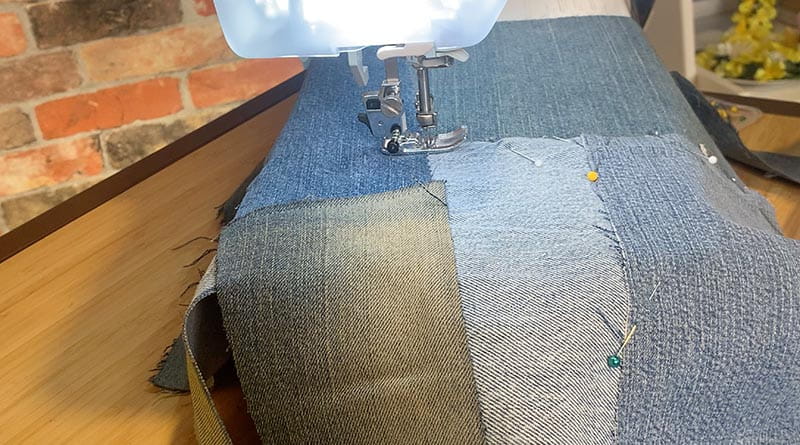
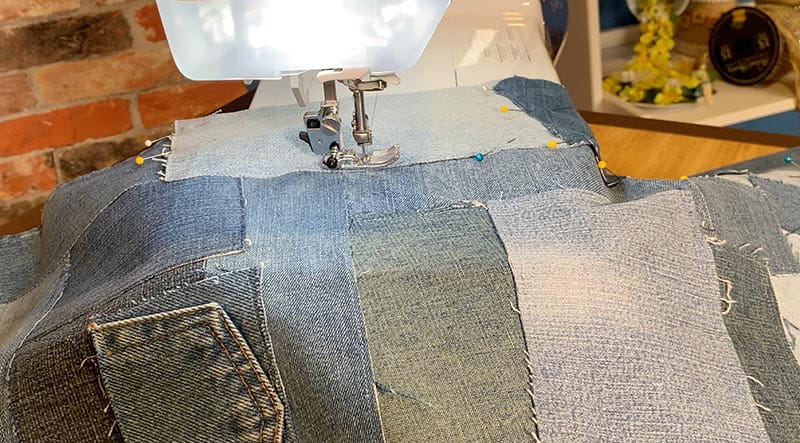
Since this project is all about creating your own textile, the placement of your patchwork pieces and mixed wash styles are important. Be creative and mix various washes and sizes together.
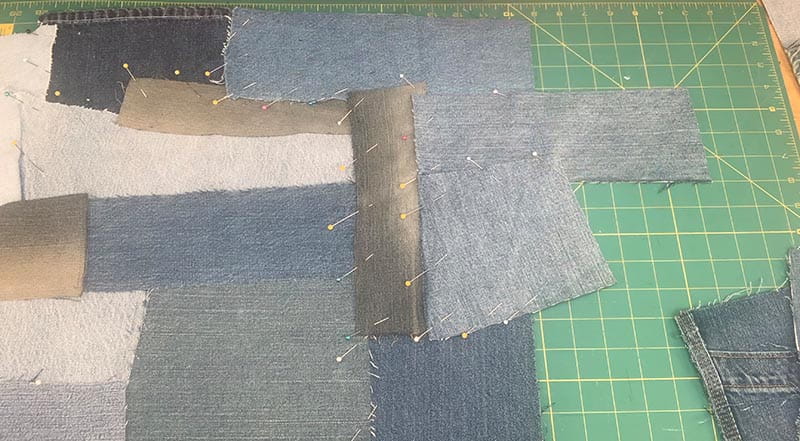
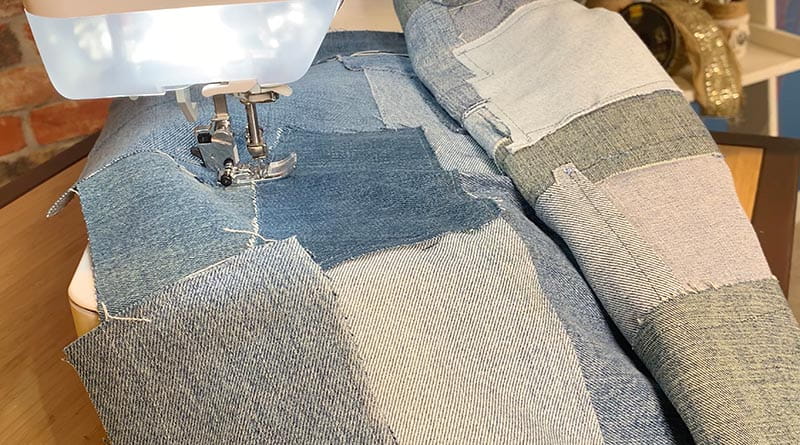
Piece, pin, and sew the denim scraps together until you create two large pieces of textile.
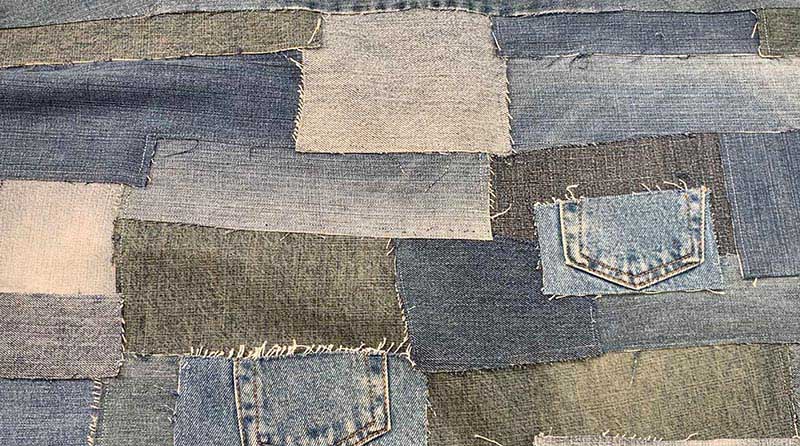
Top Tip: Turn the re-constructed denim textile over to the wrong side and clip the excess fabric close to the seams. This will reduce the bulk in your final look.
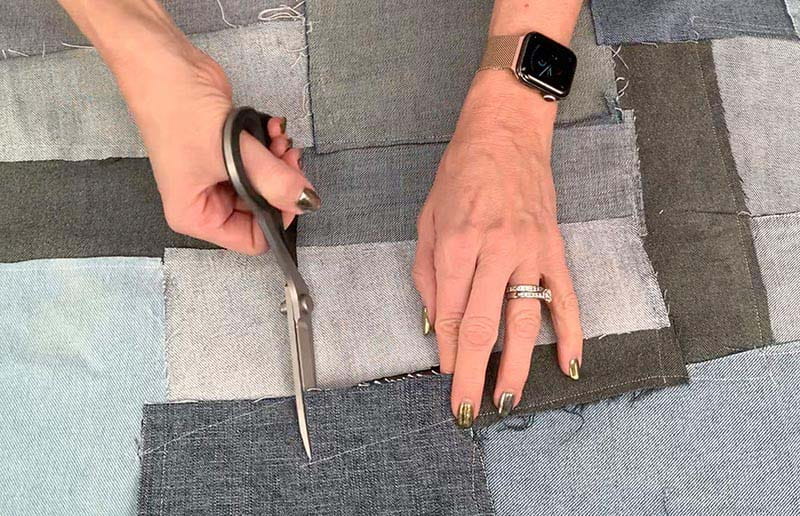
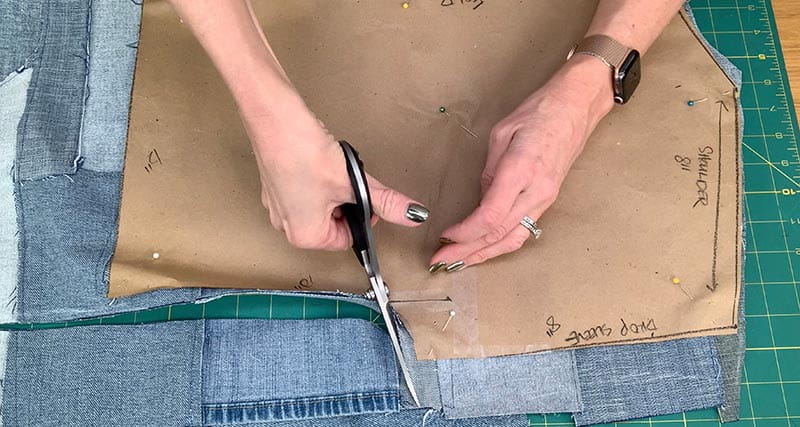
Cut the shirt pattern out of the new denim textile. This project uses a very basic shirt pattern with all-in-one sleeves that are already part of the bodice.
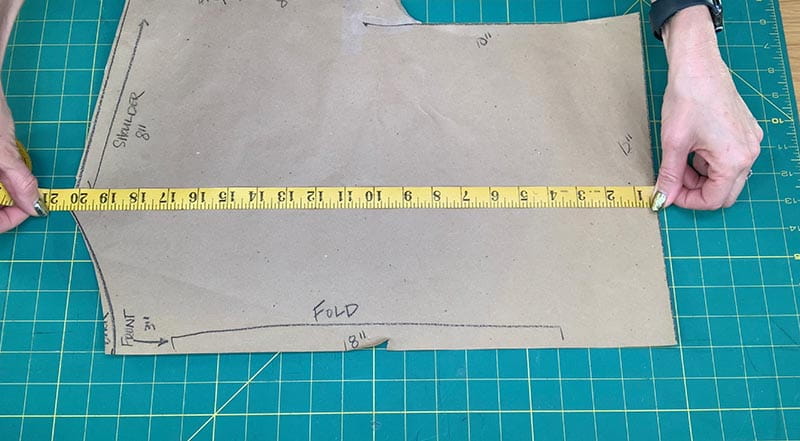
Fold the textile in half with the right sides facing each other. Place the shirt pattern on the fold, pin it in place, and cut out the pattern.
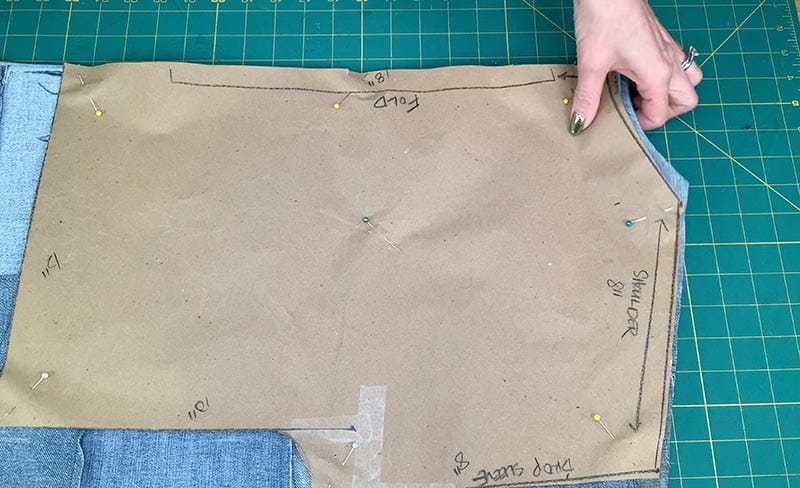
Top Tip: Leave the bottom of the pattern long to determine the length later.
Cut out a front and back piece.
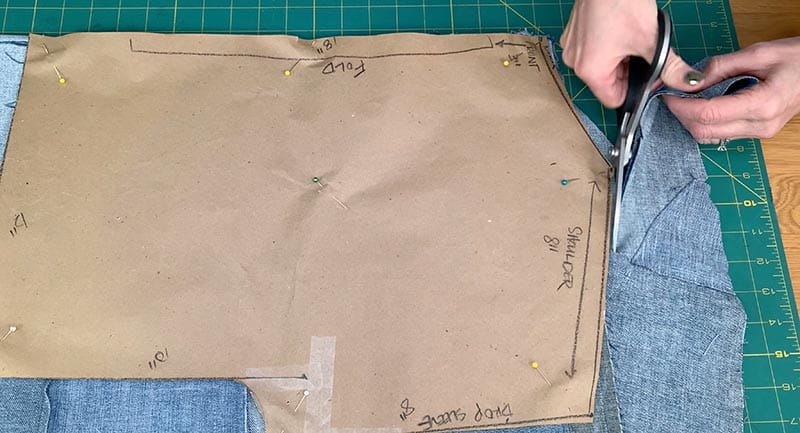
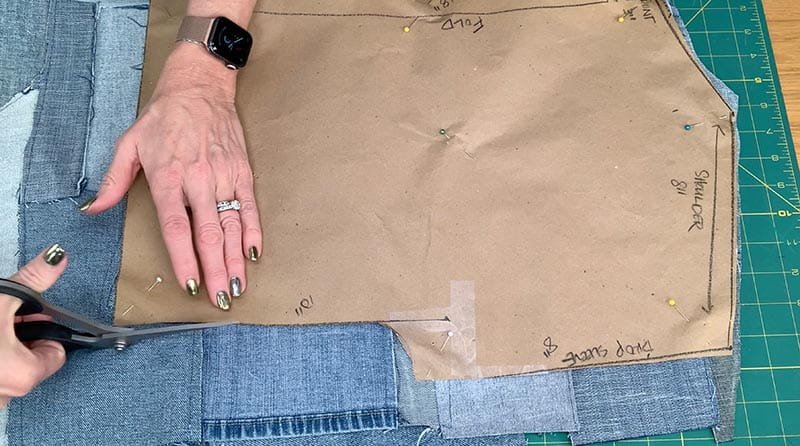
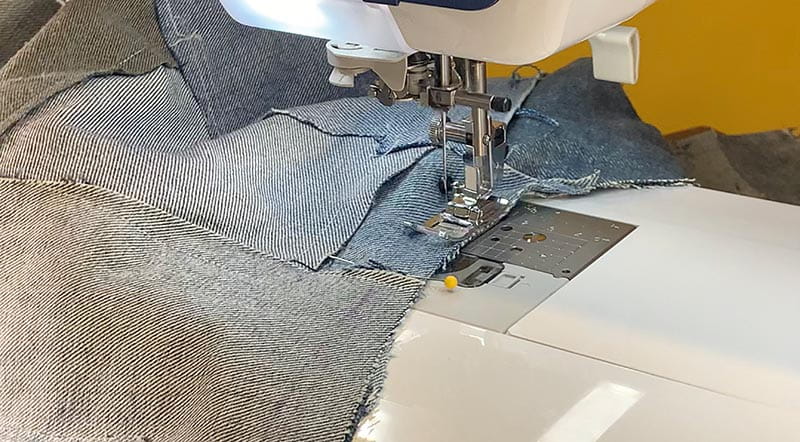
With the right sides together baste stitch the shoulders and sides.
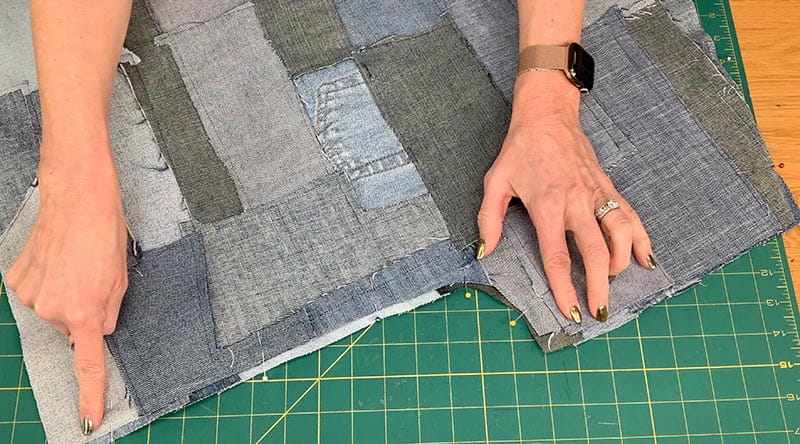
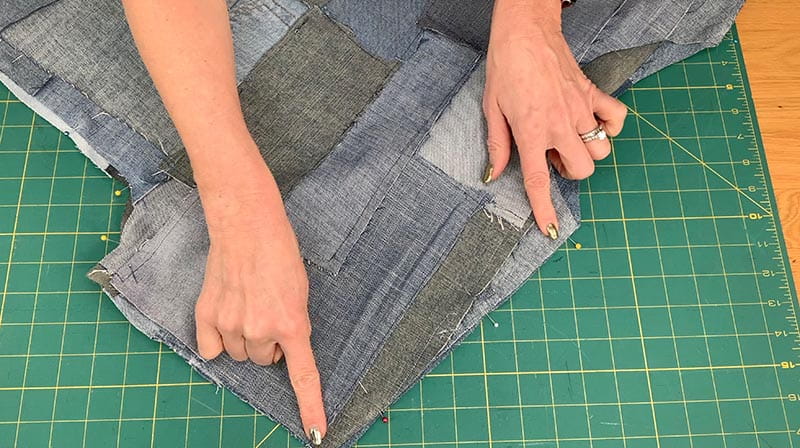
Try the shirt on for fit and, if needed, take in the sides or add material to lengthen the sleeves.
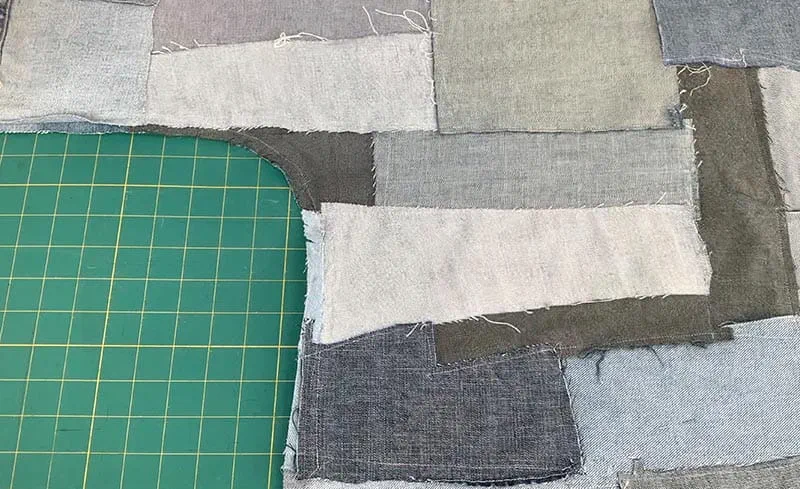
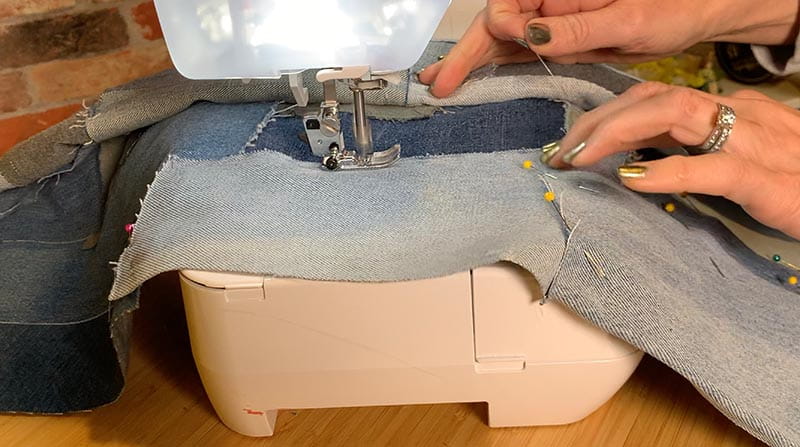
Sew the sides and shoulders.
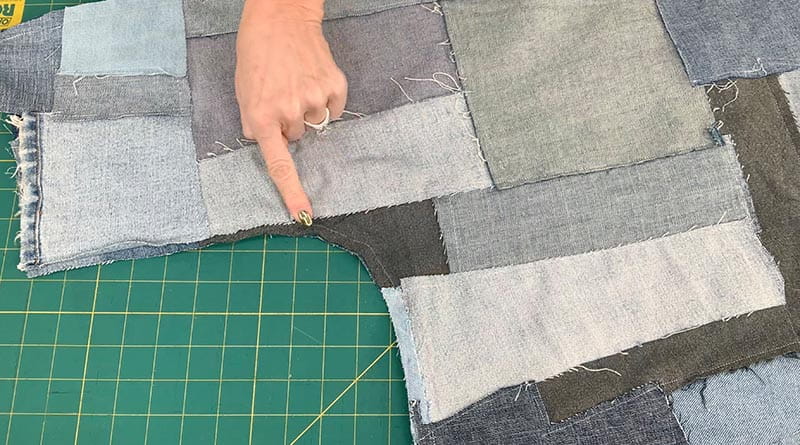
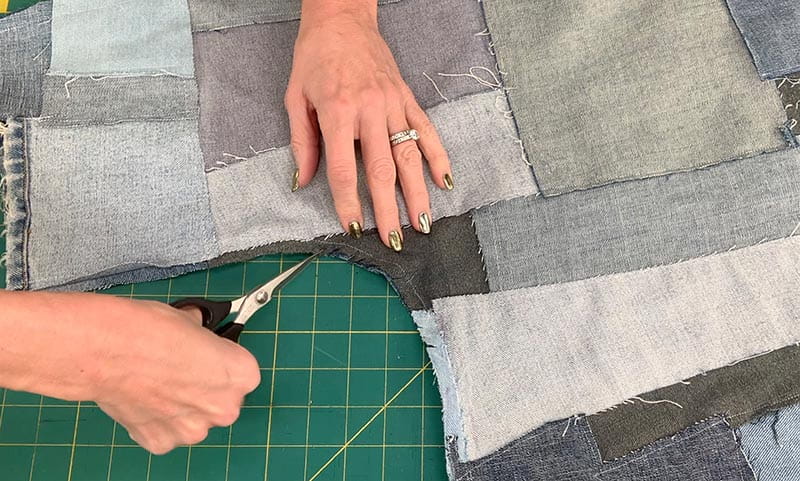
Clip the curves under the arms and clean up any raw edges.
Adding the hood:
Using a basic hood pattern, simply cut the pattern from an old sweatshirt to stay on course with a fully upcycled finished garment.
Cut out the hood pattern from the material.
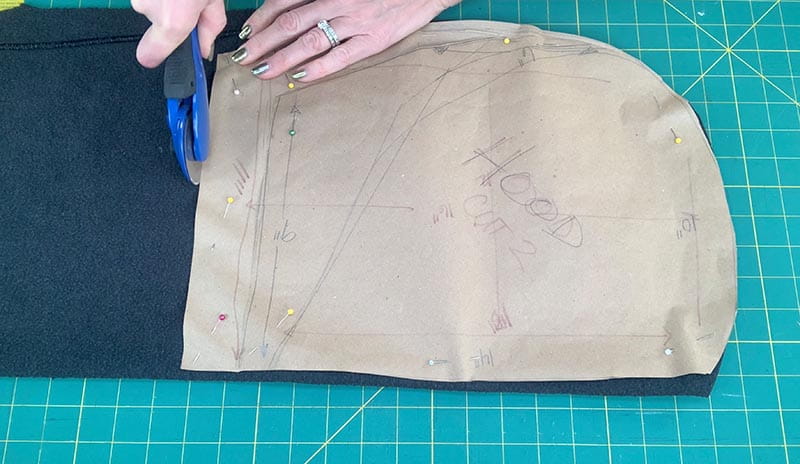
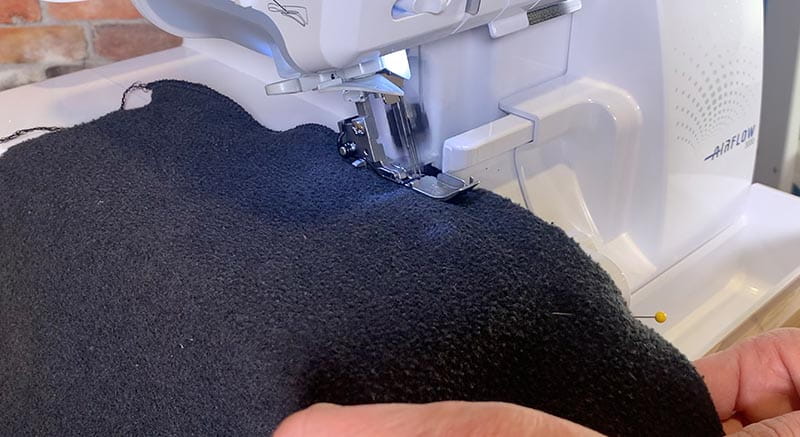
Serge or sew the back portion of the hood pieces together.
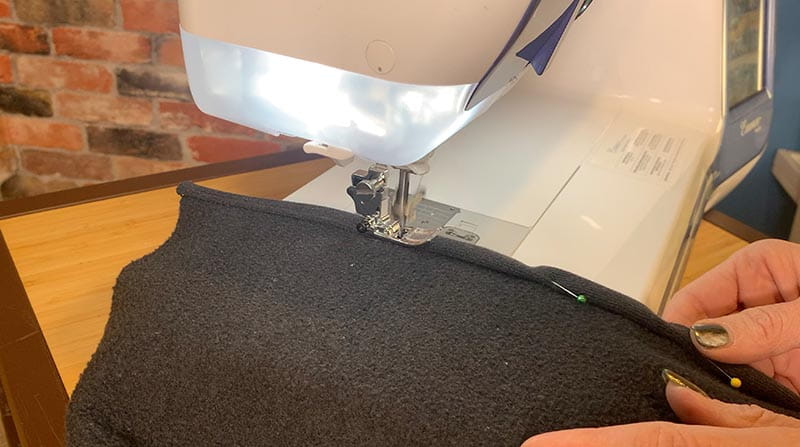
To finish the front of the hood, fold the raw edge in twice and sew.
Pin the hood on to the collar of your denim shirt with the right sides facing each other.
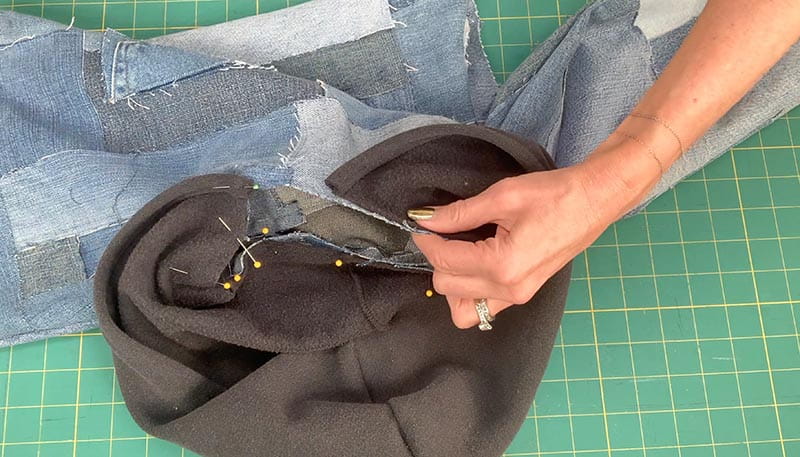
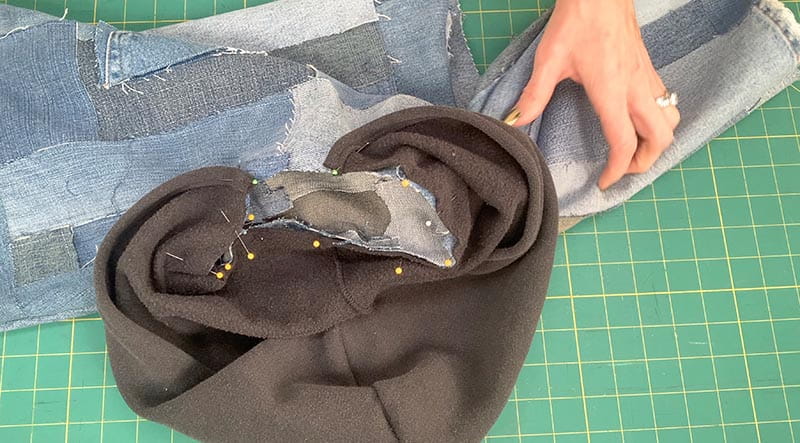
Sew it in place.
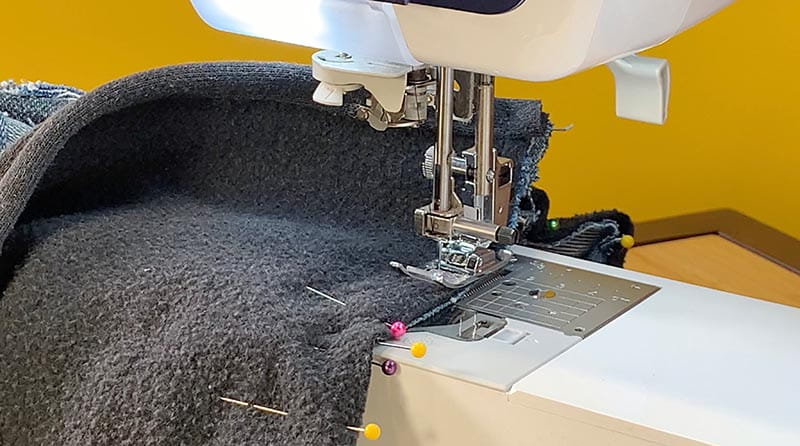
To finish, with the collar folded inward and the hood in place, topstitch the hood and denim so it lays flat.
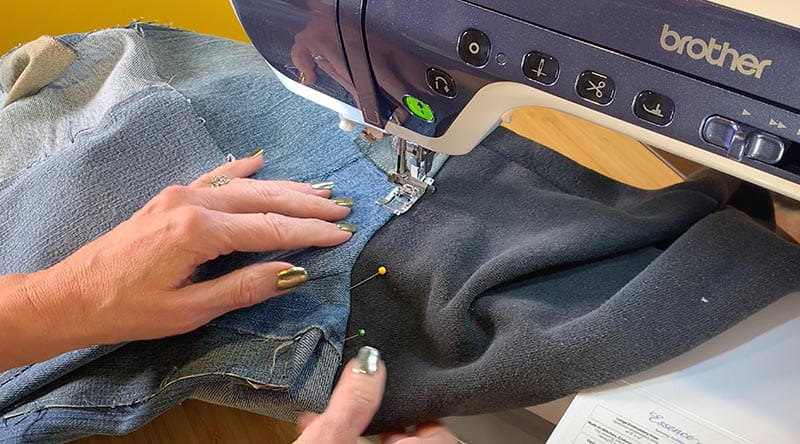
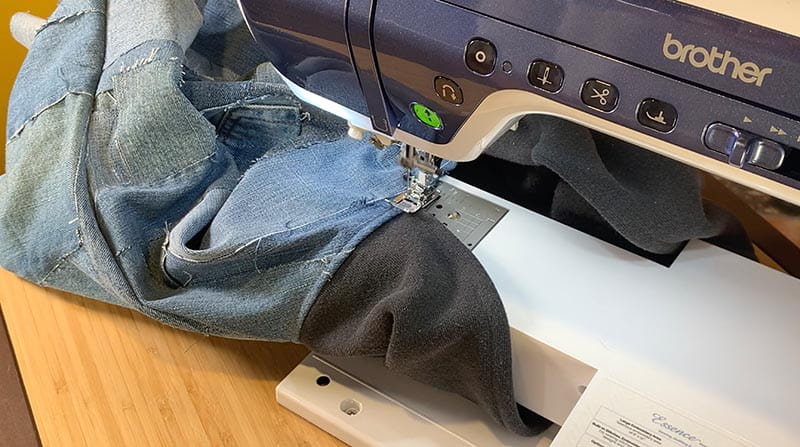
Hem the sleeves and the bottom to your desired length or you can choose to leave them with raw edges.
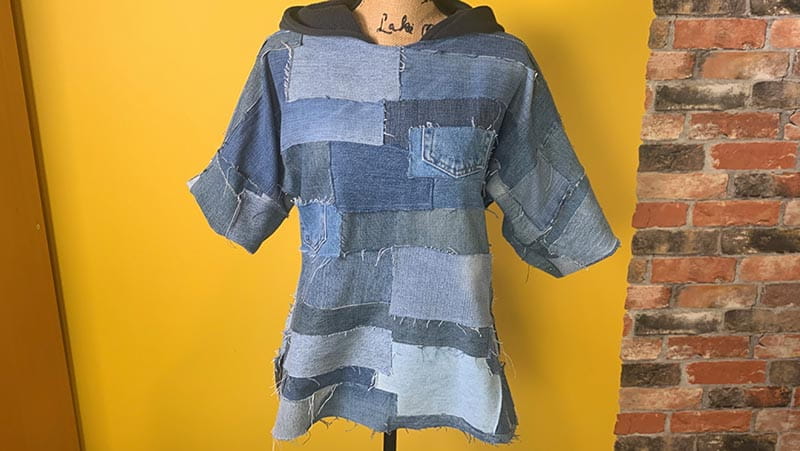

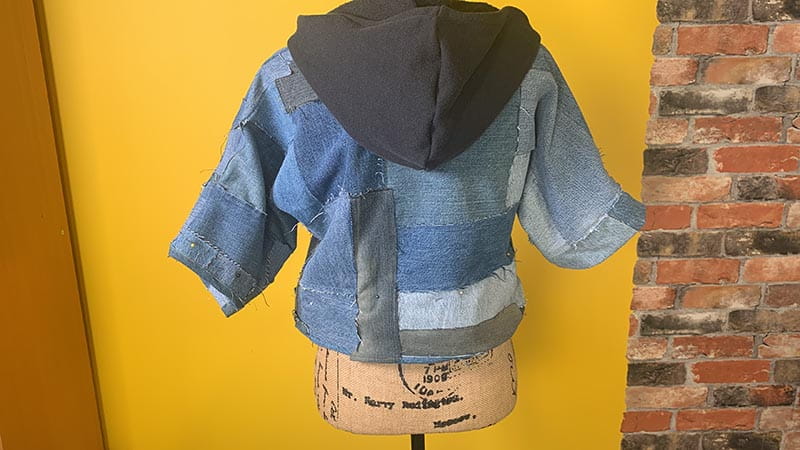
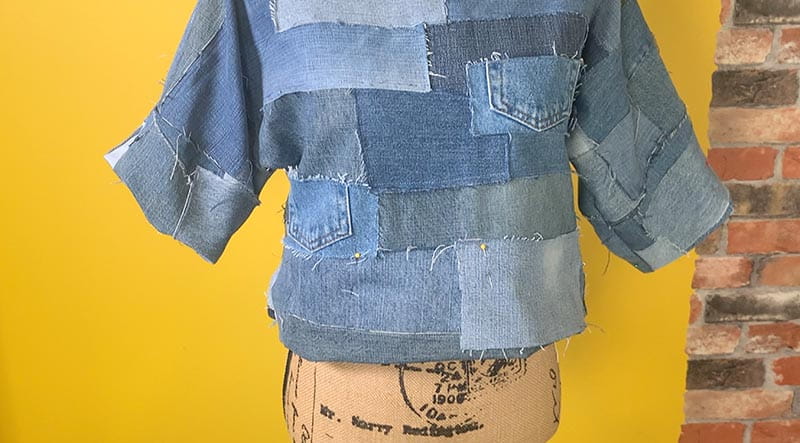
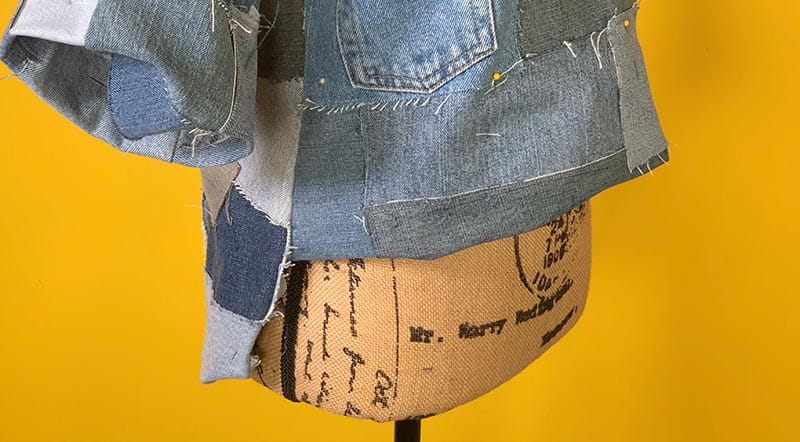
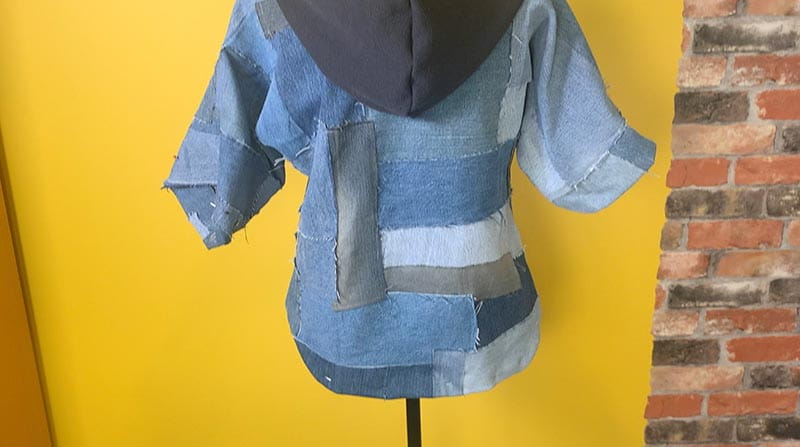
And your patchwork denim hoodie is complete! With this simple concept, you can create so many things out of a patchwork denim textile like skirts, jeans, jackets, bags and home décor.
