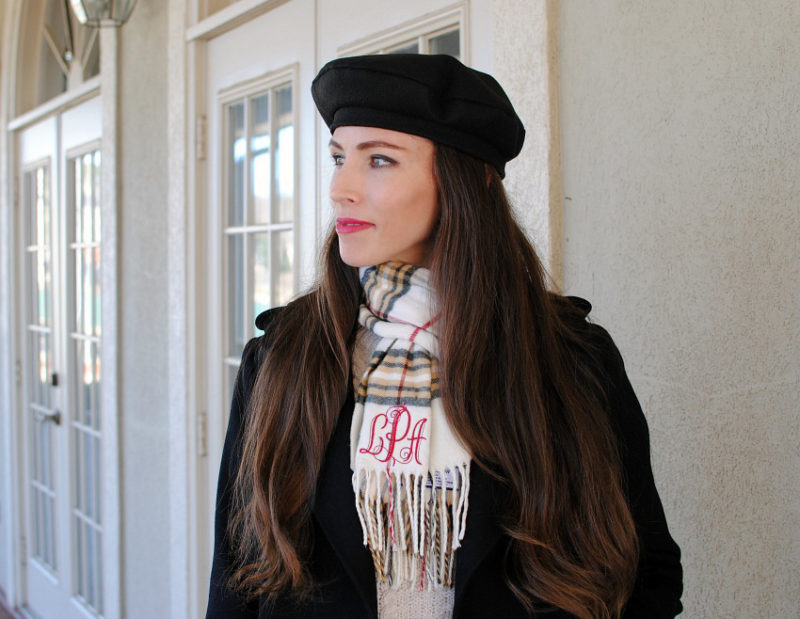
Winter Beret and Scarf Combo
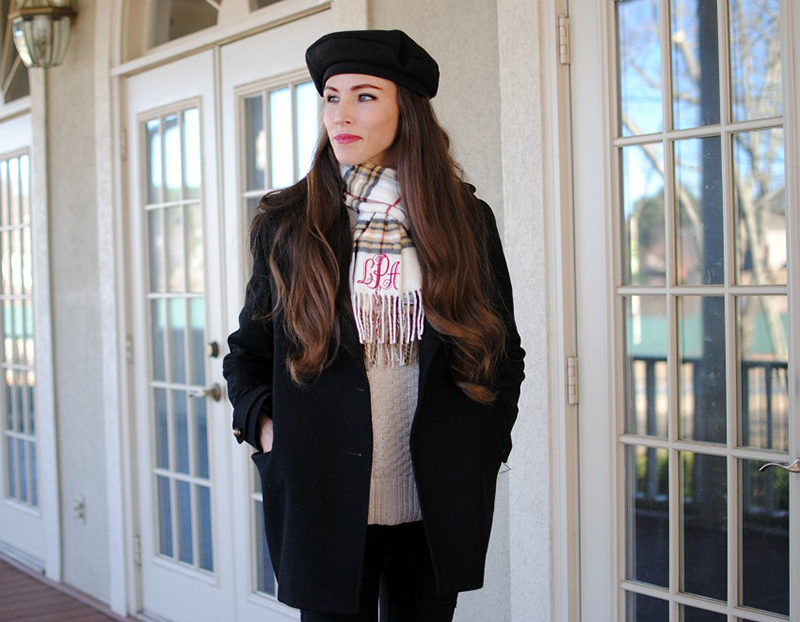 January is here so I am kicking off my winter sewing with some accessories to keep me warm during these chilly months. If I’m out and about, I’m usually wearing some sort of hat and scarf so I thought it would be fun to share a couple tutorials for these. I’m really loving the beret trend right now, it’s a classic and timeless hat that is easy to sew. Another way to add a custom detail to your look is a monogrammed scarf. If I’ve learned one thing from living in the South it’s that you can’t have enough monogrammed items. Get the details below on how to make your own.
Supplies:
- Hat
- 1/3 yd. of wool or felt material
- Pins
- Brother SE625 Sewing and Embroidery Machine
- Scarf
- Scarf to monogram
- Built in monogram letters from SE625
- Software to create monogram (I used the Brother PE800
to create mine and saved it on a USB drive) - Pacesetter Water-Soluble Stabilizer
- 4” x 4” hoop
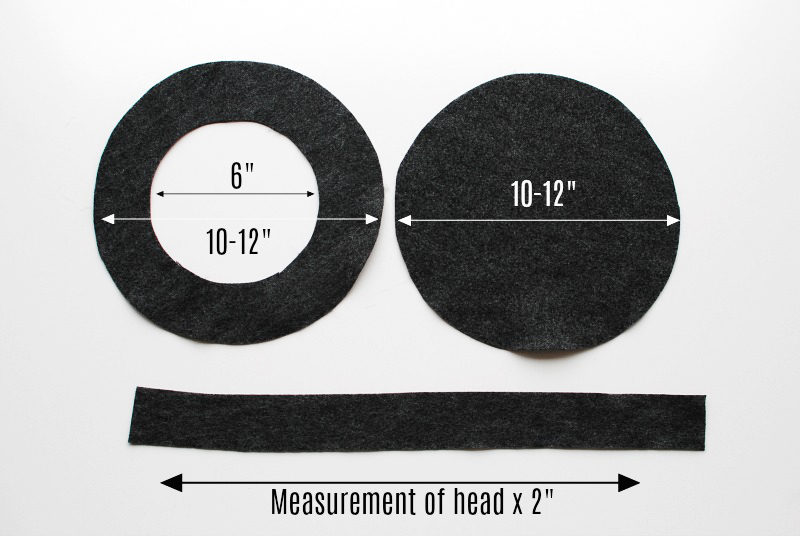
Note: Use the template above to cut your beret pattern.
The pattern is 2 larger circles and a band. The circles perimeter should measure the same. One will have an interior circle cut out in the center. The band will measure your head circumference x 2” in width. It’s okay to have a negative ease for the band if the fabric has a little stretch. If not then add ½” to your measurement for seam allowance.
The large circle I created had a 10” diameter, the interior circle of mine has a 6” diameter. You will want the inner circle perimeter to = your head measurement so you will want to get the correct diameter for your hat. You can create paper templates or even use plates.
Tip: Because the hat is a quick project, create a sample using felt which has a similar feel to wool. That way you can edit the hat if necessary before using wool.
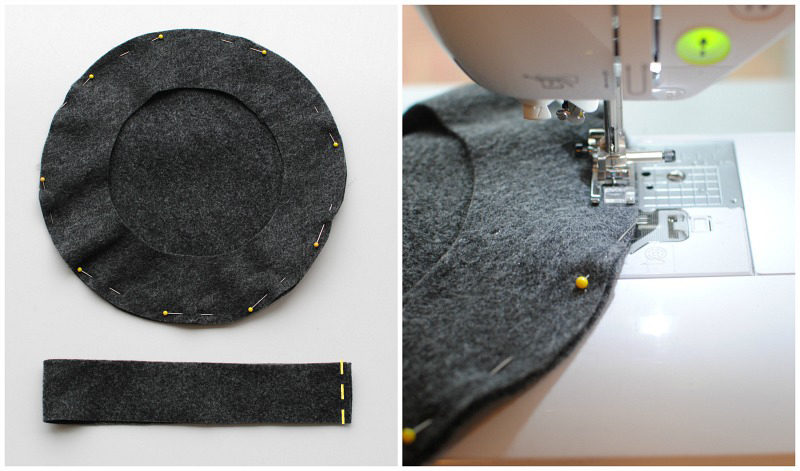
Sewing:
- Place the larger circles right sides together and pin.
- Sew around the edge with a ¼” seam allowance.
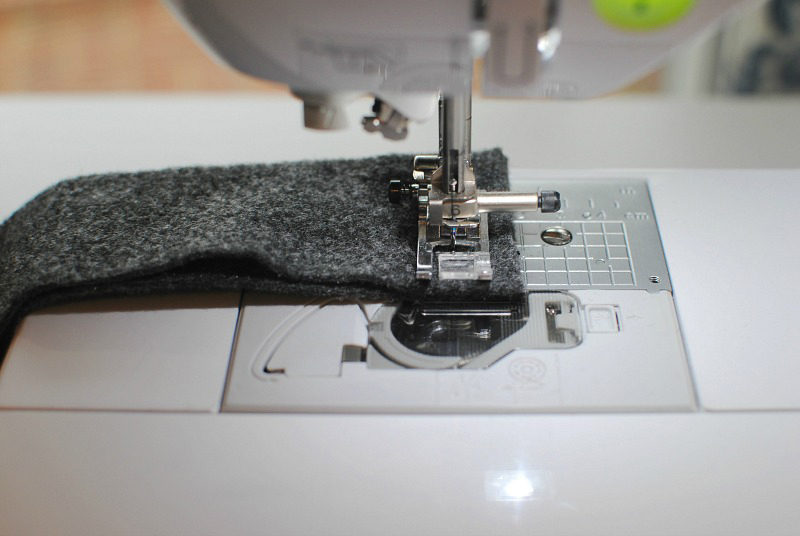
- Fold the band in half right sides facing and sew the ends together to create a loop.
- Fold the band in half (right side out).
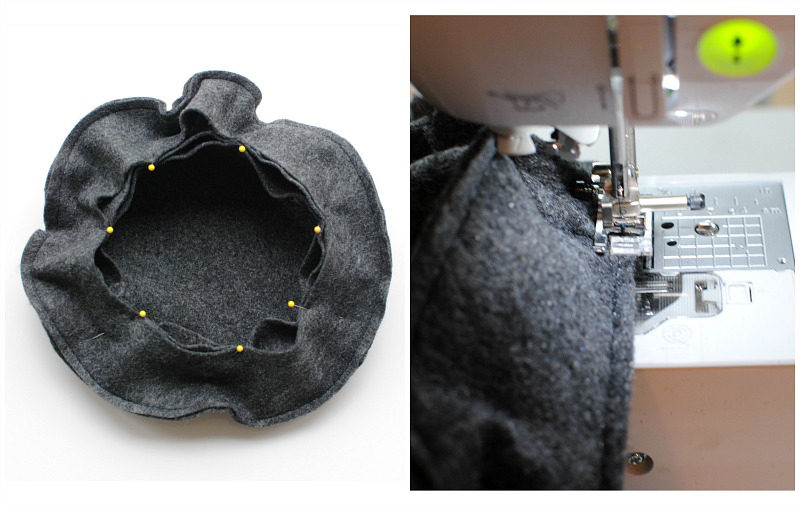
- Pin the folded band right sides facing along the hat brim making sure it fits evenly around.
- Sew making sure to get all 3 layers.
- Clip the curves if necessary.
Monogram Scarf
- Mark the location you’d like the monogram to be. I like to create a sample or print out the monogram to decide the best location and size.
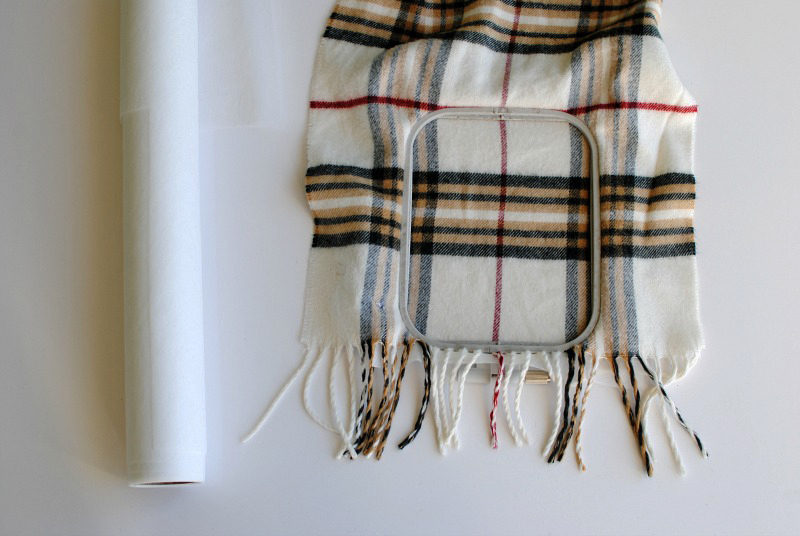
- For this scarf, it was easy with the plaid line down the center. I wanted the embroidery to be near the bottom edge. I like to mark with a fabric marking tool the center with the template.
- Use a water-soluble stabilizer and cut about 2” larger than the hoop.
- Hoop both stabilizer and the scarf.
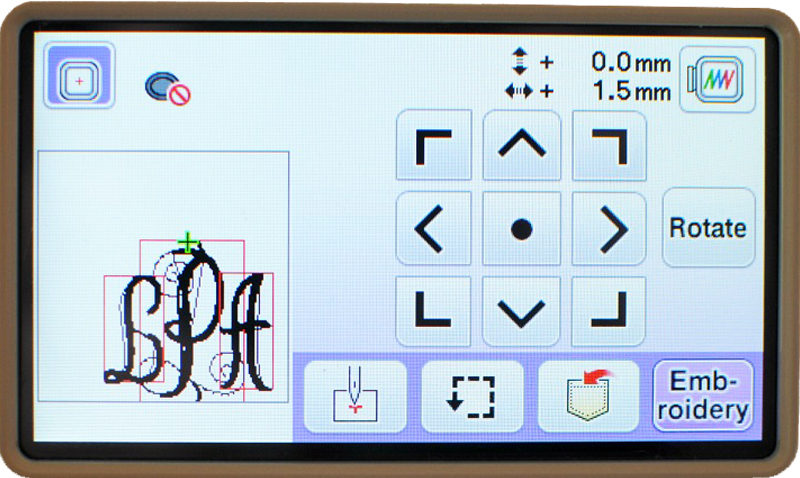
- Use the arrows on the touch screen to center the design and make sure placement is correct.
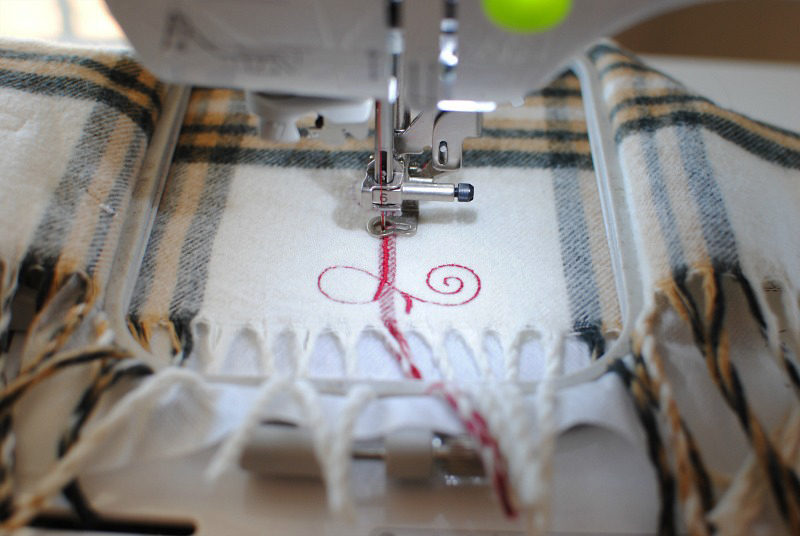
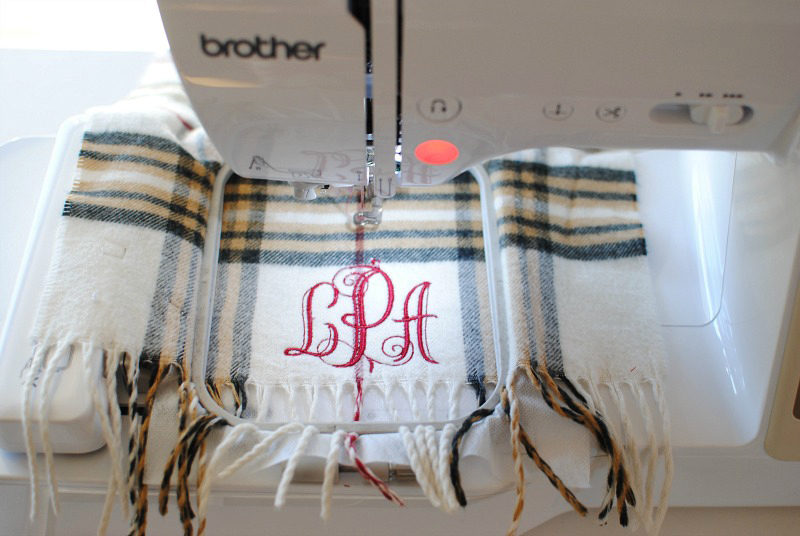
Embroider
- Remove the additional stabilizer from the back. I like to trim it down and then remove the excess with water.
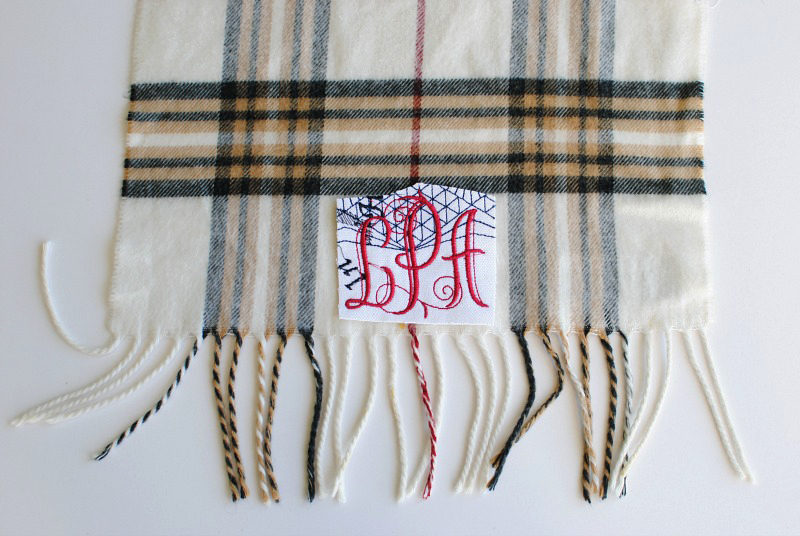 Now you have a fun and cozy combo for winter!
