Holiday Gift Guide Project: Embroider Hats and Mittens
Customizing pieces of your winter wardrobe has never been easier. This project, as seen on the cover of the new 2017 Brother Holiday Gift Guide,
will show you how to use embroidery and appliqué to embellish a knitted hat and mittens. Ready? Let's get started!
Project:
- Embellish hat and mittens
Supplies:
- Hat, mittens, 10” x 4” fabric, Brother embroidery thread, Brother metallic thread,
Pacesetter medium weight tear-away adhesive stabilizer, tack adhesive fabric support sheet, piece of plastic (dry cleaner bags work great!)
Machines:
Steps
- Visit www.ibroidery.com
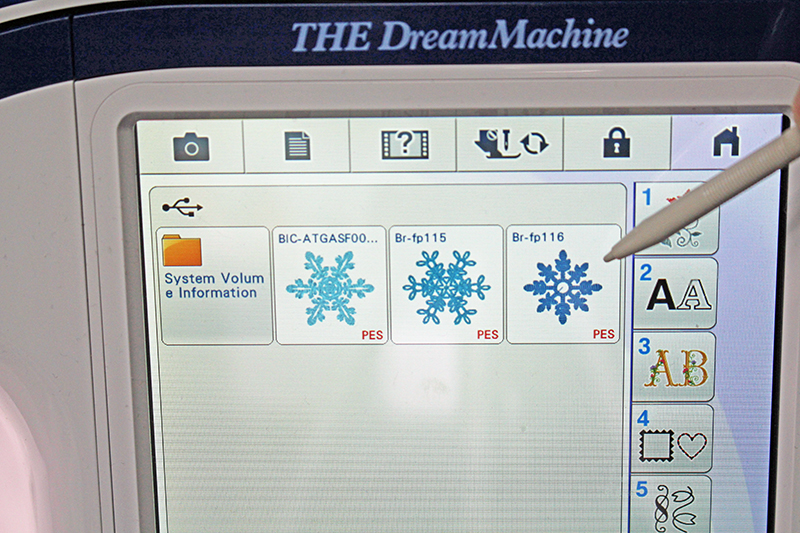
and search through the snowflake designs. I choose design #BR-fp116,
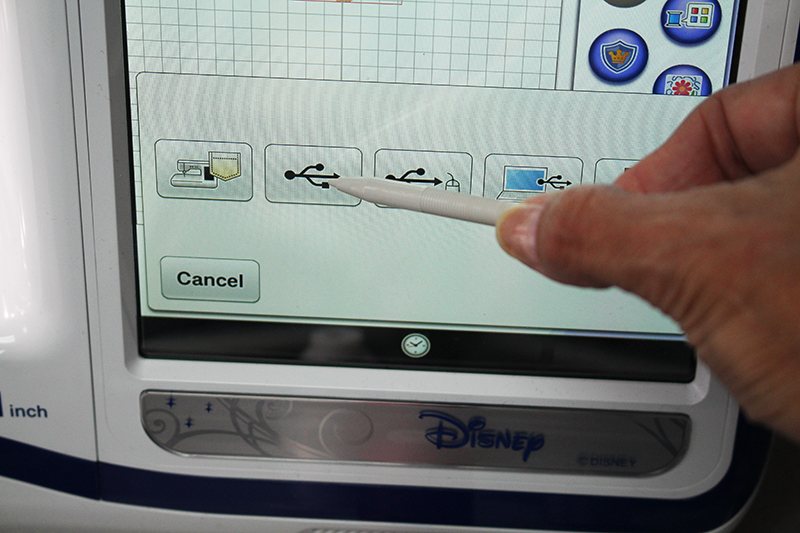
the Periwinkle Snowflake. Download the design to a USB stick and then insert the USB stick into the embroidery machine. Open the file.
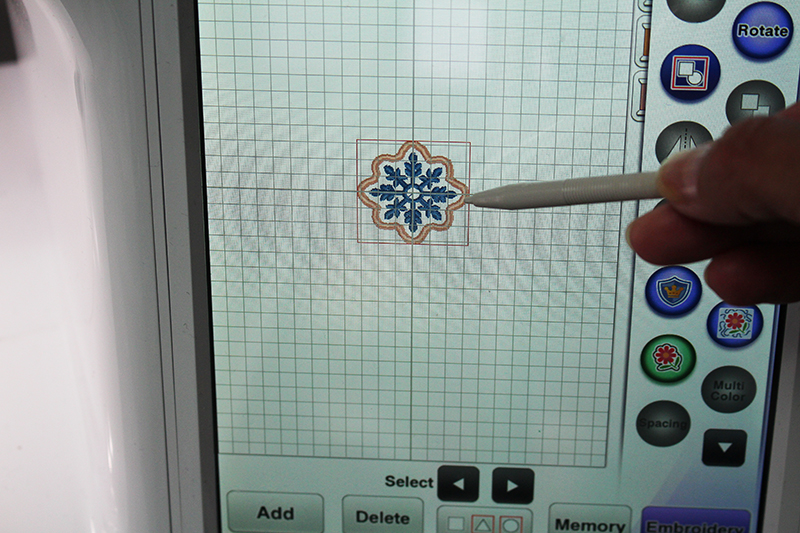
- Open the snowflake design and click on EDIT. Click on the APPLIQUE ICON. Click on MEMORY and save the design back to the USB stick. We have now turn this design into an appliqué design that can be transferred to the Brother ScanNcut.

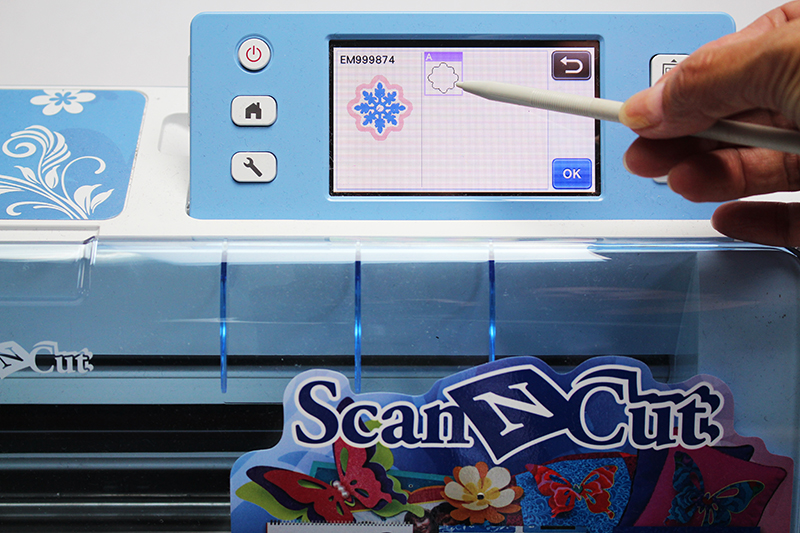
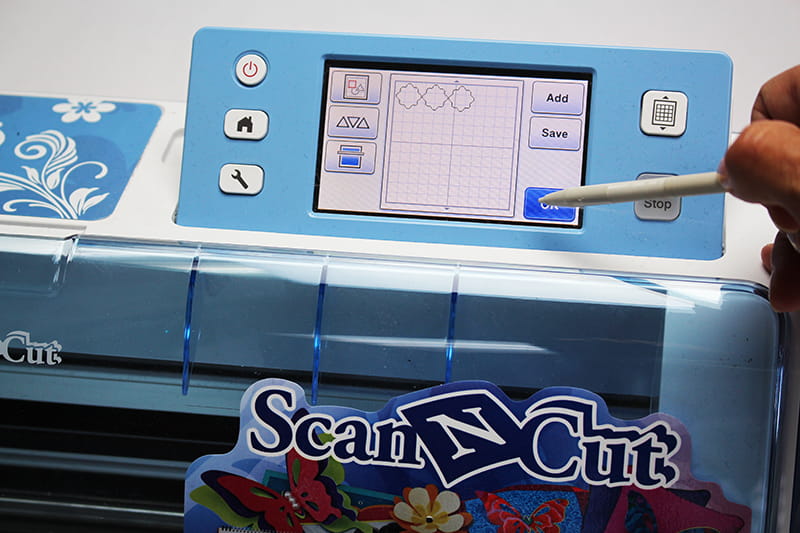
- Insert the USB stick into the Brother ScanNCut
and retrieve the file. You will then see the appliqué outline. Change the number of designs to cut to 3.

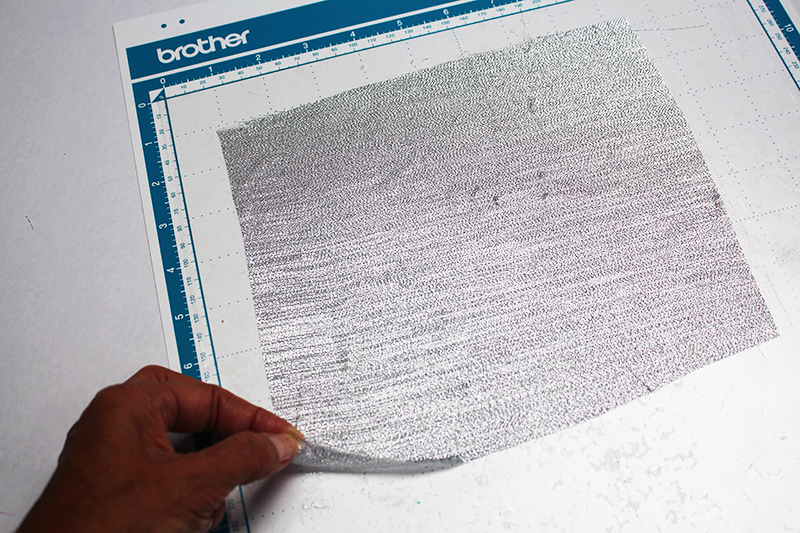
- Prepare the cutting mat by layering a piece of tack adhesive fabric support sheet. Place your fabric onto the mat and smooth out any wrinkles. Scan in the mat so you can see where the fabric is located and move the three designs around so they are all located on the fabric.
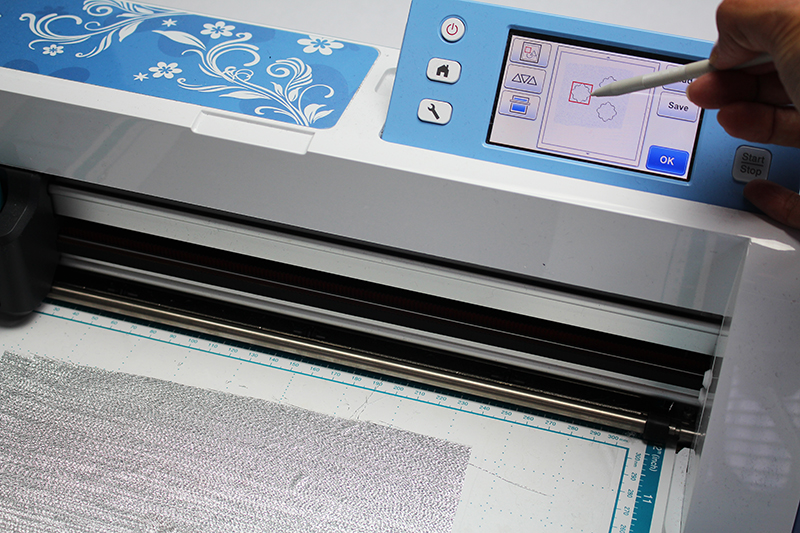
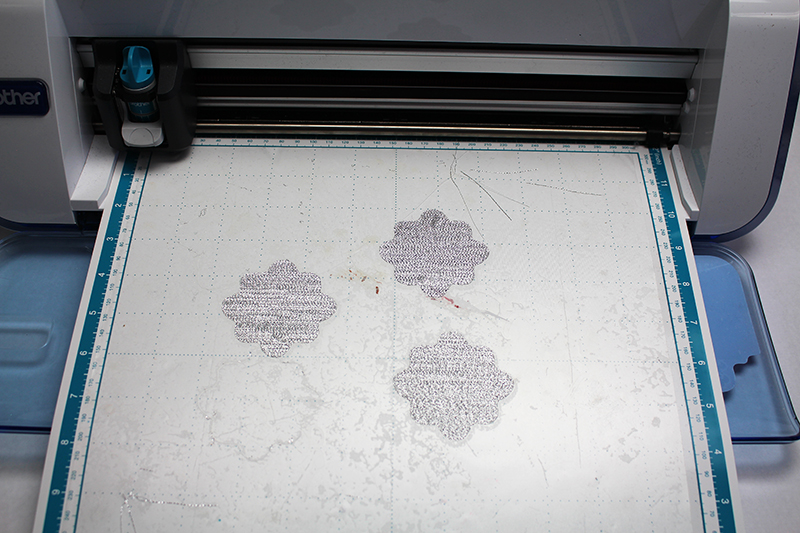
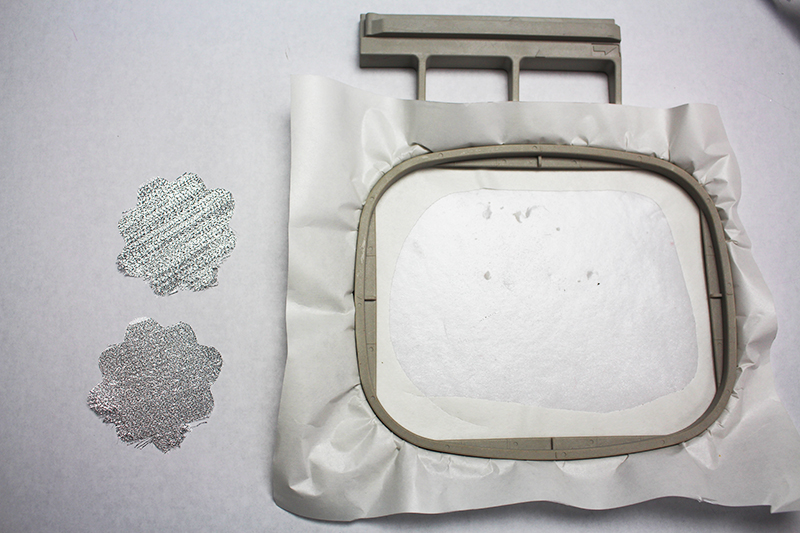
- Be sure to do a test cut on the fabric! Cut out all three designs and peel off the mat.
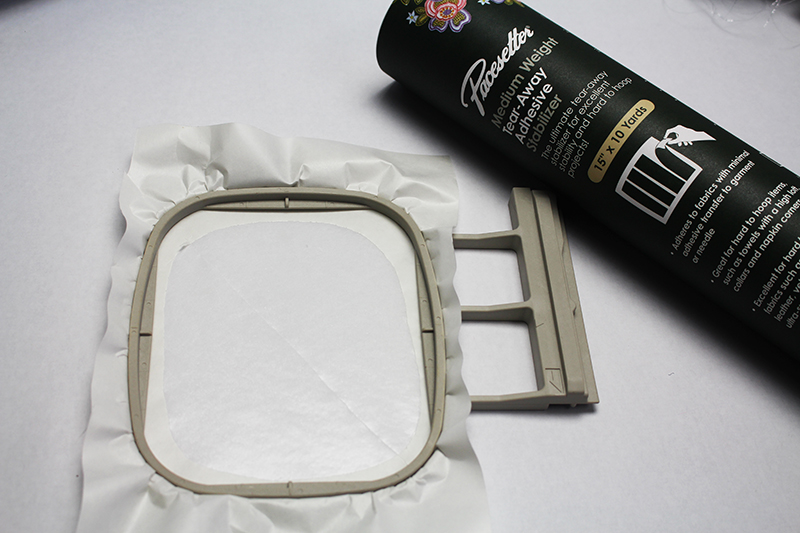
- Hoop a piece of Pacesetter medium weight tear-away adhesive stabilizer with the paper side up. Score the paper, leaving an open area for the hat.
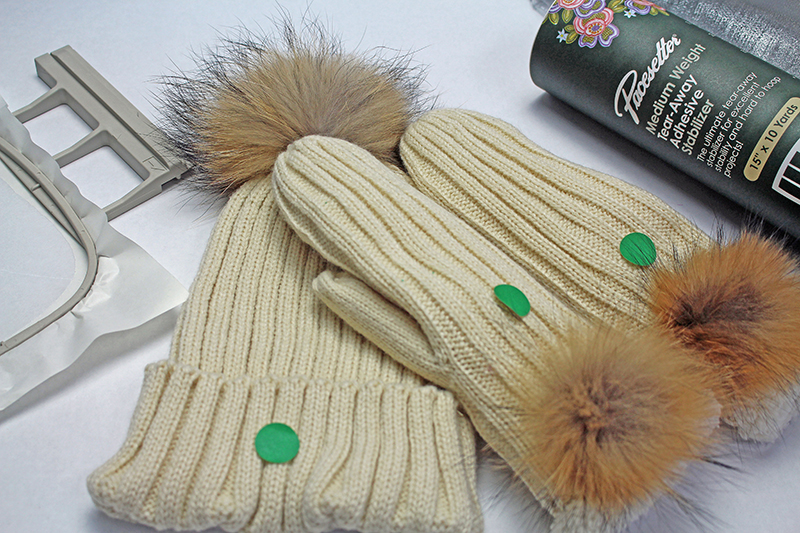
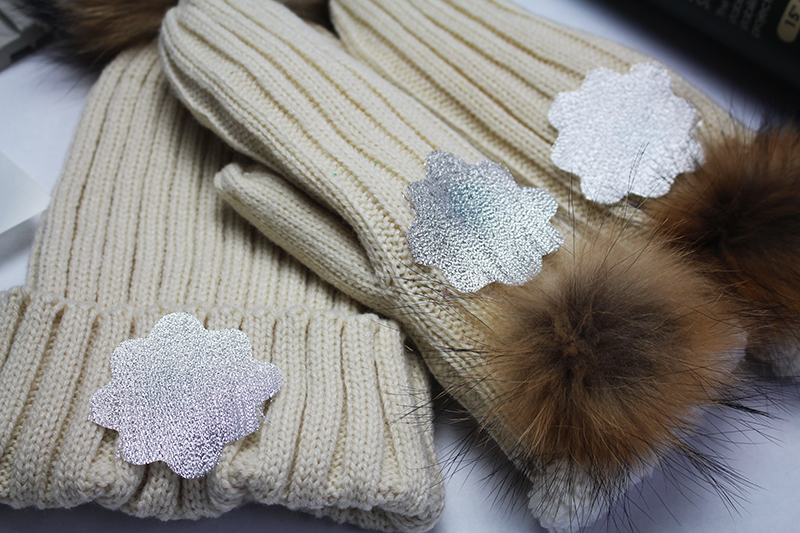
- Locate on the hat and mittens where you want to add the snowflake embellishment. Use a piece of fabric that has just been cut out from the ScanNCut and check the size and placement. Mark the center of each design with a sticker or fabric pen.
Embroider the Hat
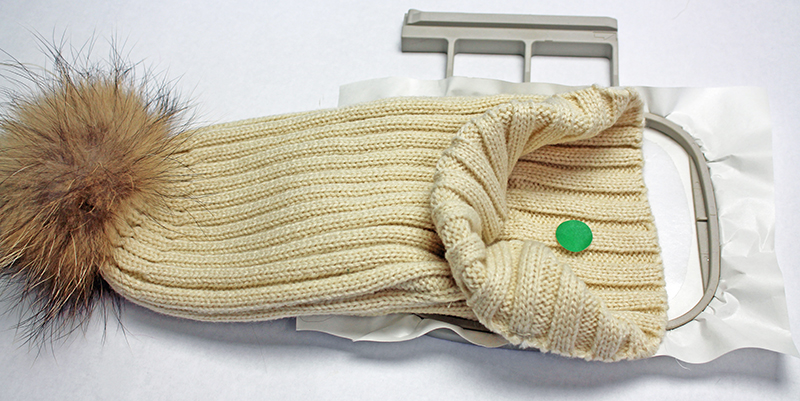
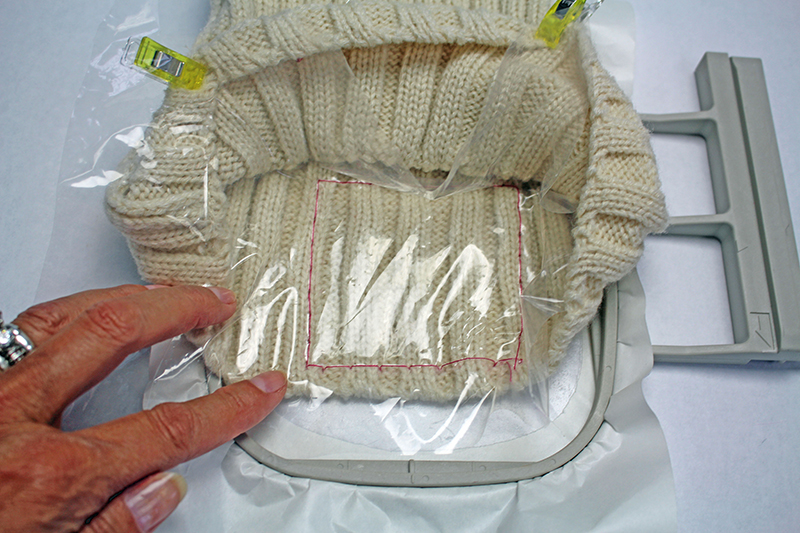
- Place the hat on to the embroidery. If you are using a tape knit hat as shown here, stretch the hat the same way it would stretch as if it was on your head. Make sure the hat sticks securely to the adhesive stabilizer. Insert the embroidery into the machine.
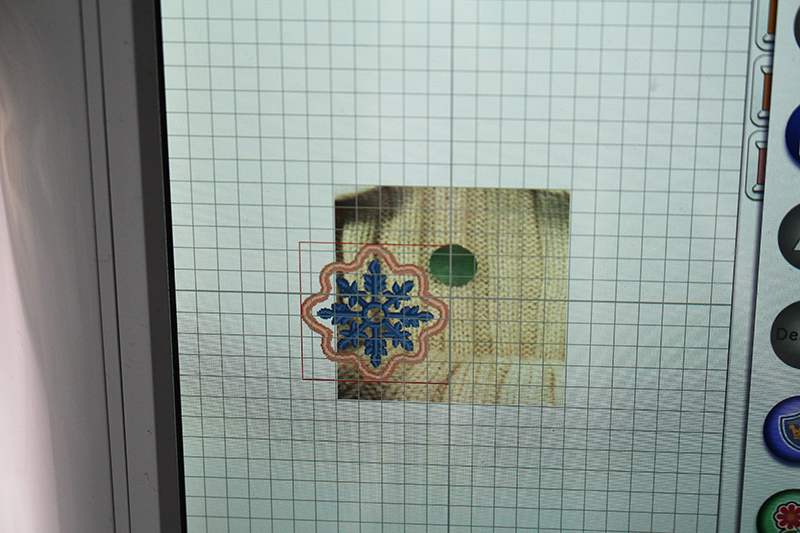
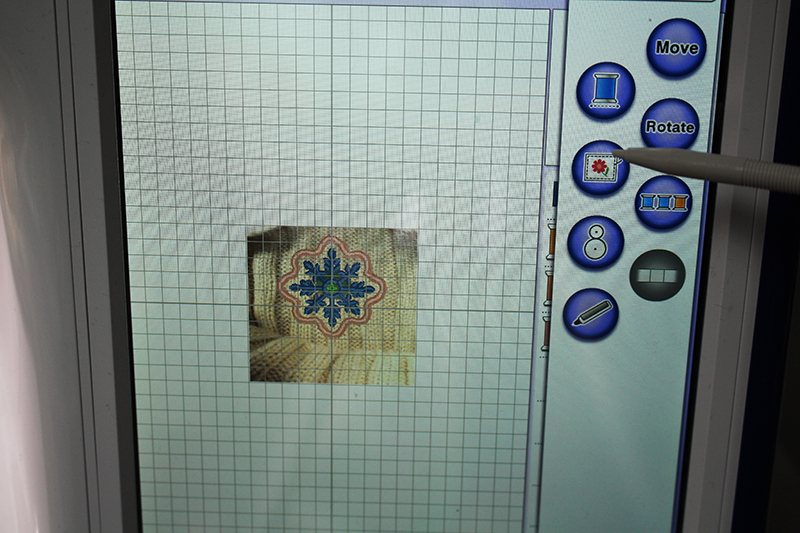
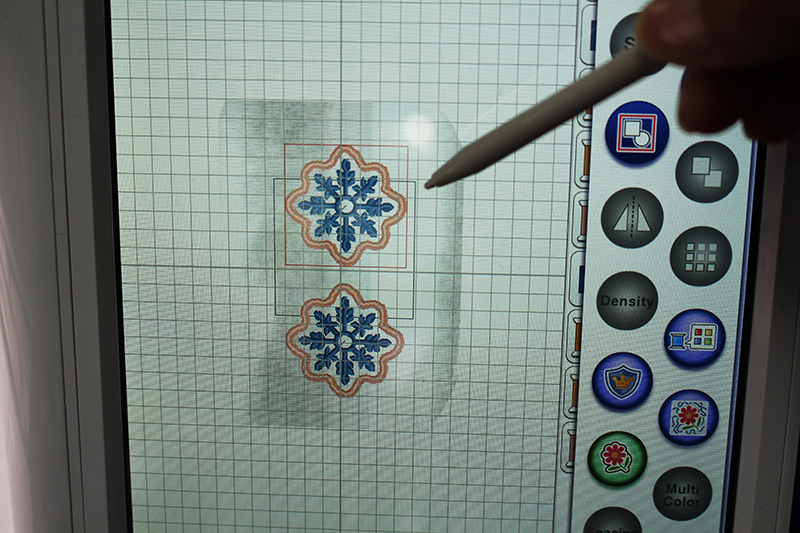
- Open the saved snowflake applique design. Scan in the embroidery hoop and locate the mark for the embroidery design. Center the embroidery design over the marking.
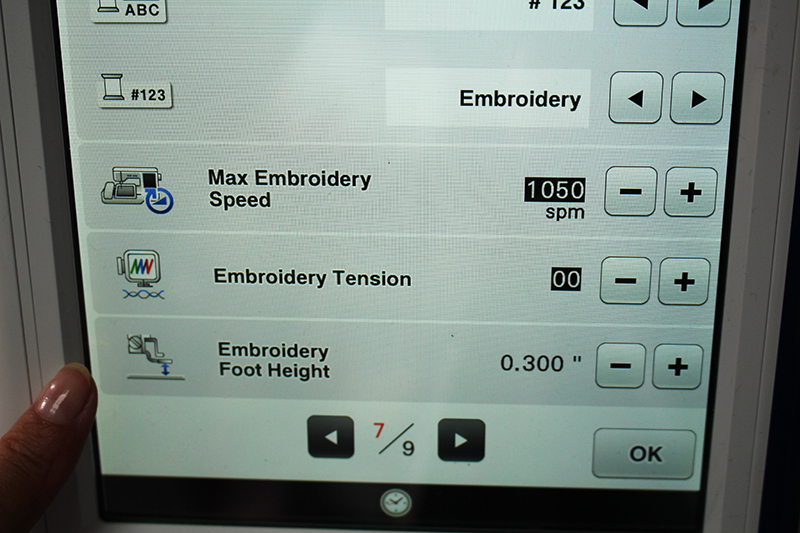
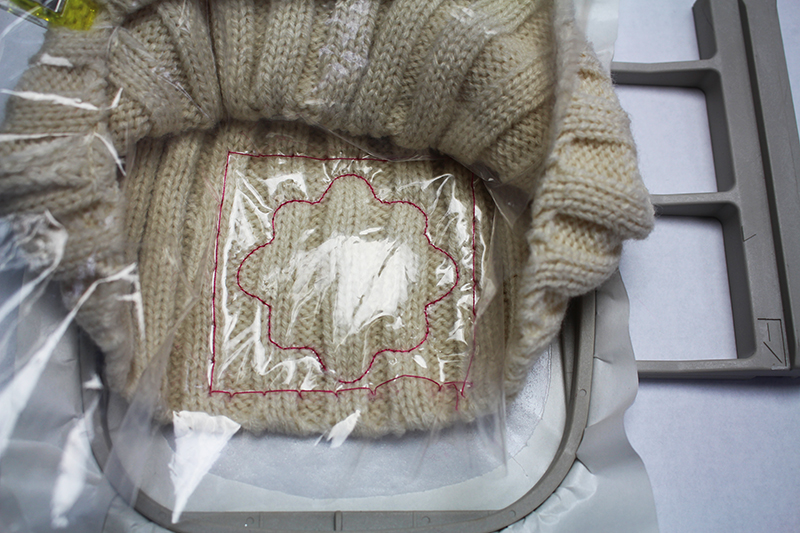
- Add a basting box around the design. Adjust the embroidery foot height to the highest available number. Place a piece of plastic on top of the hat within the embroidery area. Embroider the basting box (I am using pink thread so you can see).
- Embroider the next step, which is the applique outline.
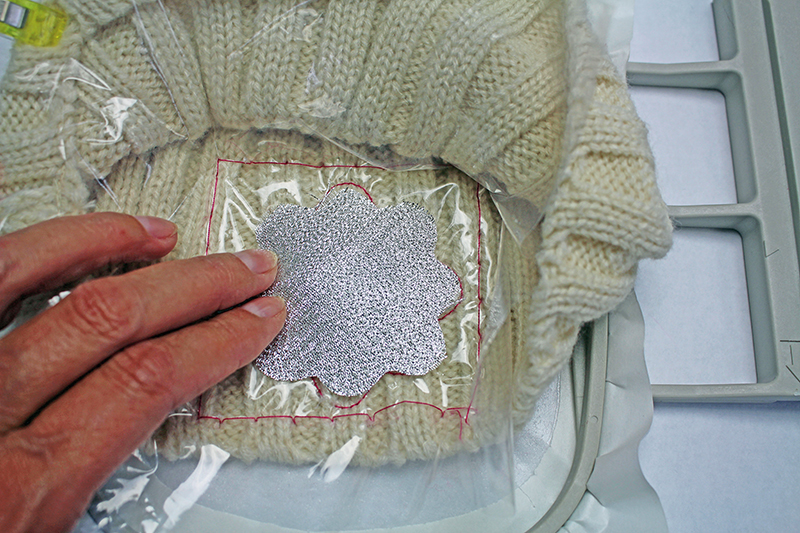
- Spray the back of the fabric appliqué with adhesive spray. Place the fabric onto the embroidered outline.
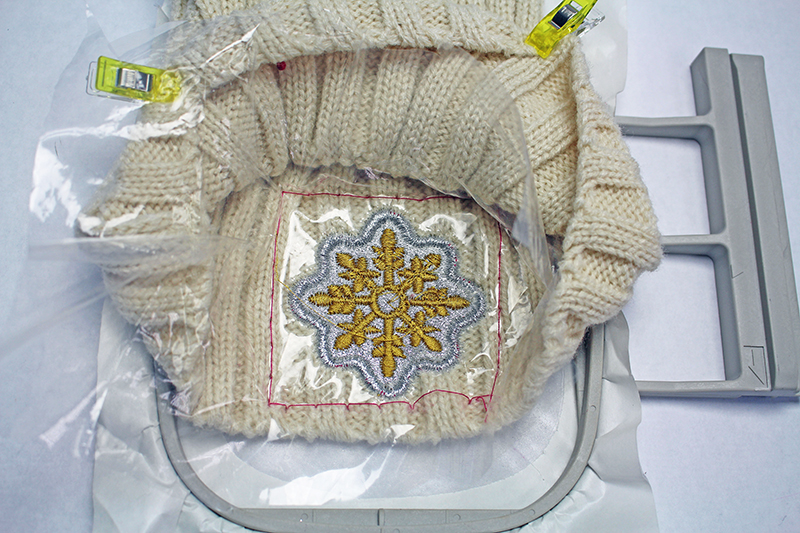
- Continue to embroider the rest of the snowflake design. Remove the basting box stitches and pull away plastic. Tear-away any excess stabilizer on the back of the embroidery design.
Applique for the Mittens
- Depending on the size of your mittens, they might be too small to maneuver in the embroidery machine. I found it easier to make appliqués and hand stitch the designs onto the mittens. The process is exactly the same as embroidering the hat, except we will be embroidering directly onto the piece of stabilizer. Hoop the stabilizer with the paper side up, score the paper to reveal an area for the two designs, insert the hoop into the embroidery machine, and pull up the appliqué design.
- Duplicate the design. Scan in the hoop to check the embroidery placement and move the designs around as needed.
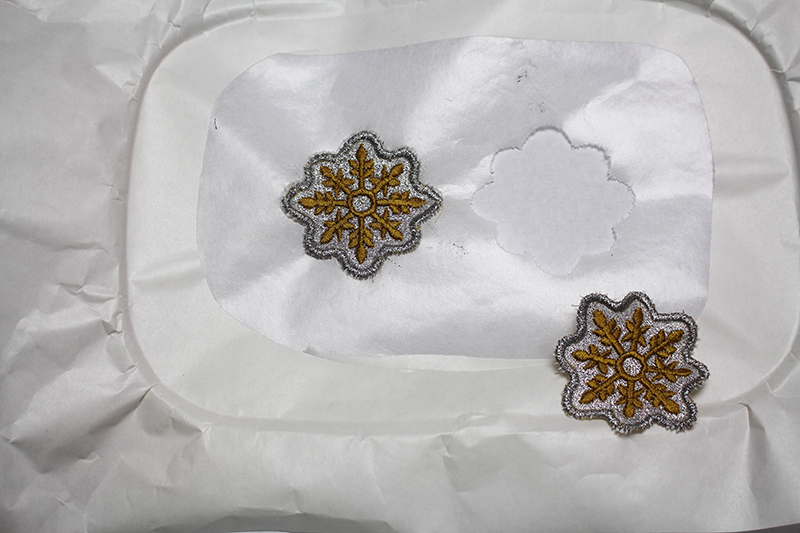
- Embroider the appliqué placement line. Place the pre-cut fabric into each area. Continue embroidering the rest of the snowflake design. Tear-away each appliqué from the stabilizer.

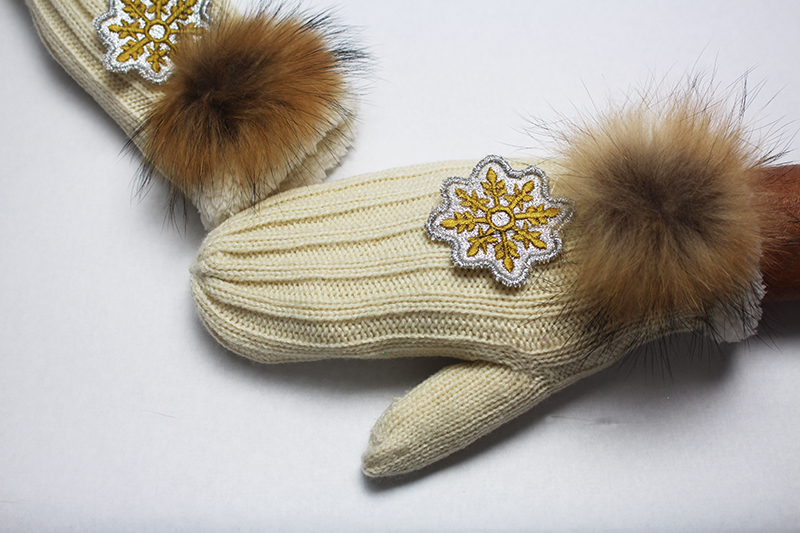
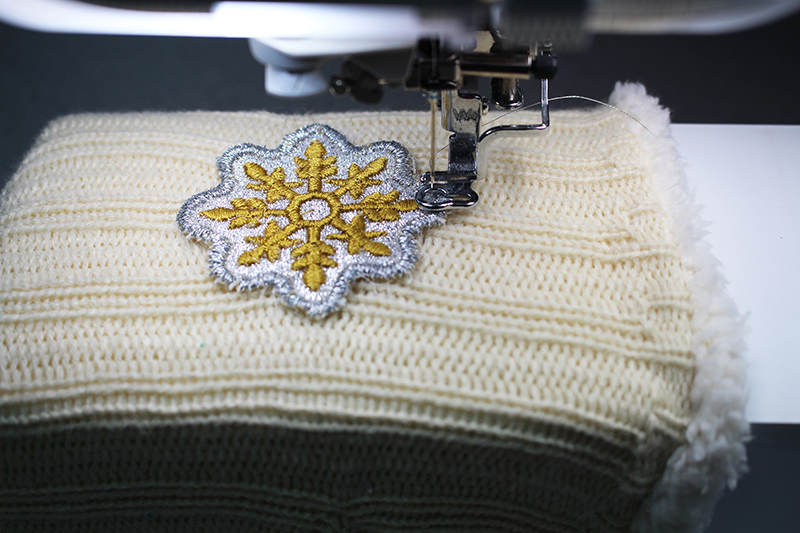
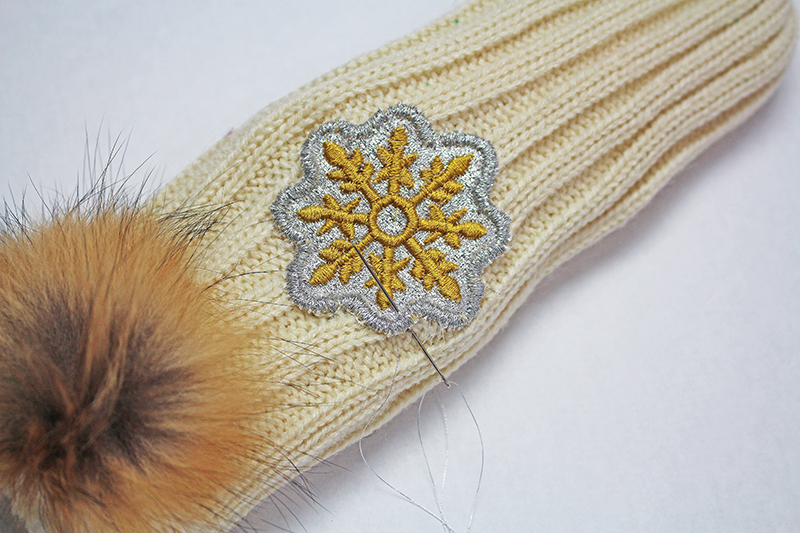
- Similar to what we did with the hat, try on the mittens so you can determine how much they will stretch out. Spray fabric adhesive onto the back of the applique design and press the applique onto the glove. If the glove is large enough to slide on the sewing machine, stitch in place. Otherwise hand tack in place.
 That’s it! Be sure to share photos of your embellished hats & mittens with #brothersews #angelawolf - I always love to see what you are designing!
Cheers,
That’s it! Be sure to share photos of your embellished hats & mittens with #brothersews #angelawolf - I always love to see what you are designing!
Cheers,

Related Projects
Stay Connected
* Required fields