20 Minute Adjustable Apron
As of late, I’ve been doing a bunch of cooking for the family. As I cook, I’m finding that the tastier the meal, the more I get on my clothes, which may or may not be related to the number of times I taste it as it cooks. I’ve never really owned an apron before, but it’s clear to me that I’ve reached to point of needing one in the kitchen. And why buy one when you can make one right?

What you’ll need:
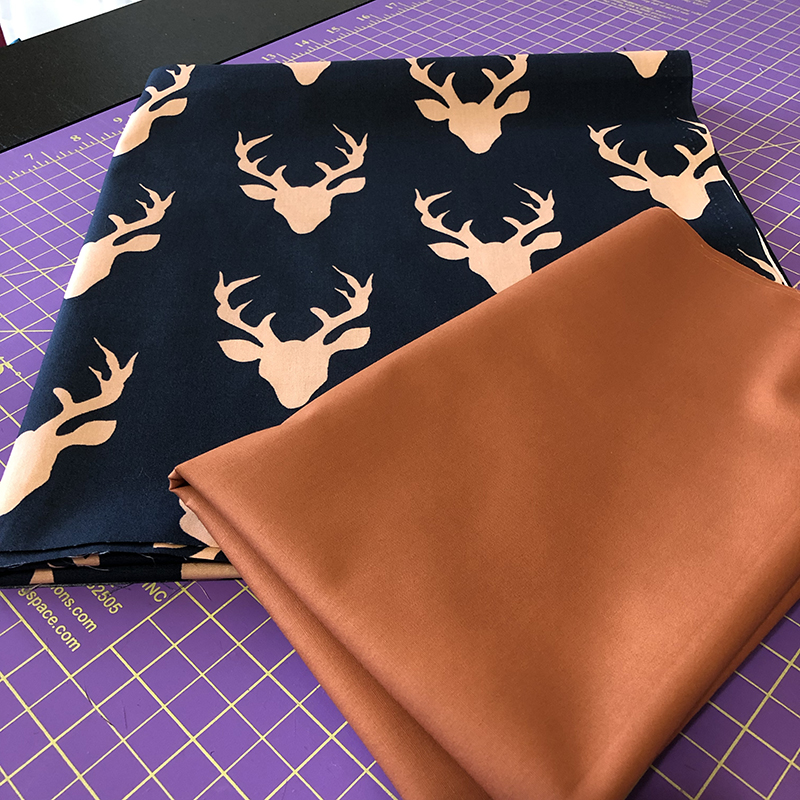
- 1 1/4-yard main fabric
- Half yard secondary fabric for pocket and strap fabric
- Coordinating thread
- Safety pin
- 1/4” wonder tape or pins & clips
- Erasable pen
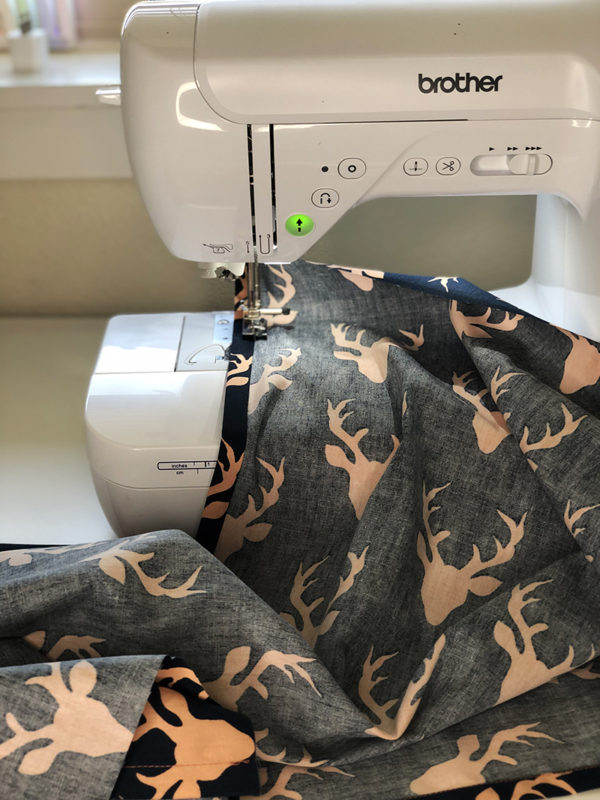
Machine Used
Fabric Cuts
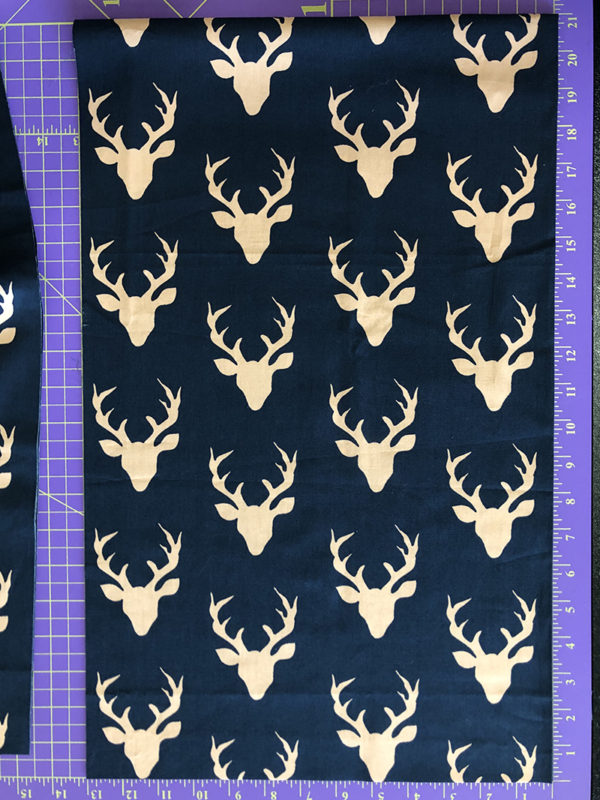
- Main Fabric: 26” x 42” rectangle
Secondary Fabric
- Three 3” width of fabric (WOF) strips
- 9” x 18” rectangle
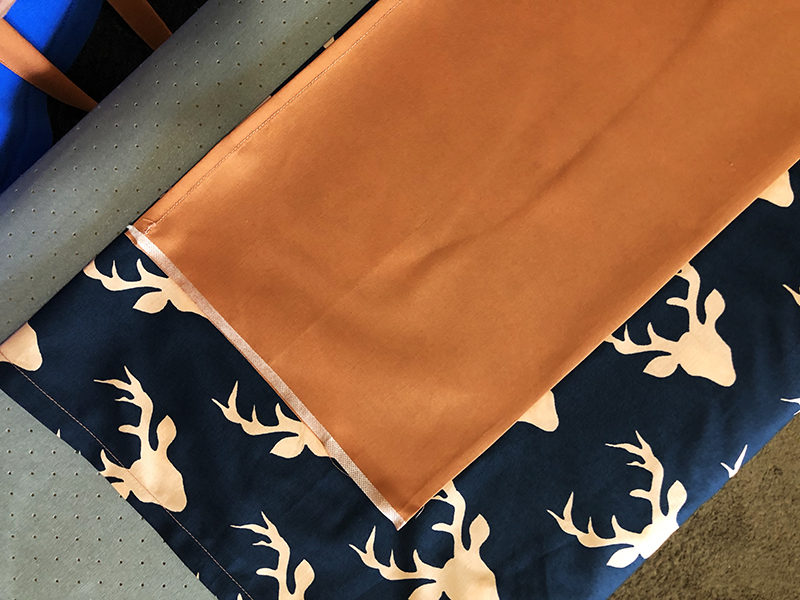
The Apron Body
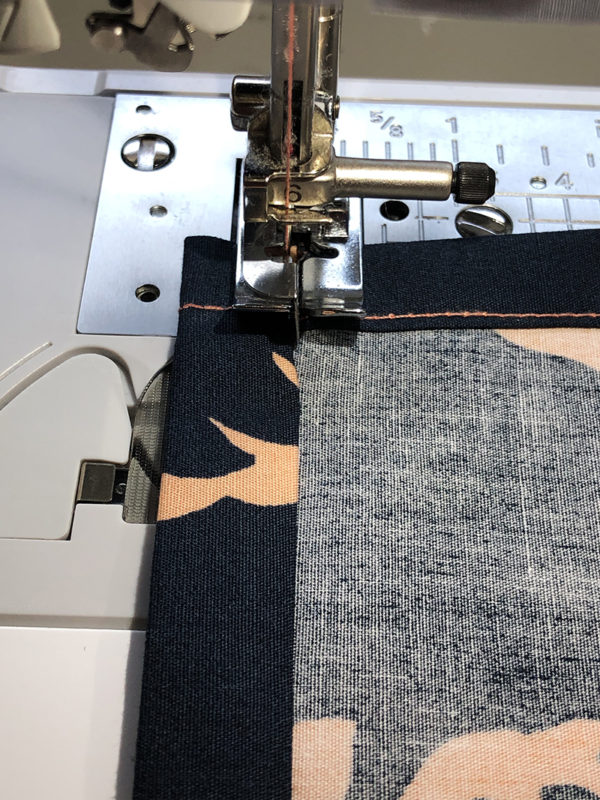
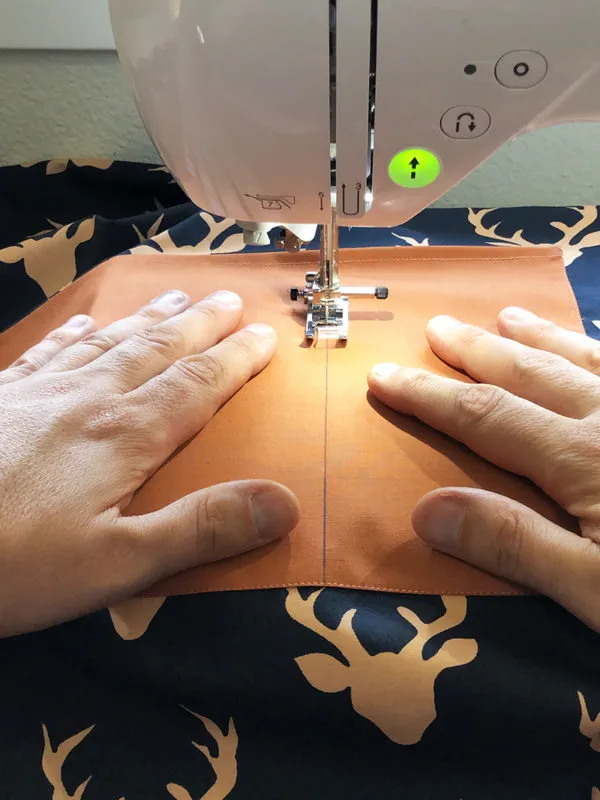
- For each of the raw edges, fold over 1/4”, press, and then fold over again 1/2” and press. Use pins or clips to keep in place before stitching if desired.
- With the same thread in both the bobbin and top thread, edge stitch along the back of the seam.
- For best results, sew the two side edges first and then sew the top and bottom edges.
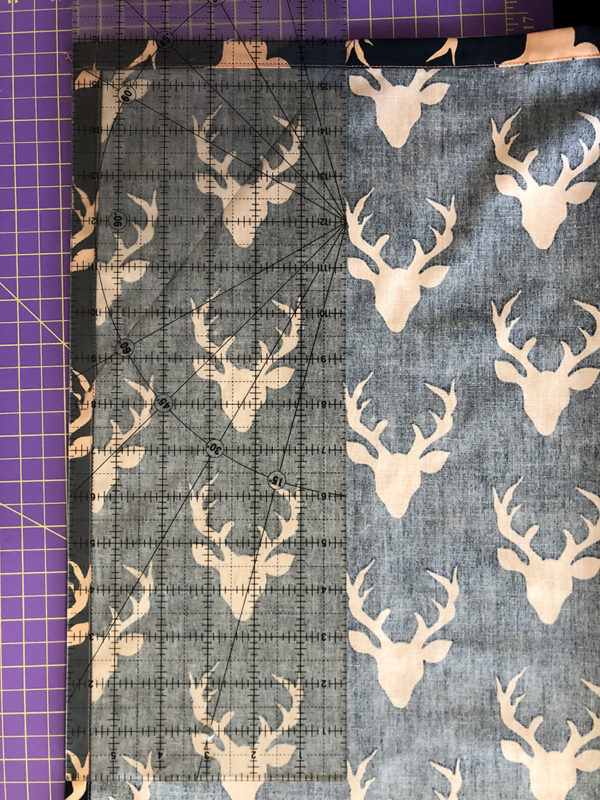
- Right sides together, fold the rectangle with the longest sides together and make sure to line up all edges.
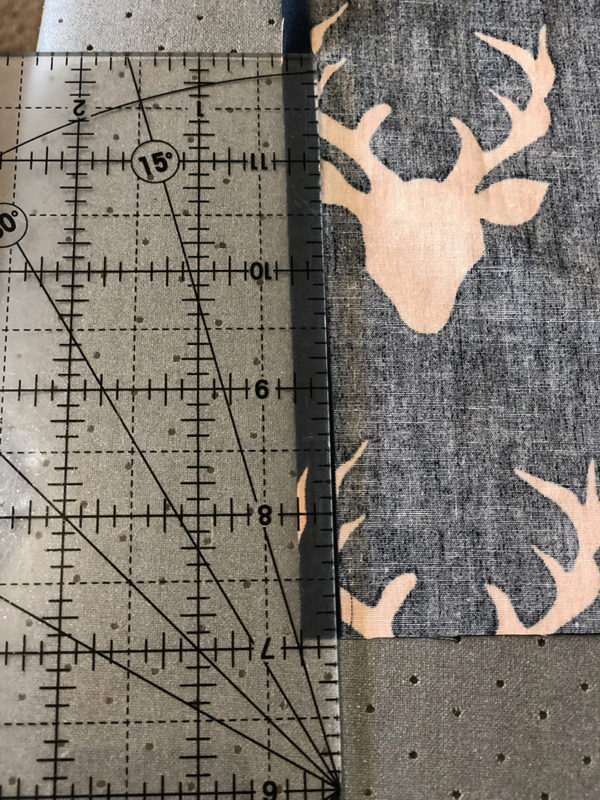
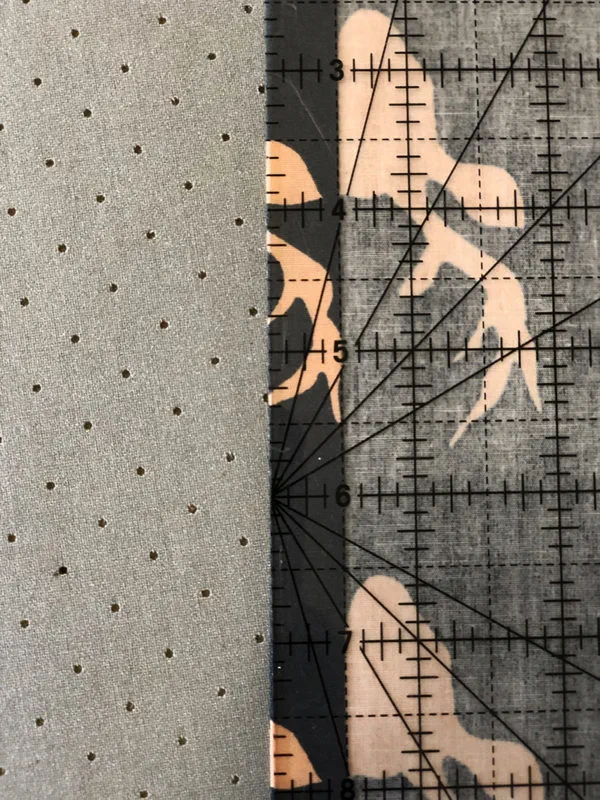
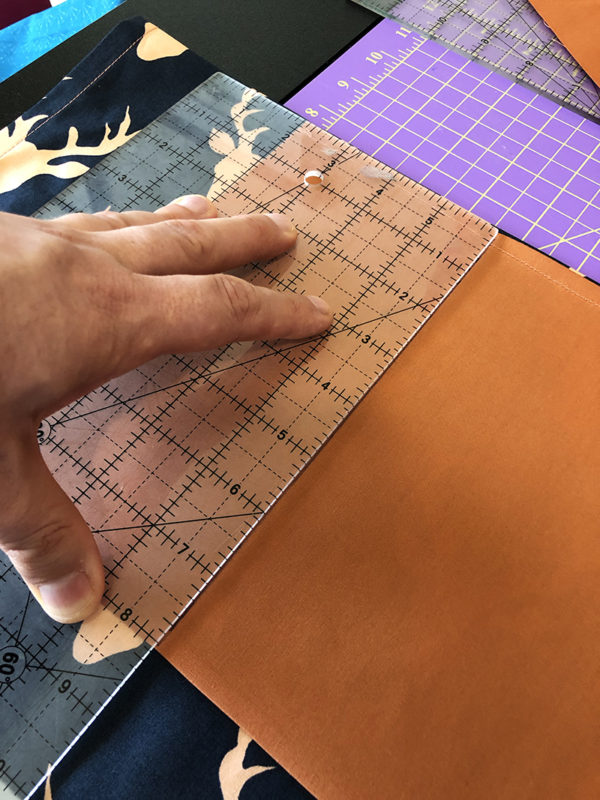
- Using a ruler, mark 6” over on edge of the top seam and 16” down along the side edge.
- Create a diagonal line connecting the two points and cut with a rotary cutter.
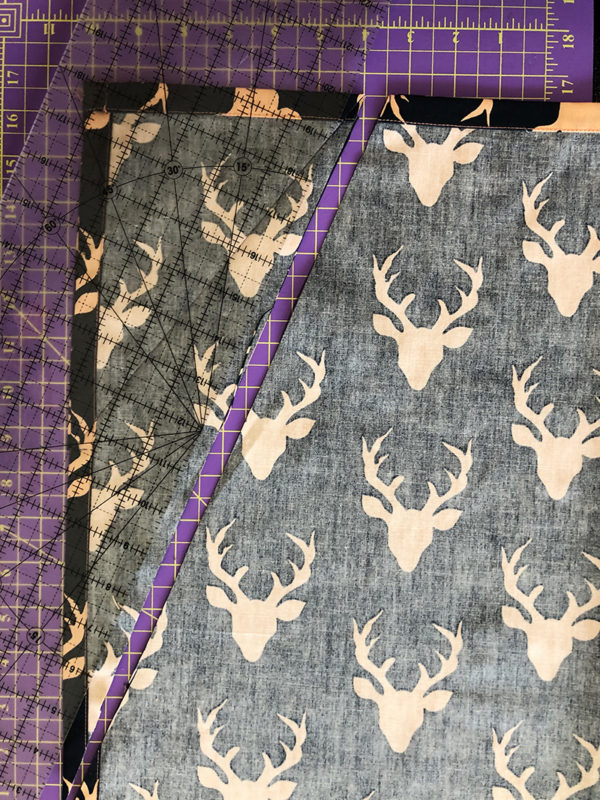
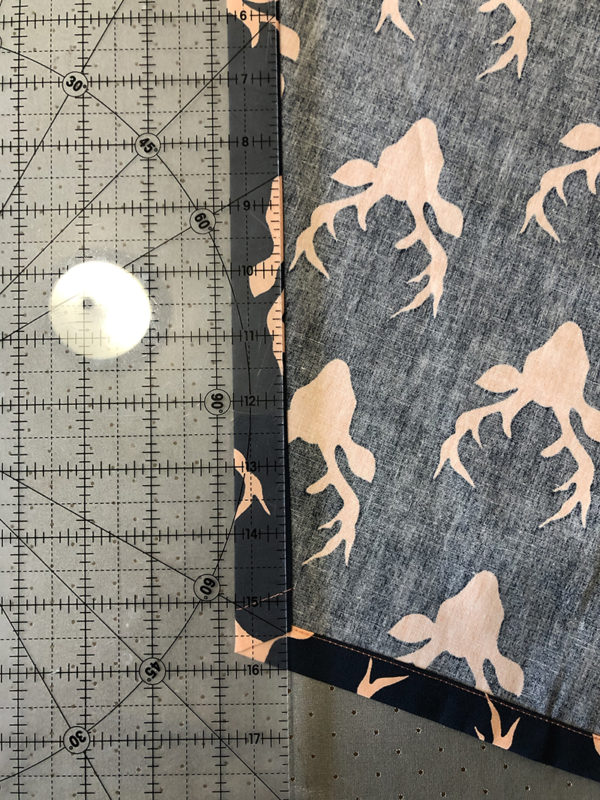
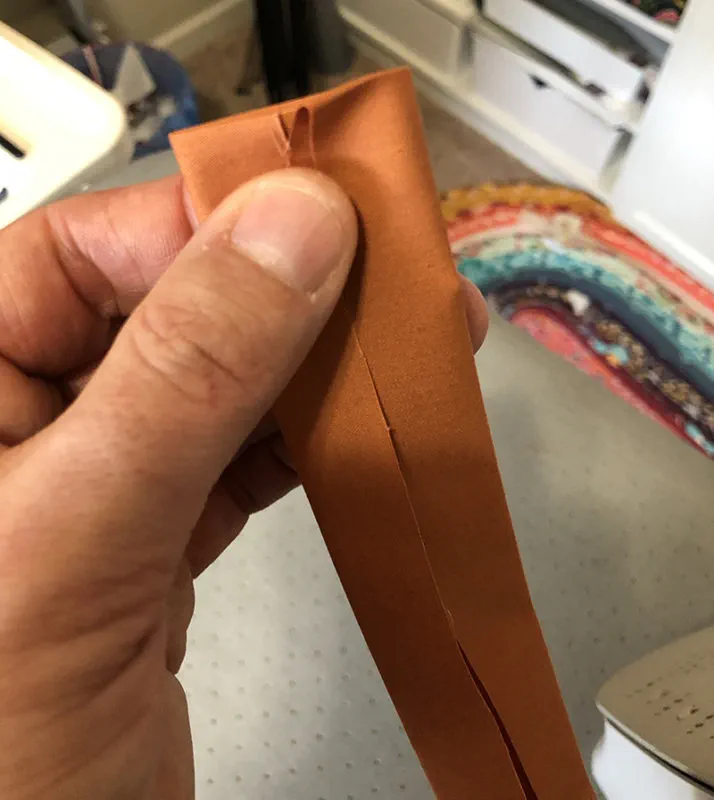
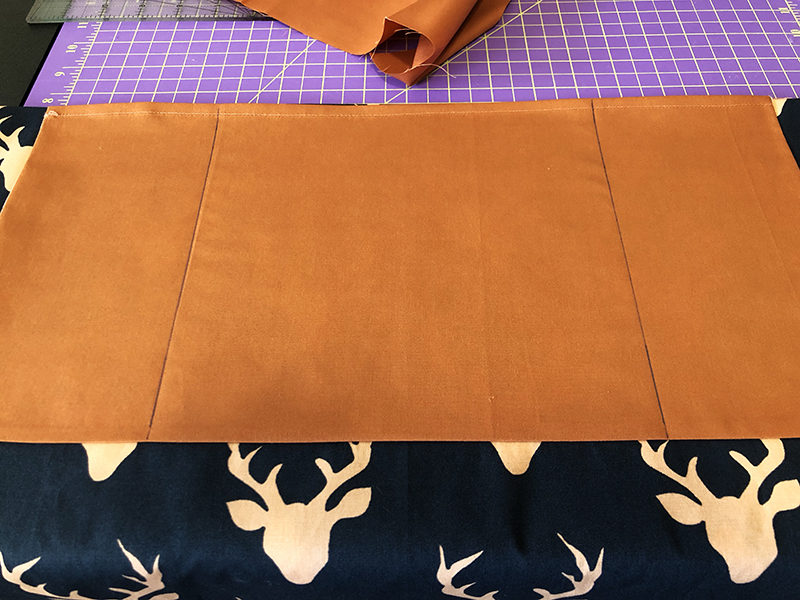
- For each diagonal raw edge, fold over 1/4”, press, and then fold over again 3/4” and press. Use pins or clips to keep in place before stitching if desired.
- With the same thread in both the bobbin and top thread, edge stitch along the back of the seam only sewing on the fold, leaving an opening on both ends of each “tube”.
The Strap
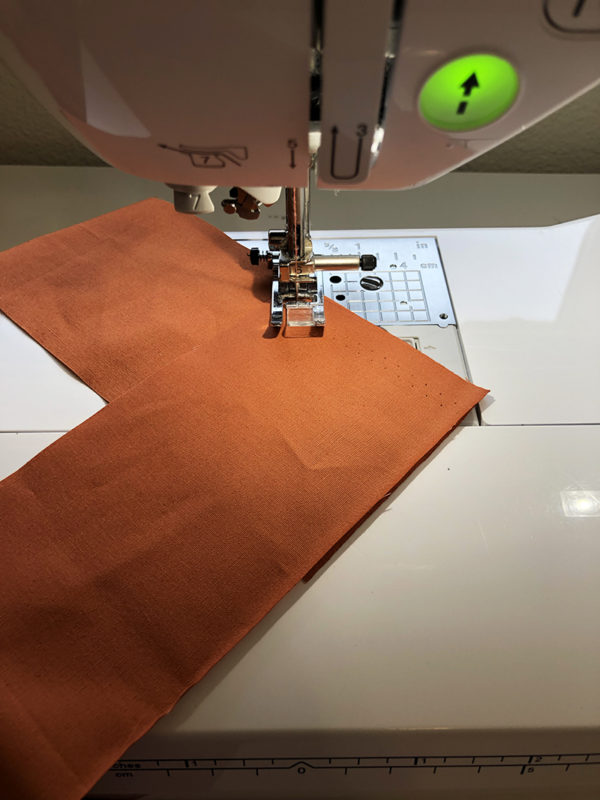
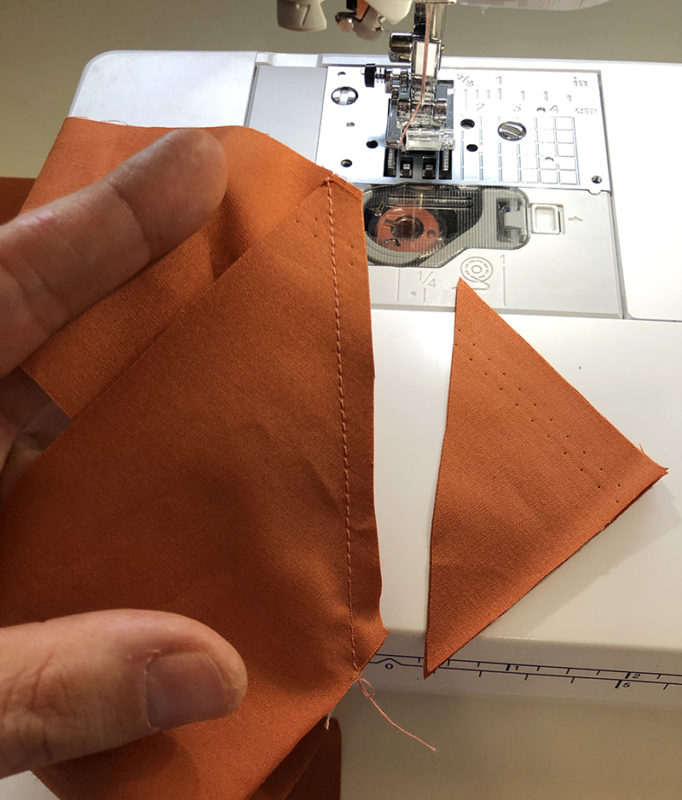
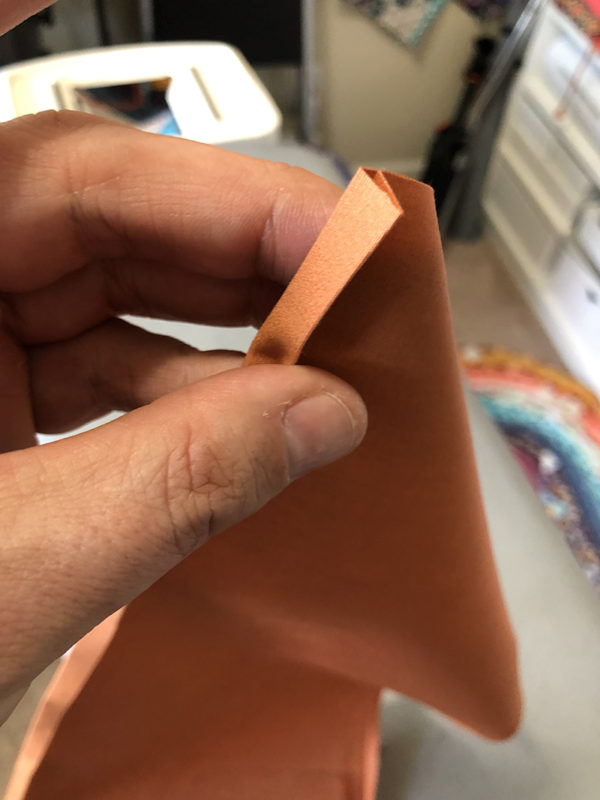
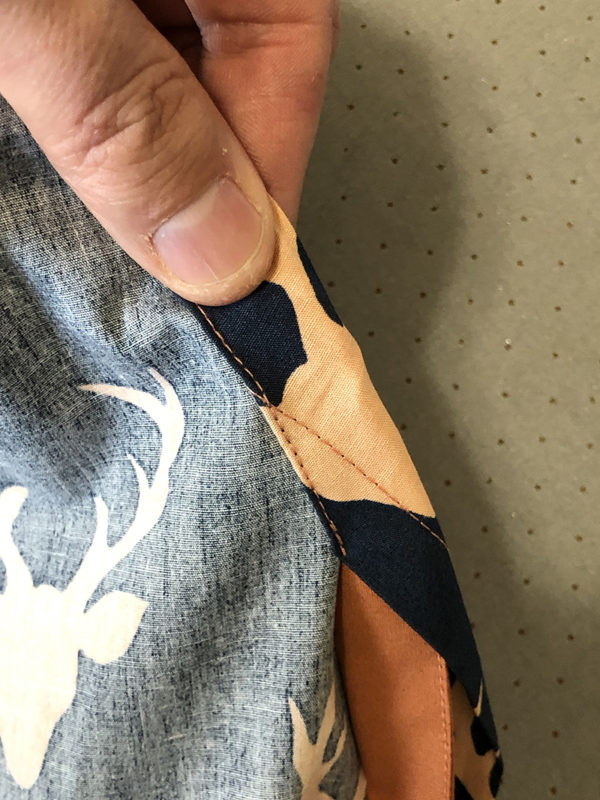
- Right sides together, place the ends of two of the strips as seen in the picture below and sew together on the diagonal. If it helps, draw the diagonal of the overlapping square before stitching.
- Leaving 1/4” seam allowance, trim any excess.
- Follow this process for the remaining WOF strip.
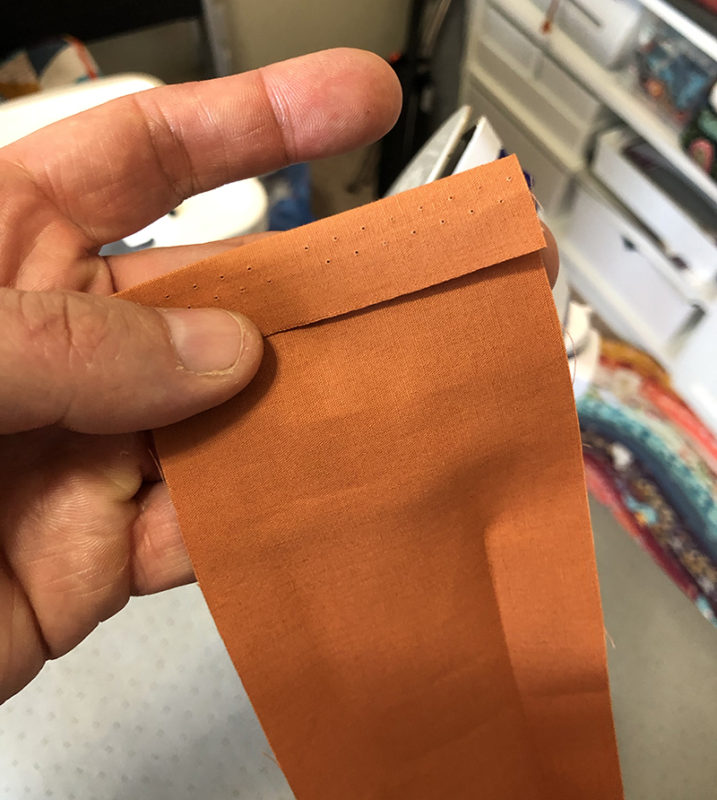
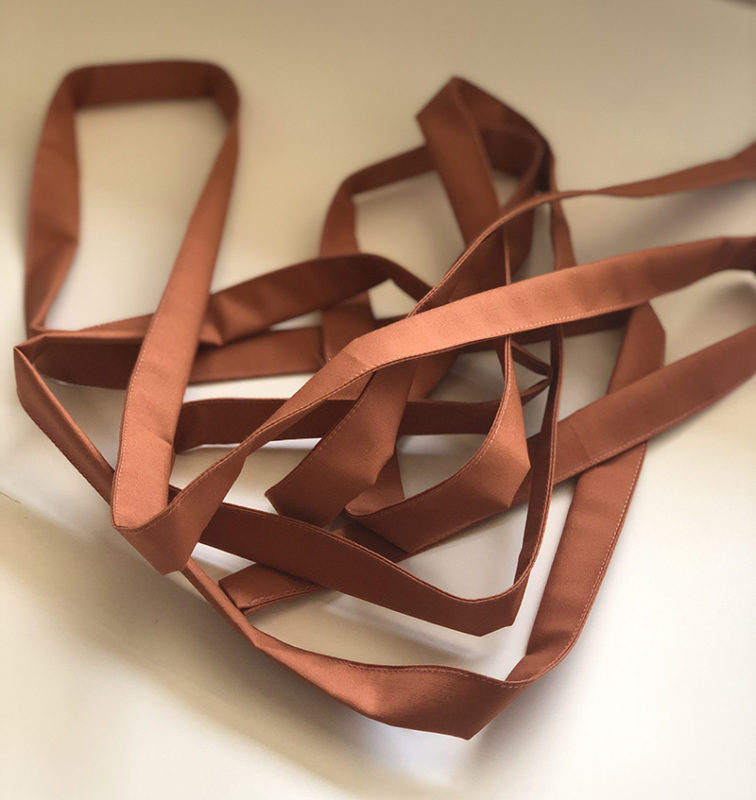
- Fold over each end of the strap 1/2” and press.
- Fold the long ends of the strap onto the center line and press.
- Fold the length of the strap in half and edge stitch.

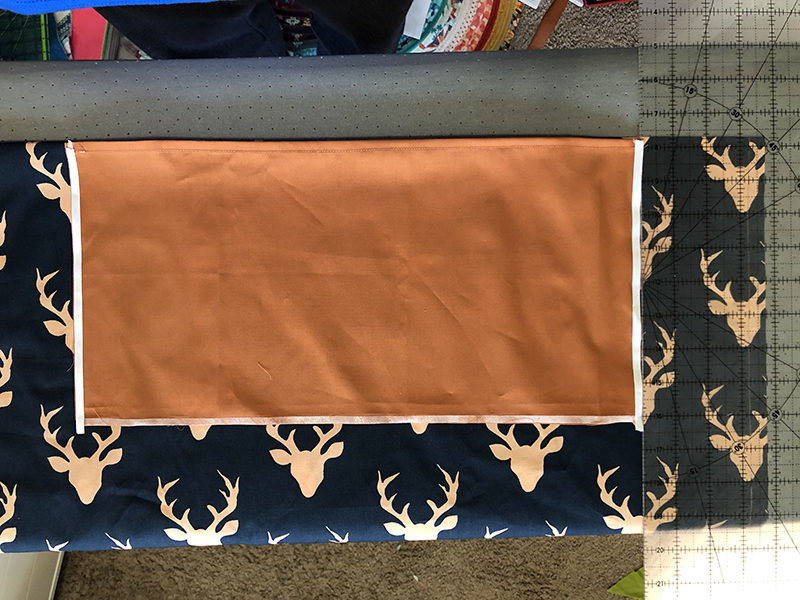
The Pocket
- For the top of the pocket, fold over 1/4”, press, and then fold over again 1/4” and press. Use pins or clips to keep in place before stitching if desired.
- With the same thread in both the bobbin and top thread, edge stitch along the back of the seam.
Note: For the placement of the pocket, I wanted it to be where my hands could easily reach what was in in without risk of dropping anything in what I was cooking. This had the pocket top lining up with a middle fold on the apron. Feel free to adjust the placement of the pocket for your own apron needs. However, the instructions below are for my desired placement.
- Fold the apron in half (top over bottom) to create an “edge” on the top to line up the pocket.
- Center the pocket at roughly 3 3/4” from the side edges.
- Place wonder tape on the front bottom and side raw edges.
- Fold the bottom seam toward the back at 1/4” and heat set in place with an iron.
- Fold each side seam toward the back at 1/4” and heat set in place.
- Using an erasable pen, mark a vertical line 4” from both side edges of the pocket.
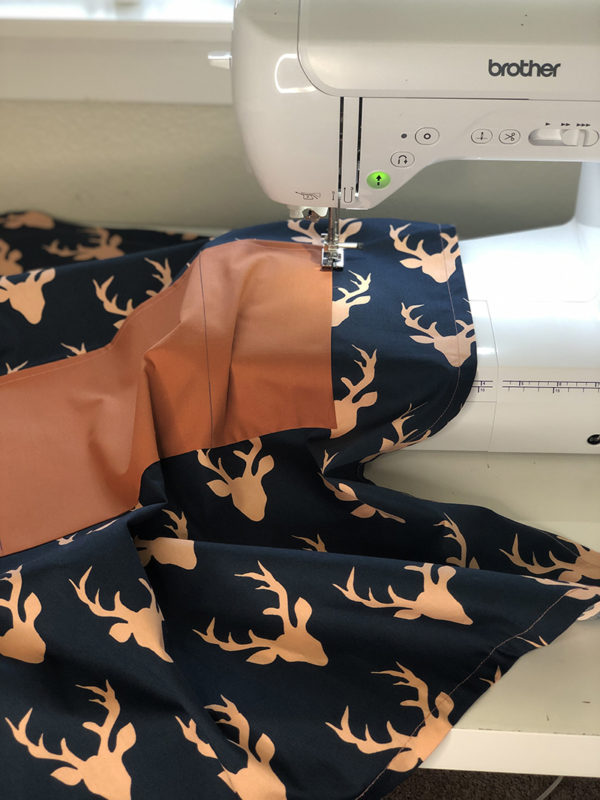
- Edge stitch the sides and bottom of the pocket, back stitching at the beginning and end.
- Stitch over the two vertical lines on the pocket, also backstitching. Iron over the lines to remove the pen marks.
- Attach a safety pin to one end of the strap.
- Use the pin to insert the strap up one diagonal tube and down the other tube, ensuring that it is flat and uniform.


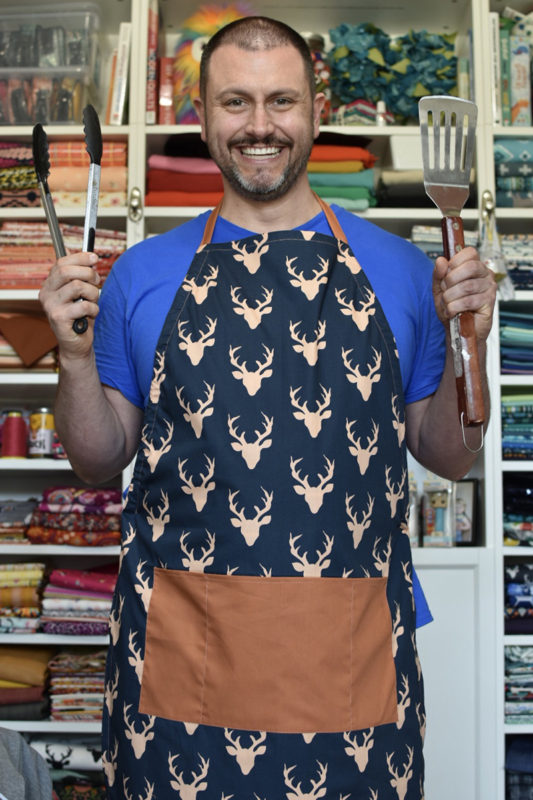
- Try on your apron, tie it in the back, and go cook something.
Related Projects
Stay Connected
* Required fields