DIY Funky and Fantabulous Reversible Bucket Hat
With summer in full swing, the need for a hat to protect my noggin from the sun’s rays has become apparent. So, I decided to make myself a reversible bucket hat with a tutorial so we can all both take care of our heads and look super cute and stylish.
What you’ll need:
- Two fat quarter cuts of main fabric
- One fat eighth cut of fabric for the band
- Coordinating thread
- Half yard of medium fusible interfacing
- Bucket hat template (Two sizes to choose from. I used the black outlined template)
- Download hat template here: bucket hat template.pdf
Product Used
For each of the main fabrics, cut out the following:
- One top, two sides, and two brims.
- If adding a band to one of both of the sides, cut out two bands.
- Cut interfacing: I used interfacing only from the brim, but if more stability is desired. Fuse the interfacing to pieces of only one of the main fabrics.
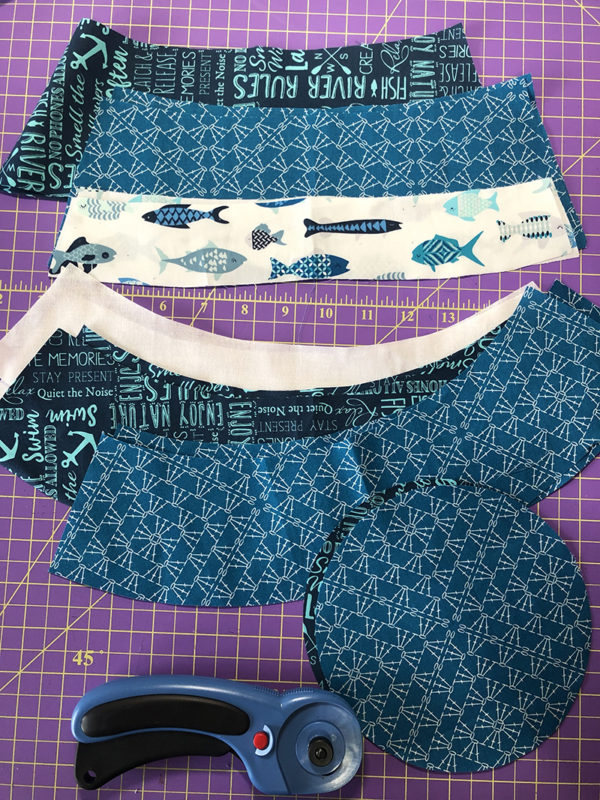
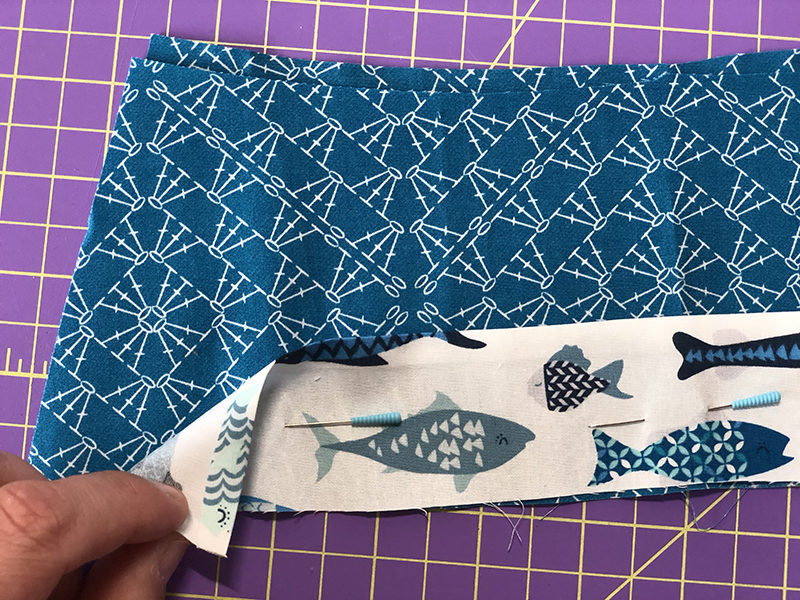
- For the band pieces, fold over 1/4” on the top edge and press toward the back.
- Using pins, line up the bottom and side edges of each band piece to its adjoining side piece.
- Edge stitch each band onto into main piece and baste the bottom raw edges together.
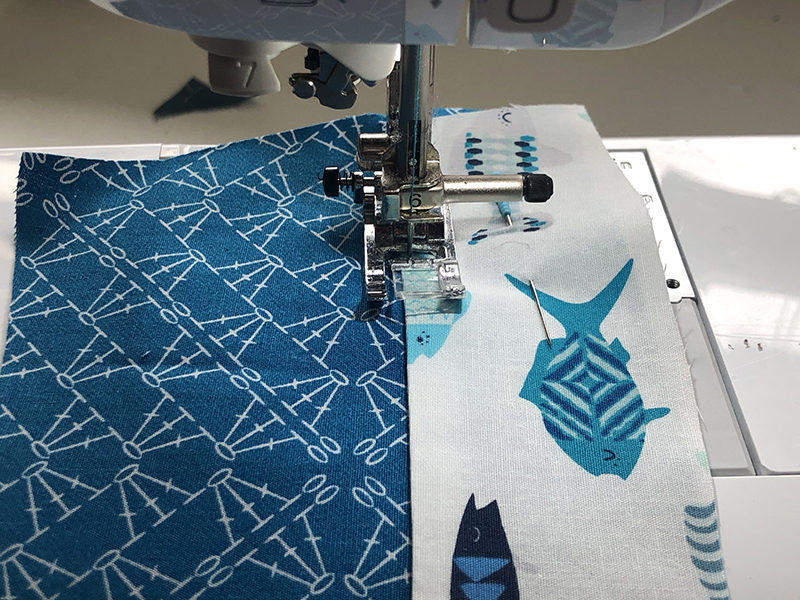

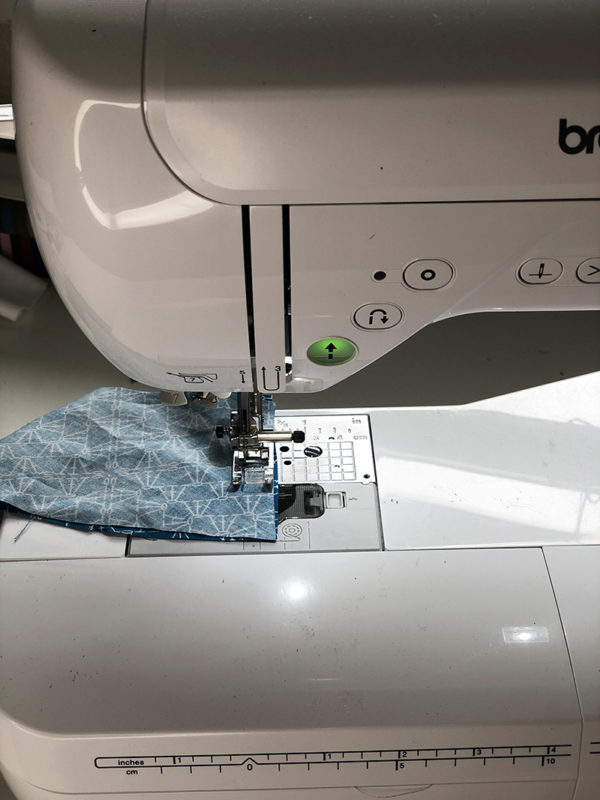
- For each pair of side and brim pieces, place right sides together and sew the raw side edges using 1/2” seam allowance.
 Alfonso![/caption]
- Take one matching side and top. Fold the side in half and press to find quarter marks. The seams will be the other two quarter marks.
- Fold the top in half and in half again before pressing to find the quarter marks.
- Using clips, line up each quarter mark right sides together and clip.
- With the circle on the bottom, sew the side to the top using 1/2” seam allowance. Adjust to make sure that the raw edge of the sides are lined up with the edge of the circle as you sew.


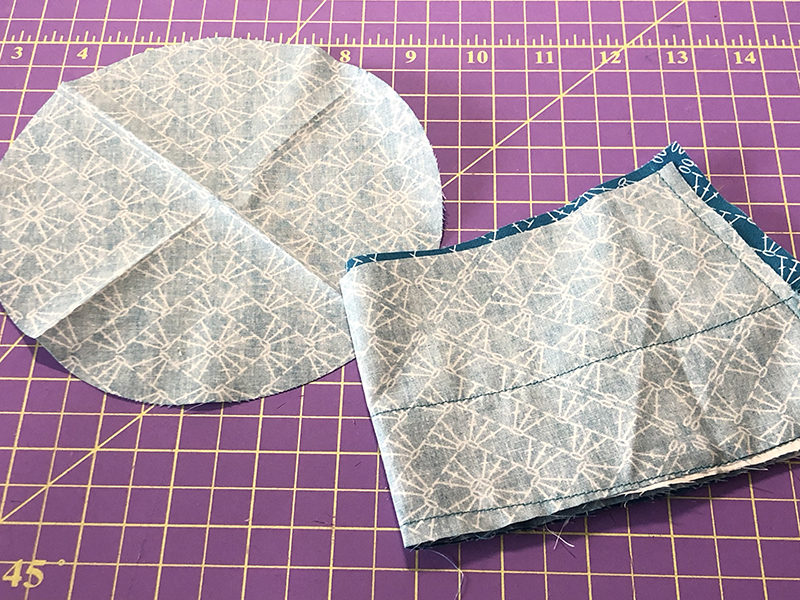
- Take the matching brim, fold in half and press to find the quarter marks. The seams will be the other two quarter marks.
- Using clips, line up each seam and quarter mark right sides together and clip.
- Sew together using 1/2” seam allowance.
- Follow the entire construction process to sew the second set of matching fabric together.


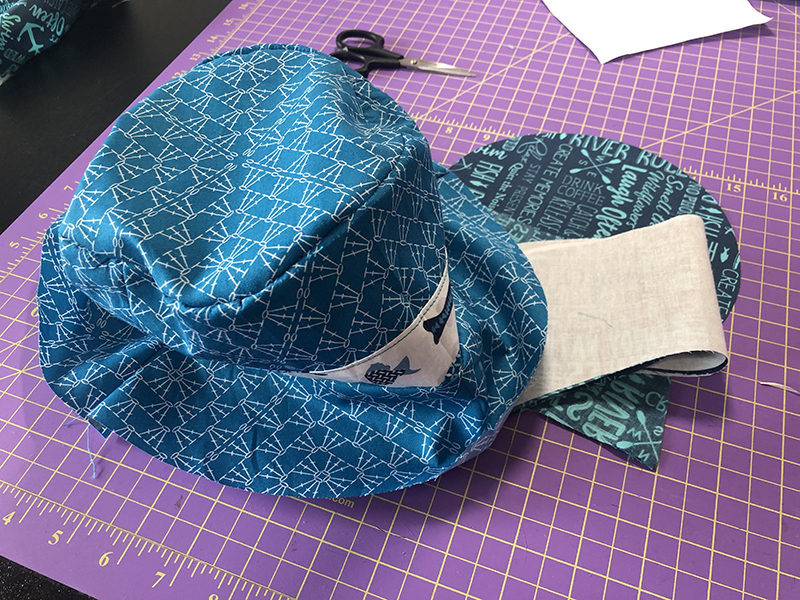
- Right sides together, insert one hat into the other. Line up the raw edges and clip in place.
- using 1/2” seam allowance, sew along the raw edges, leaving a 2” gap.

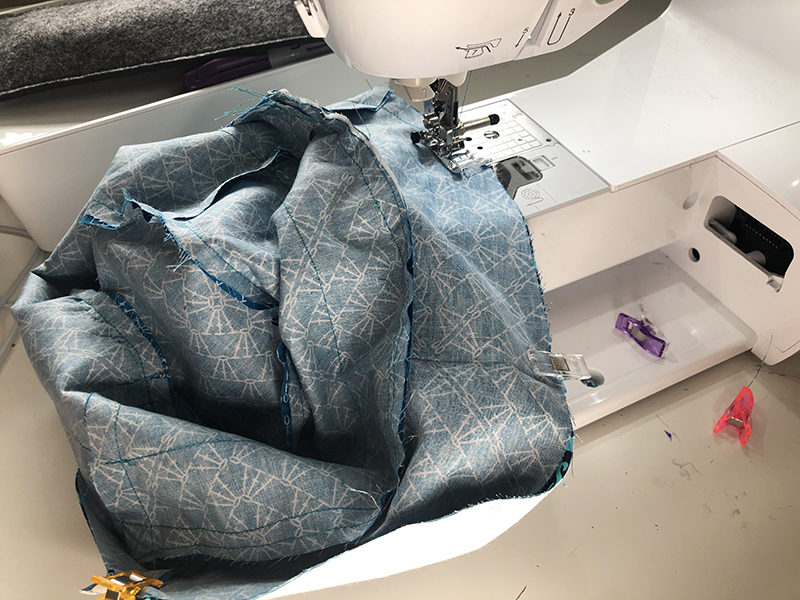
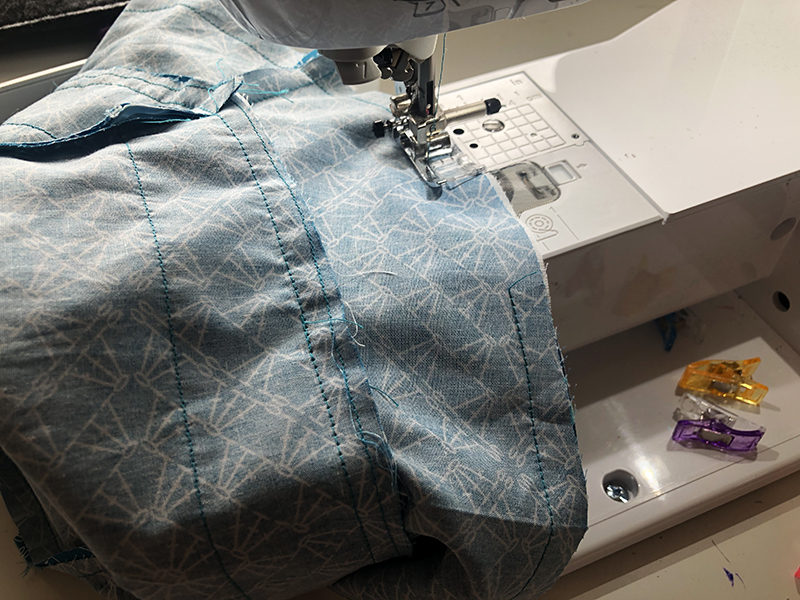
- Turn the entire hat right side out through the gap.
- Press the edges, including the 2” gap, to ensure maximum crispness.
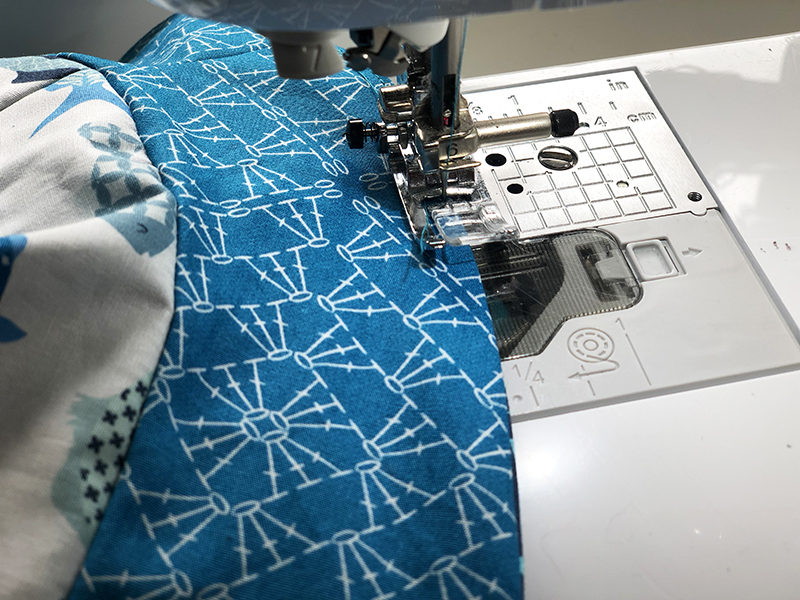
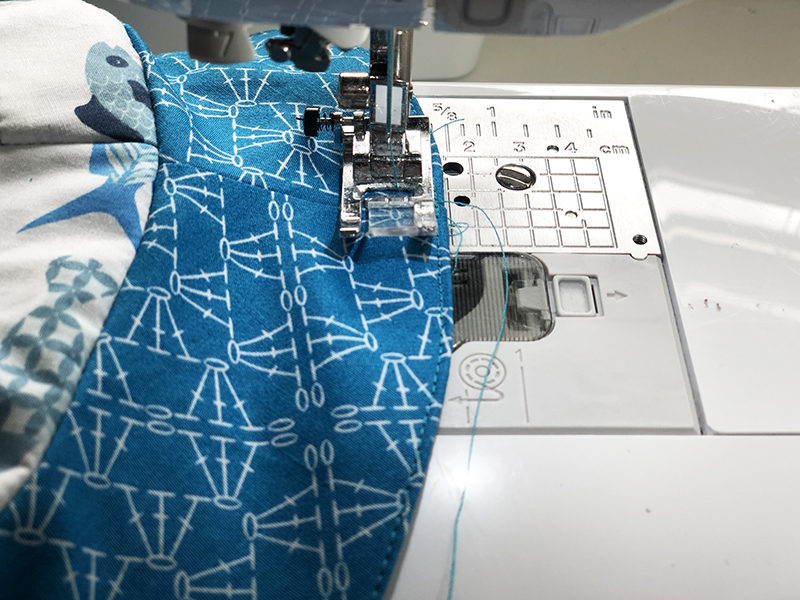
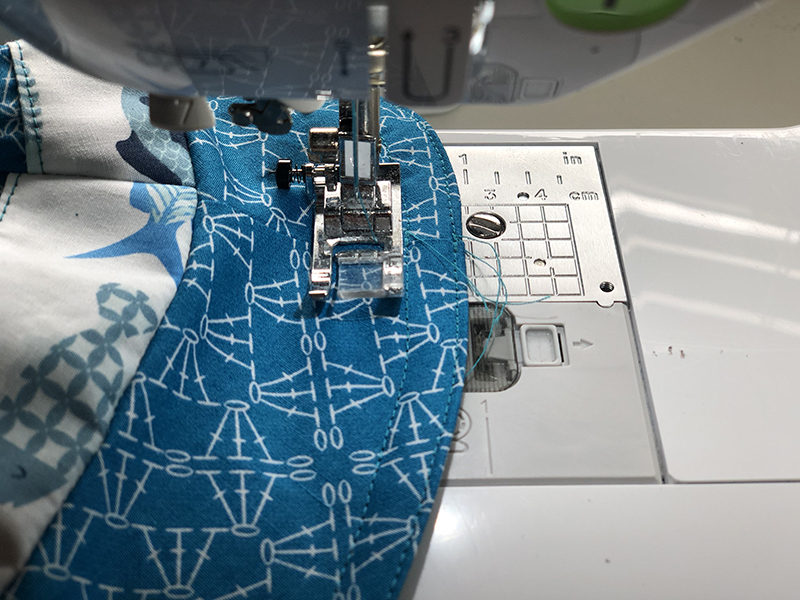
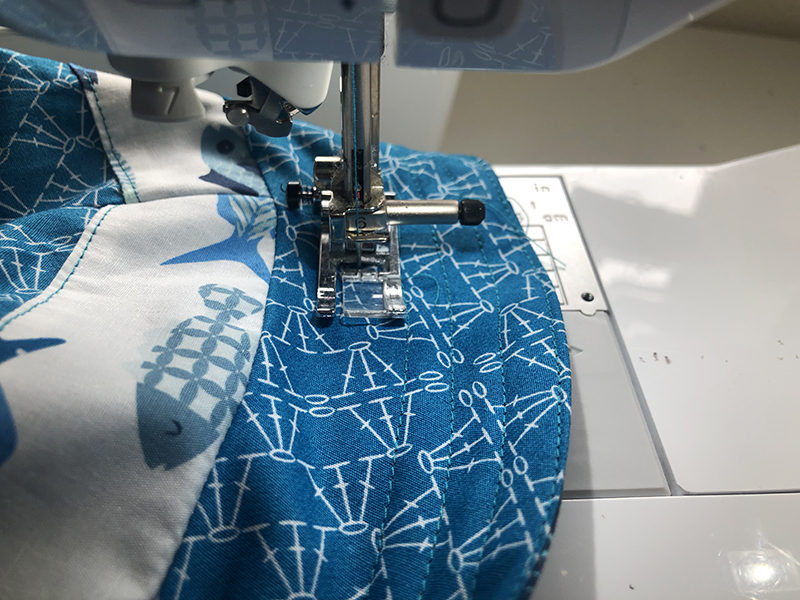
- Edge stitch around the brim of the hat.
- Continue sewing around the brim every 1/2” until you reach the seam between the top and brim.
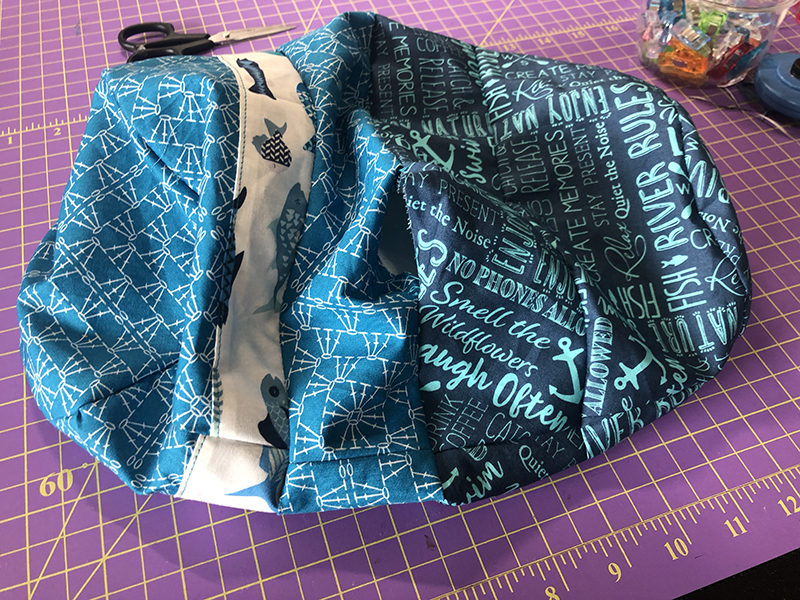
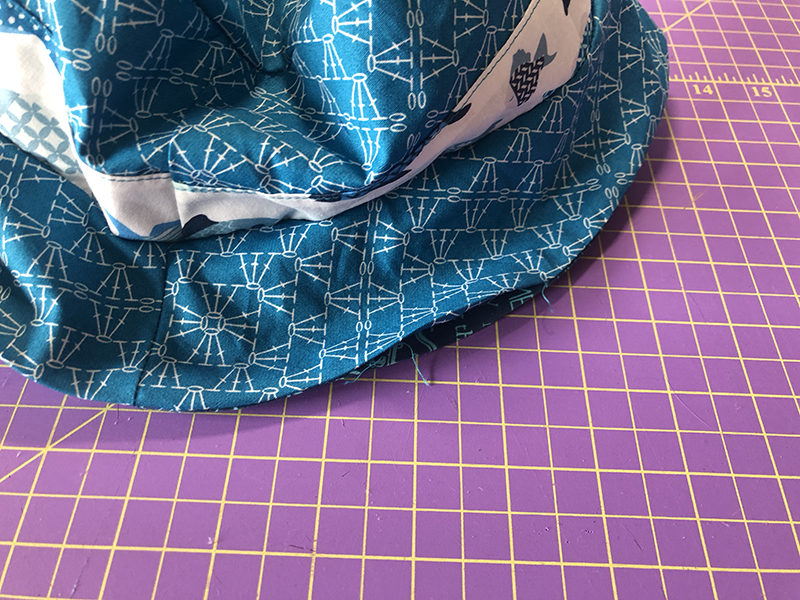
 And just like that, you’ve got yourself a super stylish reversible bucket hat that is sure to protect your head from the sun. So, wear it often and wear it proudly because you made it and it’s awesome. Happy Summer y’all.


