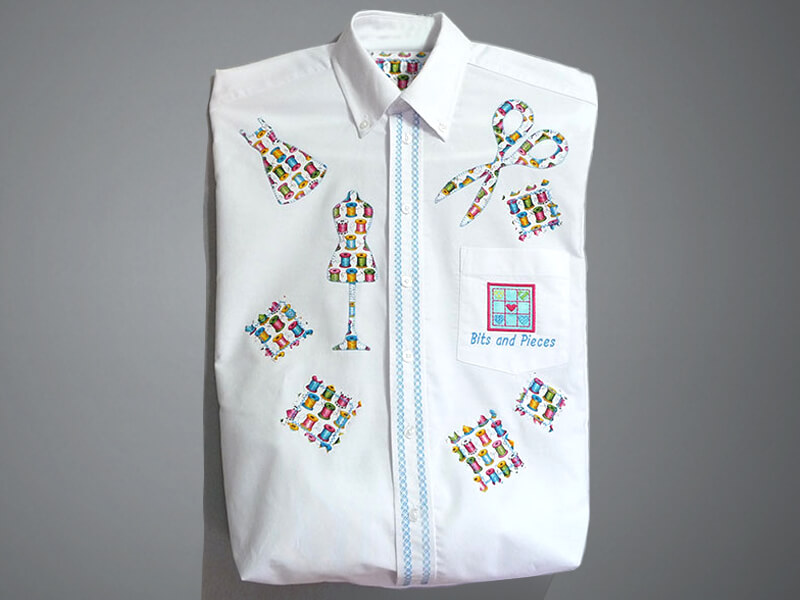
Free Design: Upcycle a Shirt for Scrap Storage
If you can’t bear to discard bits and pieces of fabric you are going to love our re-cycled shirt project this month. We used the Brother Free Design of the month, a miniature quilt design to decorate the front of a shirt and then turned it into a scrap bag. To further decorate the shirt we added an assortment of sewing themed appliqué designs built in to the Brother ScanNCut machine. This project is fun and easy and it’s a great way to renew and reuse a worn out shirt.
Materials
- Brother Machine with Embroidery and Sewing Capability
- Brother Embroidery Threads
- Brother Tear Away Stabilizer
- Brother 4-inch hoop
- Brother Open Toe Foot
for Appliqué - Brother ScanNCut
- Optional but recommended for appliqués - Presser foot “N”, Monogramming foot, for decorative stitching
- Basic sewing notions and a rotary cutter and ruler
- Light colored shirt suitable for re-cycling along with a hanger
- Printed fabric for appliqués
- 3-inch square of solid fabric for embroidery design
- Brother Free Design: Heart2.pes
Notes:
[caption id="attachment_1160" align="aligncenter" width="800"]- We used ScanNCut2 CM650W
for this project - Add medium weight fusible interfacing to wrong side
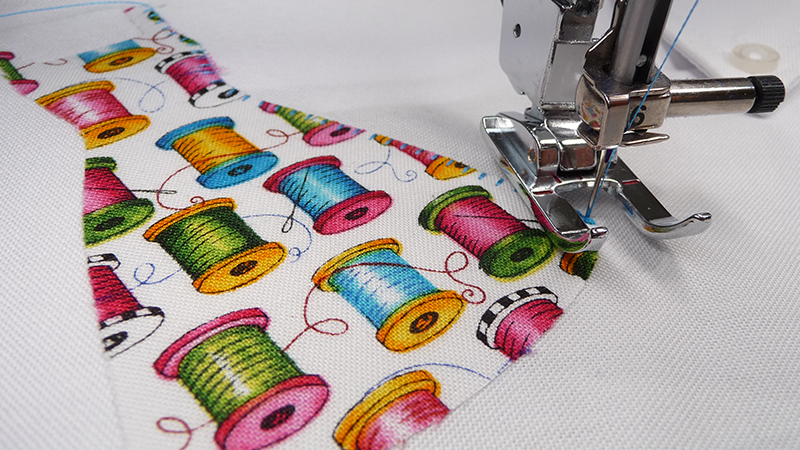 Figure 1 above[/caption]
Instructions: Creating The Scrap Storage Bag
- Wash and press shirt. Make note of any stains or worn spots so you can cover them with appliqués
- Cut off sleeves and straighten sides, leaving 1-inch extra from shoulder to shoulder for hanger and seam allowance. Straighten bottom edge, leaving at least 1-inch below bottom buttonhole. Set machine for sewing with “N” foot. Sew decorative stitches along front band - see figure 1 above
- Cut your own shapes for appliqué or use our method with the Brother ScanNCut2 digital cutting machine. If using the ScanNCut2, prepare shapes as follows:
- Fuse Brother Iron-On Fabric Appliqué Contact Sheet to the wrong side of 12-inch square of fabric and secure fabric to the standard mat
- Select desired shapes built in to ScanNCut2 model CM650W - see figure 2
 Figure 2[/caption]
- Create a layout in the cutting machine - see figure 3.
 figure3[/caption]
- Cut fabric pieces as directed in the ScanNCut2 manual
- Fuse shapes to shirt and stitch them in place using various decorative stitches - see figure 4
 Figure 4[/caption]
- Set machine for embroidery and transfer free embroidery design, Heart 2, to machine. Add lettering as desired. Layer tear away stabilizer under pocket and embroider design on pocket using 4-inch hoop.

- Note: This is an appliqué design. The first step stitches an outline for placement of appliqué material. The second step is for the position of the actual appliqué fabric. Place 3-inch square of fabric over the first stitched outline and then stitch second outline. Trim fabric very close to outline. Stitch the next step, the tack down and satin stitch. Stitch remaining steps - see steps in figure 5. Finish with lettering.
 Figure 5[/caption]
- Clean finish raw edges of shirt with an overcast stitch or a serger and sew side seams from shoulder to hem using a ¼-inch seam. Sew bottom closed using a ¼-inch seam
- Box each of the bottom corners as follows: Fold bottom seam and side seam so they match and form a pointed corner. Measure 2-inches from the point and sew straight from end to end
 You are finished! You can drop small scraps through the neck opening. Open up the buttons to insert larger scraps or search for your saved scrap “treasures.”
Related Projects
Stay Connected
* Required fields