Appliqué Prep with a ScanNCut
Brother Sews Ambassador Anna Aldmon talks about using the Brother ScanNCut
to help create appliqué shapes for quilt designs (or Why Trim when I can Cut using my ScanNCut!).
 I was so happy to use my ScanNCut
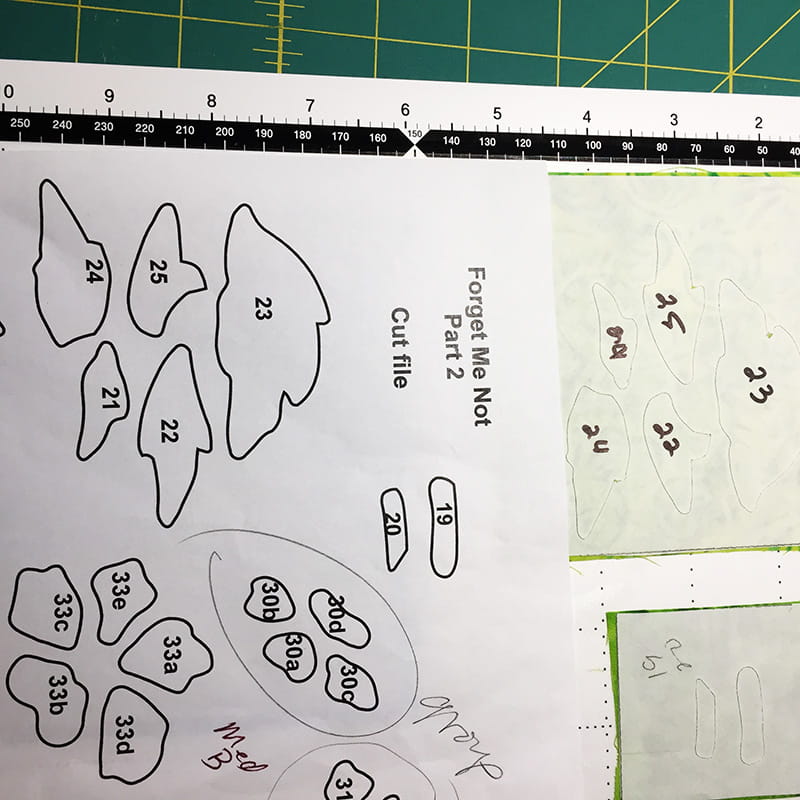
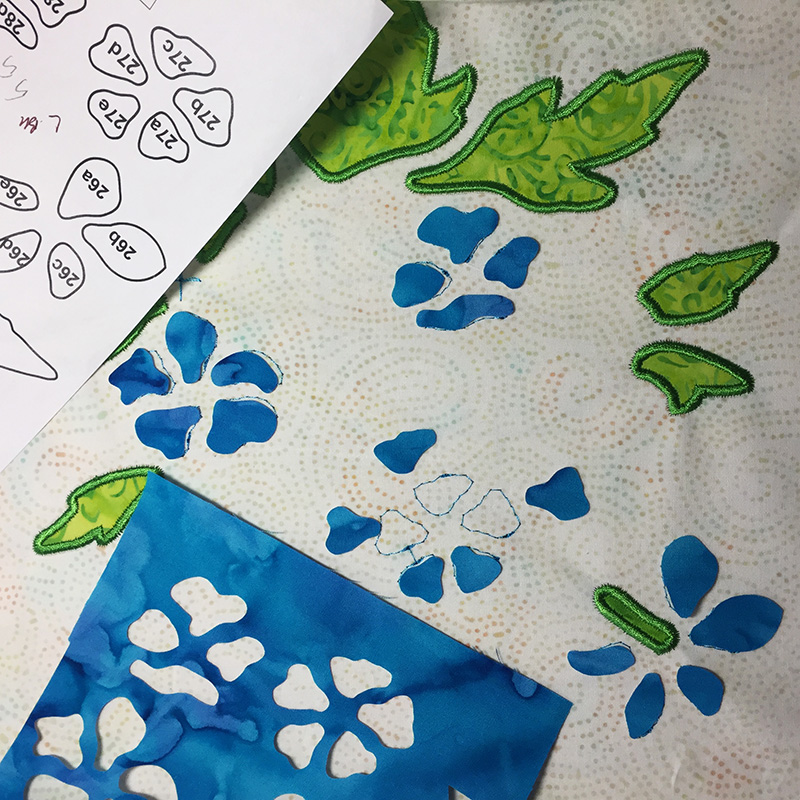
to pre-cut the appliqué shapes before I stitched the Forget Me Not block of Eye of the Beholder Quilt Designs, Victorian Flower Garden. It was so much quicker than to trim each appliqué shape individually. Typically, the sequence for appliqué in-the-hoop (ith) is placement, tack down, trim and cover stitch. The trim step can take a bit of time depending on skill level and number of appliqué shapes. For best results, it needs to be trimmed very closely to the tack down stitch. Also, fabric fray may occur while trimming.

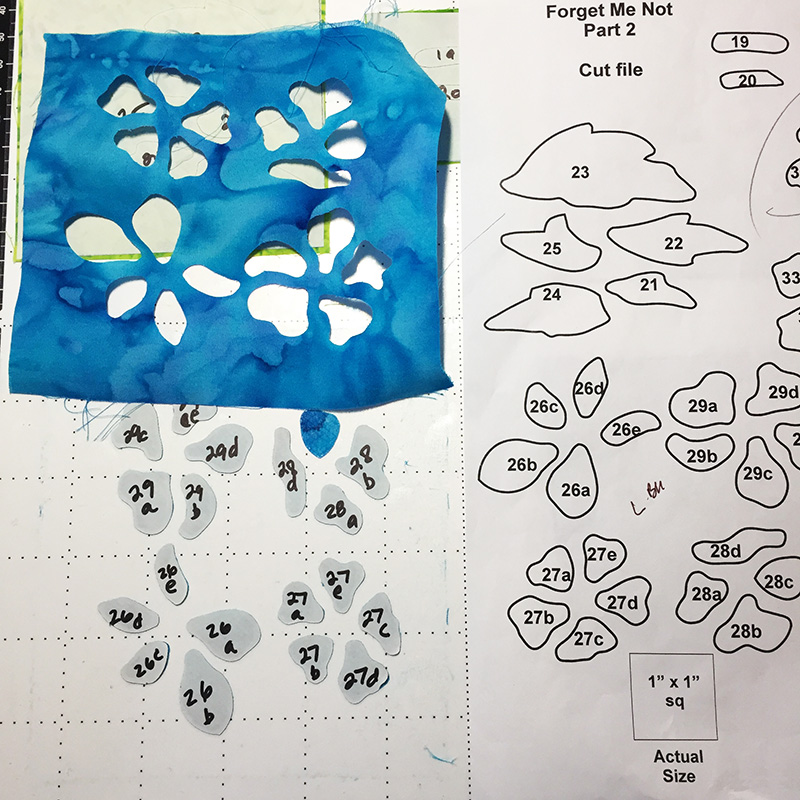
 One of benefits of pre-cutting the appliqué shapes using the ScanNCut
is that there is a fusible backing on the appliqué fabric which helps to reduce the fabric fray. The cut appliqué fabric is pressed within the placement stitches with a small craft iron, ready for the cover stitch.
 With my first test stitch-out of a new design, I usually trim the appliqué fabric. However, working on the Forget Me Not block with so many little petals, I was pleased to be able to cut each of these shapes on my ScanNCut!
I saved time during the stitch-out by not having to hand trim all those small appliqué shapes.
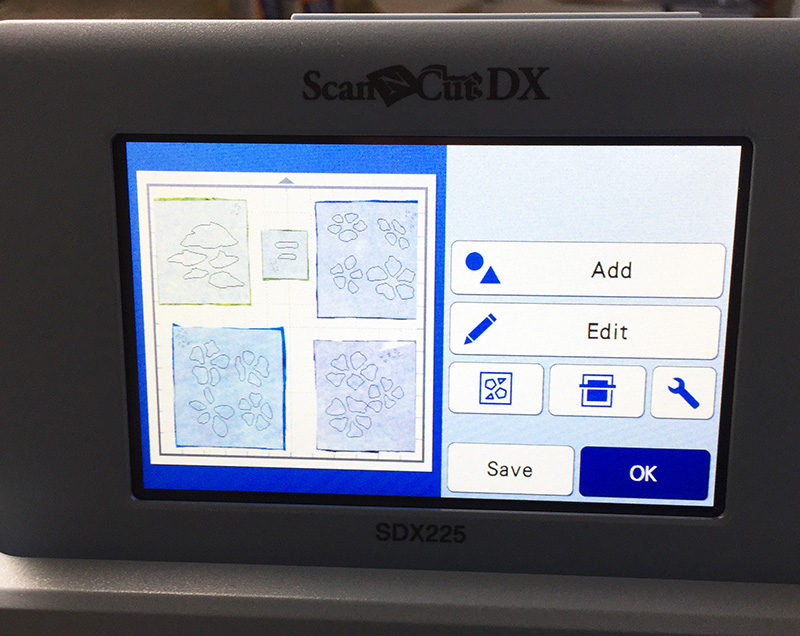
 My latest designs include FCM formats. Many of these designs are already on a USB Stick. Simply insert the USB Stick into the ScanNCut
and load the desired FCM Cut File.
 Look out for future Brother Sews blogs that will provide information for step-by-step preparation, cut and placement the appliqué shapes.
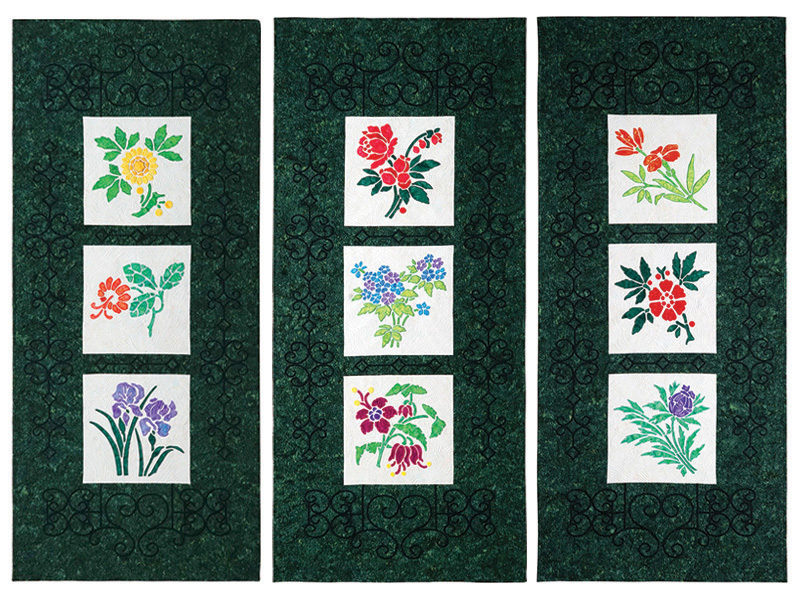 The Victorian Flower Garden 1, Victorian Flower Garden 2, and Victorian Flower Garden 3 are available from Anna’s Awesome Appliqué Designs.
Related Projects
Stay Connected
* Required fields