April Free Design: Embroidered Bath Mitt
Make bath time for baby easier and more enjoyable with this cute and practical bath mitt! Our Brother Free Design of the Month is a classic little duck design. Embroider this design onto ribbon, attach ribbon to a washcloth, and then simply sew a couple
Materials and Supplies:
- Brother Sewing and Embroidery Machine with 4-inch by 4-inch hoop.
- Brother Embroidery Thread and bobbin thread.
- SA5929 Brother Pacesetter heavy weight cut-away stabilizer.
- Embroidery needle for embroidering.
- Temporary adhesive spray made specifically for embroidering.
- Plain white washcloth.
- One piece of washable grosgrain ribbon measuring 1/4-inch wide X 3-inches long to form loop for hanging.
- One piece of washable grosgrain ribbon measuring 1 1/2-inches wide X approximately 8-inches long for embroidered accent.
- Brother Free Design of the Month: Baby Duck.pes
Note: Measure diagonally across your washcloth and add a couple extra inches to determine exact length.
- Basic sewing notions including sewing thread to attach ribbon.
- Erasable marker.
Marking Tip: Be sure to test your marker for easy removal. Most markings need to be thoroughly removed before pressing.
Brother Free Design of the Month
[caption id="attachment_14498" align="aligncenter" width="232"]
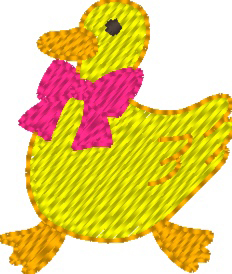 April Free Design [/caption]
Design Size:
- 1.02” High X 1.20” Wide
- (25.9mm High X 30.4mm Wide)
Steps to Create Bath Mitt
- Transfer design to your machine and add lettering using built-in fonts. This example features a small size for the font and a combination design that fits a 4-inch hoop. See Figure #1.
 Figure #1[/caption]
- Hoop stabilizer. Use template grid to mark center of stabilizer by making dots through template holes. Remove grid and connect lines with a ruler. See Figure #2a to #2c.
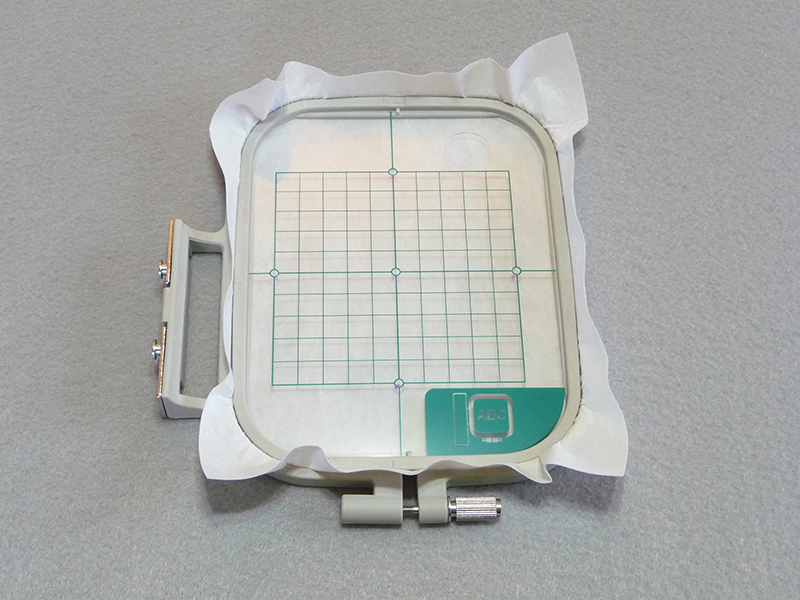 Figure #2a[/caption]
[caption id="attachment_14488" align="aligncenter" width="800"]
Figure #2a[/caption]
[caption id="attachment_14488" align="aligncenter" width="800"]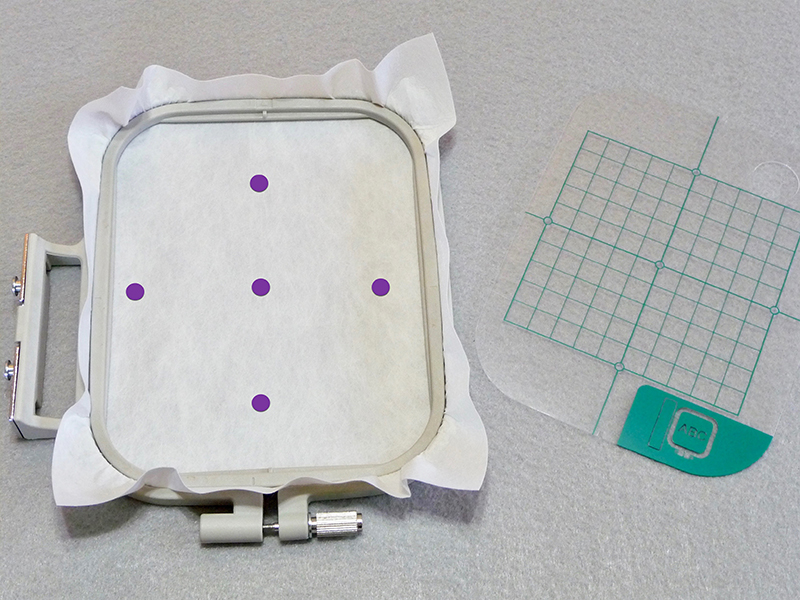 Figure #2b[/caption]
[caption id="attachment_14489" align="aligncenter" width="800"]
Figure #2b[/caption]
[caption id="attachment_14489" align="aligncenter" width="800"]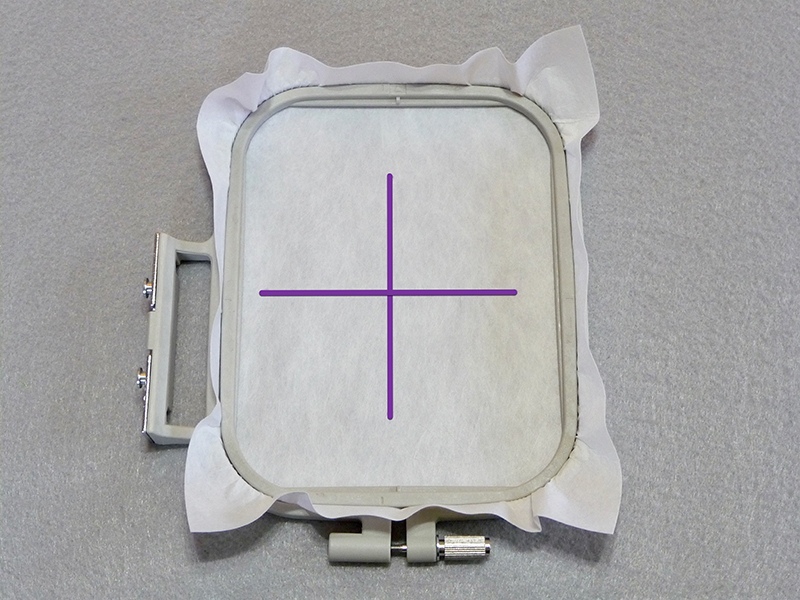 Figure #2c[/caption]
- Determine placement for sewing ribbon to the lower front half of open washcloth. Mark edge lines for ends of ribbon and locate center mark for embroidery placement. See Figure #3.
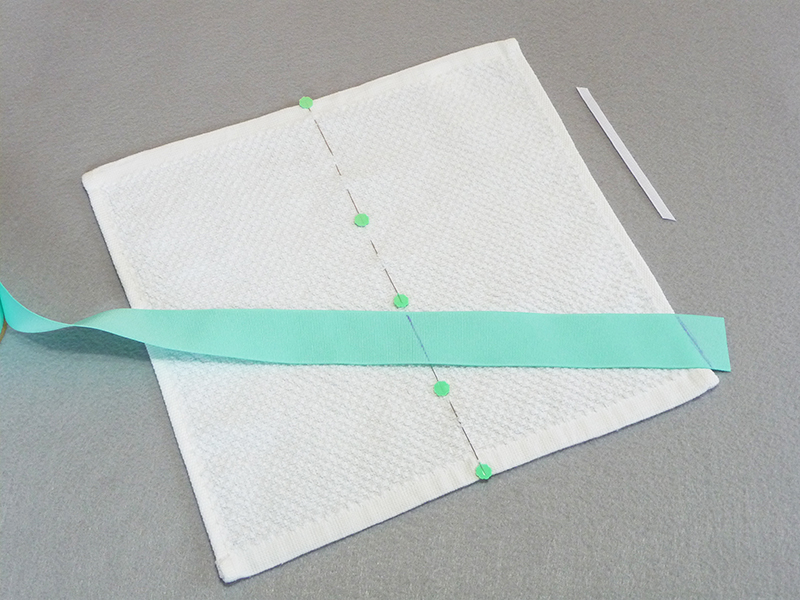 Figure #3[/caption]
- Lightly spray wrong side of ribbon with adhesive and secure to stabilizer by matching center lines. Embroider combination design using desired thread colors. See Figure #4.
Tip: Always be sure to follow manufacturer's directions for adhesive spray. You only need a light mist of adhesive to secure ribbon to stabilizer.
[caption id="attachment_14491" align="aligncenter" width="800"]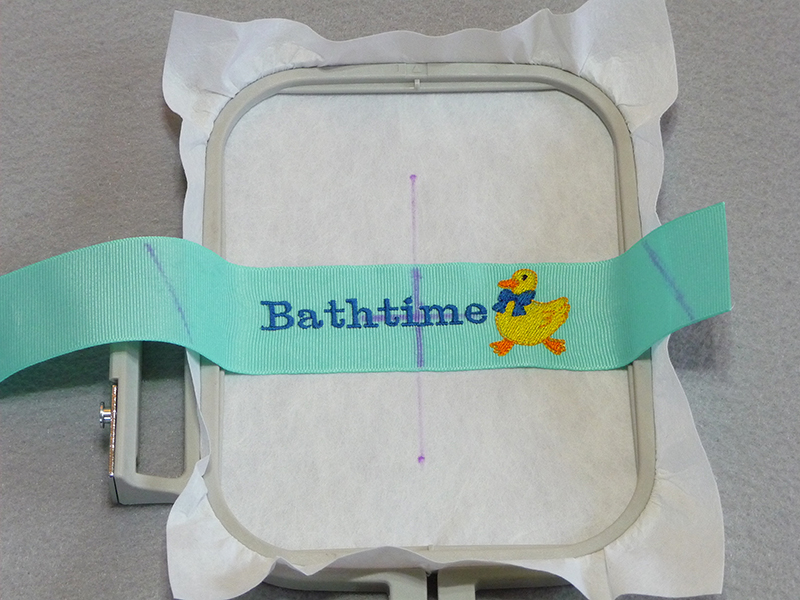 Figure #4[/caption]
- Trim excess stabilizer. See Figure #5.
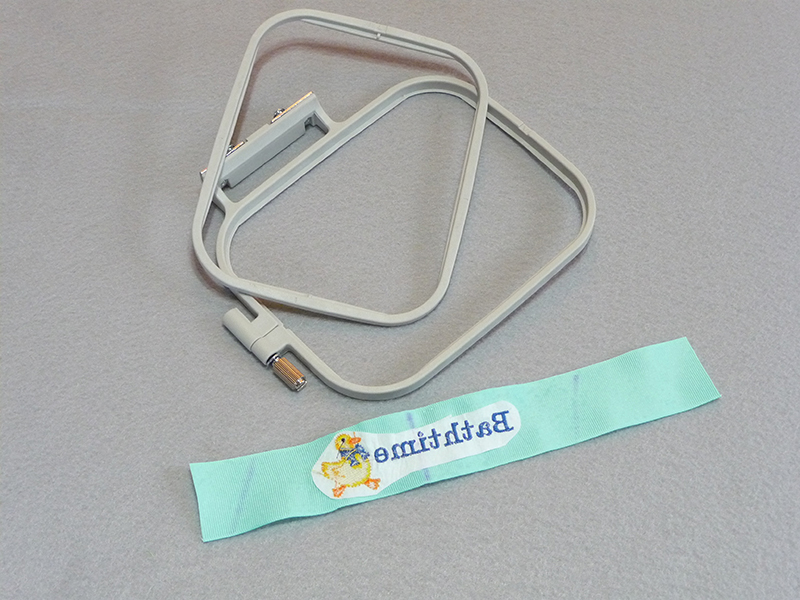 Figure #5[/caption]
- Set up machine for sewing. Form a loop with narrow ribbon and pin to top right-hand corner. Pin embroidered ribbon to washcloth with raw ends of ribbon turned under. See below:
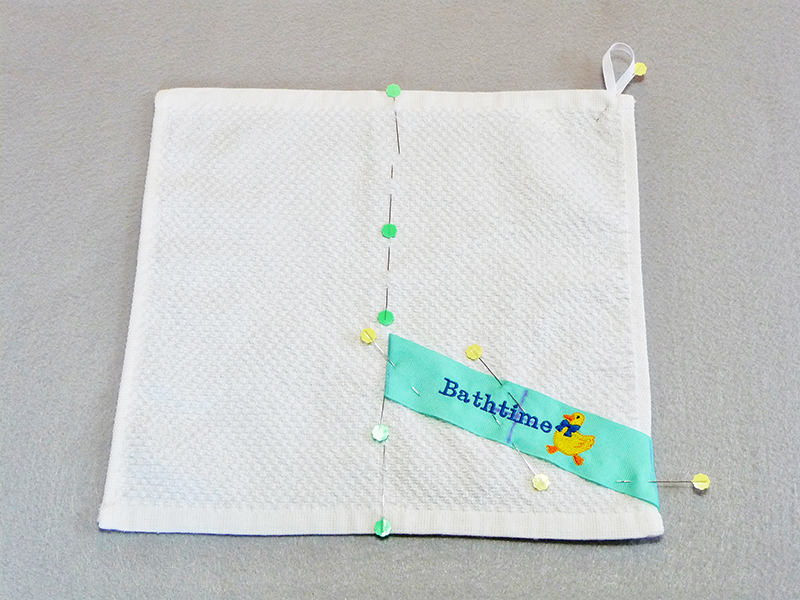
- Sew ribbons in place.
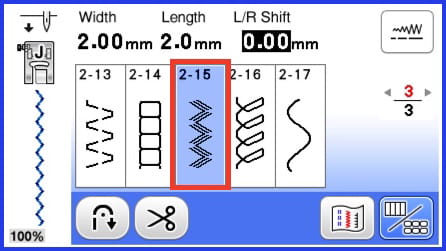
Note: This example features a narrow rick rack zigzag stitch used to sew embroidered ribbon in place. See below:
- Fold and pin washcloth in half with wrong sides facing. See Figure #6.
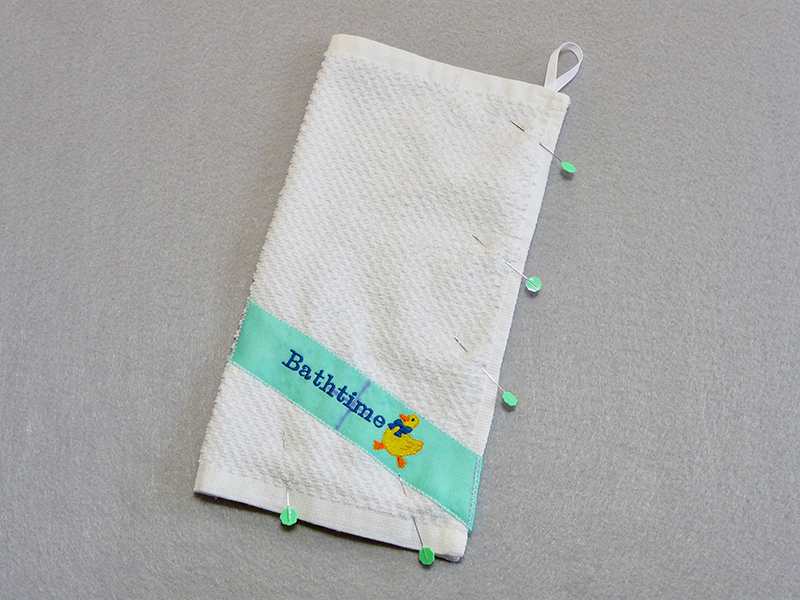 Figure #6[/caption]
- Use a straight stitch to close side and bottom edges. See Figure #7.
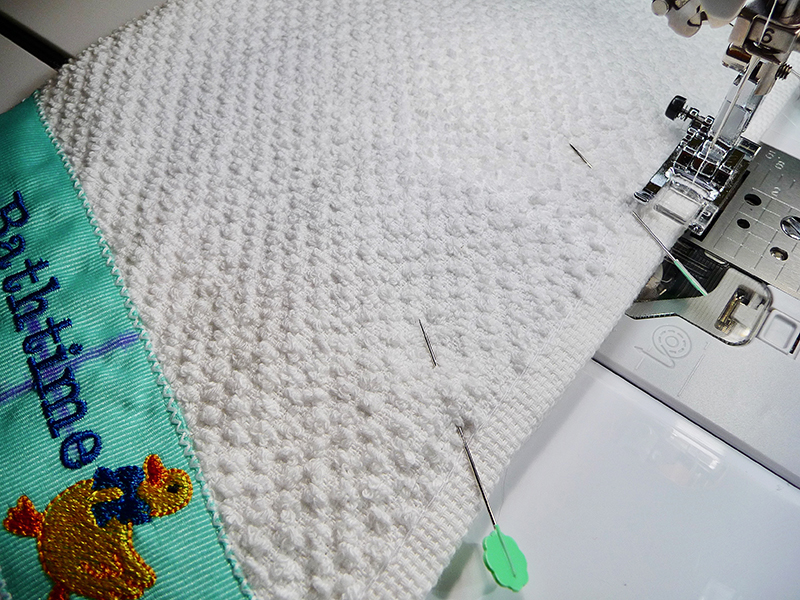 Figure #7[/caption]
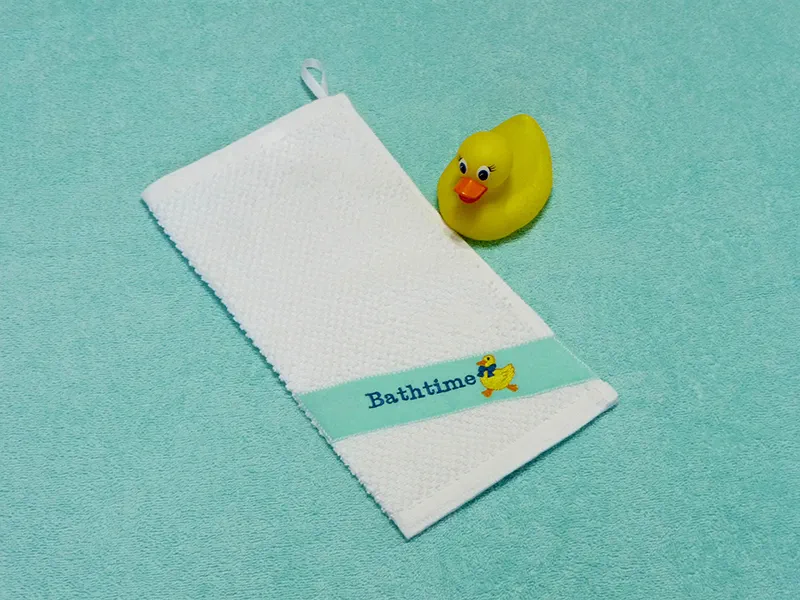
You are finished! Enjoy!
Related Projects
Stay Connected
* Required fields