Back to School Project: Quilted Lunch Bag
August is here, which means it’s time to start preparing for back to school already. I can’t believe Helena (my daughter) is starting First Grade this year! Seriously, where does the time go? This year, I decided to spruce up my daughter’s school swag by creating some next-level quilted lunch bags for her. And, like always, when I make it for her that also means I get to share it with y’all.
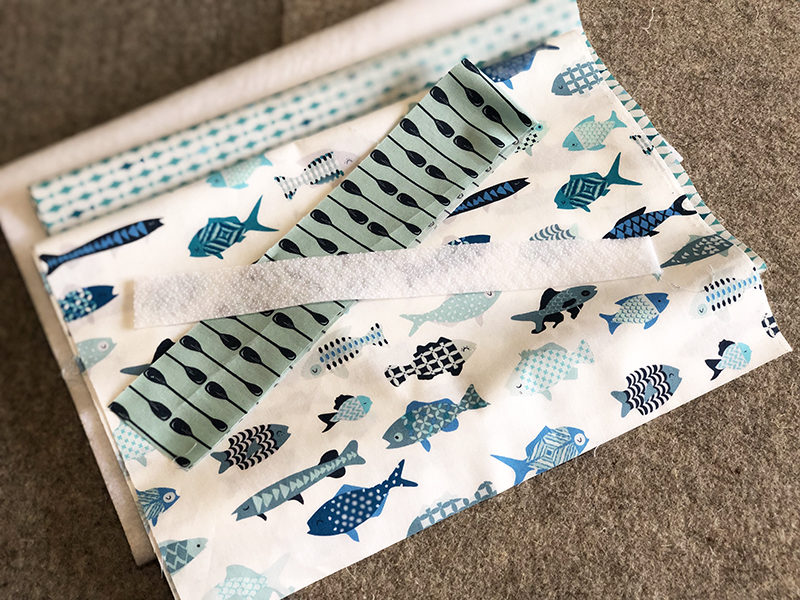
What you’ll need:
- Two half yard cuts of fabric (one exterior, one lining)
- One yard fusible fleece
- 2” x 20” piece of fabric (strap connector)
- Coordinating thread
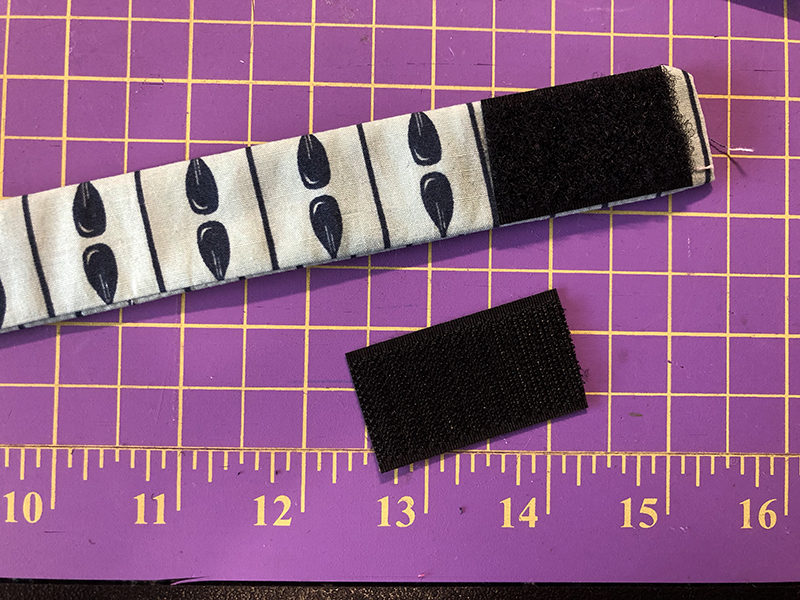
- 1.5” pair of hook and loop fastener pieces
Product Used:
- Brother SE1900
(aka Alfonso)
Preparation
- Cut fabric pieces & fusible fleece to 12” x 33” rectangles.
- Cut additional fleece piece to 1” x 10” rectangle.
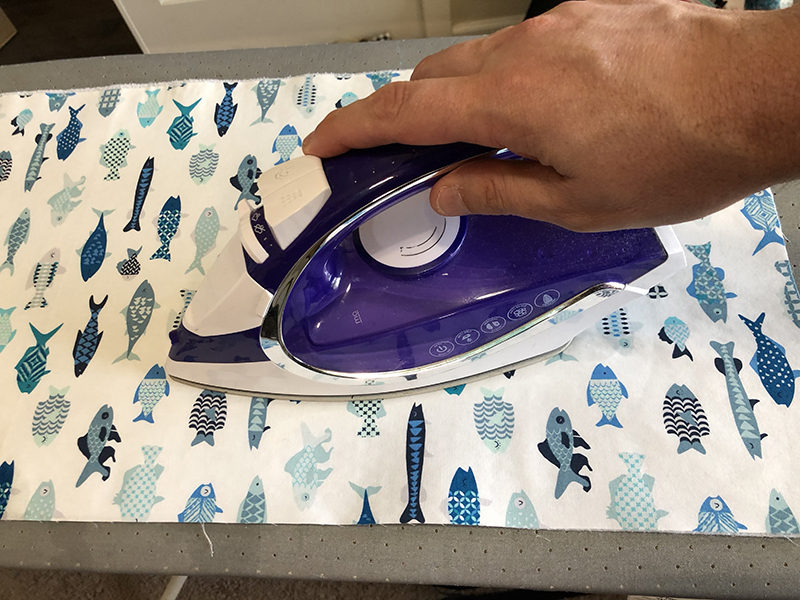
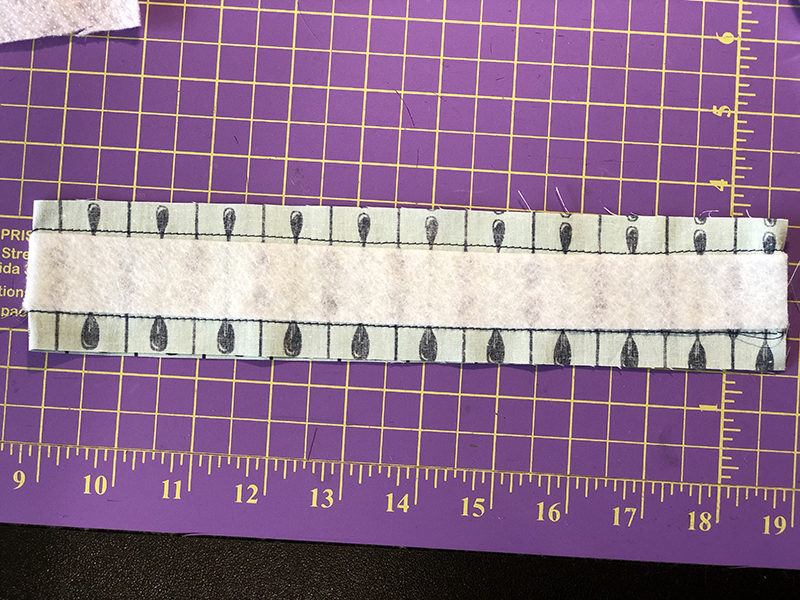
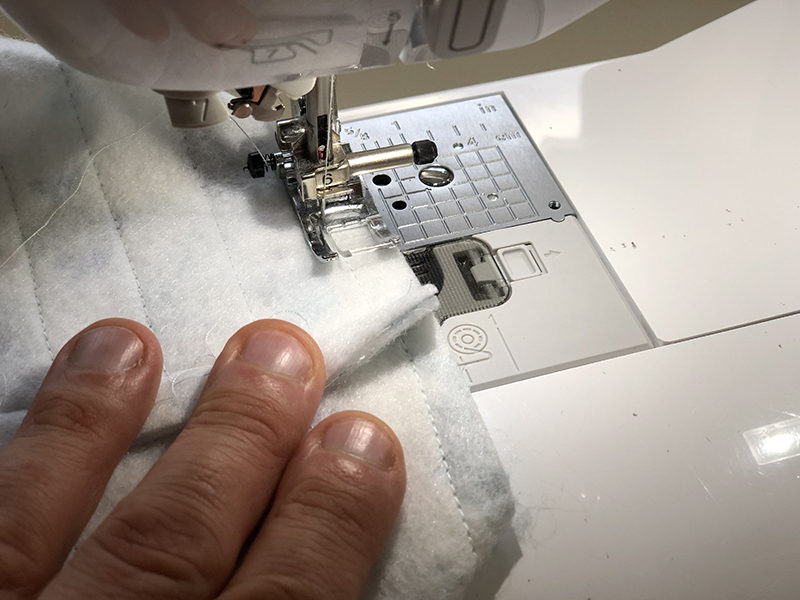
- Fuse the fleece to the wrong side of the exterior piece.
- Fuse the 1” x 10” fusible to the center edge on the wrong side of one end of the strap connector.
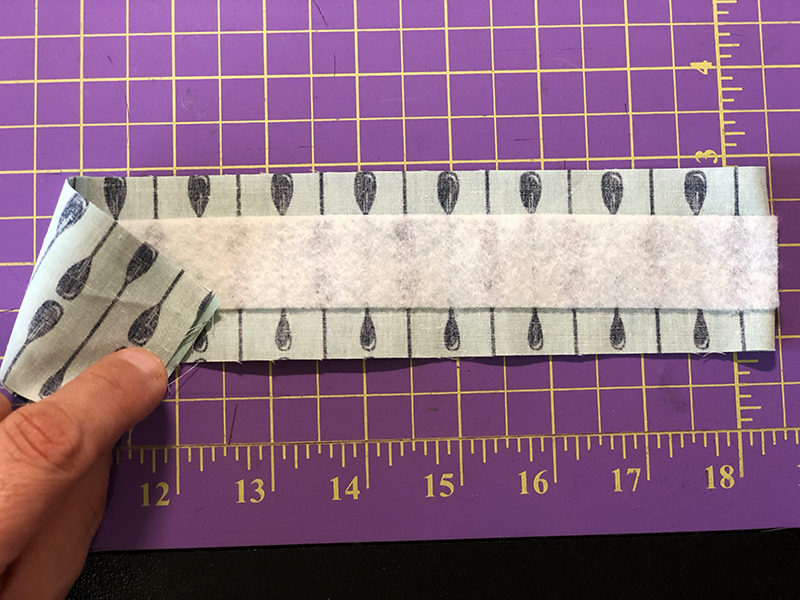
- Fold the strap connector in half, right sides together.
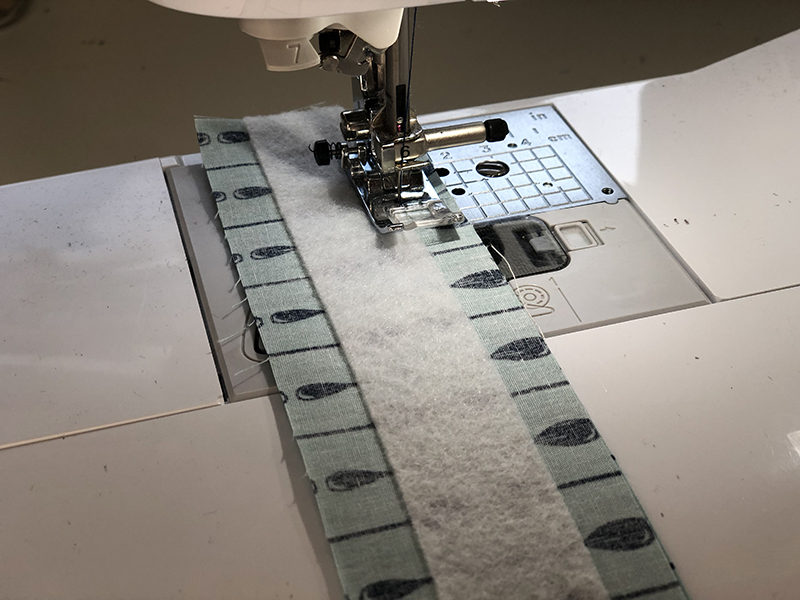
- Sew along both edge of the fusible fleece.
- Turn strap connector right-side-out.
- Group with hook & loop fastener pieces and set aside.
Constructing the Exterior
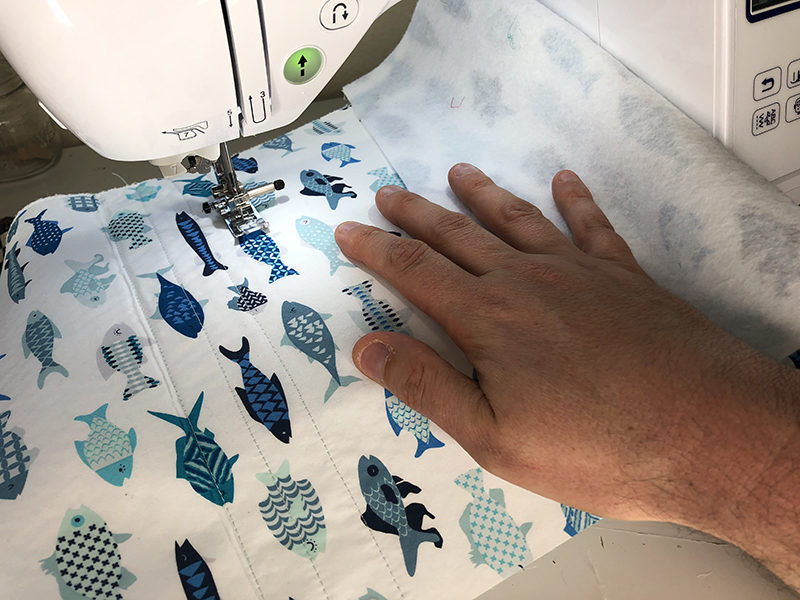
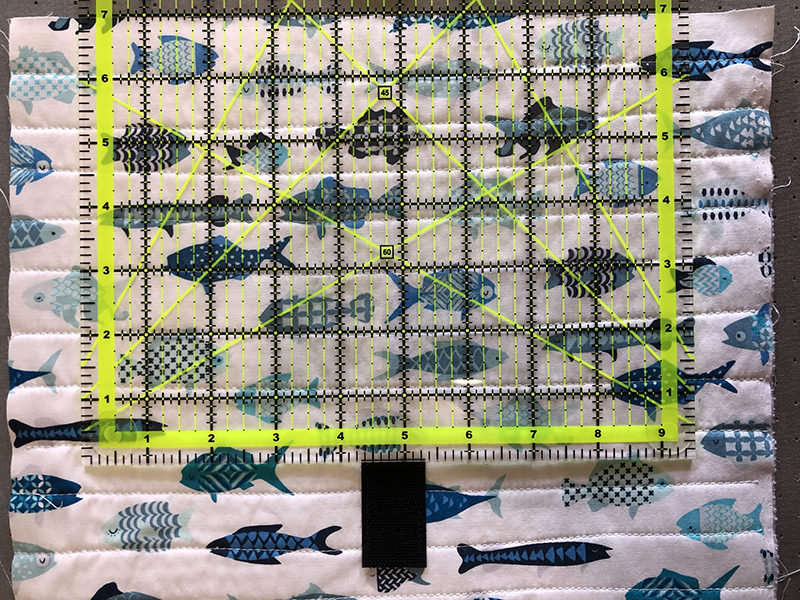
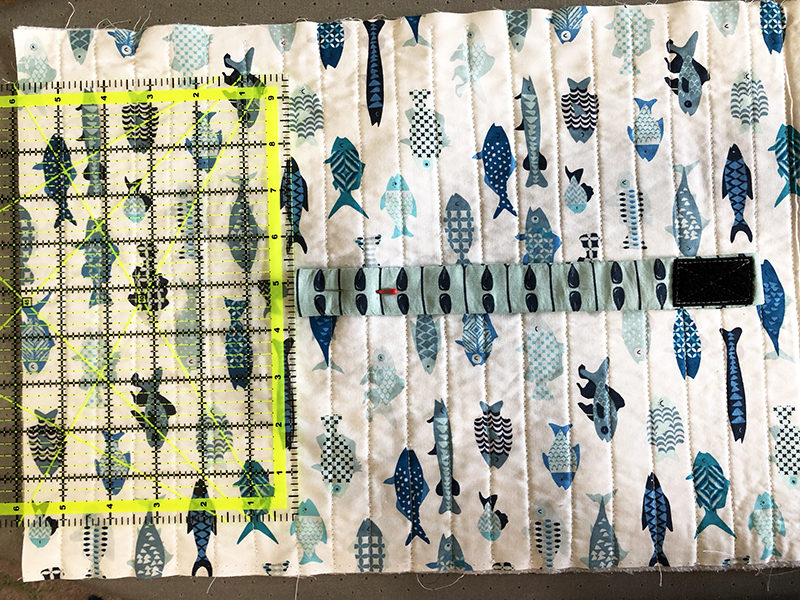
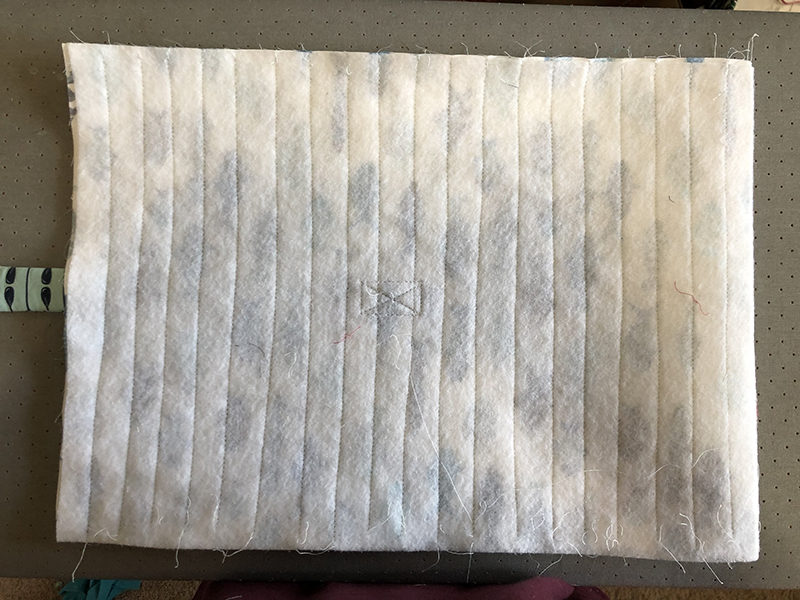
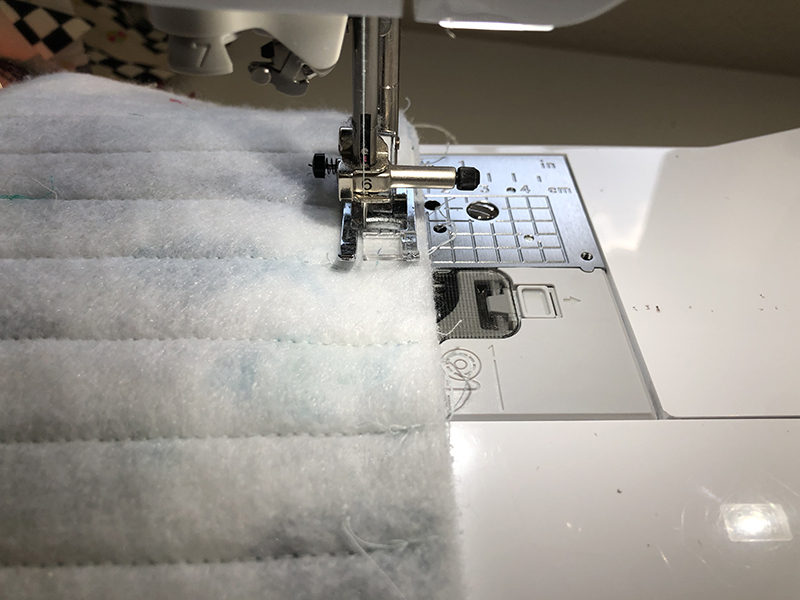
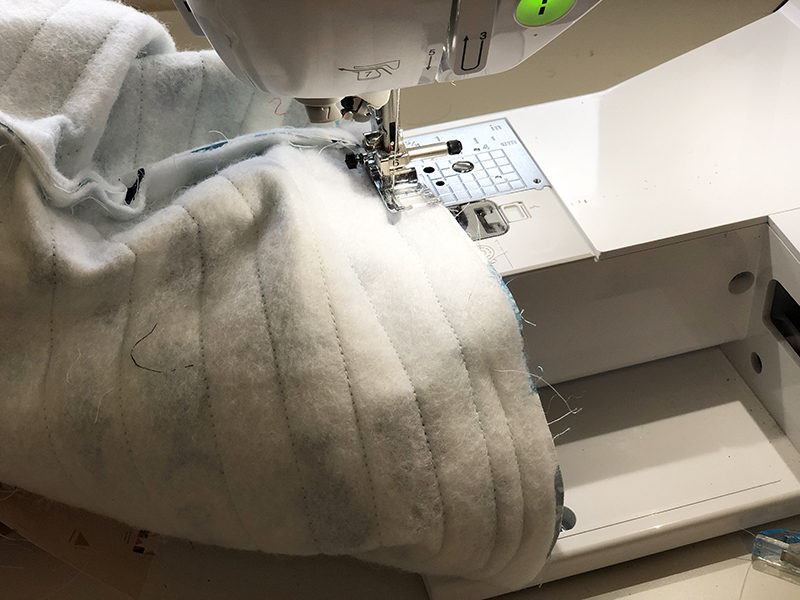
- With a 3 mm stitch length, quilt the exterior piece to your liking (I used horizontal lines approximately 1” apart).
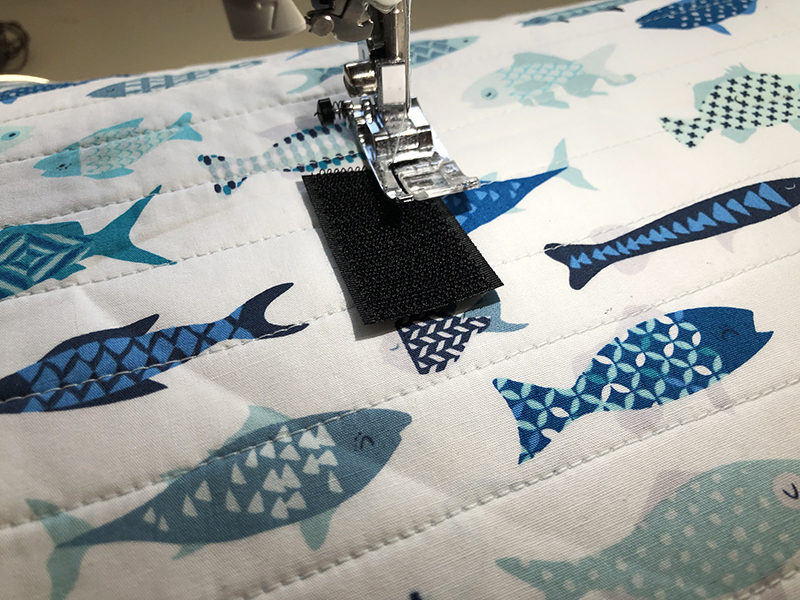
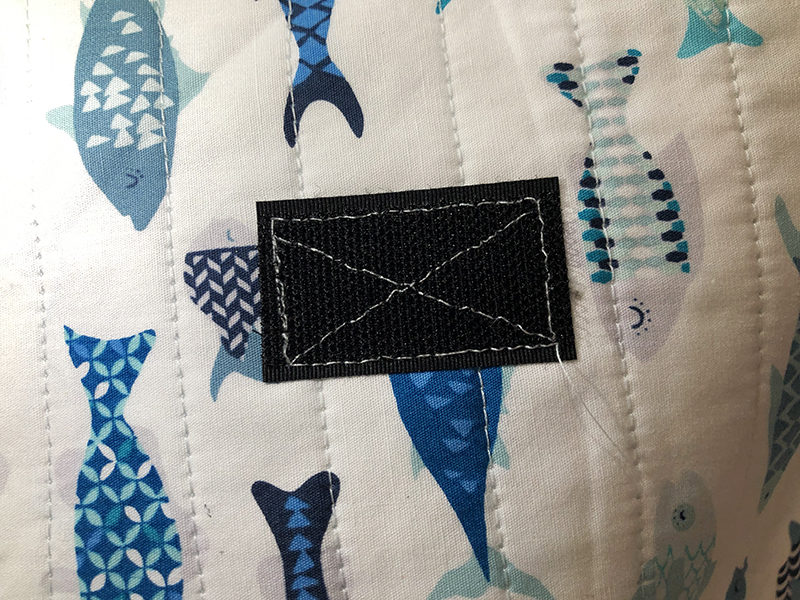
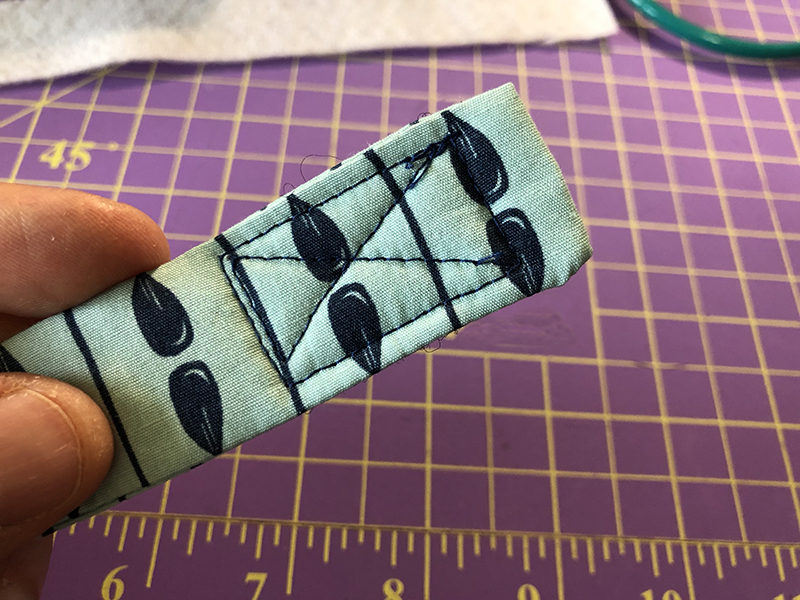
- Center one fastener piece 7” from one of the shorter raw edges and baste.
- Sew a rectangle along the edge and an X across both diagonals of the fastener piece.

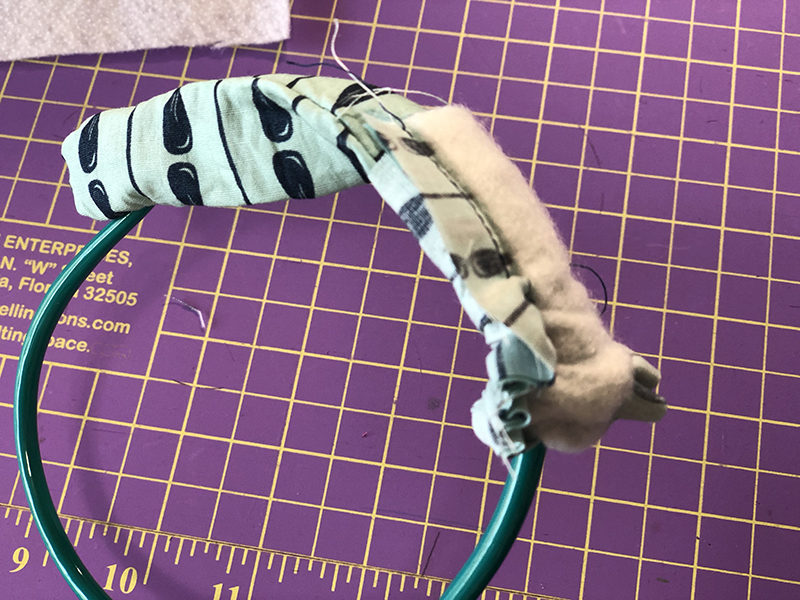
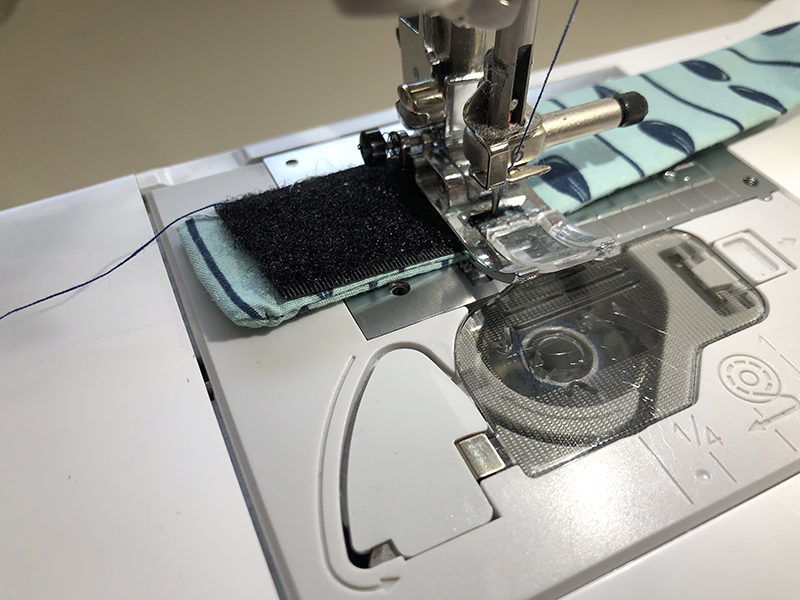
- Baste the other loop fastener piece onto the folded end of the strap.
- Sew a rectangle along the edge and an X across both diagonals of the fastener piece.
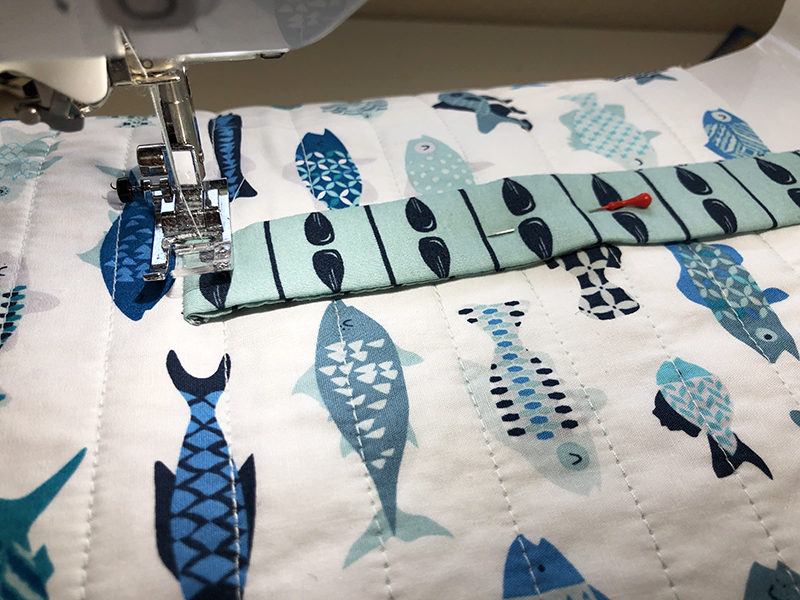
- Center the raw edge of the strap 6” from the opposite shorter raw edge and baste (the strap should be facing away from the raw edge with the hook and loop fastener on top).
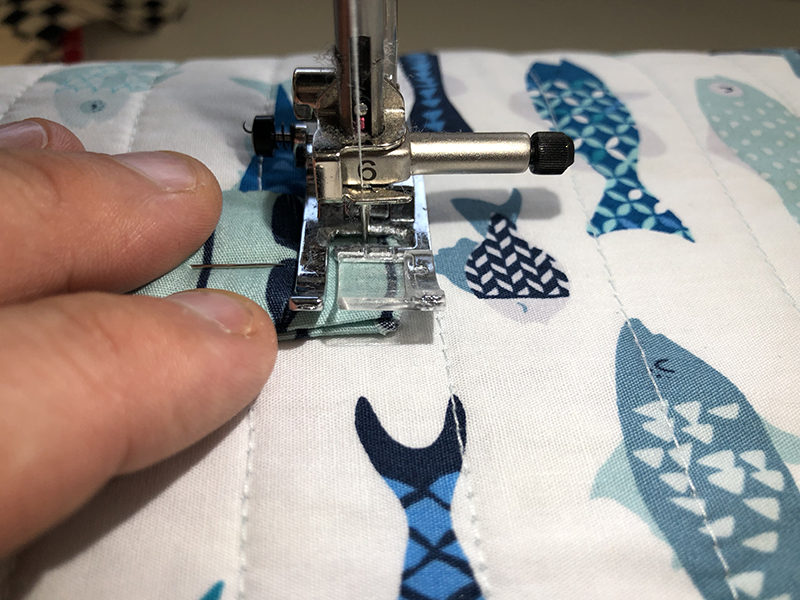
- Sew a line ~1/4” from the raw edge, backstitching at the beginning and end.
- Fold over, baste and sew a ~1/2” rectangle with an X across both diagonals.

Constructing the Bag
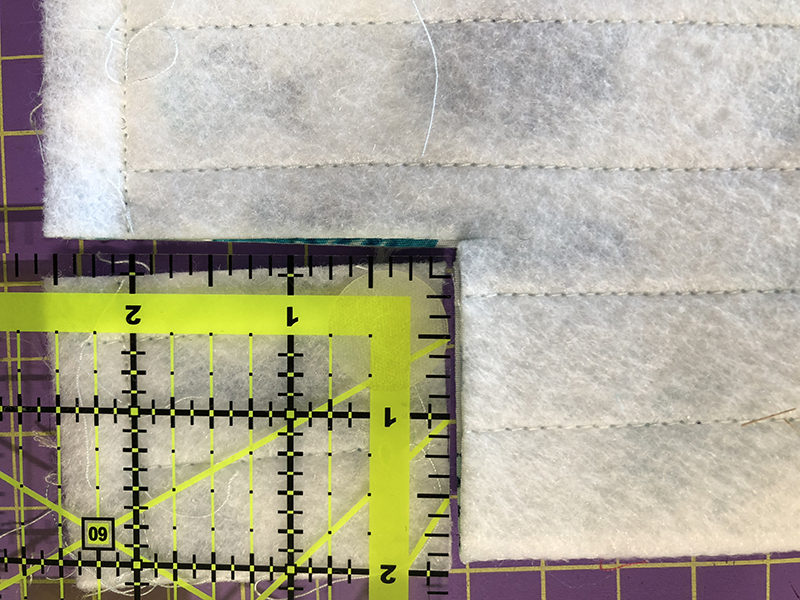
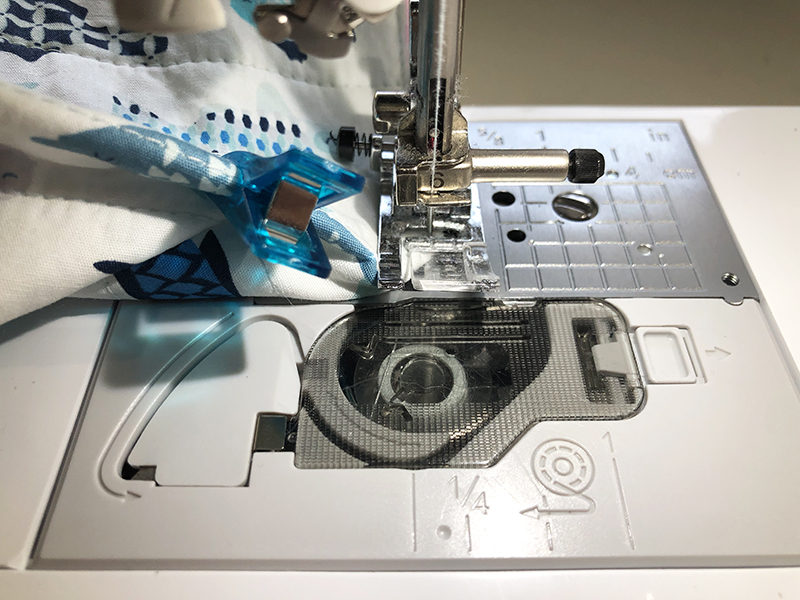
- Right sides together, fold over the the exterior panel and sew up both sides using a 1/2” seam allowance.
- Using the stitch line as the edge, cut out a 2” square from each corner of the folded end (the overall cut out piece will be 2.5” x 2” including the side seam allowance).
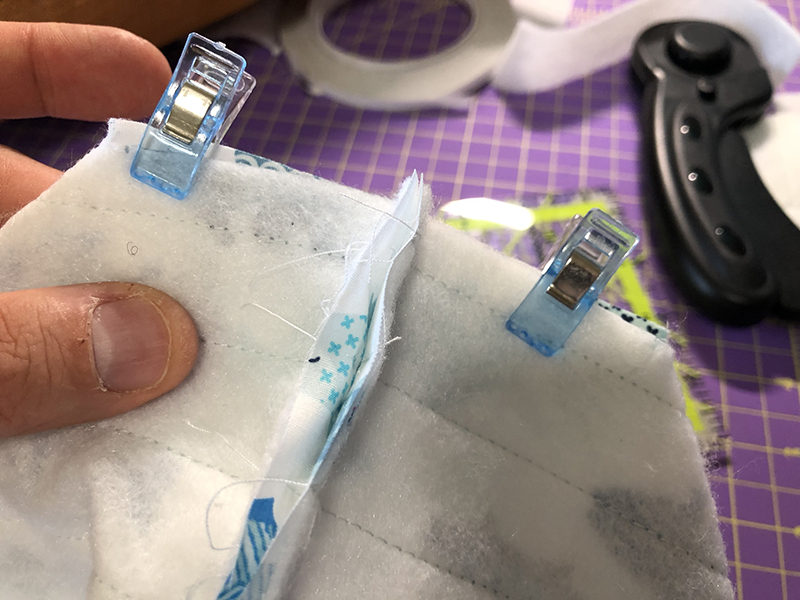
- Open one corner with the cut out, lay flat with the seam in the center, and clip.
- Sew at 1/2” seam allowance.
- Repeat for second corner.
- Follow all “Constructing the Bag” steps for the lining.
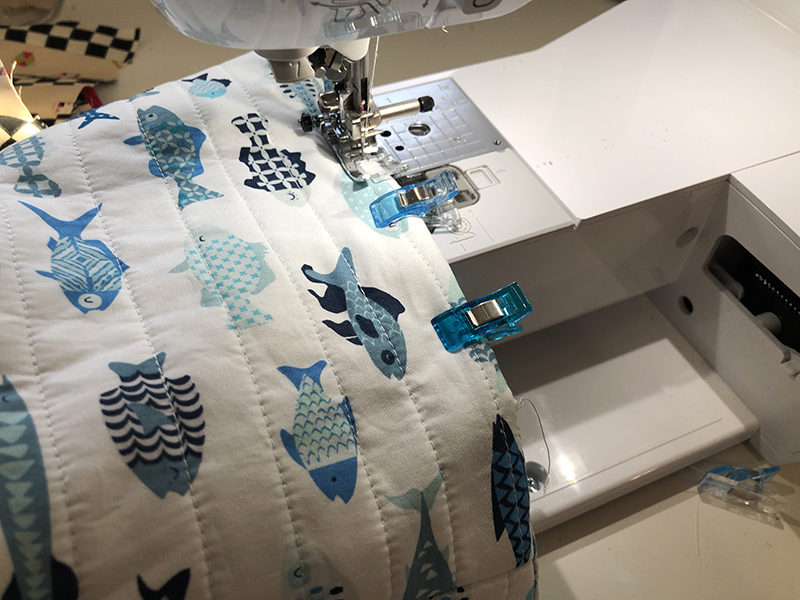
- With the exterior inside-out, insert the lining right side out (right sides matching), line up the seams, and clip.
- Sew around the top raw seams using 1/2” seam allowance and leave a gap of ~3”.


- Pull both the exterior and interior out through the gap, insert the lining into the exterior and press.
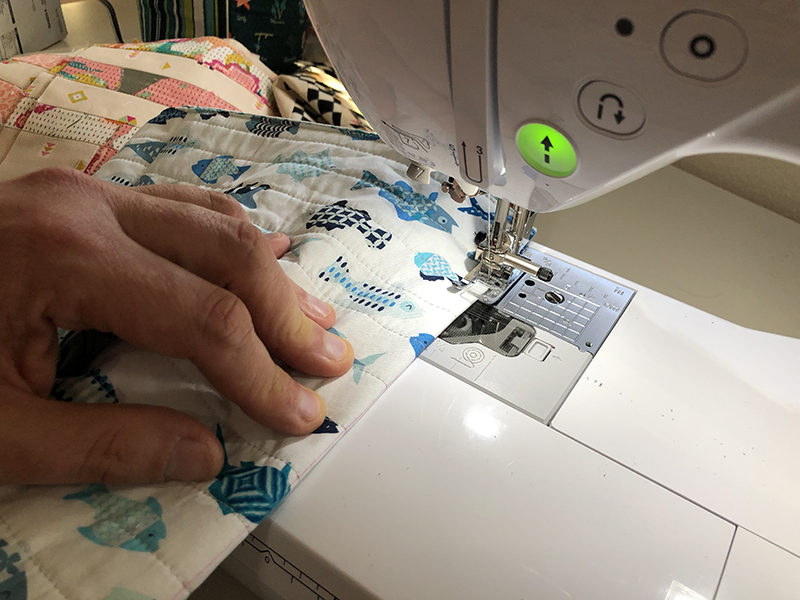
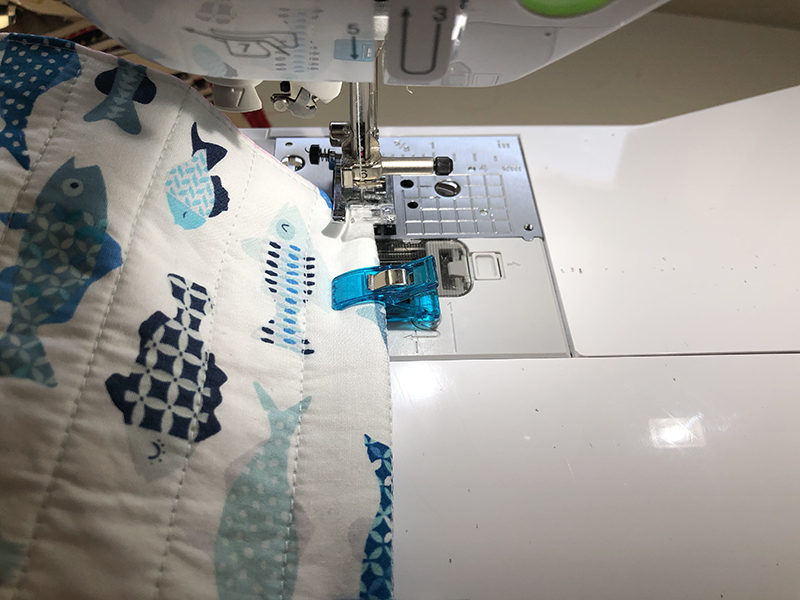
- Edge stitch the top of the bag making sure to close the gap.
Creating the Structure
- Flatten the bag with the side seams laying on top of each other.
- Using a ruler and an erasable pen, draw a line on both sides of the seam at 2.5”.
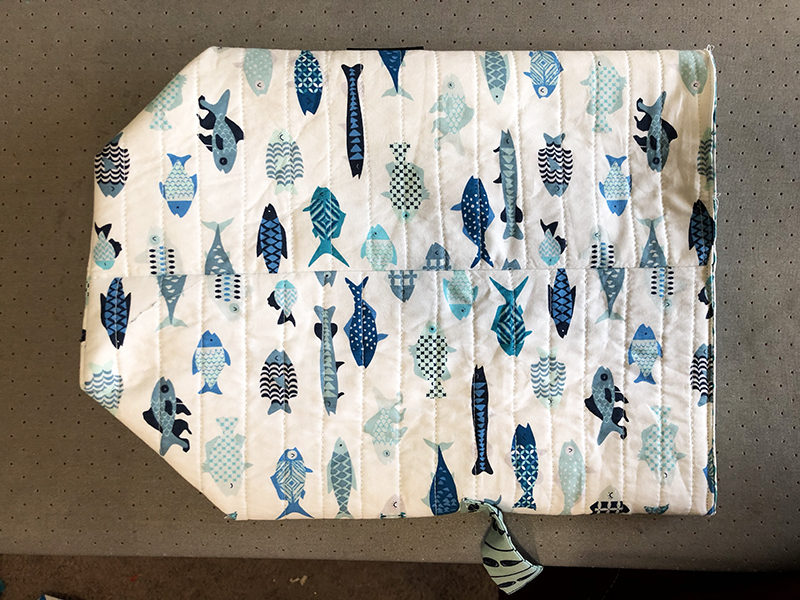

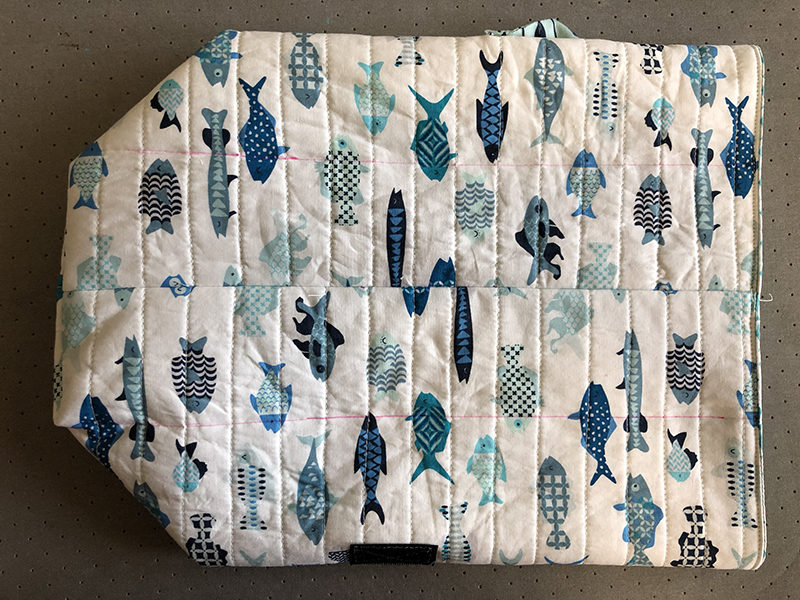
- Fold where the line was drawn on one side and edge stitch the fold from top to bottom. Make sure to backstitch at the beginning.
- Stop at the very bottom of the fold with needle down. Lift the foot and pivot the bag with the front of the bag ready to stitch.
- Fold the front bottom of the bag from one corner to the opposite corner and edge stitch the fold.
- Stop at the end with the needle down.
- Lift the foot and pivot the bag with the second line ready to stitch.
- Fold where the second line was drawn on one side and edge stitch the fold from bottom to top. Backstitch at the end.
- Repeat all steps in this “Creating the Structure” section for the other half of the bag.
 I hope you enjoy making this Quilted Lunch Bag as much as I did. I made mine using fusible fleece, but you could alternatively use something like an insulating bag or fusible vinyl to make it waterproof. You can even use this to make gift bags for non-lunch items and really blow everyone away. Or you can make a patchwork panel and create a fancy patchwork lunch bag. The ideas are flooding my brain, so I’m headed to my machine to make some more. Keep it positive, y’all.
Related Projects
Stay Connected
* Required fields