Comfy Cozy Holiday Blankets
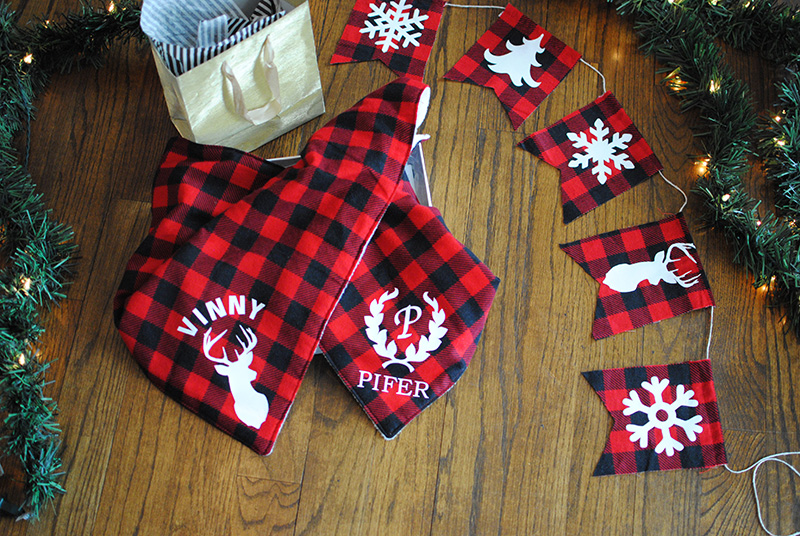 The holidays are finally here and we have a lot to look forward to these coming months. From Christmas to New Years and many birthdays in between (all four of my boy’s birthdays are within a month of each other). It also means the season of giving... For me I enjoy making handmade gifts, it's one of my favorite things about being a maker. Because I have a lot of sewing to do, I like to design projects that are simple enough but also one-of-a kind. That's why I love my Brother machines, they make customizing gifts easy and fun. For this post I want to share how to make custom blankets with my Brother PE800
and Brother ScanNCutDX
, this tutorial can be done on many things from stockings to towels and even t-shirts. Get the details below.
Supplies:
- Brother PE800
- Brother ScanNCutDX
- Pacesetter Lt Weight Water-Soluble Stabilizer
- Pacesetter Medium Tear-Away Stabilizer
- Brother Metallic Thread
- 5” x 7” hoop
- Fleece blanket
- 1 yard flannel fabric
- 1 yard fleece material
- Heat Vinyl Transfer sheets for fabric
- Iron
Let’s begin with the Embroidery:
- For the Embroidery blanket I’m using a purchased fleece blanket.
- You will want to have an idea of where you’d like the embroidery to go. I’m embroidering on the center of the right bottom corner. My design is about 4”x4”.
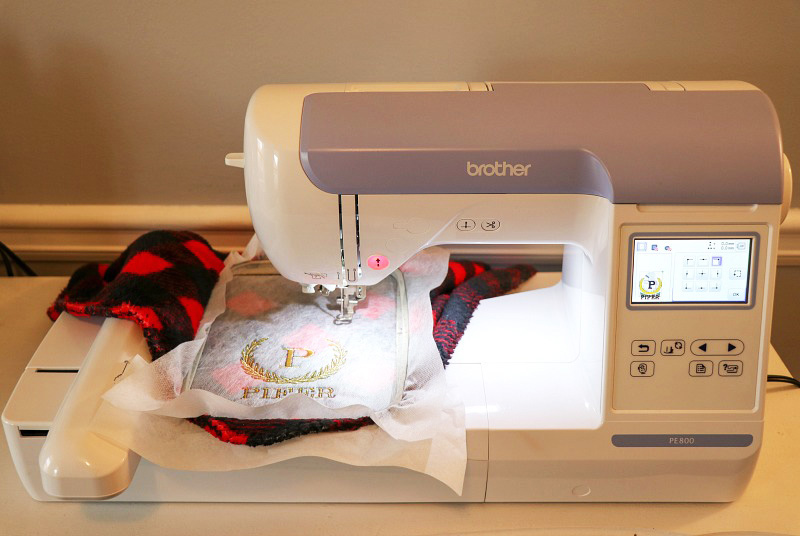
- For the embroidery design, I’m using the built-in lettering from my Brother PE800
and a laurel wreath that I made. I added the designs together on my touchscreen machine. I’m using Brother metallic thread in gold.
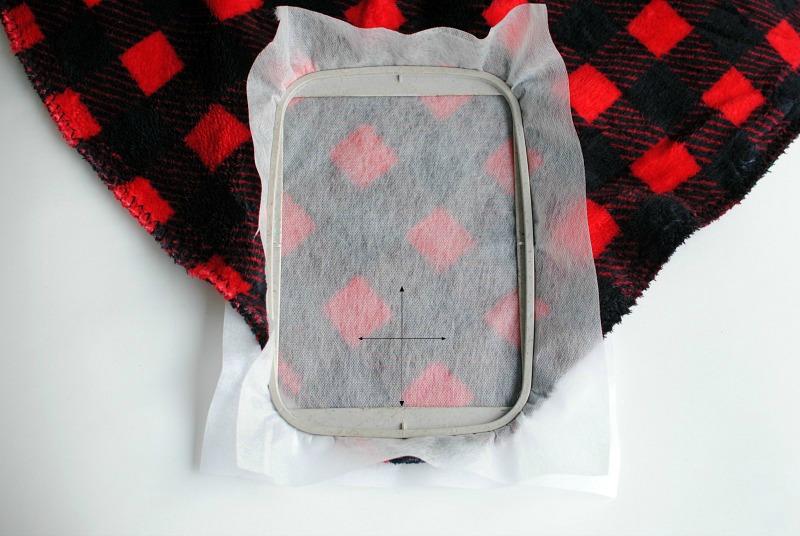
- Hoop the blanket with a tear away stabilizer on the back side and a water-soluble stabilizer on the front as a topper. When embroidering on materials with piles, you want to use a topper to keep the design from getting lost in the fabric. Mark on top of the stabilizer where you want the design to be.
- Before embroidery, make sure the design is centered and in the location you marked using the touchscreen.
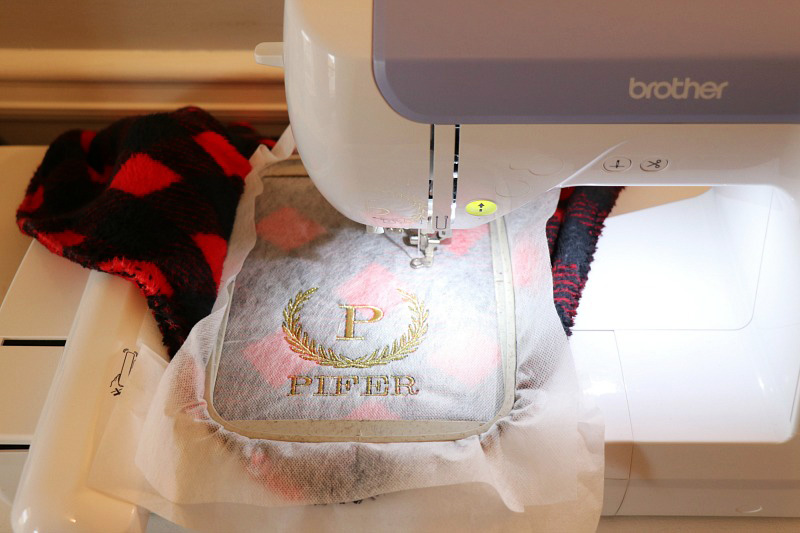
- Begin embroidery. Note: When using metallic thread, slow down your machine to the slowest setting. This helps ensure a smooth embroidery process.
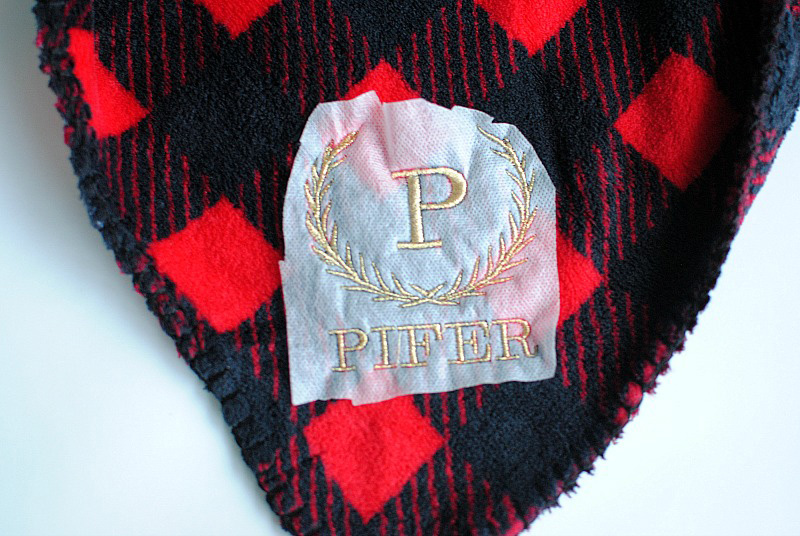
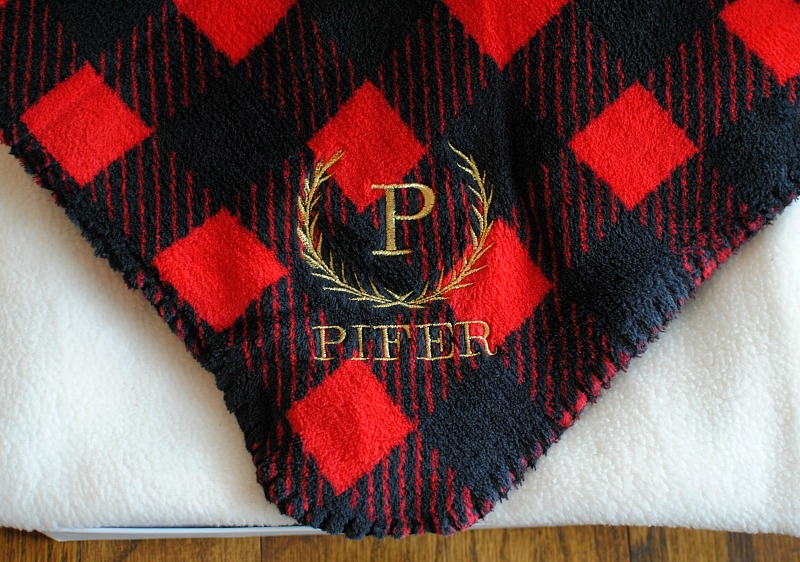
- Once the embroidery is done remove stabilizer. For the top stabilizer, cut it down just around the design and then remove the additional with water.
For the ScanNCut Blanket:
- I made the blanket but you can buy one. This blanket was simple and small for my toddler son.
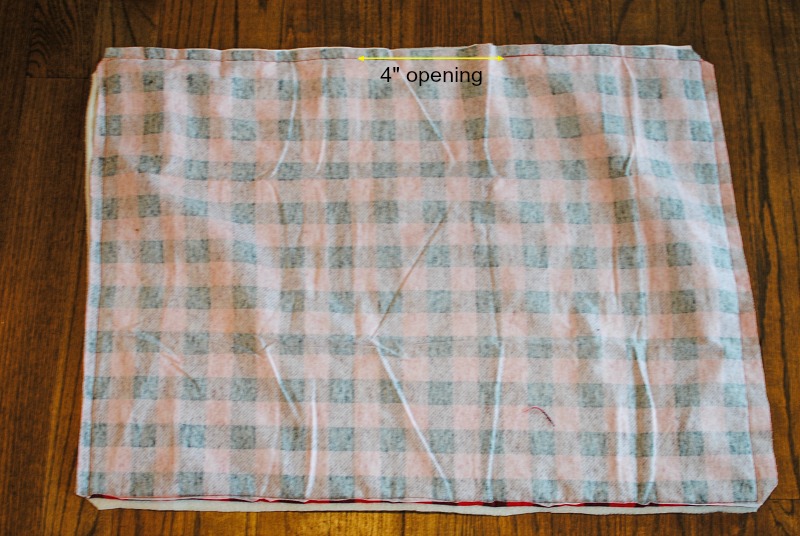
- Begin by cutting the measurements of your blanket - you can adjust however you’d like (mine was 30” x 30” but you can create the dimensions you prefer).
- Place front and back right sides together, pin and sew leaving a 4” gap along one of the sides (center).
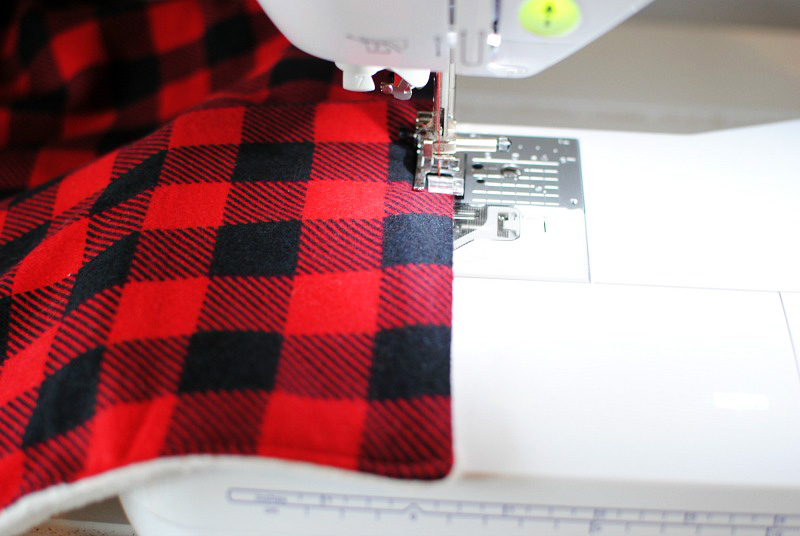
- Flip right side out. Press seam allowance under the opening and topstitch around the blanket, closing the opening in the process (1/8” from the edge for topstitch).
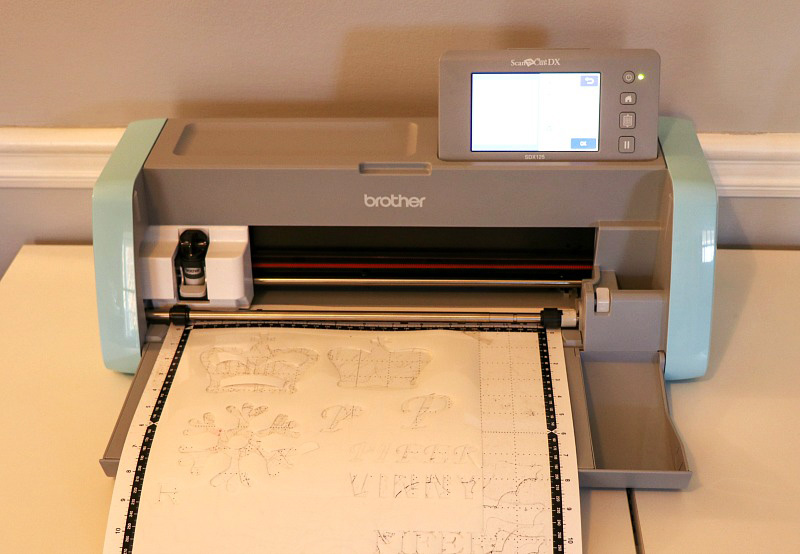
ScanNCut:
- I just started using this and I have been having too much fun. From appliqué to vinyl transfers and more, it’s another hobby I want to continue. I like that I can add the ScanNCut into my sewing projects and designs.
- For the designs: I used the built-in designs from the ScanNCut for the lettering and laurel wreath. For the deer silhouette, I transferred it from my computer to my ScanNCut
from the CanvasWorkshop.
Each design measured about 4” x 4” total.
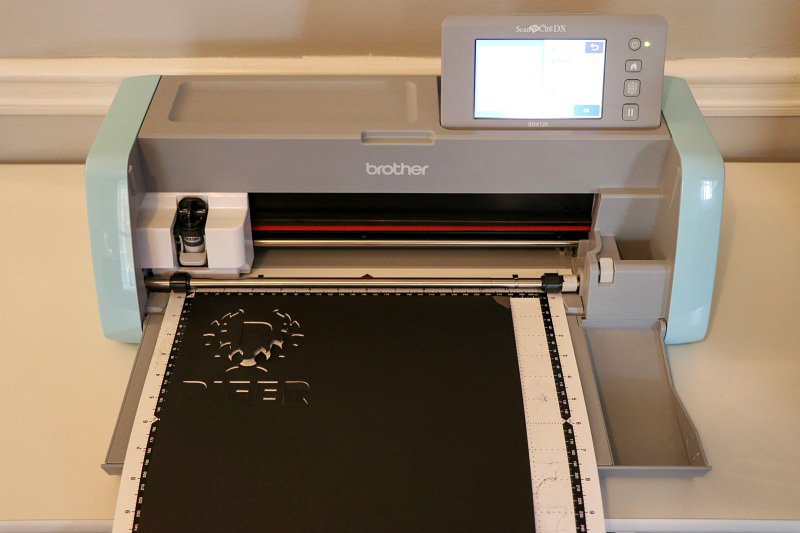
- Place the vinyl sheet on the sticky mat. I used some tape at the corner for some extra security.
- Create your designs on the touchscreen and select placement. Because I used white vinyl, I’m sharing the photo in black. Once the mat is loaded, you choose the cut selection and it cuts it out for you. I also cut most of my designs out on one sheet.
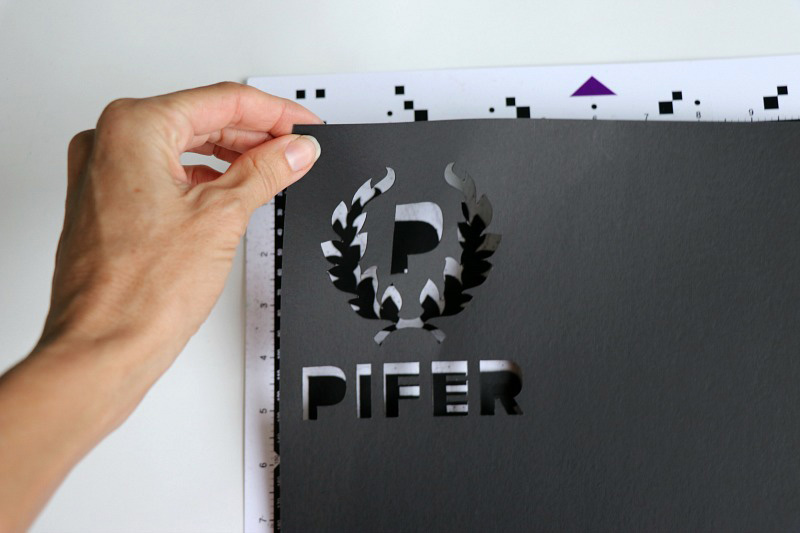
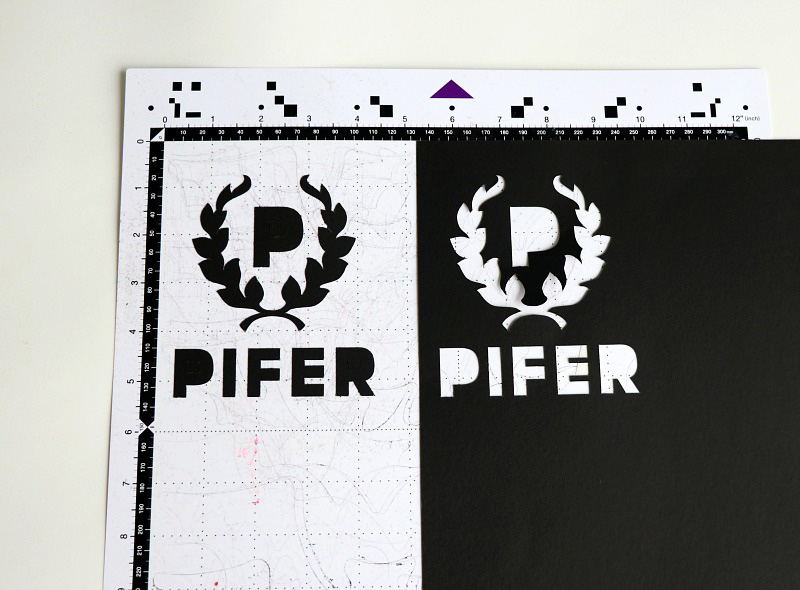
- Peel the images off the mat. You can use the little spatula as well for the smaller letters and corners.
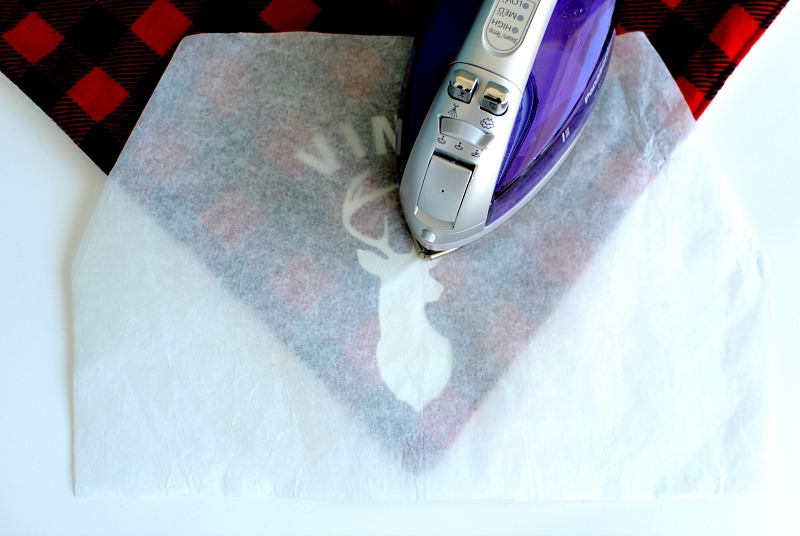
 Follow the vinyl heat transfer directions.
• Place on desired location.
• Place a cotton cloth or parchment paper over the design.
• Press on high (no steam) for 30 seconds.
• Let cool off.
• Peel the sticky protectant top off.
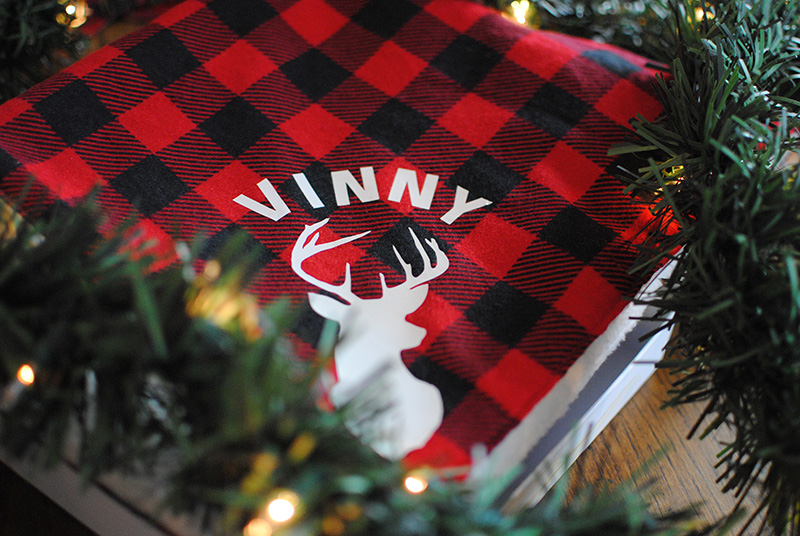 I kind of went crazy with the Brother ScanNCutDX
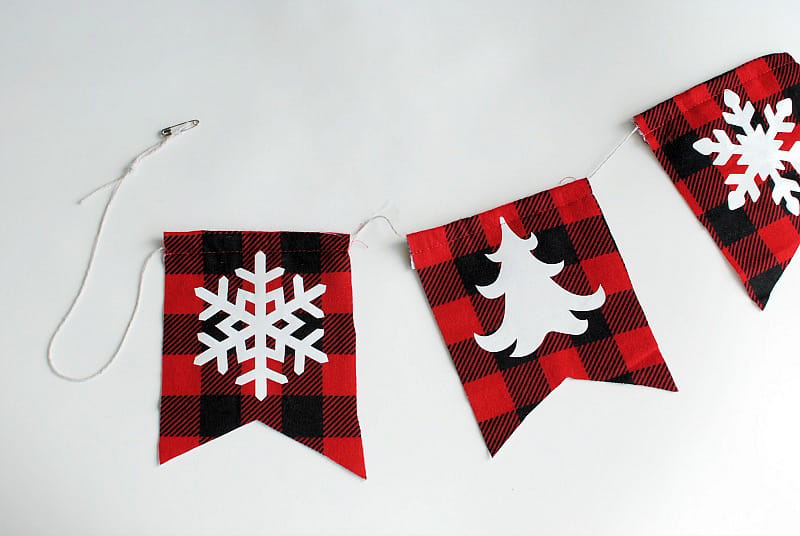
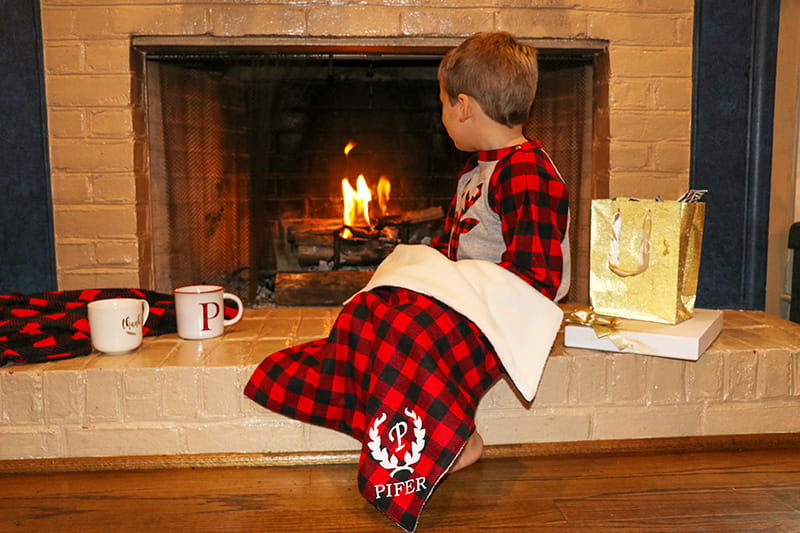
for my holiday projects! I made our Christmas jammies and even a mantle banner with the squares from the samples.
