Coverstitch Pencil Case
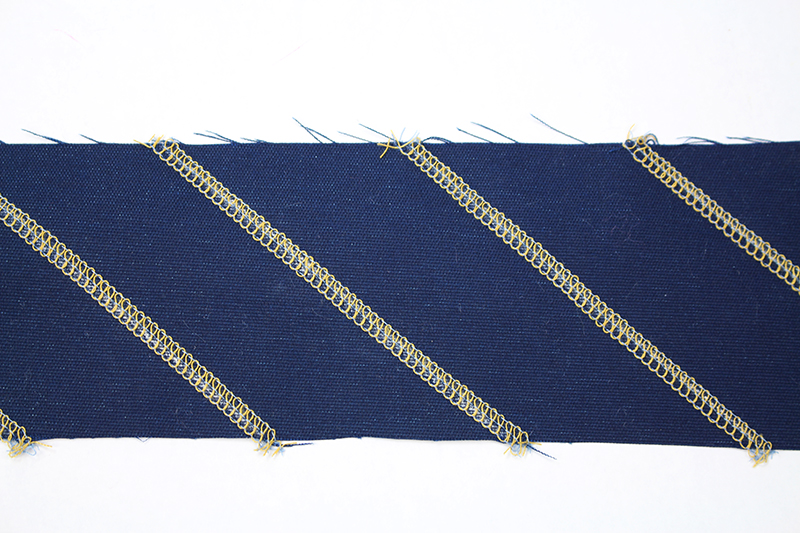
We typically think of the coverstitch machine for hemming knits, finishing off necklines, and adding a sporty look to a project. In this tutorial, I am going to show you how to use a thicker thread, in particular, a 60-weight denim thread, for the top coverstitch. This makes a great decorative stitch!
Machines:
Materials:
- Canvas fabric (cut 1) 4” x 14”
- Fusible batting (cut 1) 4” x 12”
- Cotton lining (cut 1) 4” x 14”
- Top binding – canvas fabric (cut 1) 9” x 2”
- 4 spools standard universal serger thread
- 1 spool 60 weight denim thread
- Tailor’s chalk
- Quilters ruler
- Tailors clapper
- Iron
Designing the Fabric
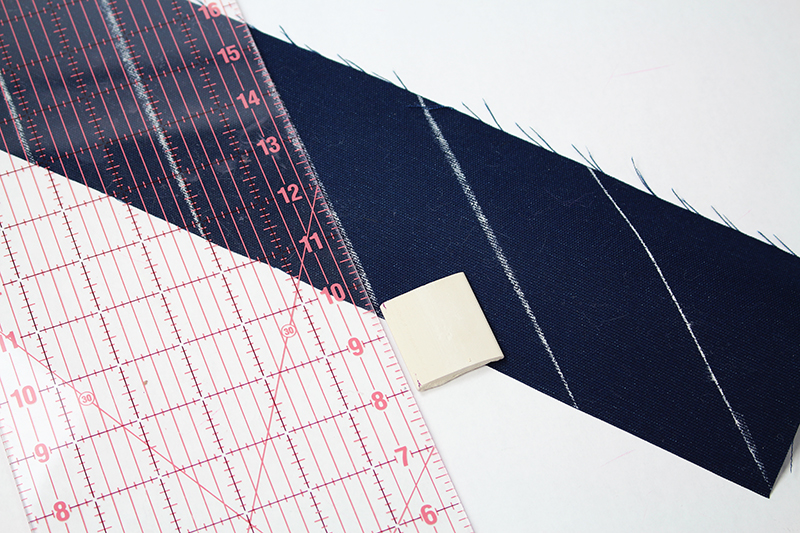
- Using tailor’s chalk, draw lines about 2” apart on the right side of the canvas fabric. I am drawing mine on an angle; you can design your fabric any way you please (😊).
- Thread the Brother CV3550 Top Coverstitch Machine
with standard polyester serger thread in the 3 needles and lower looper. Stitch a couple of stitches and then add the top coverstitch thread – here I am using 60 weight denim thread.

- Change the TENSION DIAL to 0 on the top coverstitch with the thicker thread.
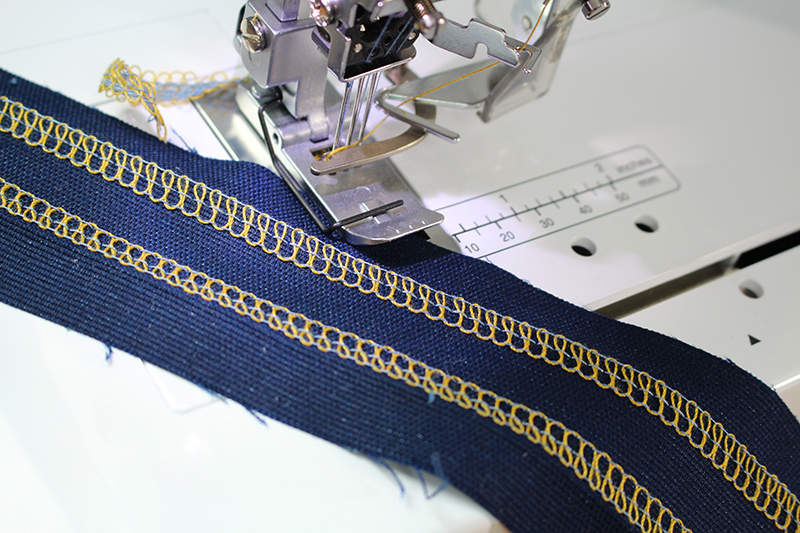
- Place the canvas fabric under the presser foot and line up the chalk marking with the center lines at the end of the foot.

- Stitch along the entire chalked line and chain off.
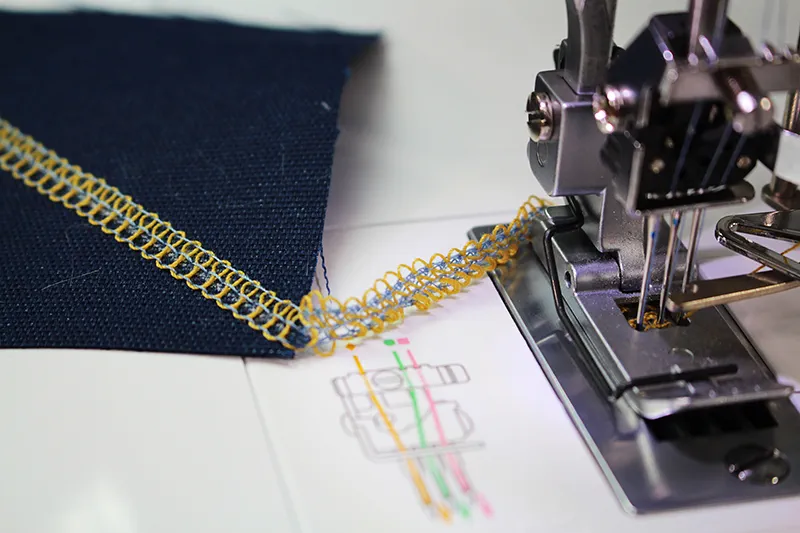
- Move on to the next chalked line and stitch.
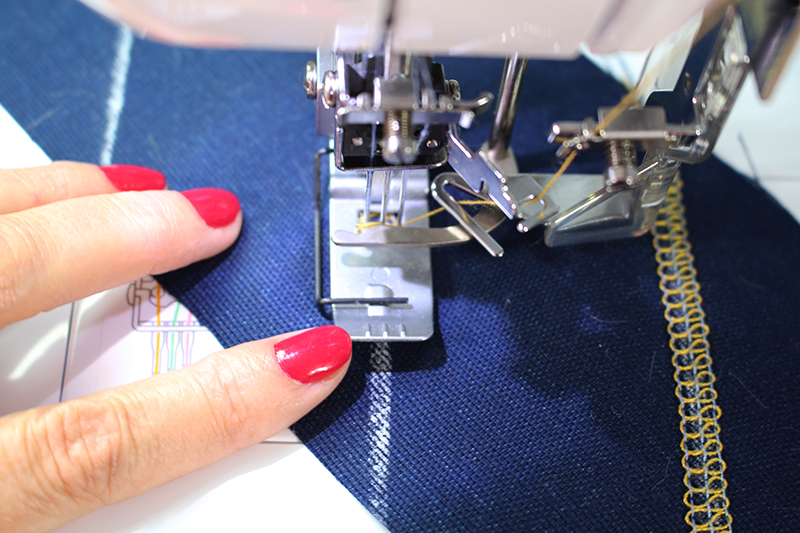
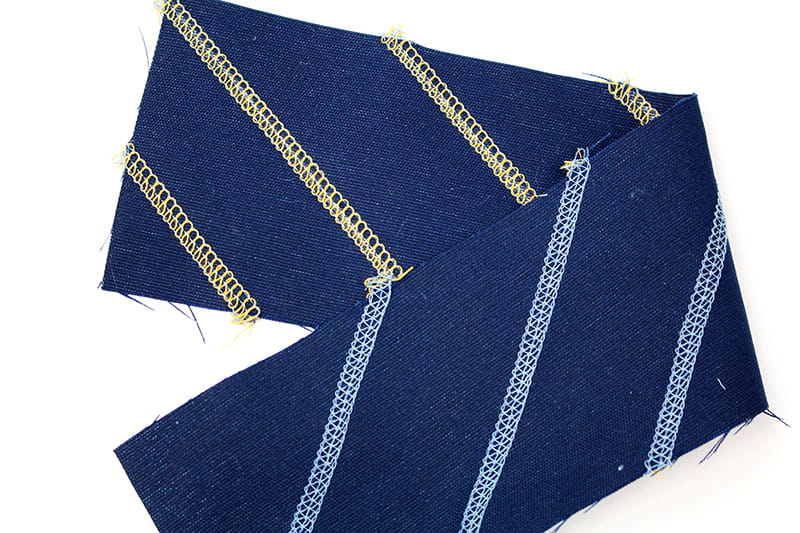
- Continue coverstitching along each chalked line. Check the design and add more rows of stitching if needed.
Sewing the Case
- Press the fusible fleece piece to the back side of the canvas fabric, leaving ½” open at each end as shown.

- Fold the fabric in half longwise and stitch down each side. You can use the serger or straight stitch on the sewing machine. Stitch with a ¼” seam allowance.
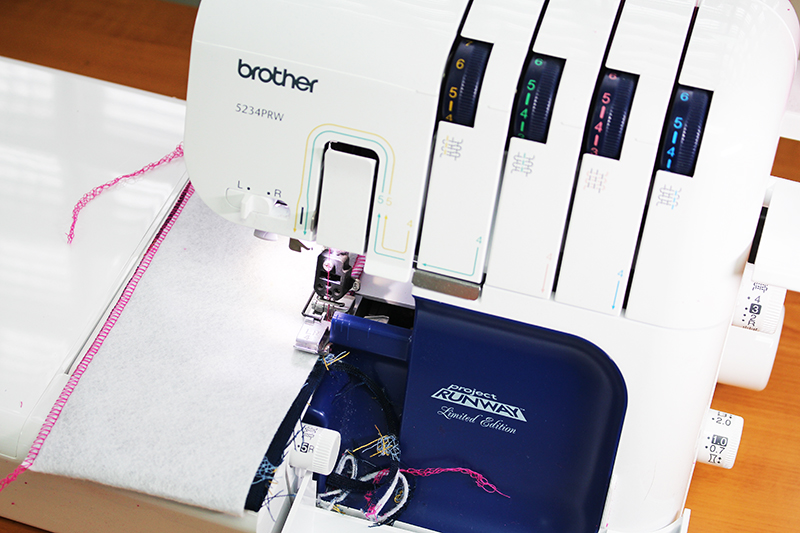
- Fold the lining the same way and stitch down each side.

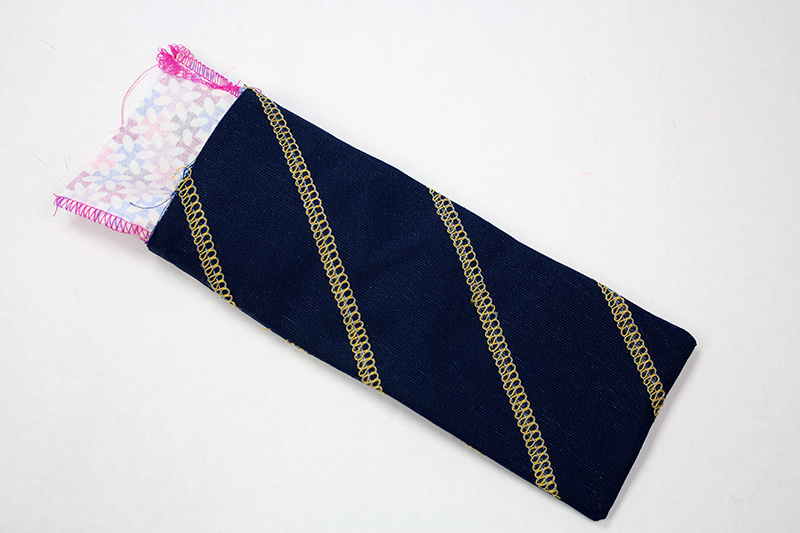
- Turn the canvas fabric right side out and slide the lining inside of the canvas pen case.
Prepare the Trim
- Turn each raw edge in ½” (along the long side of the fabric) toward the wrong side of the fabric and press. Turn the fabric in one more time another ½” and press. This creates a trim to add to the top of the case.
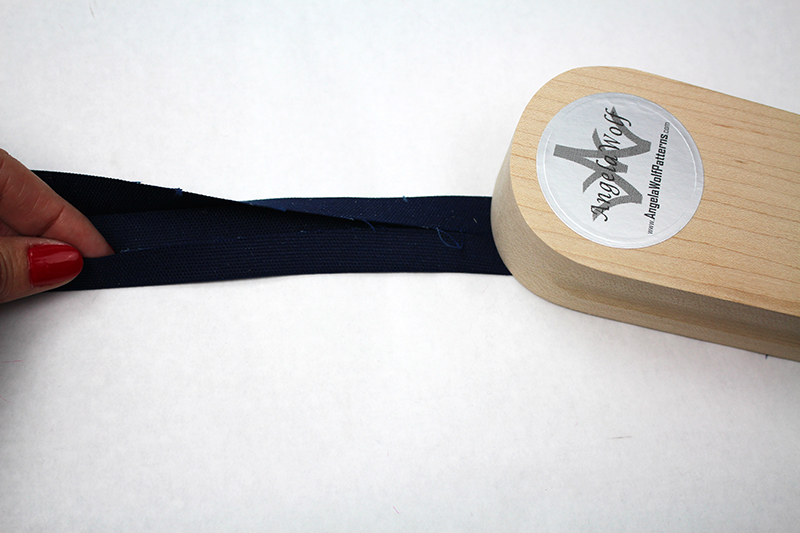
- Decorate the trim piece with coverstitching. Open the pressed folds and stitch along each folded edge with right side facing up.
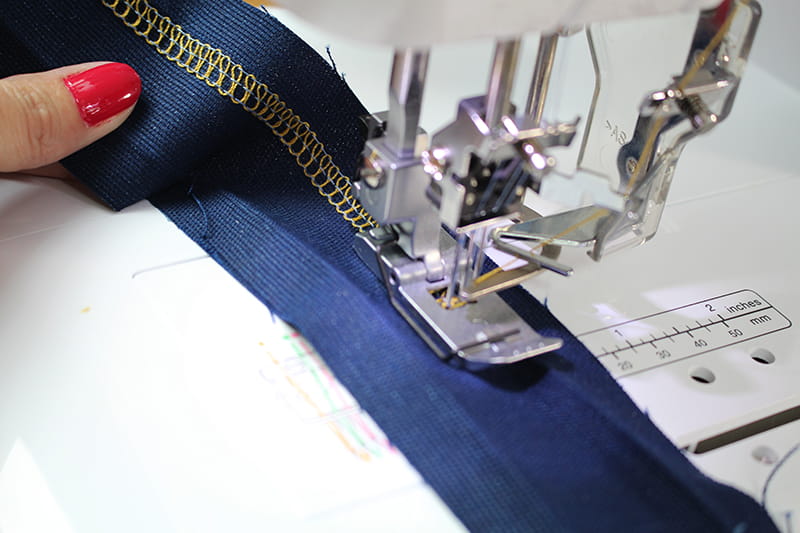
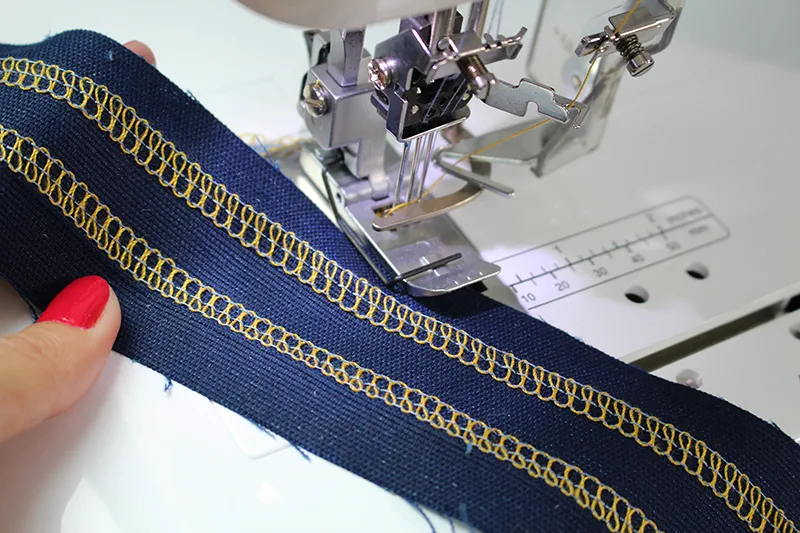
- With right sides together, fold the fabric in half and stitch with ½” seam allowance. Press the seam allowance open.
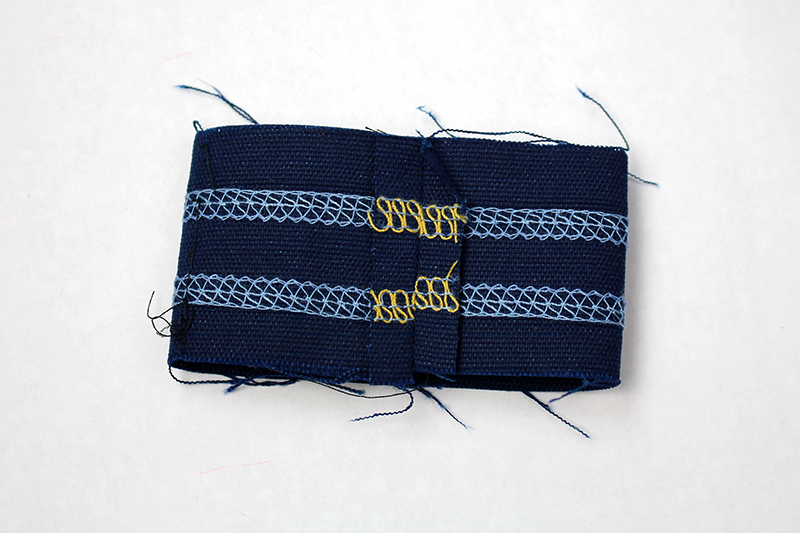
- Fold the trim right side out, along all the pressed folds. Pin along the top edge of the case, enclosing the raw edges of both the canvas and lining fabric on the case.
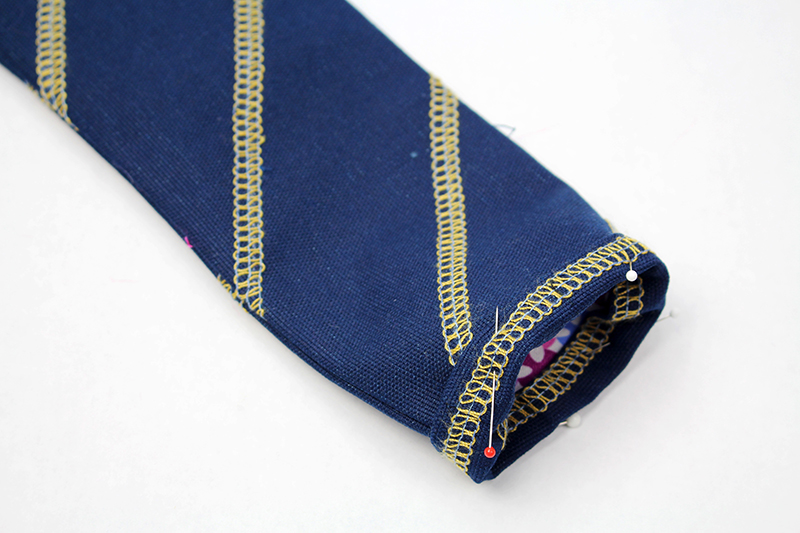
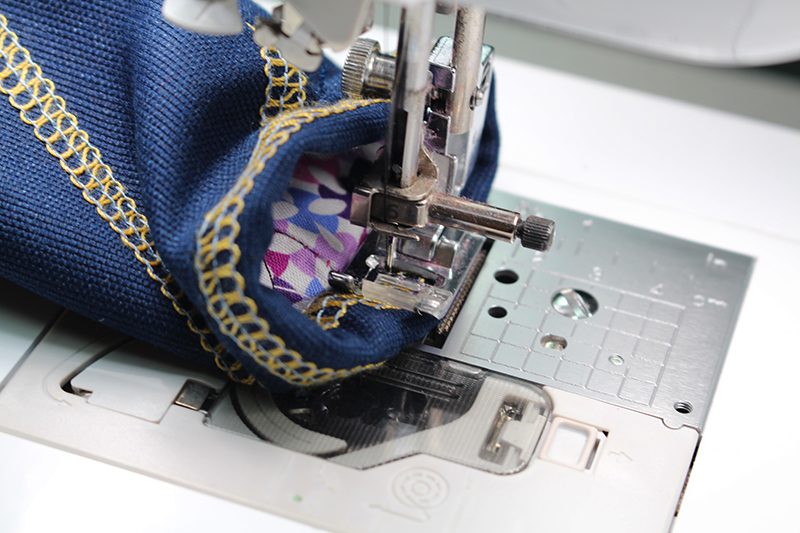
- Use a straight stitch with stitch length 3.0 on the sewing machine. Stitch along the folded edge of the fabric of the trim.
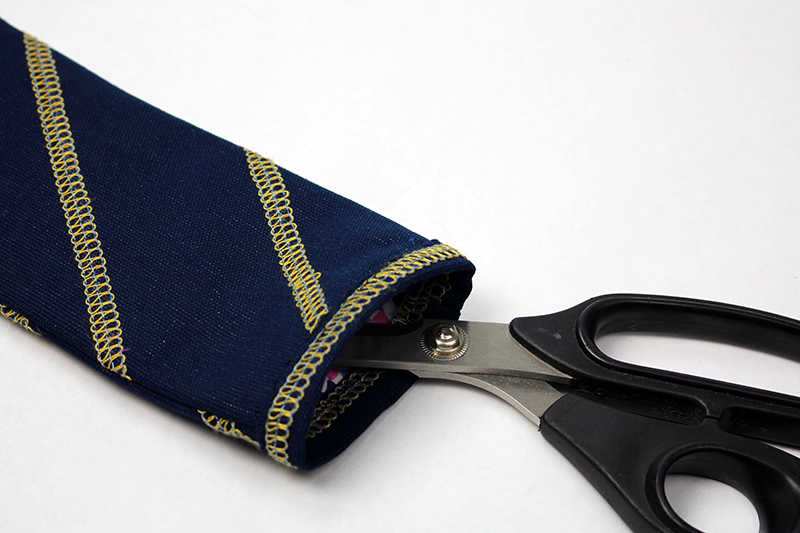
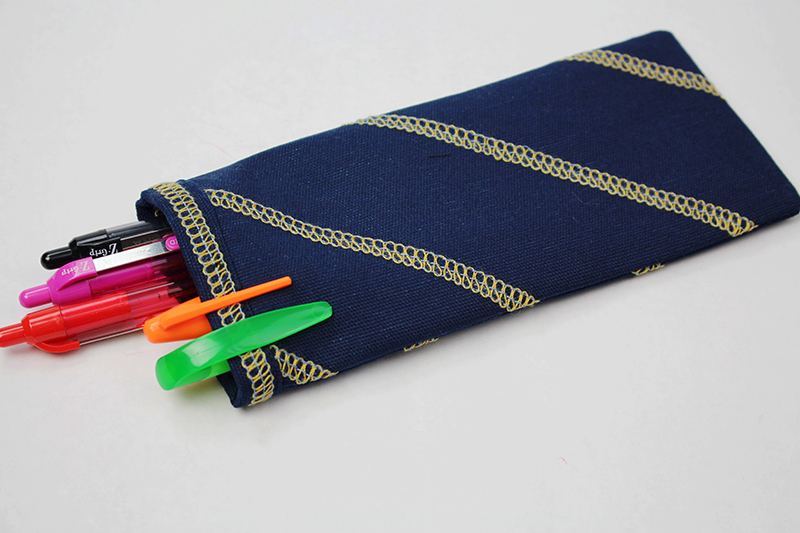
 That’s it! This case is great for scissors, pens, seam rippers, you name it (😊) Be sure to share photos of your projects, I always love to see what you are sewing up #angelawolf #brothersews
 Cheers,
Angela


