How to Use Embroidery to Create Custom Kids Clothing
-Brother Sews Blogger
You all know I love sewing for my kids. My daughter’s wardrobe is almost entirely handmade and I love that she wears it proudly. I still sew for my sons as well, but more for my youngest for sure. For this summer, I wanted to sew a couple of warm weather kids outfits for her that had a bit more of a custom feel.


I was on a mission to find beautiful fabrics and patterns, but I also thought that adding a bit of embroidery with my sewing machine would create a great addition to these outfits. I searched to find embroidery patterns that would coordinate perfectly with my fabric choices. The first place I look for embroidery patterns is on Ibroidery. I was able to find a matching floral on Ibroidery, but not the rainbow design I was looking for. Let’s take a look at the supplies needed to create beautiful looks like these.
Clothing supplies and tools:
● Brother embroidery machine
● Brother sewing machine
● Brother serger
● Patterns of choice {I used the Hanna from Little Lizard King and the Desert Rose from CailaMade}
● Fabric of choice {mine came from Hobby Lobby}
● Embroidery Designs
○ Floral from Ibroidery here
○ Rainbow here

Directions:
We are going to start by creating the embroidery on fabric, then I will show you how to integrate it into your projects. I love creating the embroidery before cutting the fabric as it makes it really easy to add the embroidery just where you want it on your project. Let’s quickly walk through Basic embroidery steps.
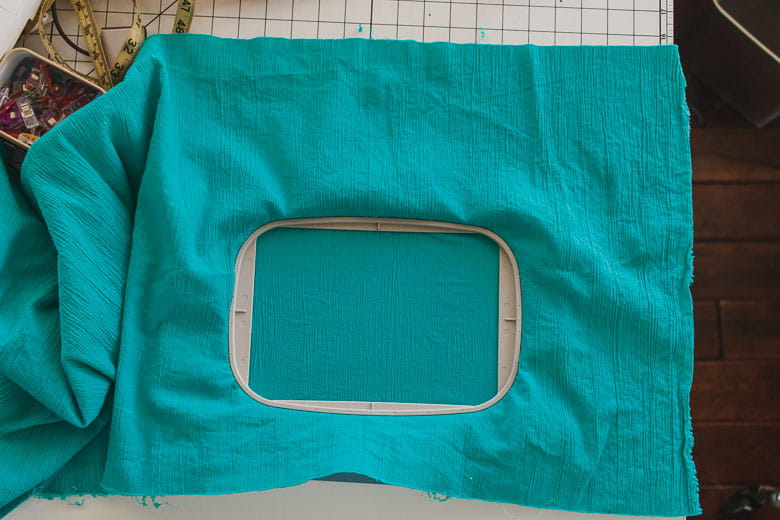
First download and transfer your embroidery design to your embroidery machine. Place your fabric with a stabilizer in the hoop for your machine. Be aware of the hoop placement based on how the fabric will be cut later. This piece will be used for a tank shaped bodice so I made sure to leave a bit of room on the sides of the hoop.
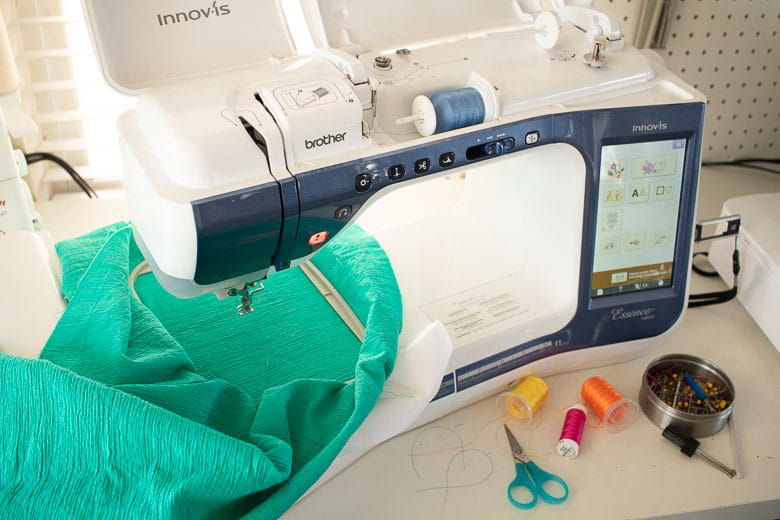
Place your hoop in the embroidery machine and pull up the design you want to use for that fabric.
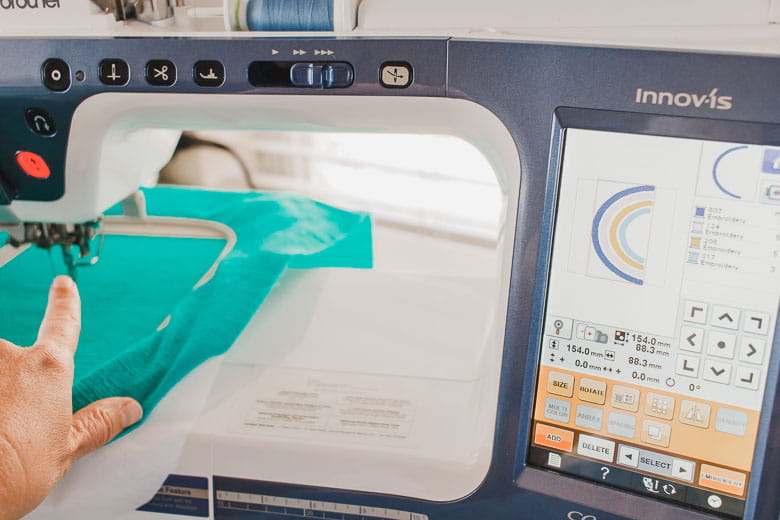
I love that you can use the cursor on the embroidery screen to see exactly where the embroidery placement will be. Make sure the design is placed where you want it before you begin embroidery. Use the arrows to move the design if needed.
Since we are using a big piece of fabric, make sure you move the extra fabric out of the way.
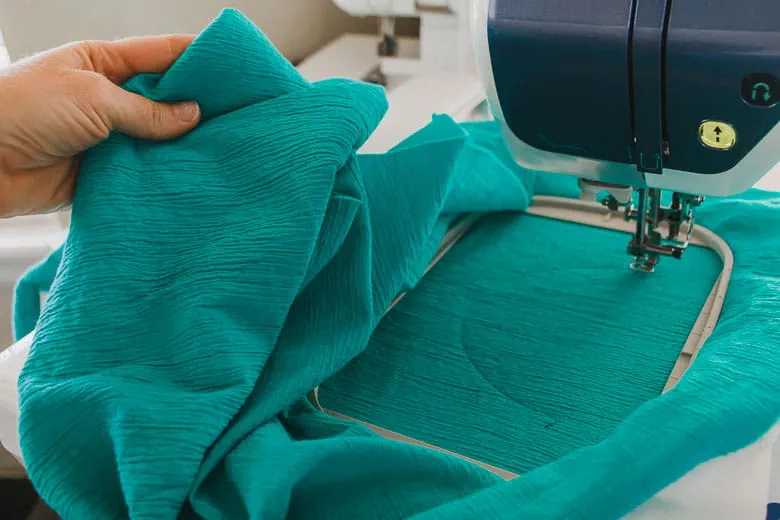
Embroider your design changing colors as needed. I tried to match rainbow colors to the colors in the striped fabric of my project.
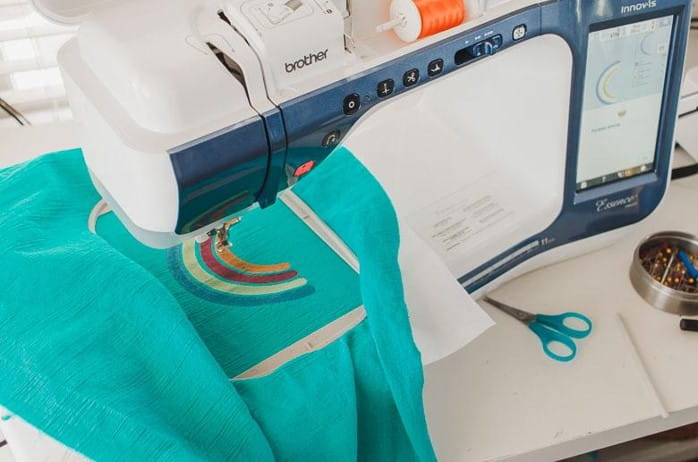
In addition to the rainbow I also embroidered two sets of the floral border to make pockets. For the floral I also matched the colors to the colors in my fabric.

Now that the embroidery is finished we need to cut the actual pattern/item pieces from the fabric. The floral was used to cut pockets for my tunic. Because I had two I was very careful to line them up and cut two in mirror image with the same border size around the design.
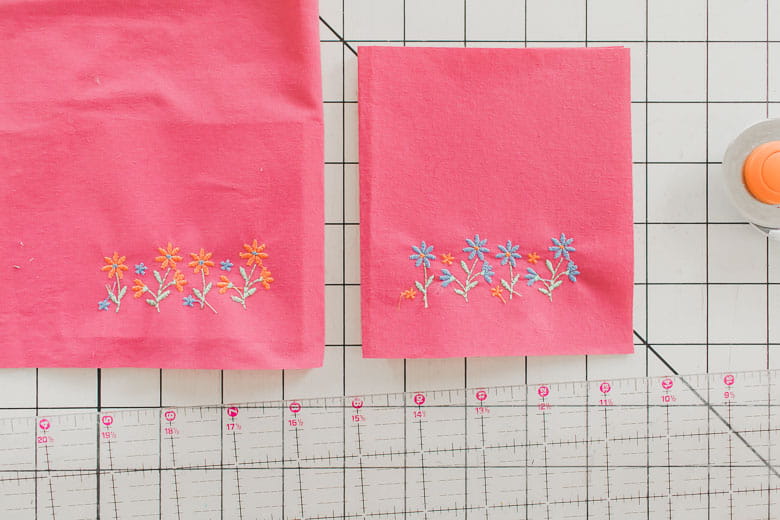
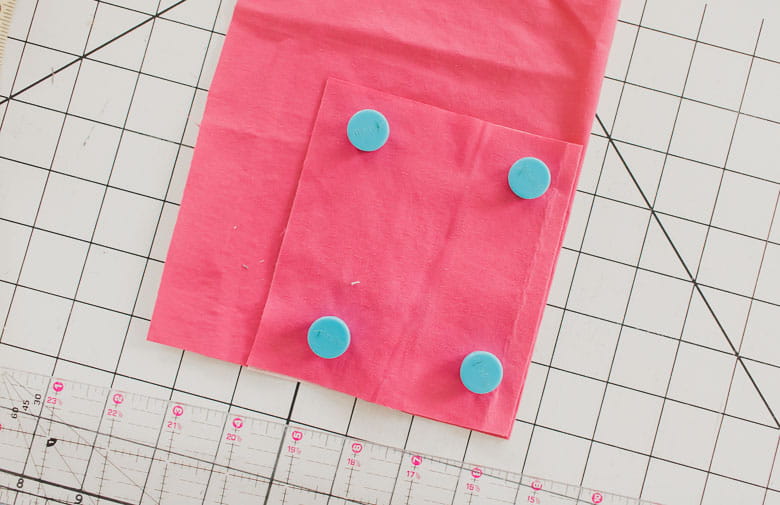
After I sewed the rest of the tunic I was able to add these cute embroidered pockets to the skirt. I love the result and the way they coordinate with the fabric.
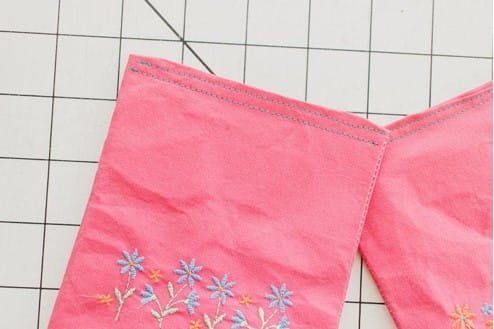
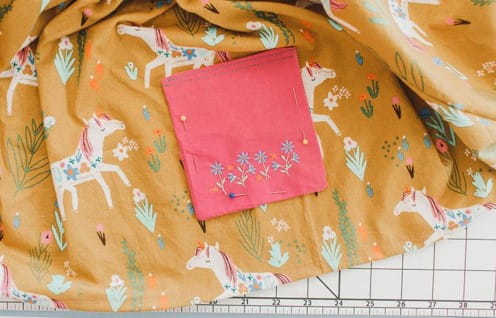

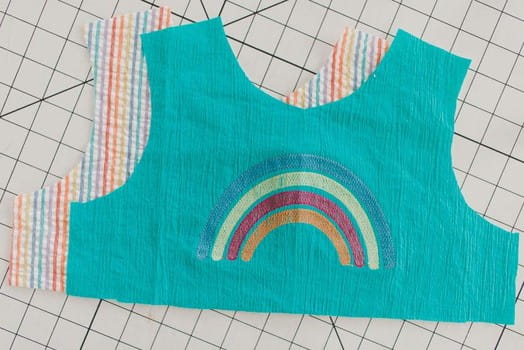
The rainbow top was a bit more involved, but it’s still super easy to create this top since I was able to embroider before I cut the fabric.
Since I wanted my design centered on the top, I first had to fold the rainbow exactly in half. I was able to use the back of the design to get a center fold.
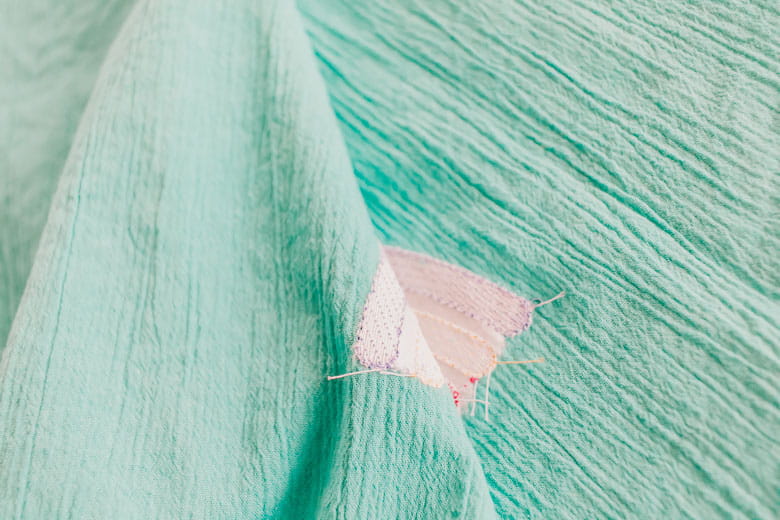

Once my design was folded in half I placed the pattern template on top to cut. I trace all my patterns on tissue paper before I cut, so I am able to see through the pattern for placement.
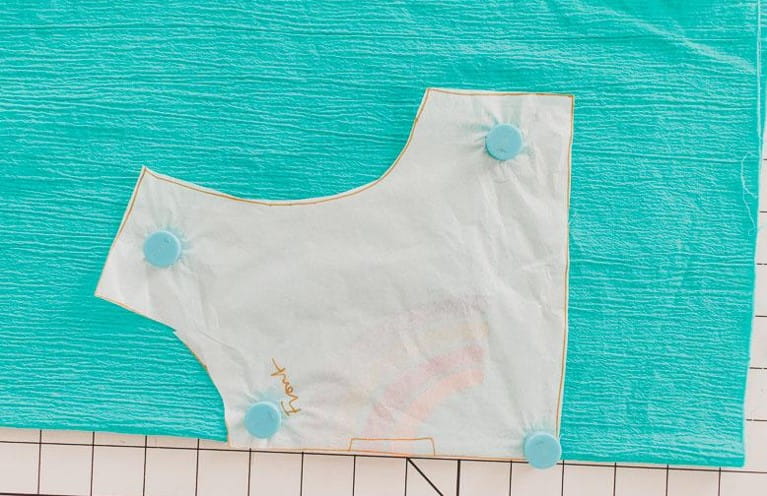
After you have the front cut, continue with the top {or bottom construction as directed in your pattern}
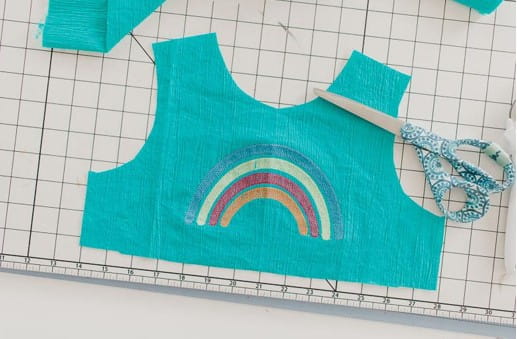
I’m so pleased with how both of these looks turned out. My daughter is pretty happy as well Use these tips and ideas as inspiration for creating your own custom looks with your Brother embroidery machine.

Patterns and designs here are from external companies and Brother International Corporation makes no representations or warranties regarding such products.
You all know I love sewing for my kids. My daughter’s wardrobe is almost entirely handmade and I love that she wears it proudly. I still sew for my sons as well, but more for my youngest for sure. For this summer, I wanted to sew a couple of warm weather kids outfits for her that had a bit more of a custom feel.


I was on a mission to find beautiful fabrics and patterns, but I also thought that adding a bit of embroidery with my sewing machine would create a great addition to these outfits. I searched to find embroidery patterns that would coordinate perfectly with my fabric choices. The first place I look for embroidery patterns is on Ibroidery. I was able to find a matching floral on Ibroidery, but not the rainbow design I was looking for. Let’s take a look at the supplies needed to create beautiful looks like these.
Clothing supplies and tools:
● Brother embroidery machine
● Brother sewing machine
● Brother serger
● Patterns of choice {I used the Hanna from Little Lizard King and the Desert Rose from CailaMade}
● Fabric of choice {mine came from Hobby Lobby}
● Embroidery Designs
○ Floral from Ibroidery here
○ Rainbow here

Directions:
We are going to start by creating the embroidery on fabric, then I will show you how to integrate it into your projects. I love creating the embroidery before cutting the fabric as it makes it really easy to add the embroidery just where you want it on your project. Let’s quickly walk through Basic embroidery steps.
First download and transfer your embroidery design to your embroidery machine. Place your fabric with a stabilizer in the hoop for your machine. Be aware of the hoop placement based on how the fabric will be cut later. This piece will be used for a tank shaped bodice so I made sure to leave a bit of room on the sides of the hoop.

Place your hoop in the embroidery machine and pull up the design you want to use for that fabric.

I love that you can use the cursor on the embroidery screen to see exactly where the embroidery placement will be. Make sure the design is placed where you want it before you begin embroidery. Use the arrows to move the design if needed.

Since we are using a big piece of fabric, make sure you move the extra fabric out of the way.

Embroider your design changing colors as needed. I tried to match rainbow colors to the colors in the striped fabric of my project.

In addition to the rainbow I also embroidered two sets of the floral border to make pockets. For the floral I also matched the colors to the colors in my fabric.

Now that the embroidery is finished we need to cut the actual pattern/item pieces from the fabric. The floral was used to cut pockets for my tunic. Because I had two I was very careful to line them up and cut two in mirror image with the same border size around the design.


After I sewed the rest of the tunic I was able to add these cute embroidered pockets to the skirt. I love the result and the way they coordinate with the fabric.


The rainbow top was a bit more involved, but it’s still super easy to create this top since I was able to embroider before I cut the fabric.
Since I wanted my design centered on the top, I first had to fold the rainbow exactly in half. I was able to use the back of the design to get a center fold.


Once my design was folded in half I placed the pattern template on top to cut. I trace all my patterns on tissue paper before I cut, so I am able to see through the pattern for placement.

After you have the front cut, continue with the top {or bottom construction as directed in your pattern}


I’m so pleased with how both of these looks turned out. My daughter is pretty happy as well Use these tips and ideas as inspiration for creating your own custom looks with your Brother embroidery machine.

Patterns and designs here are from external companies and Brother International Corporation makes no representations or warranties regarding such products.

