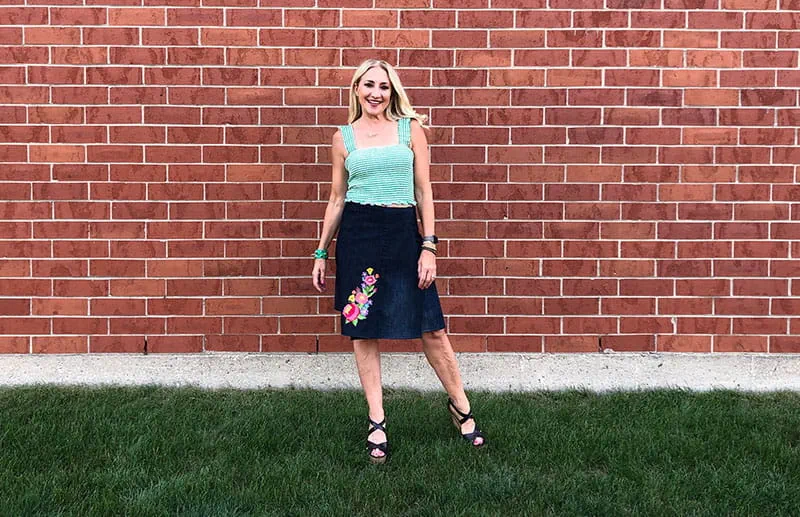
Denim Wrap Skirt DIY
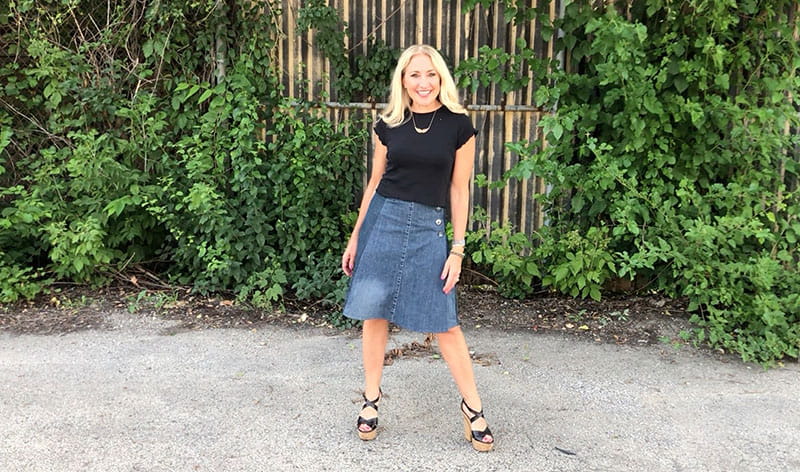
You can customize your wardrobe by refashioning old clothes. This project takes two pairs of once loved denim jeans to create a very trendy yet classic wrap-around skirt. You can easily make this one-of-a-kind skirt by adding a special embroidery design from your Brother Sewing and Embroidery machine.
Supplies:
- Brother Sewing and Embroidery machine
- Brother Serger
- 2 pairs of old denim jeans
- Coordinating fabric for the waist lining
- Basic wrap skirt pattern
- Fabric scissors
- Straight pins
- Iron
- Marking pencil
- Measuring tape
- 4 buttons, or twill cording
Directions:
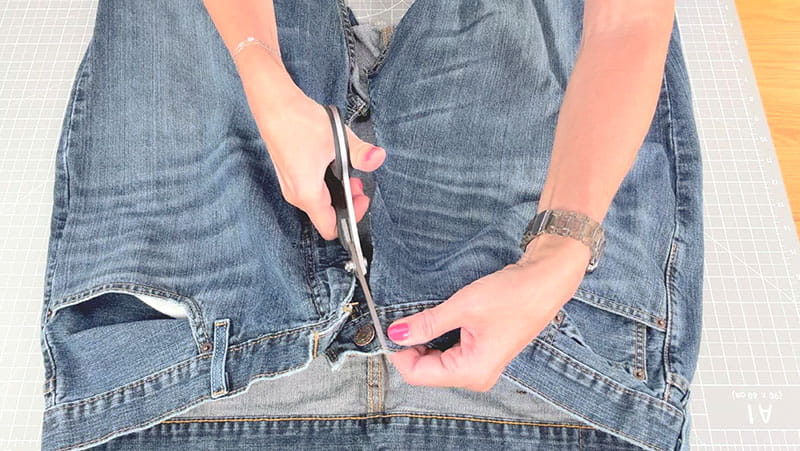
Start this project by deconstructing your denim jeans. To do that, you will cut the inseam of the legs to open them up at the crotch-line.
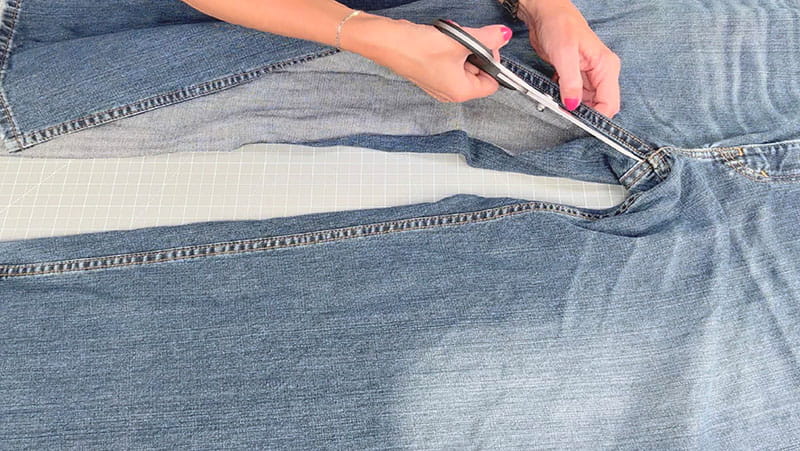
Then cut straight up the center of the top of the denim jeans on one side of the zipper and then cut straight up the center of the back of the jeans.
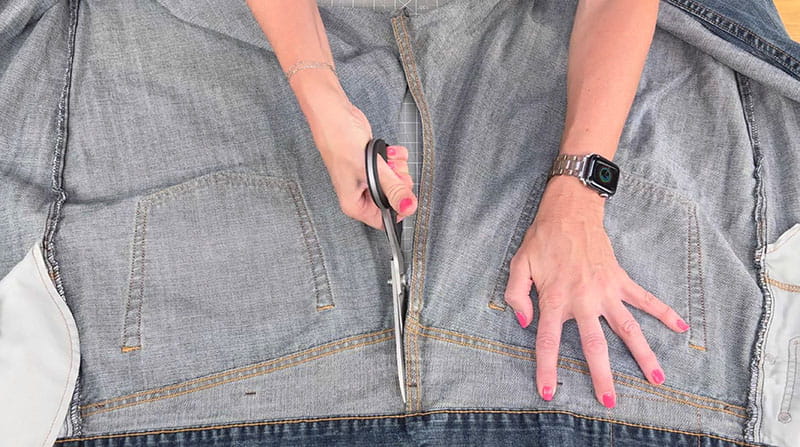
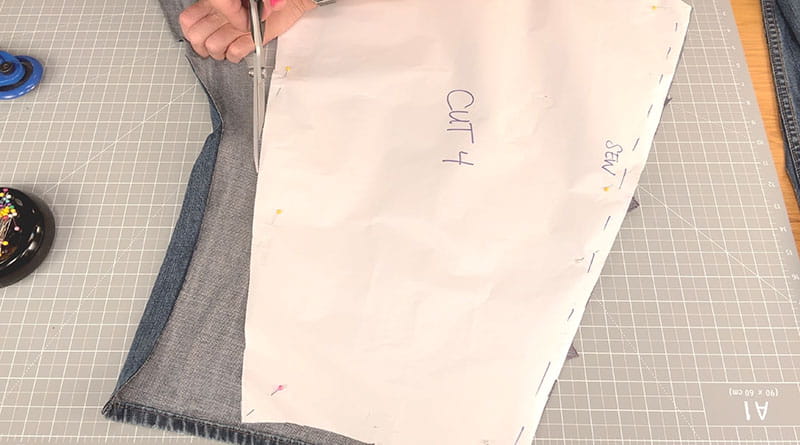
Use a basic wrap skirt pattern. This project uses pattern that has 4 panels sewn together at the side seams with a shaped waistband with a slight curve.
The skirt is wrapped around the waist and tied or buttoned in the front. You’ll need to cute 4 flared panels with a slightly curved waistband and a waistband facing pattern.
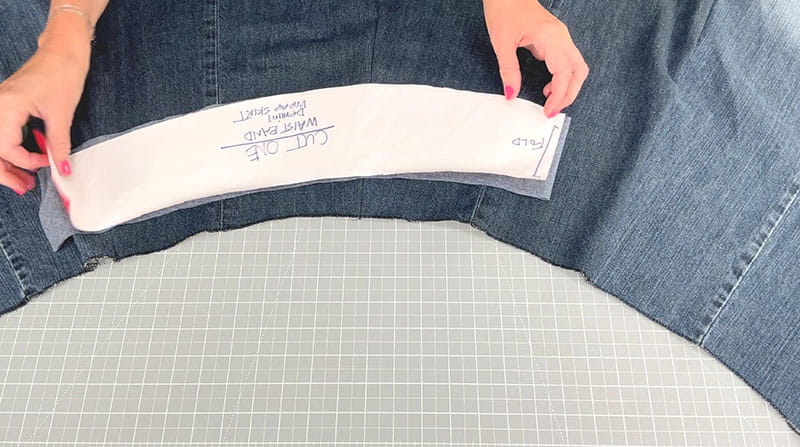
You can measure and sketch out a quick pattern or find an easy pattern to use.
Open your deconstructed jeans and use only the leg portion. Lay your pattern with the waistline just below the hem of your jeans. The pattern should fit perfectly on the width of the open leg of your denim jeans.
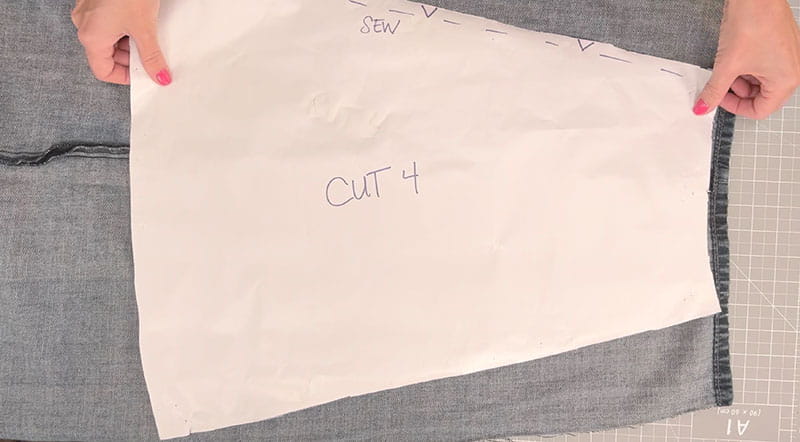
Since you are using the leg portion of the jeans, cut off the top of the jeans.
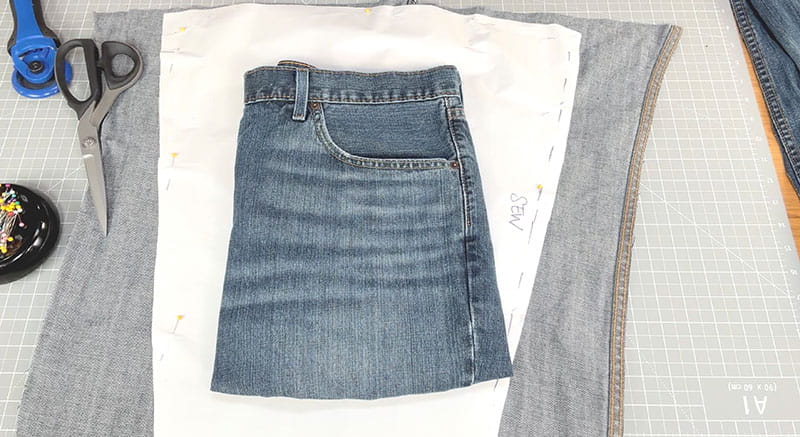
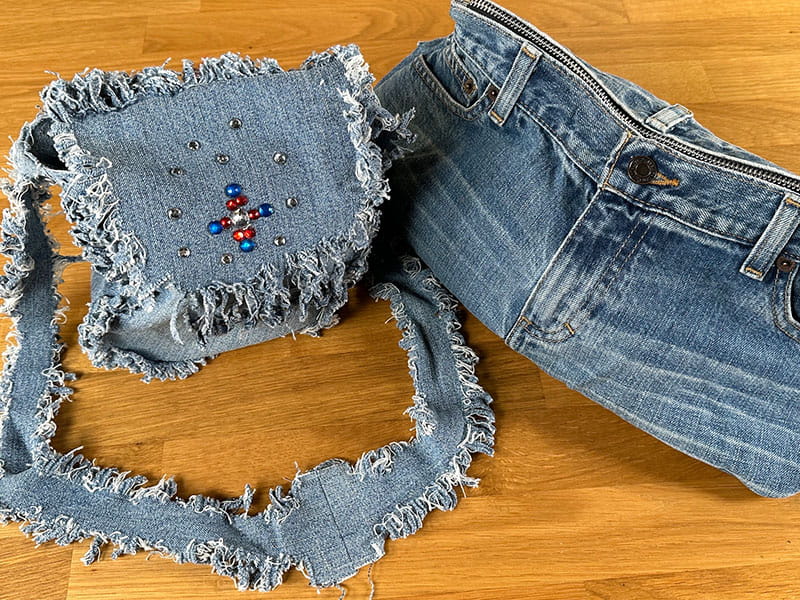
Save your scraps to use on other projects like a denim wine sleeve or a purse.
Do the same with the other leg of the jeans and with the second pair of jeans. For this project, you need to cut 4 pieces of the skirt pattern so you will be using two pairs of jeans.
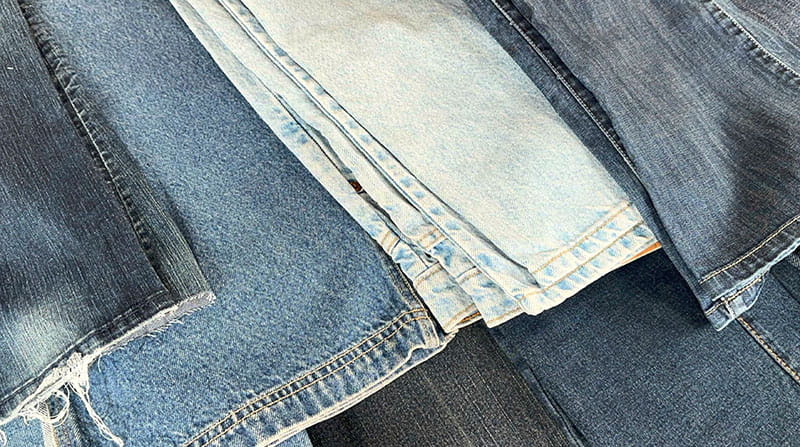
If your denim jeans are different washes, it’s okay because it gives the design more texture and balance.
When the 4 panel pieces and the waistband are cut, match up the notched edges of two pieces, lay the right sides together, pin them in place, and serge or sew the sides together.
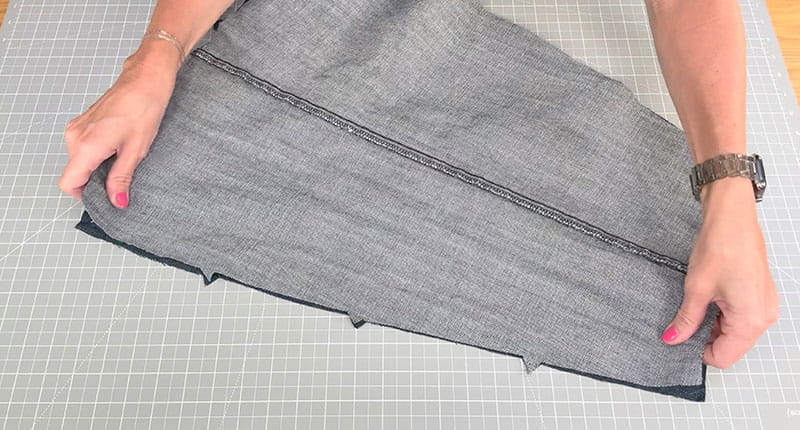
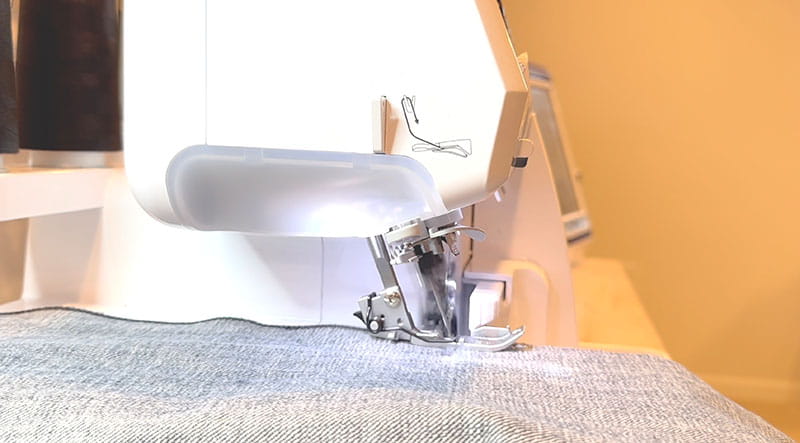
Continue sewing the final two pieces together and you will have all 4 panels sewn together to create one piece of denim material.
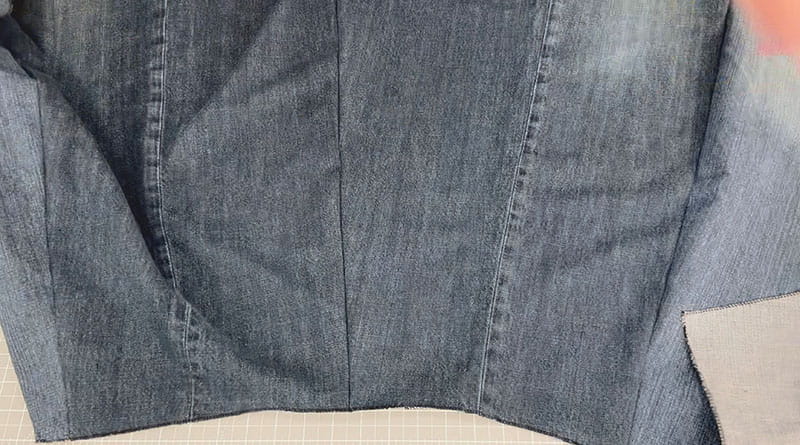
Fold in the raw edges on the sides of the wrap skirt about a ½ inch, press, pin and topstitch. This will finish wrapping the ends of the skirt.
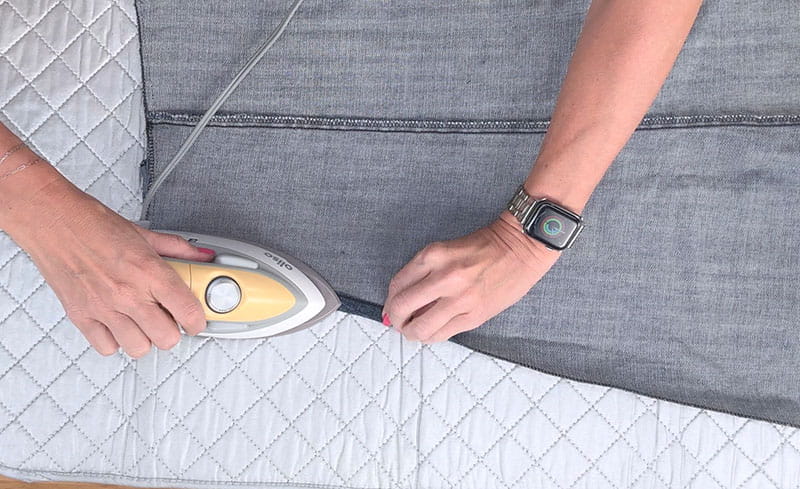
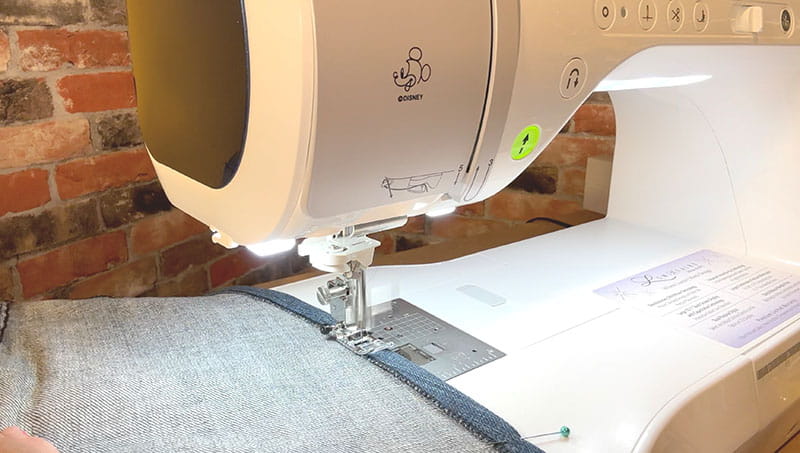
With the right side facing up, lay the waistband facing fabric along the top of the waistline, pin it in place.
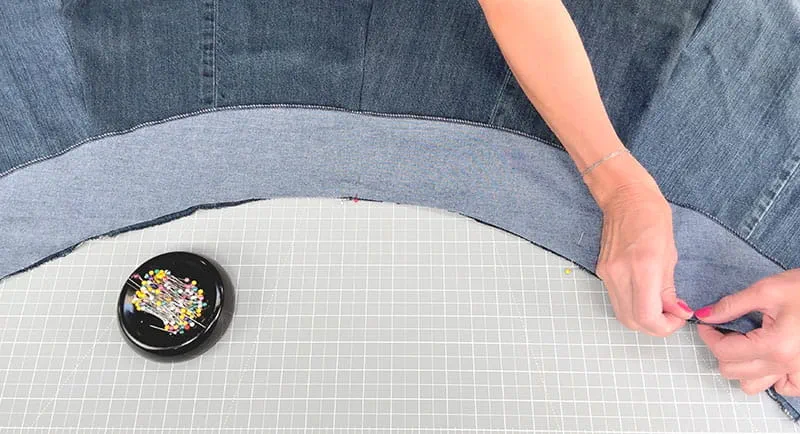
One the ends, fold the edge of the facing over onto itself, press and pin.
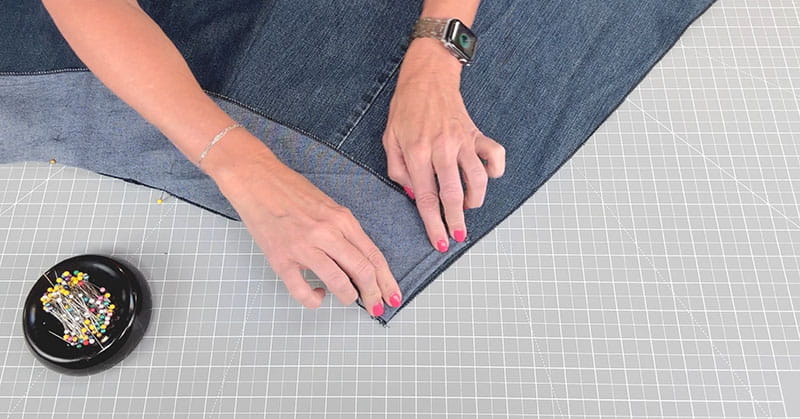
Sew the waistband facing onto the skirt.
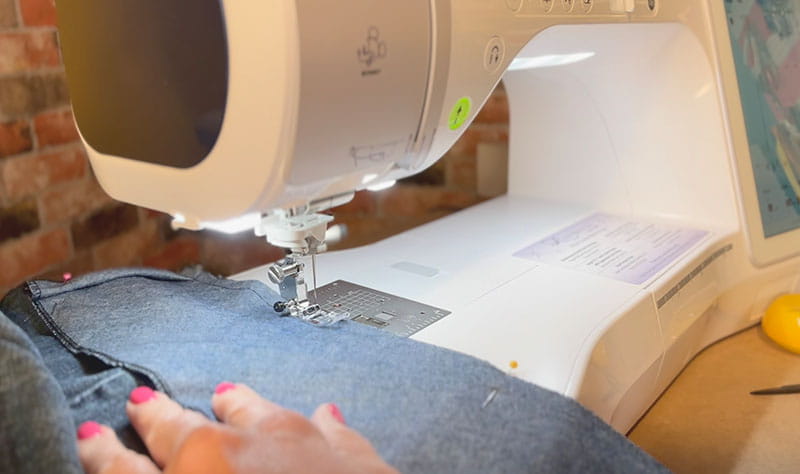
Adding ties instead of buttons is an option for your wrap skirt. If you want to use ties as the closure, add 6 twill cording pieces that lay between the skirt and the liner, facing down on the right side of the skirt. Be sure to add two ties to the ends of the facing at the top of the skirt.
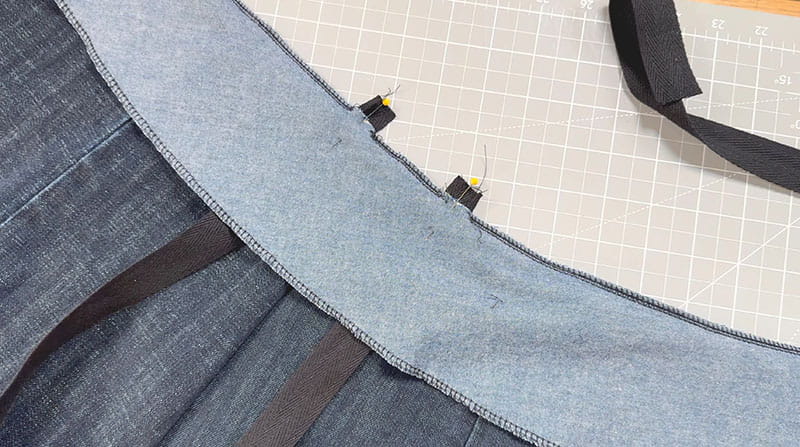
If you are adding buttons, continue to sew the waistband facing to the skirt top.

At the ironing table, flip the waistband facing to the inside of the skirt, pressing as you go, pin it in place.
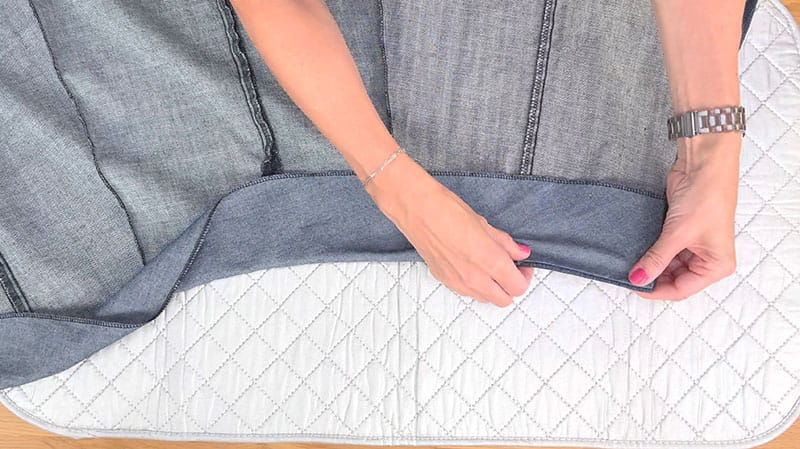
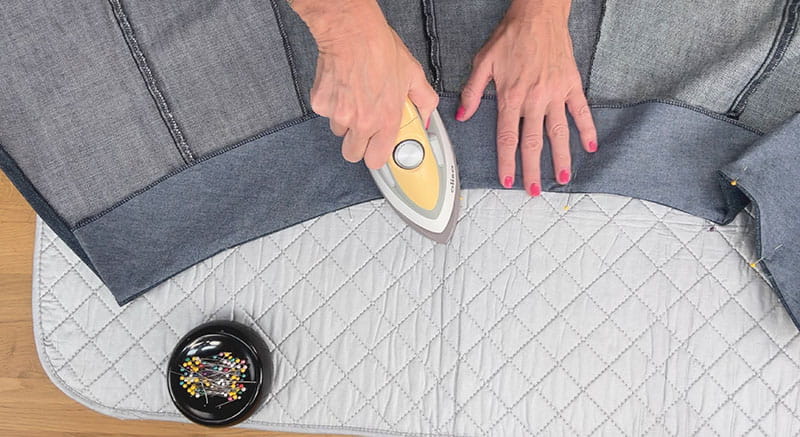
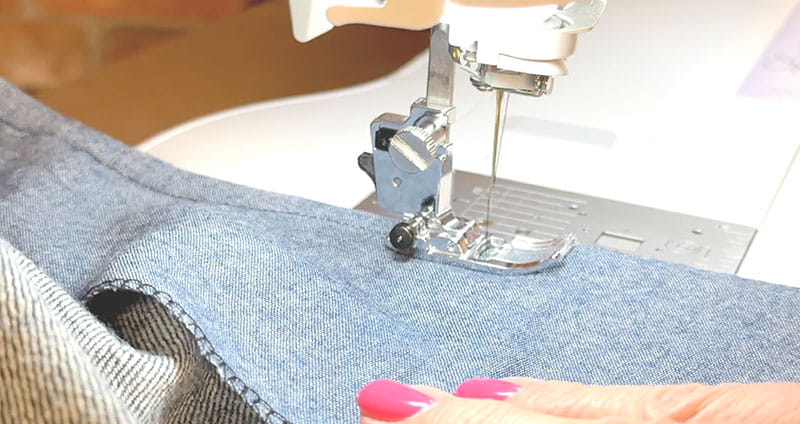
Topstitch the skirt along the waistline.
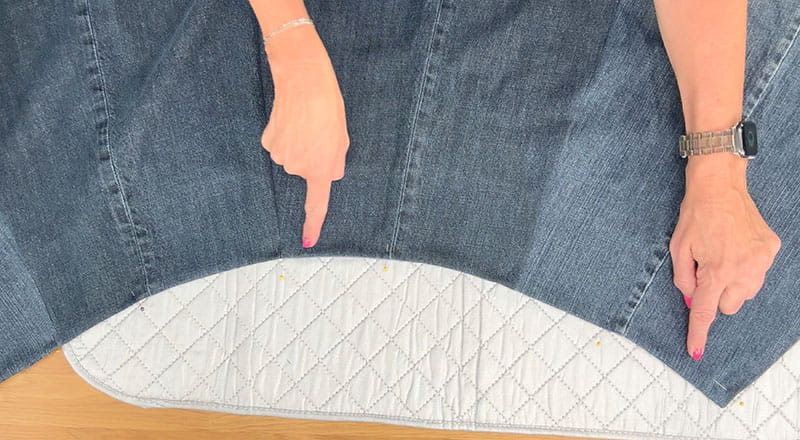
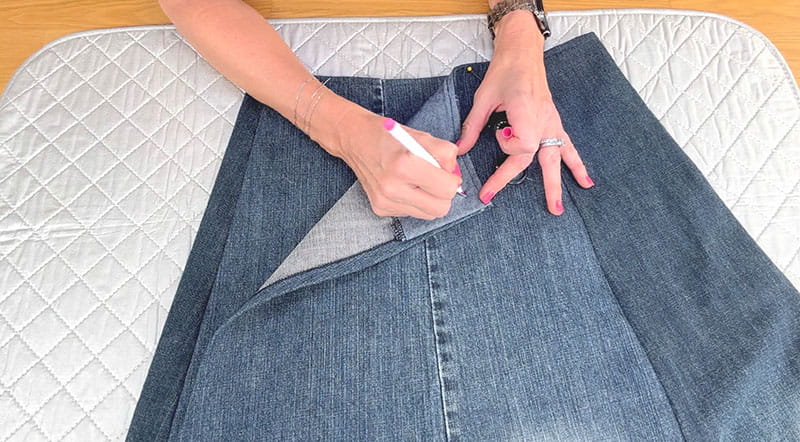
Determine the placement of the buttons, making sure to add one button to the inside panel of the wrap skirt and one or more buttons to the front panel. Remember the inside button should face in towards the body.
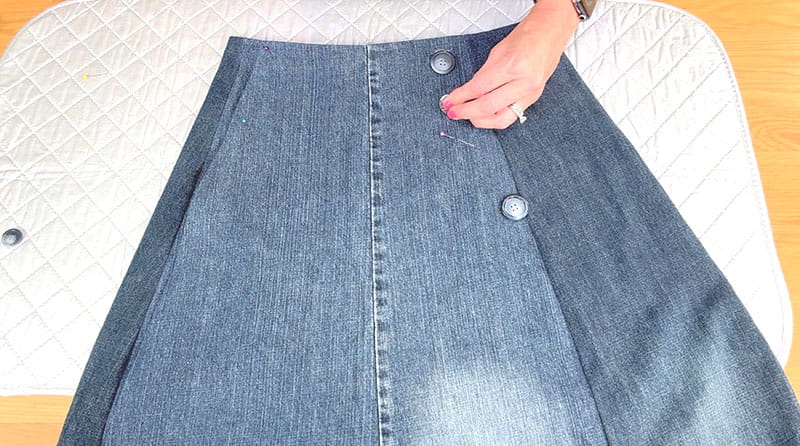
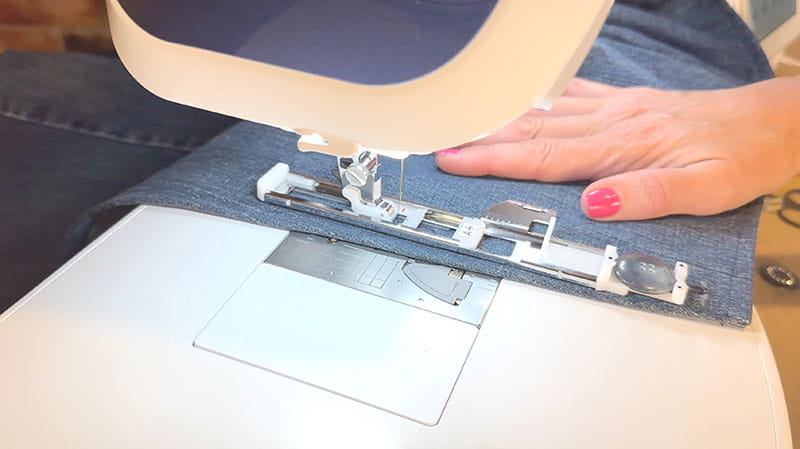
Using your sewing machine, create the buttonholes.
Sew on the button.
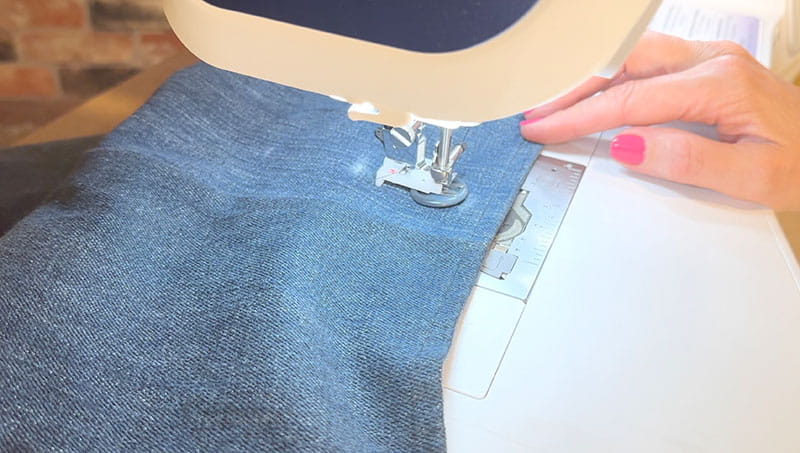
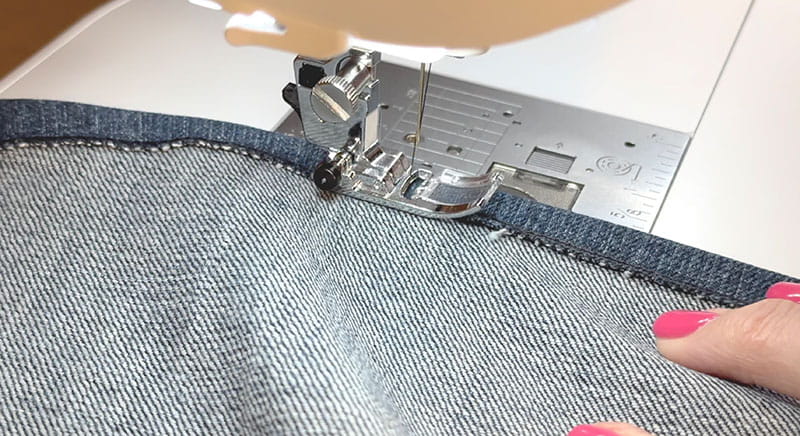
Finally, decide on the length for your skirt. Press the bottom hem up, press and pin in place and topstitch the bottom hem.
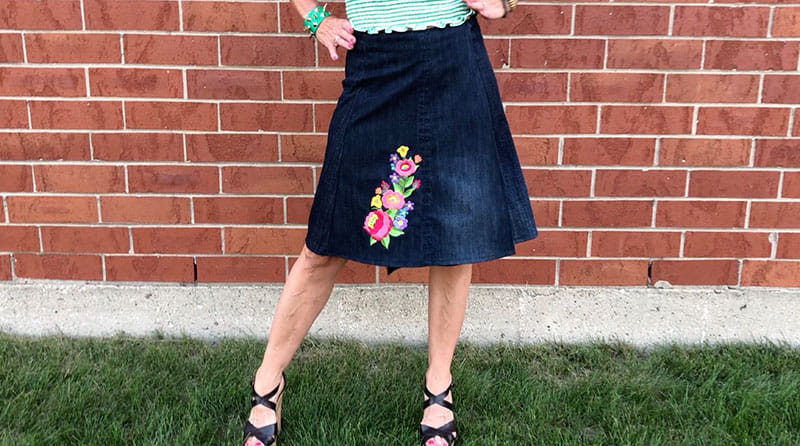
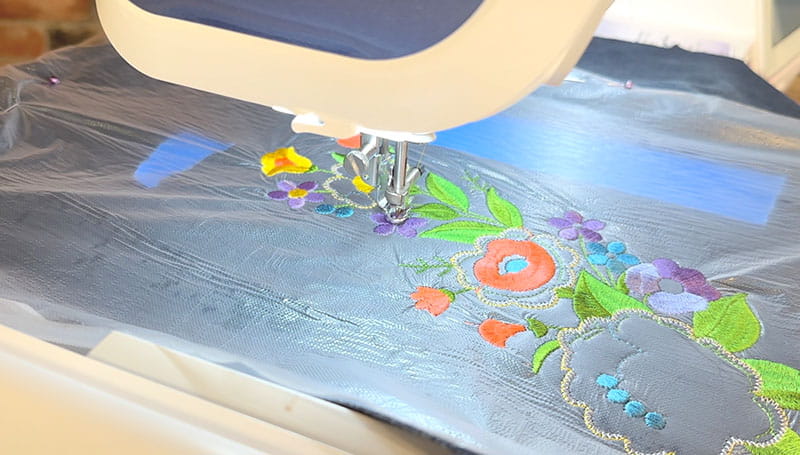
You can also add colorful embroidery to one or more of the panels on your skirt!
It’s easy to repurpose denim jeans into a fashionable wrap skirt. Pair the look with a halter top, t-shirt or blouse and feel a sense of satisfaction when you repurpose fashion.
