How to Sew a Flannel Shirt into a Bucket Hat
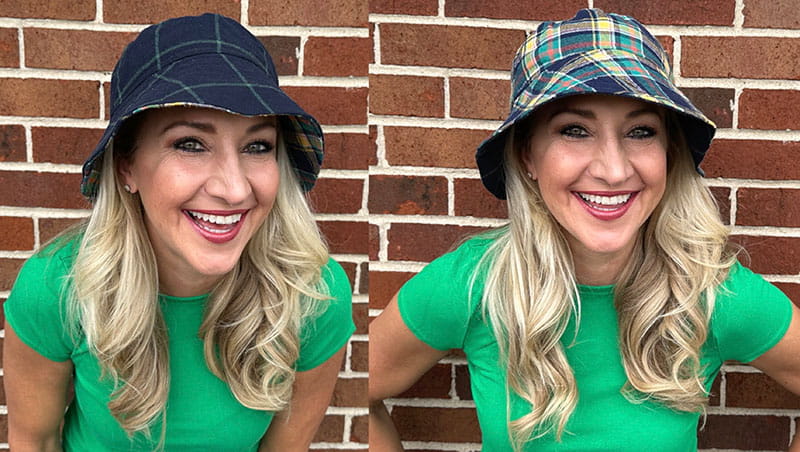
When you want to update your wardrobe, reach for an old flannel shirt and create a super-cool must-have accessory for almost any occasion - a stylish bucket hat. Flannel shirts are typically plaid and come in a checkered or tartan pattern but in an array of fun solid colors as well. This project will have you mixing and matching the designs of shirts so they will fit your personality. It’s an easy sewing project to make for yourself or to give as gifts.
Supplies
- Brother Sewing Machine
- 2 once-loved flannel shirts
- Fusible interfacing
- A rotary cutter
- Pink shears
- Fabric scissors
- A marking pen
- Straight pins
- An Iron
- Pattern
Directions
-
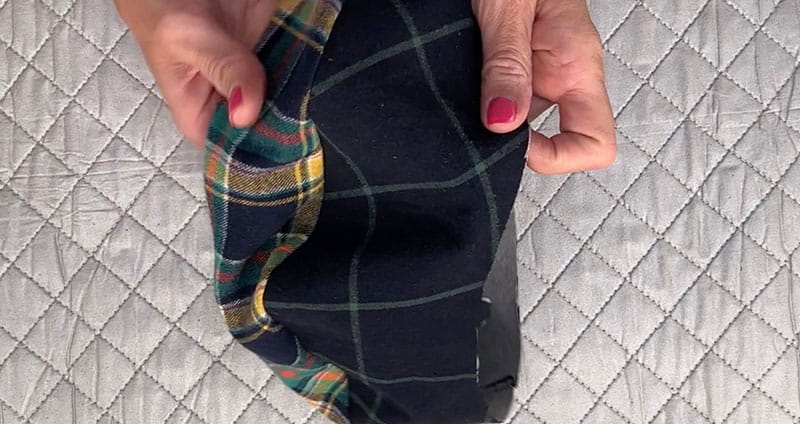
Deconstruct the shirts
First, deconstruct the flannel shirts and be sure to save your scraps so you can create even more hats or other projects with the leftovers!
Cut off the sleeves and then cut the sleeve length at the seam to get a wide section of material.
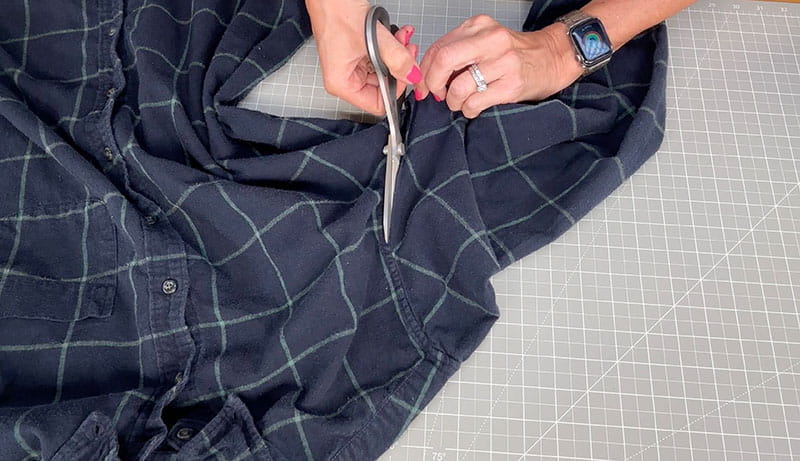
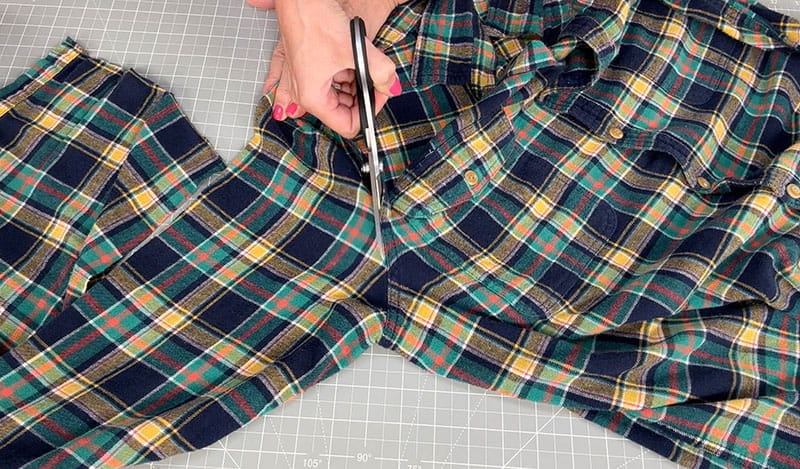
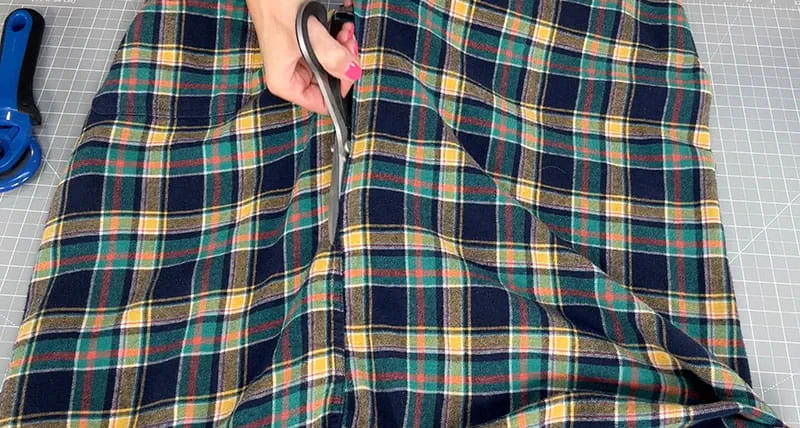
Cut off the neckline. And finally, cut the side seams of the shirt.
-
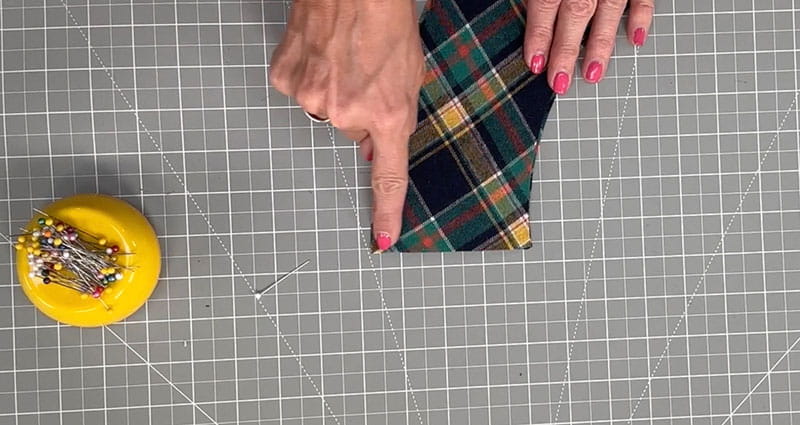
Cut the new fabric
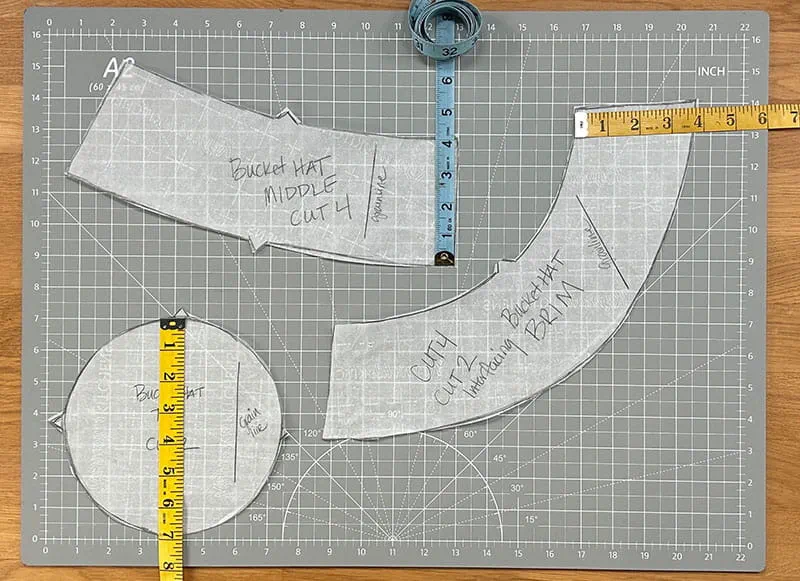
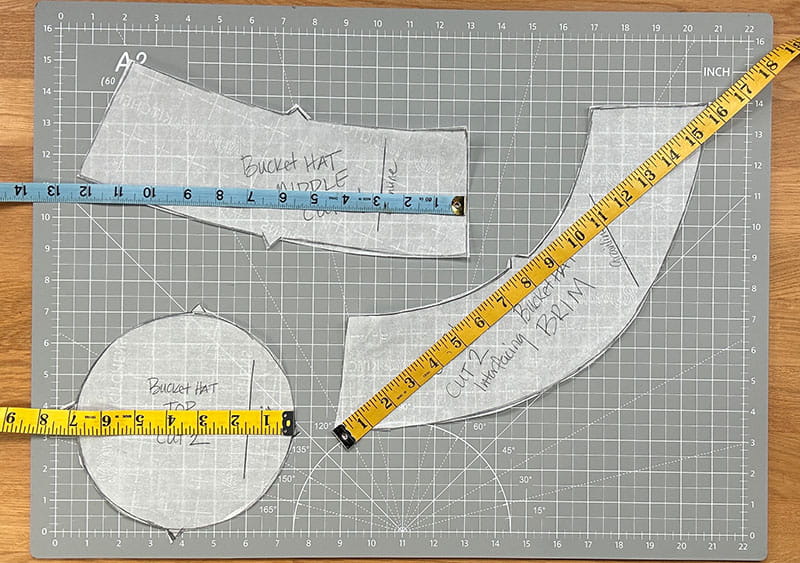
Once the shirt is deconstructed, cut out fabric pieces and fusible interfacing -
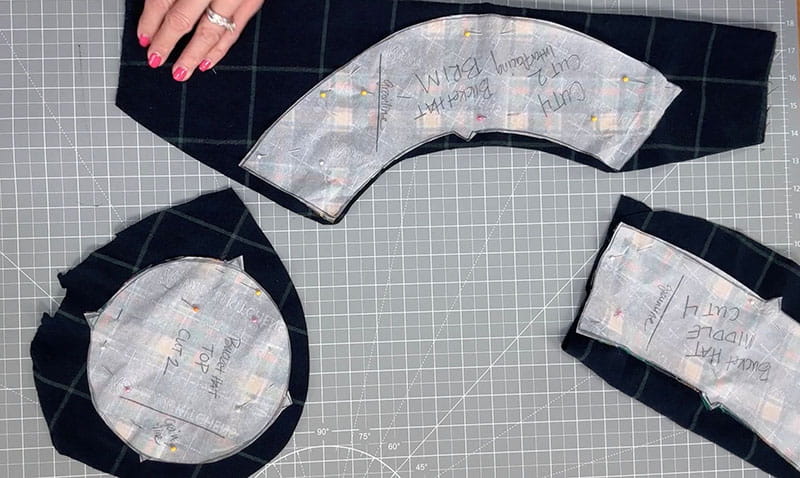
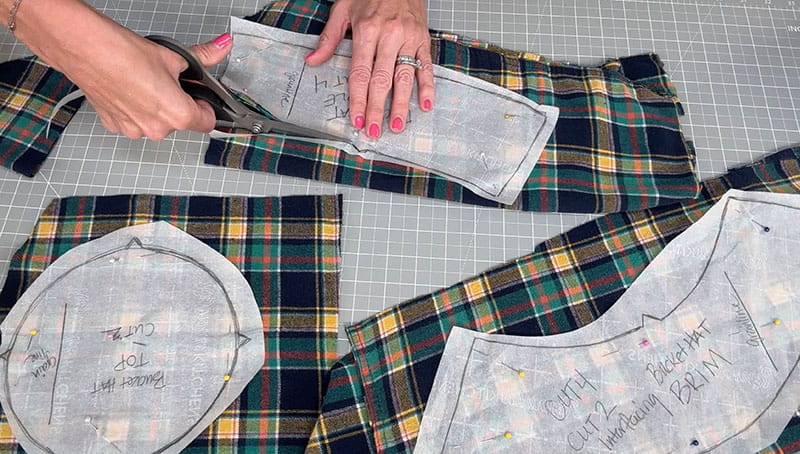
You will need to cut 4 pieces for the brim, 4 pieces for the middle portion of the hat, 2 pieces for the top and cut 2 pieces of fusible interfacing for the brim.

The hat will be reversable but taking note of the outer fabric and inner fabric will help with the making process.
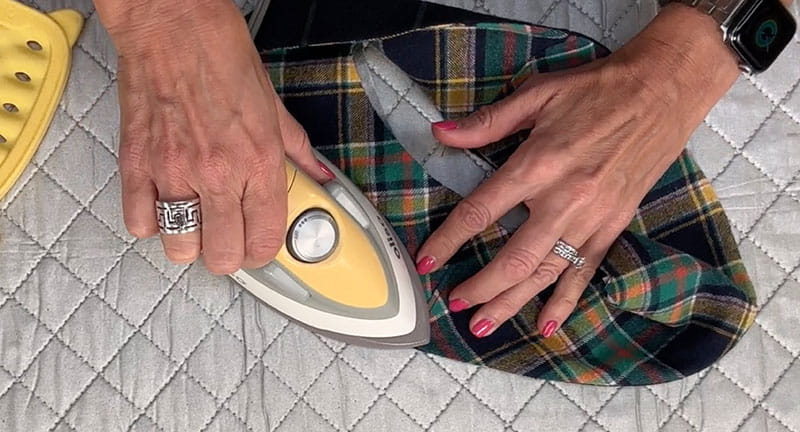
Iron the fusible interfacing to the inner pieces of fabric for the brim.

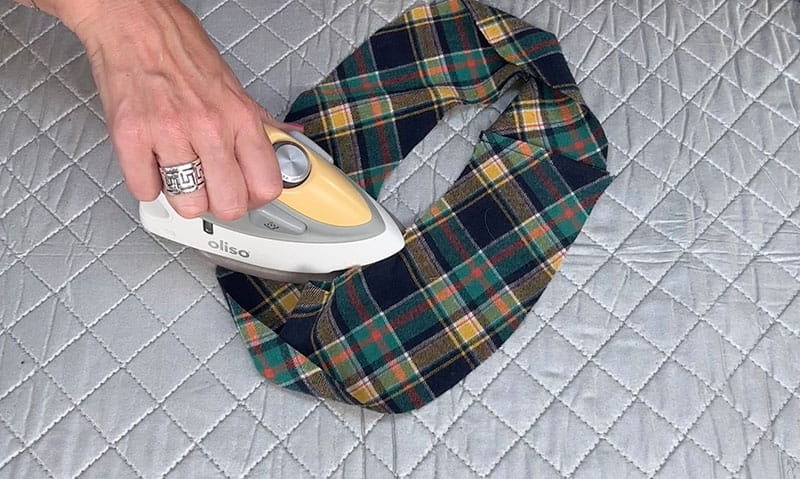
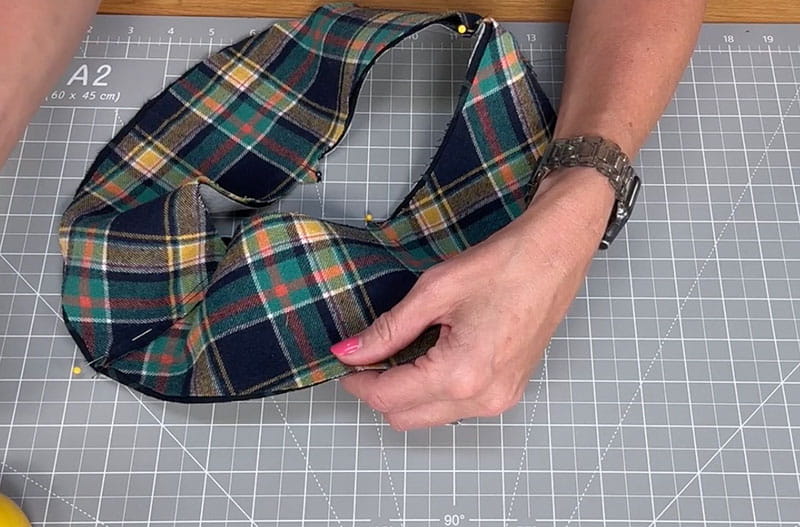
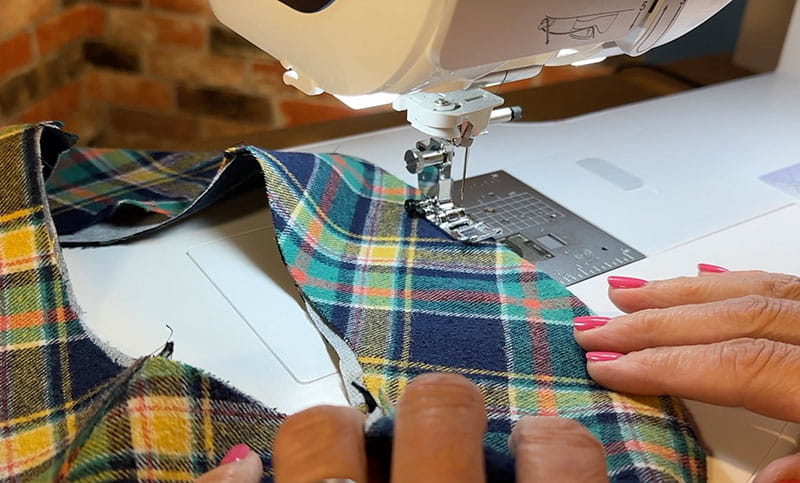
Next, match up the ends of the large brim pattern pieces and sew them together, using a 3/8th seam allowance.
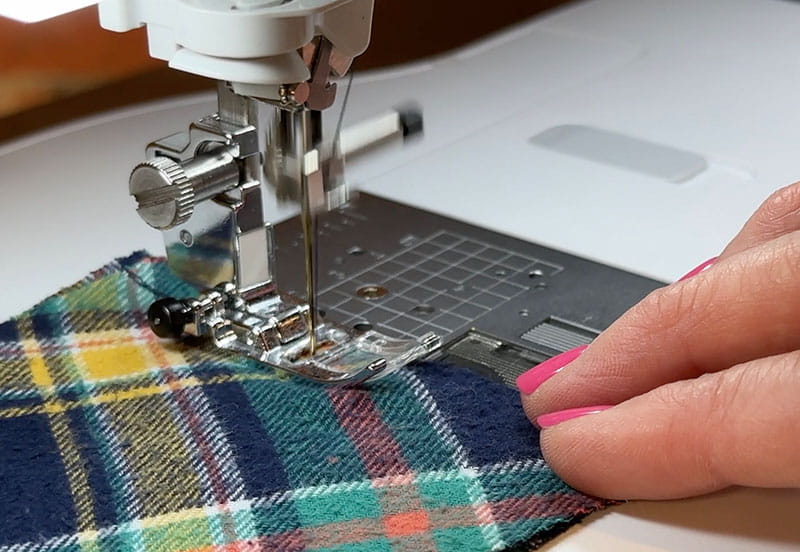
Do the same with the pattern pieces for the middle part of the hat. Match up the ends and sew the raw edges together.
Now you will have created two middle pieces.
Press the inside seam to one side and then topstitch the seam allowance down. Do this to all four seams. There are 4 for the two sections of the brim and 4 for the two middle sections. Set the middle section aside.
-
Sewing the brim
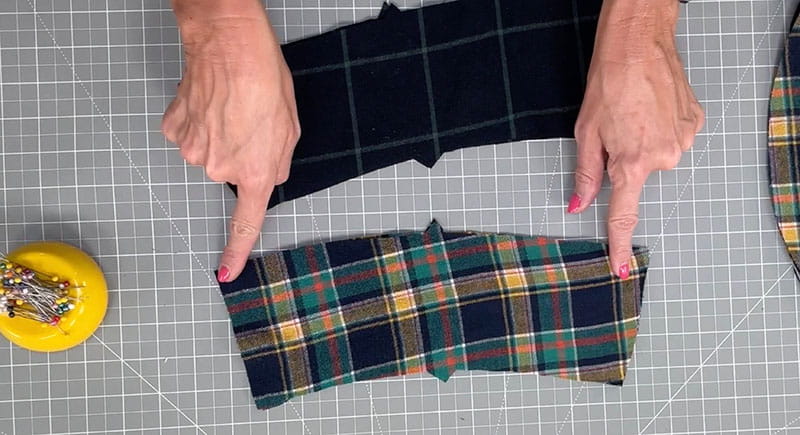
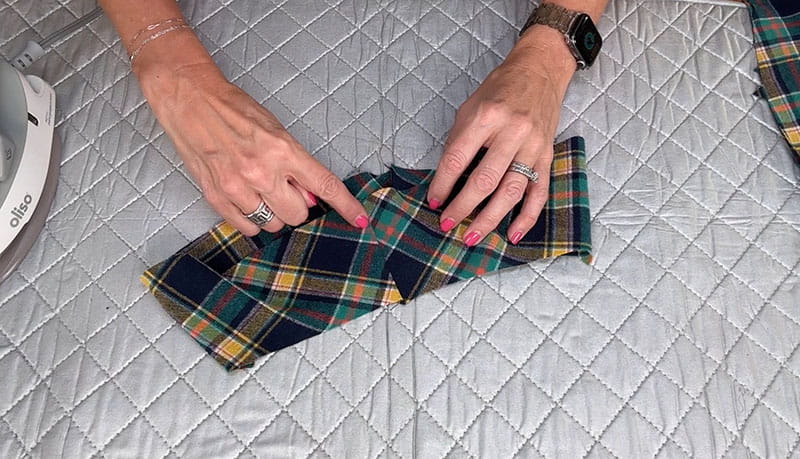
With the right sides of the two brim pieces together, pin them in place by lining up the side seams and outer edge. Sew around the outer end of the brim.
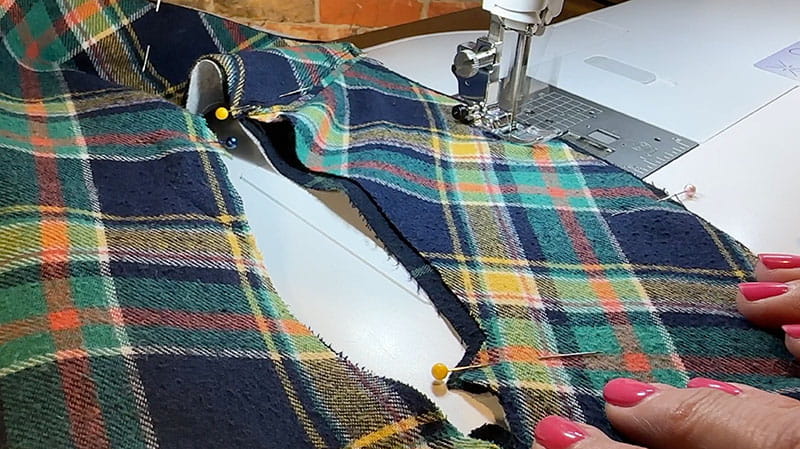
Using your pinking shears, cut the seam allowance around the raw edge to give it a zigzag edge.
This will take out some of the bulkiness of the fabric when you turn it the right side out.
Alternatively, if you do not have pinking shears, you can clip the edges with your fabric scissors to get the same results.
Be careful not to clip the stitches.
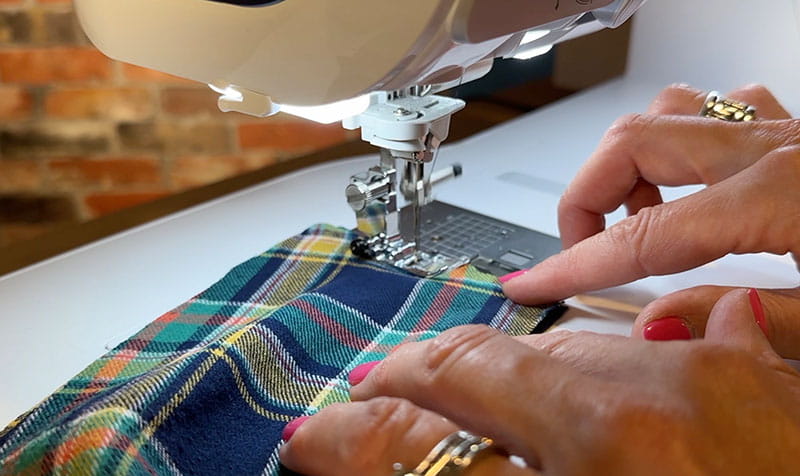
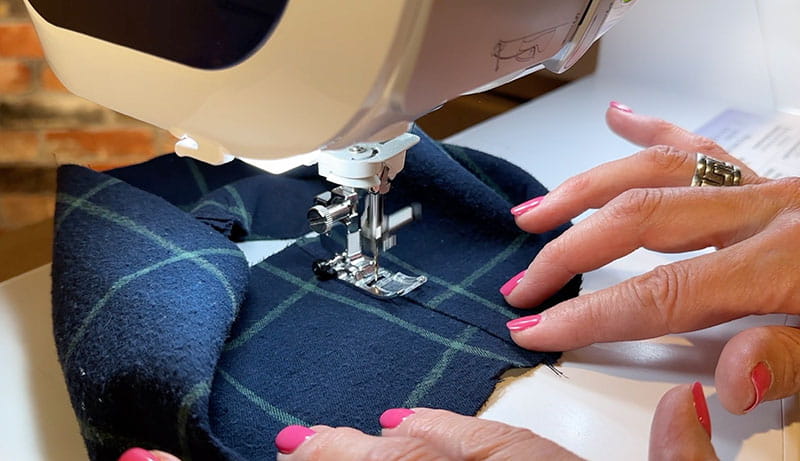
Turn the brim right side out and press so it's flat.
On your sewing machine, topstitch the brim 1/4 inch away from the outer edge of the brim.
Once the topstitch is complete, continue sewing another 1/8” away from the original line and continue sewing all the way around in a spiral to the top of the brim.
Doing this in a spiral method will save time, and the result will look clean and professional.

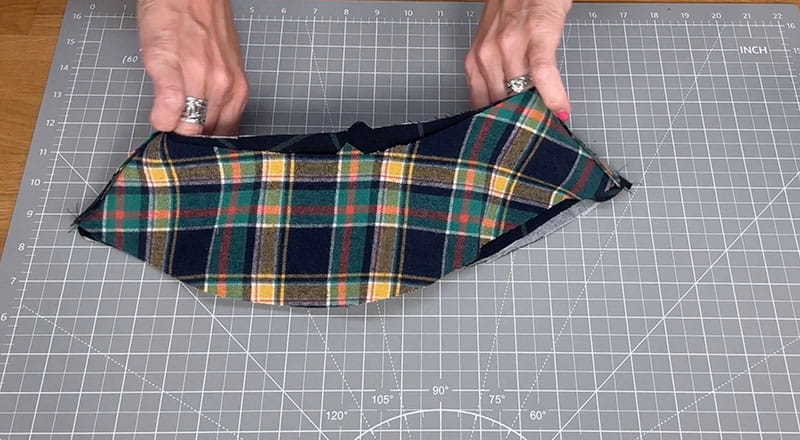
Set the brim aside.
-
Assemble to Middle Section
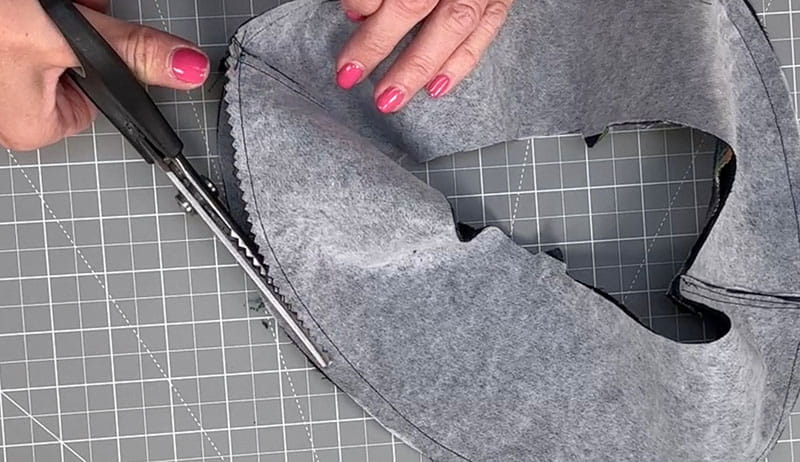
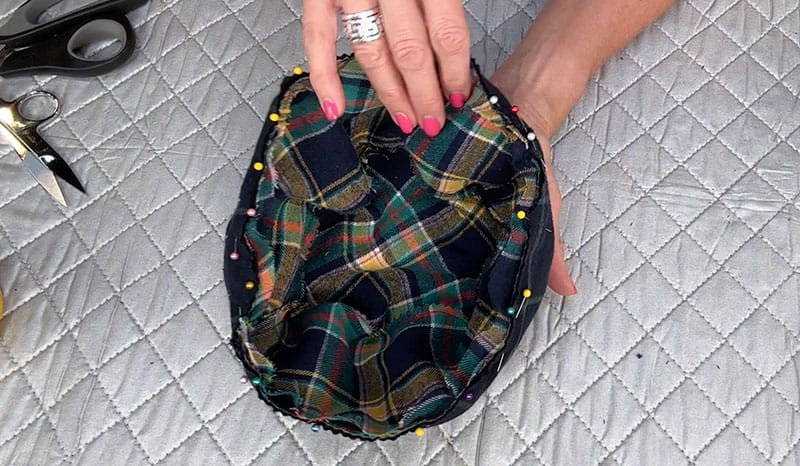
To assemble the middle portion of the hat, pin the middle section to the top circle by pinning the middle around the outer edge of the circle.
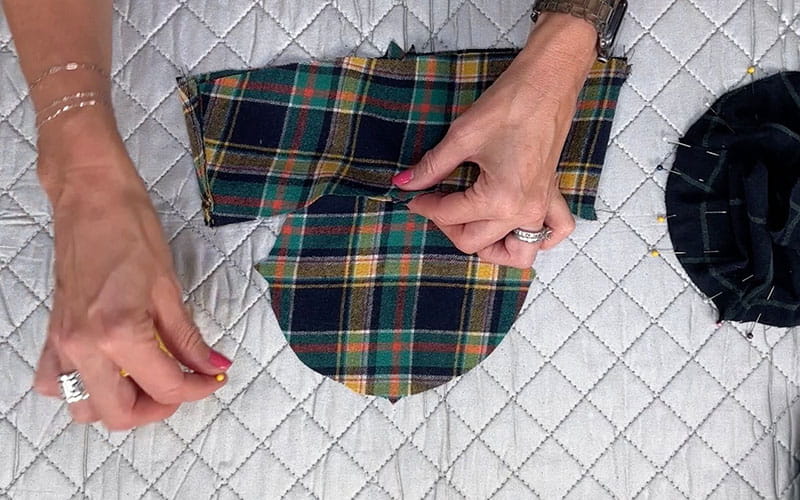
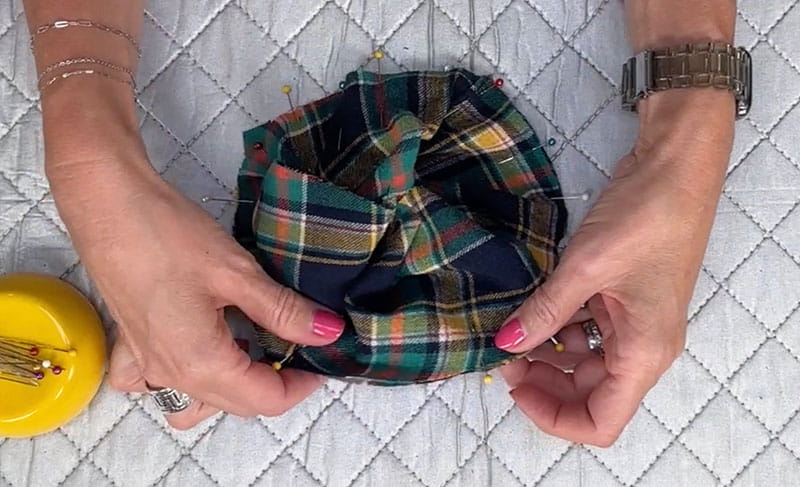
Pin as you go and make sure the fabric lays flat around the circle with no gaps. You will use ample pins to keep it secure and flat around the curves. Do this with both middle sections and tops.


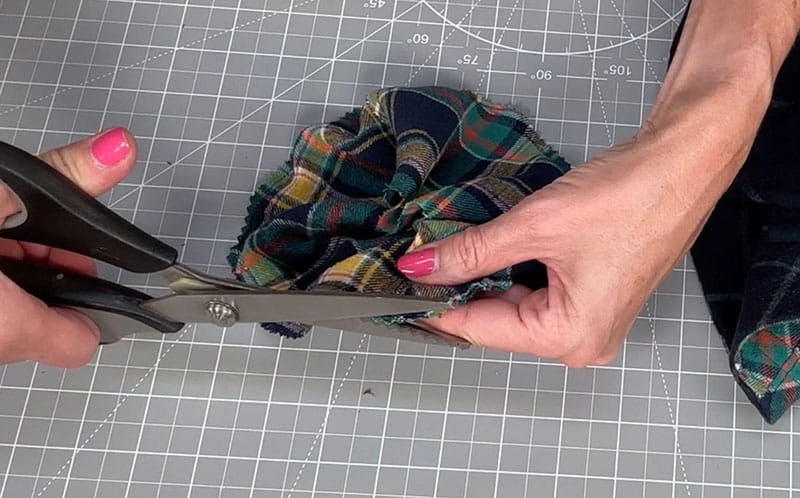
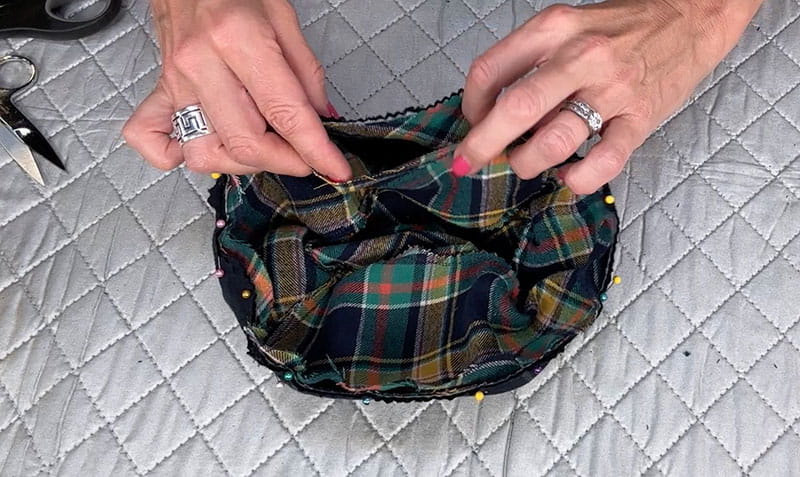
Sew the circle pieces removing the straight pins as you sew making sure the fabric stays flat.
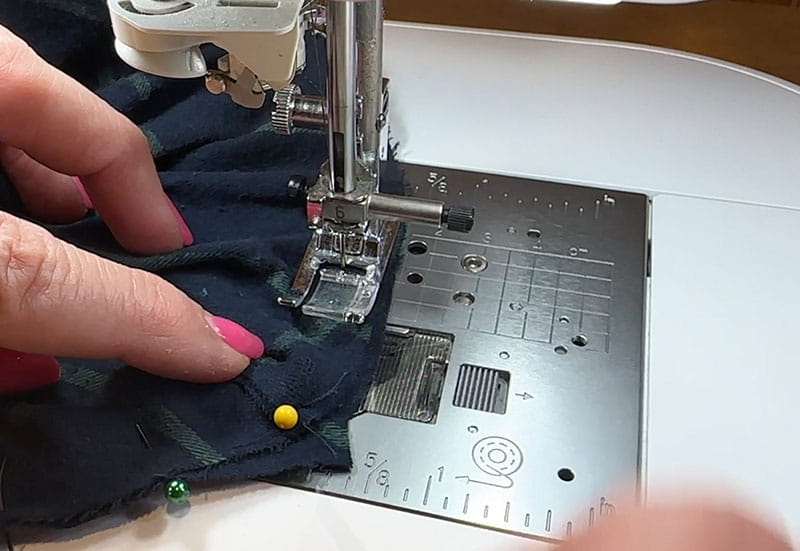
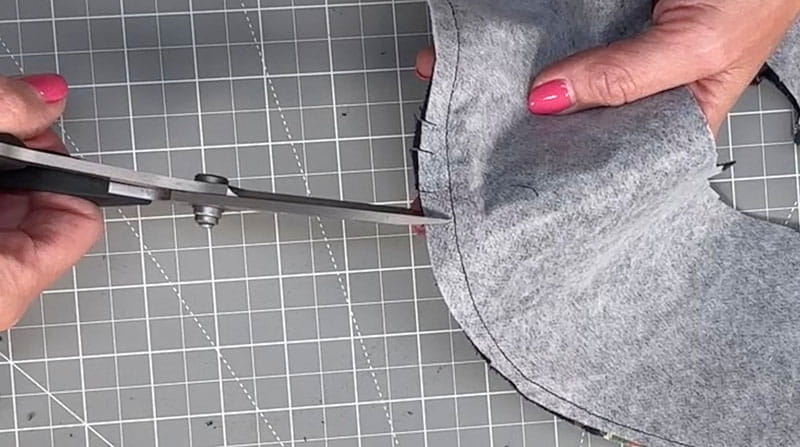
Cut around the raw edge with your pinking shears.
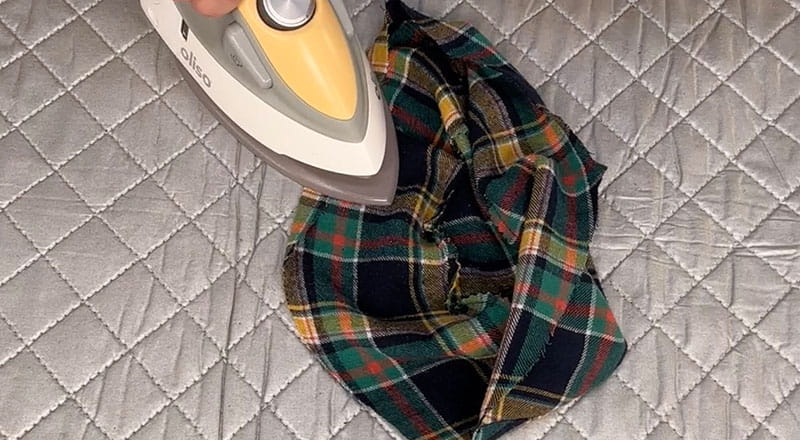
On the outer top piece, fold in and press a 2-inch section. This will be used when we assemble the hat later.
-
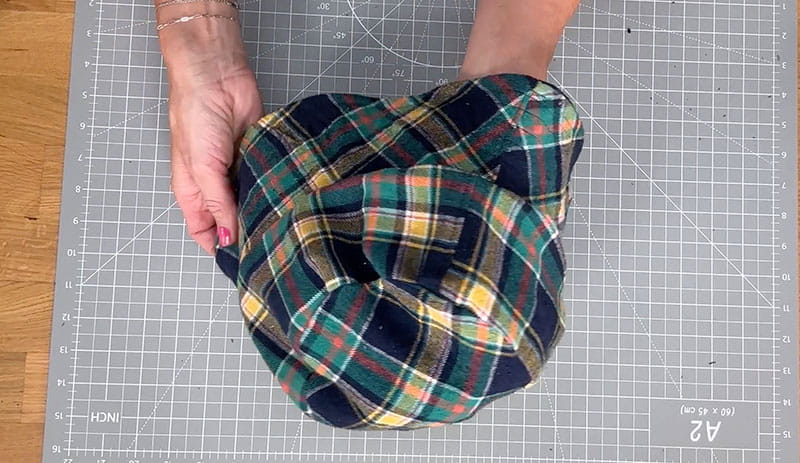
Putting it all together
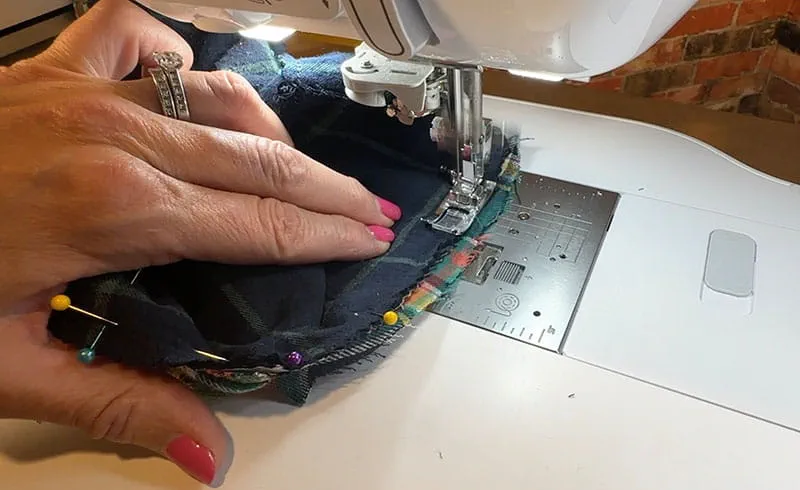
Pin the inner middle hat to the brim with the right sides facing each other - lining up the side seams.
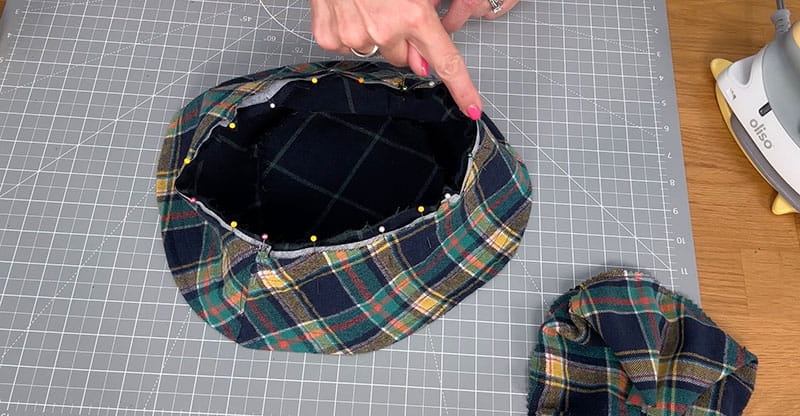
Sew the pieces together all the way around and clip with your pinking shears.
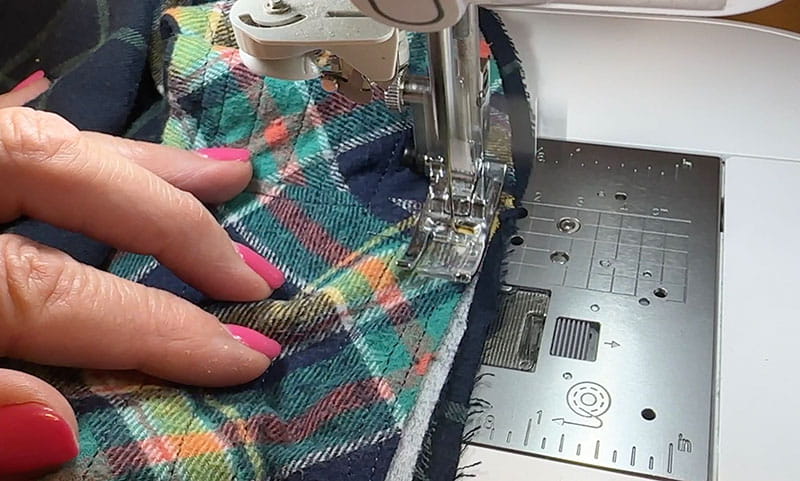
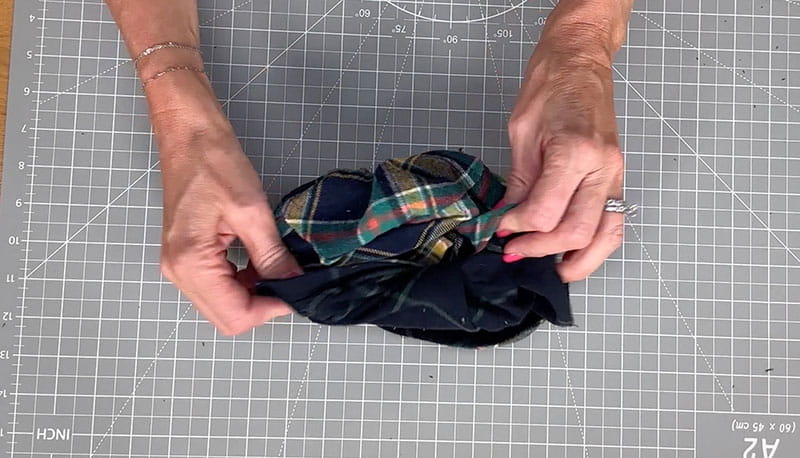
Turn the brim inside the top of the hat and pin the outer middle section of the hat inside the hat with the right sides together and lining up the side seams.
Sew around the hat leaving a 2" opening for turning.
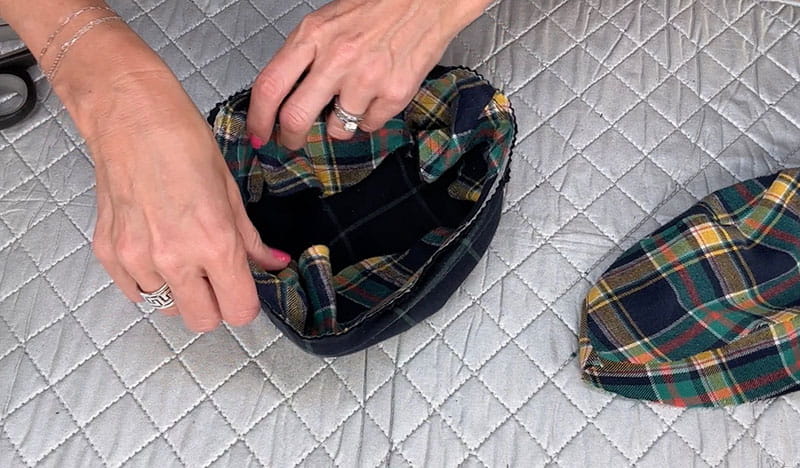
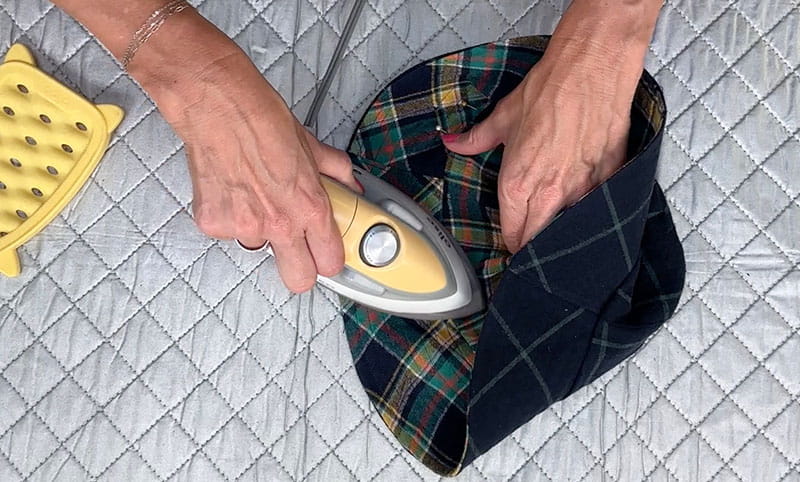
Turn the hat right side out through the opening.
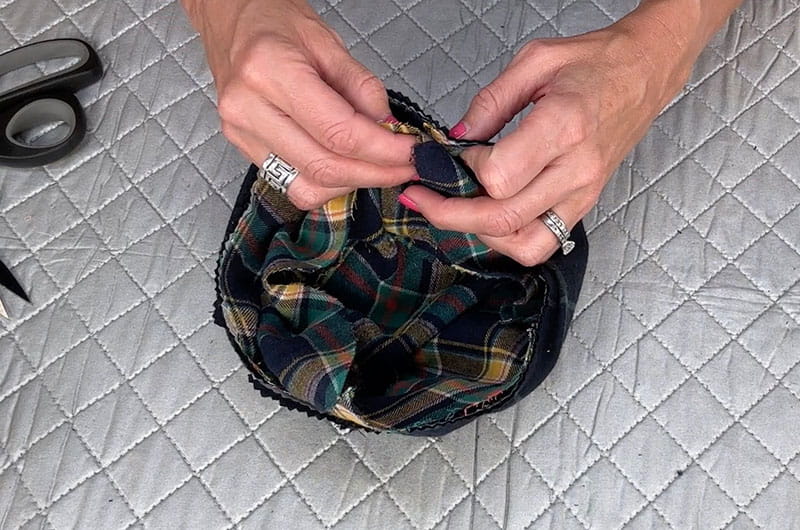
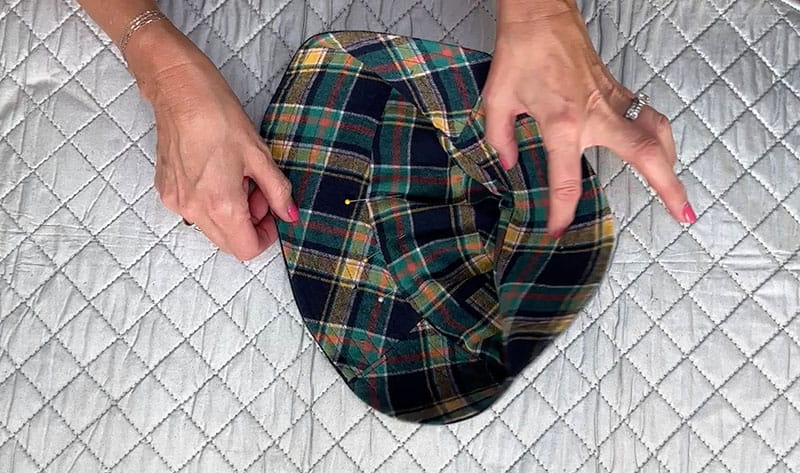
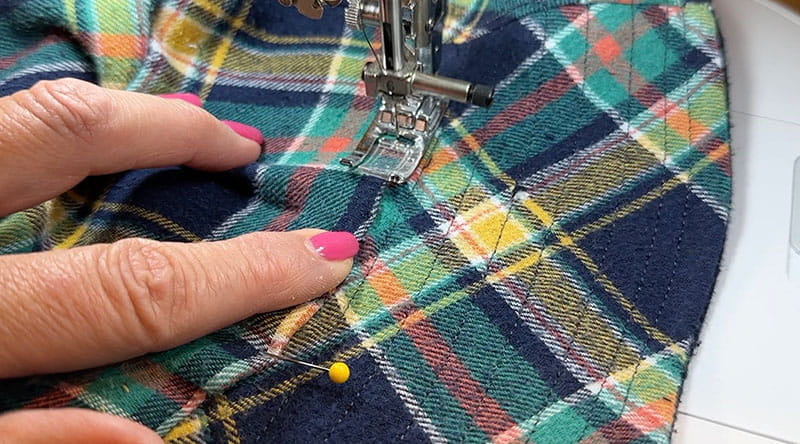
Press the opening, pin it closed and topstitch the opening. Continue to topstitch all the way around the top of the hat.
Design note: Create a patch to add to the hat using My Design Center and your embroidery machine!
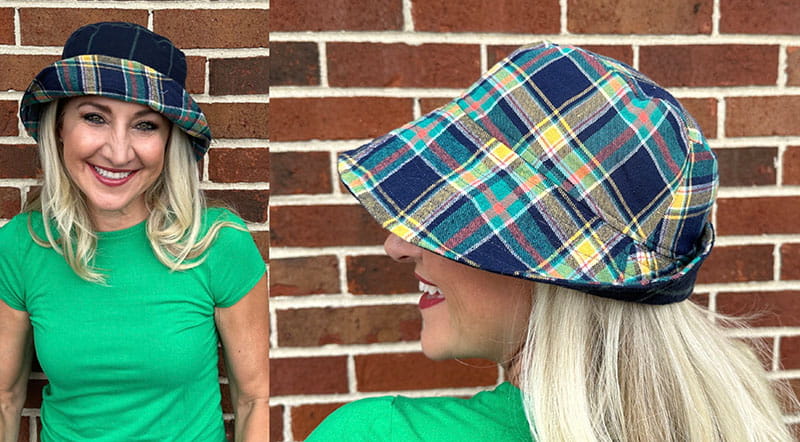
Your bucket hat is complete. This new bucket hat is made from old flannel shirts! This is a great way to rescue once loved flannels and give yourself a new fashion accessory.
Related Projects
Stay Connected
* Required fields