DIY Baby Gift Basket
Hello Everyone, Laura here from Trash to Couture!
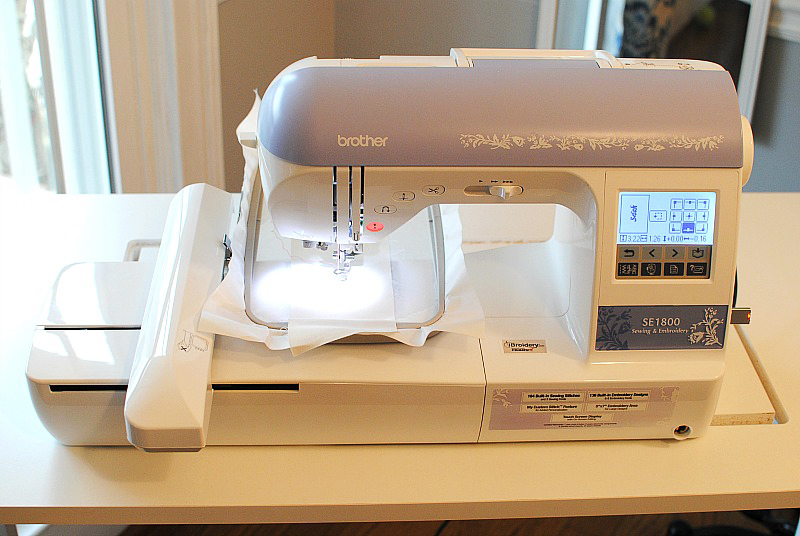
One of my favorite things about sewing is creating handmade gifts. Anything from your child's costume to a baby basket for your new niece like the one in this tutorial. I like to add embroidery to personalize each gift. The Brother SE1800 Sewing and Embroidery Machine
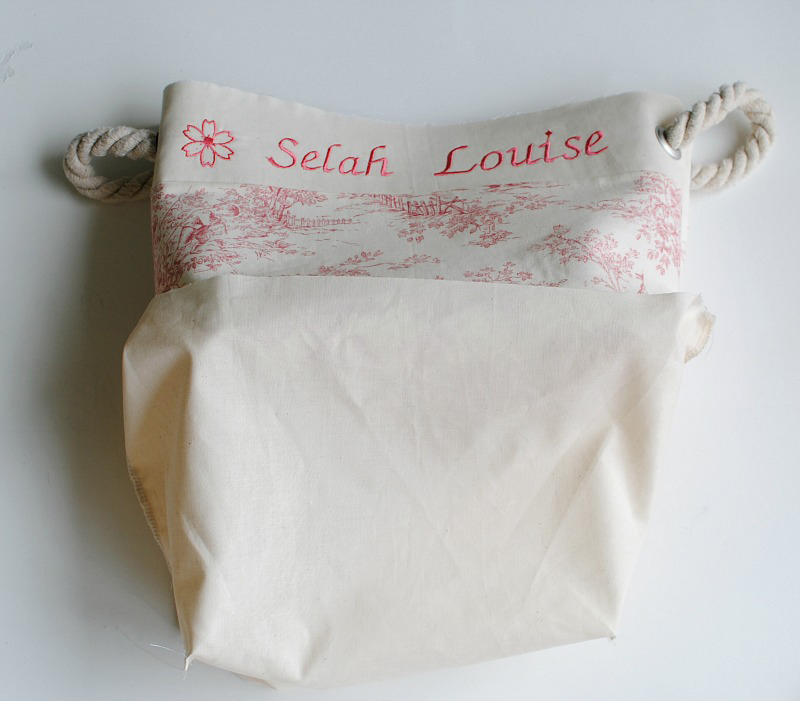
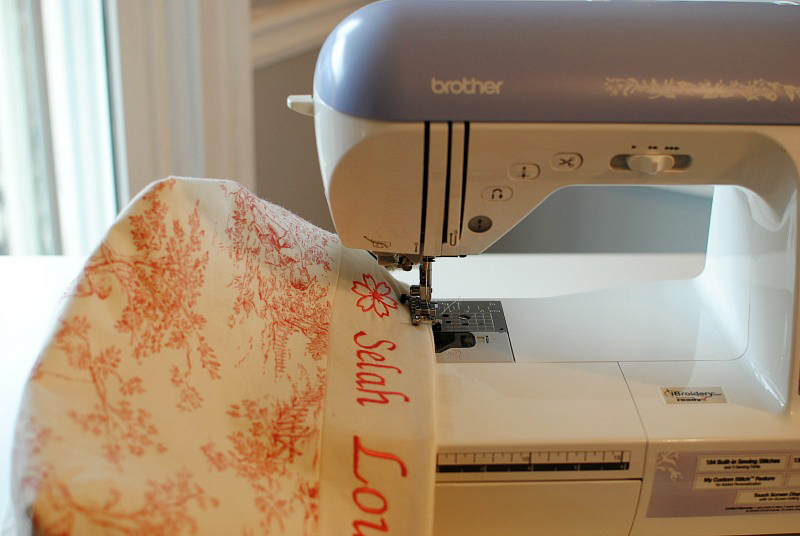
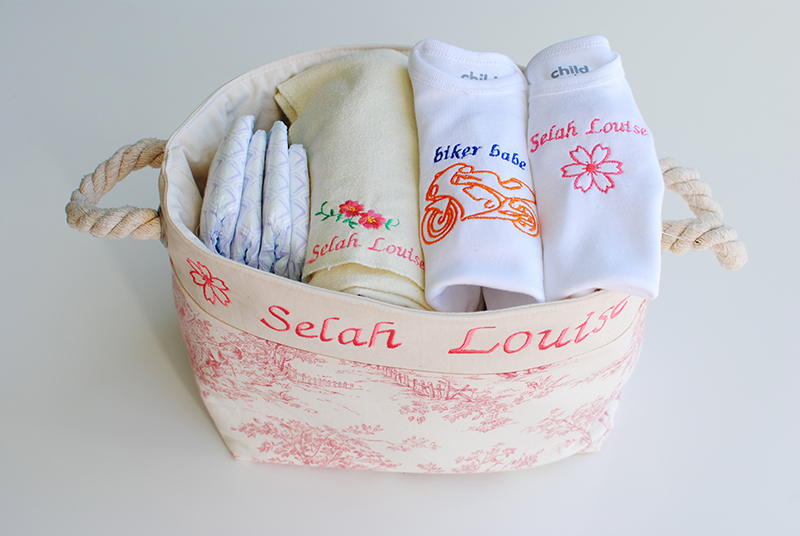
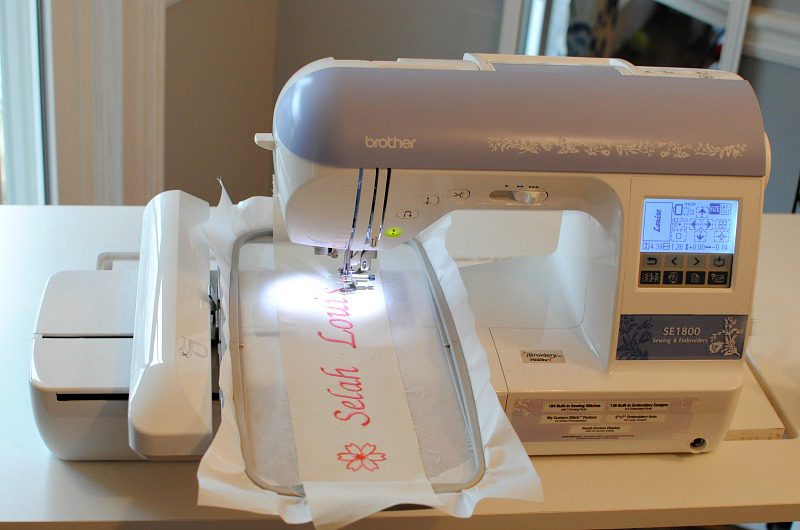
makes it possible to create so many different projects. I really like using the 5 X 12 multi-position hoop to cover a wide area of embroidery without re-hooping. I use this for ribbon or wide trims like the one on this baby basket I will be sharing with you below. This personalized baby basket is my go to when a family member or friend is expecting a baby. It's not only a cute gift basket but perfect for storing diapers and baby items as well. I like to add a couple embroidered infant snapsuits and blankets in the basket customized with the baby's name or designs like the biker babe (my brother-in-law is a professional motorcycle racer and his colors are blue and orange) using the 5x7 hoop. Get the details below on how to embroidery and sew a personalized Baby Gift Basket.
Supplies:
- SE1800 Sewing and Embroidery Machine
- 5x12 multi-positon hoop
- Pacesetter medium weight Tear-Away Adhesive Stabilizer
- Embroidery thread
- ½ yard exterior fabric (Use a medium weight fabric like cotton)
- ½ yard of fusible fleece
- ½ yard liner (Use a medium weight fabric like cotton)
- ½ yard of rope
- Extra large eyelets
- Extra large eyelet tool kit
- Grid ruler
- Fabric marking tool
Pattern:
- The pattern is for a basket that measures 7"x 12" when finished. I used a 2 piece exterior so the embroidery was noticeable along the edge. This is optional. If you choose to do this you will have to sew the 2 pieces together.
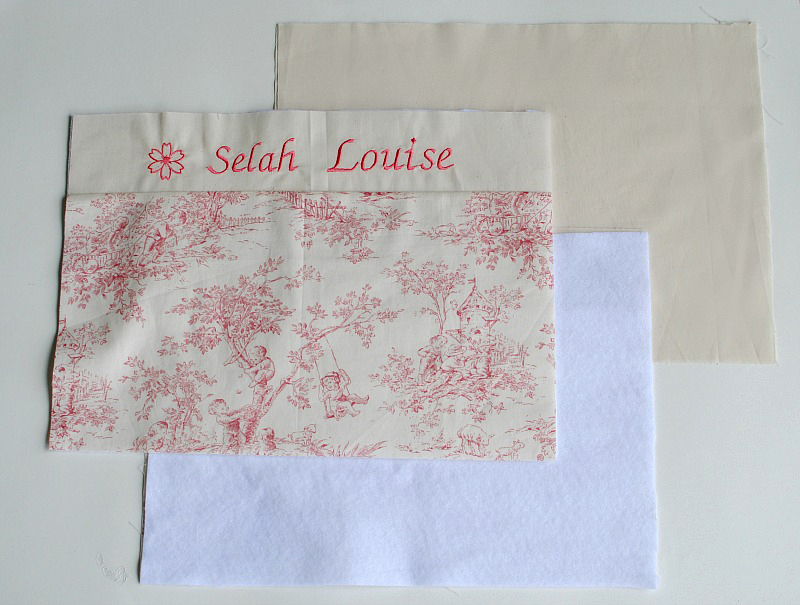
- Exterior: 12.5 x 16.5
- Optional 2 piece exterior: 3.5 x 16.5 (top strip) 9.5 x 16.5 (bottom exterior)
- Liner: 12.5 x 16.5
- Fusible Fleece 12.5 x 16.5
- Cut a strip of fabric that measures 3.5" x 16.5". You will need 2 of these for the front and back. I chose to embroider one side but you can embroider both.
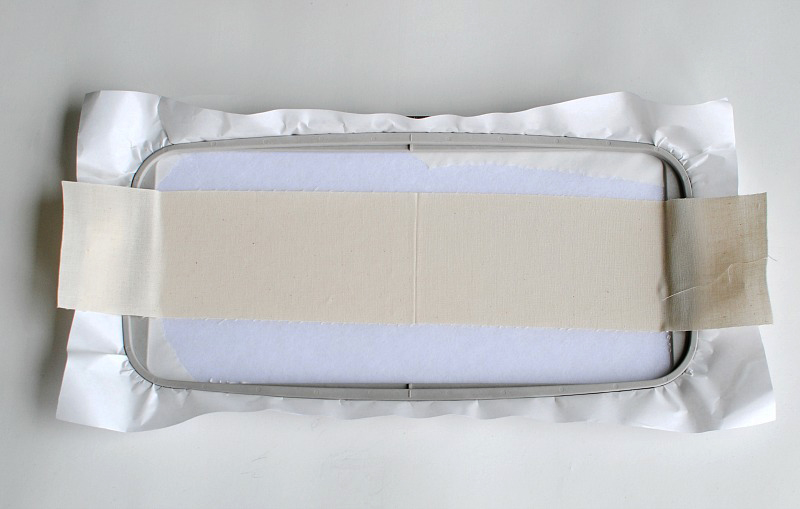
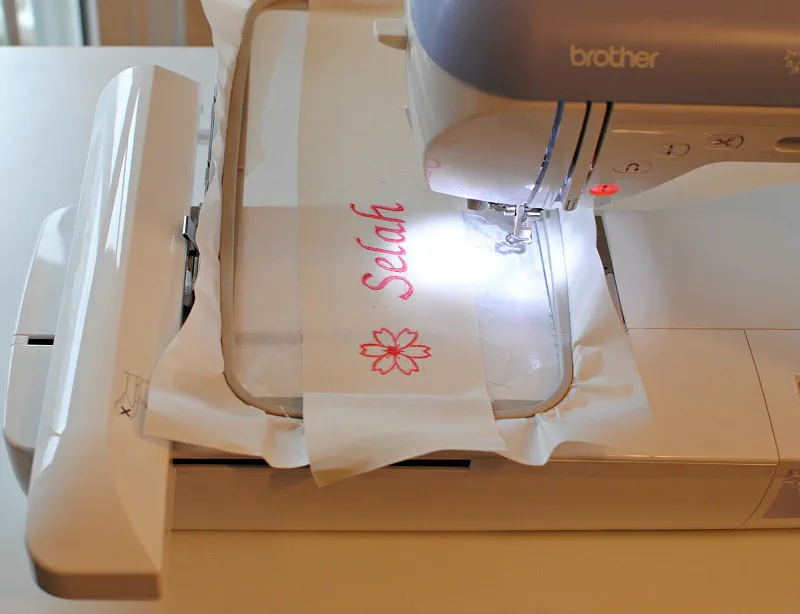
- Because the strip of my fabric is 3.5" x 16.5" I will be doing hoopless embroidery. I also will be using the 5"x12" multi-position hoop to cover the wider area. This means less re-hooping.
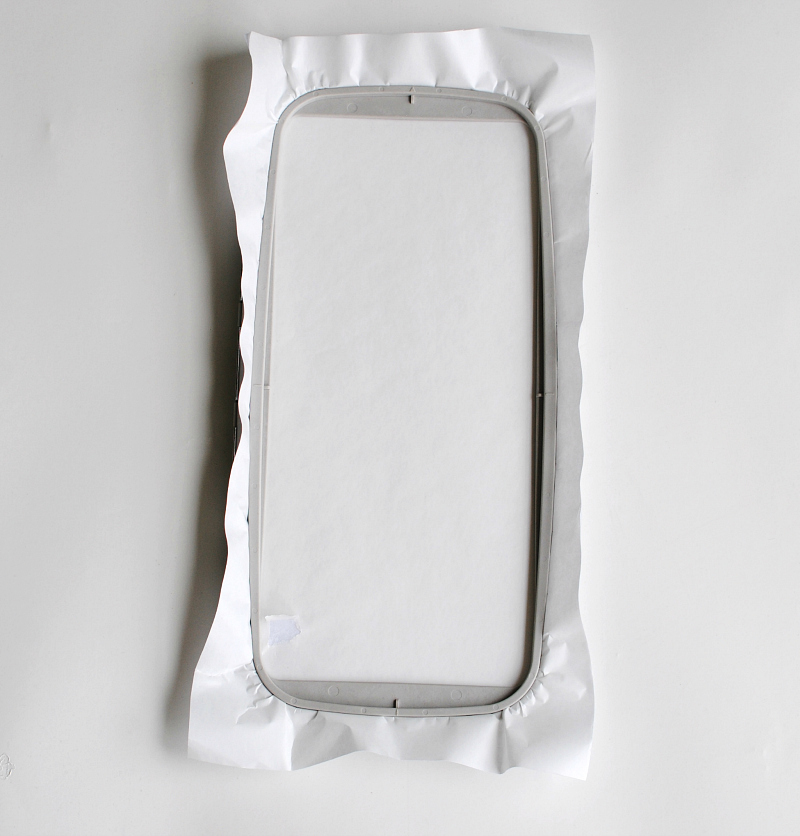
- Cut the Pacesetter stabilizer larger than the hoop.
- Hoop the stabilizer only, so the adhesive side will be up when embroidering.
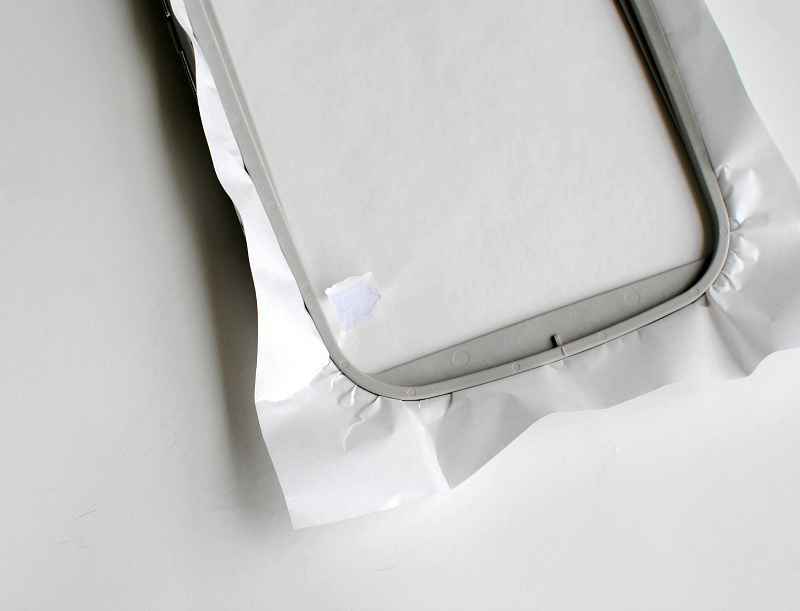
- Carefully score the paper around the edge of the hoop.
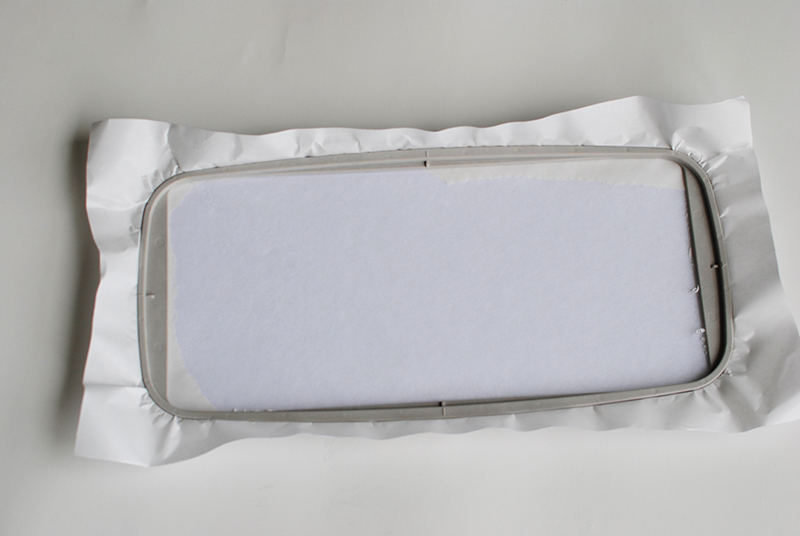
- Peel the protective paper off to expose the adhesive.
- Stick the strip of fabric down the center of the hoop.
- Place the first section of the 5x12 hoop on the embroidery module.
- Use the touch screen and go to lettering.
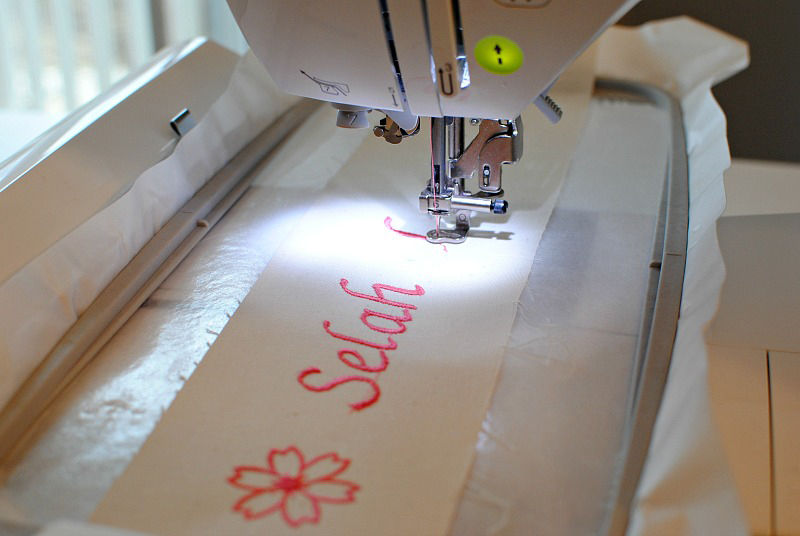
- For me I used the large lettering to write my niece's name. I began with her first name.
- I then had to rotate the lettering 90 degrees. I also made sure it was positioned properly by using the arrows to move up and down or from side to side. This is why I always mark the center so I know where I'd like my space to be before the next set of lettering.
- You can also increase and decrease the size and mirror images. Just make sure you write down the size of the letters for the next set.
- Embroider
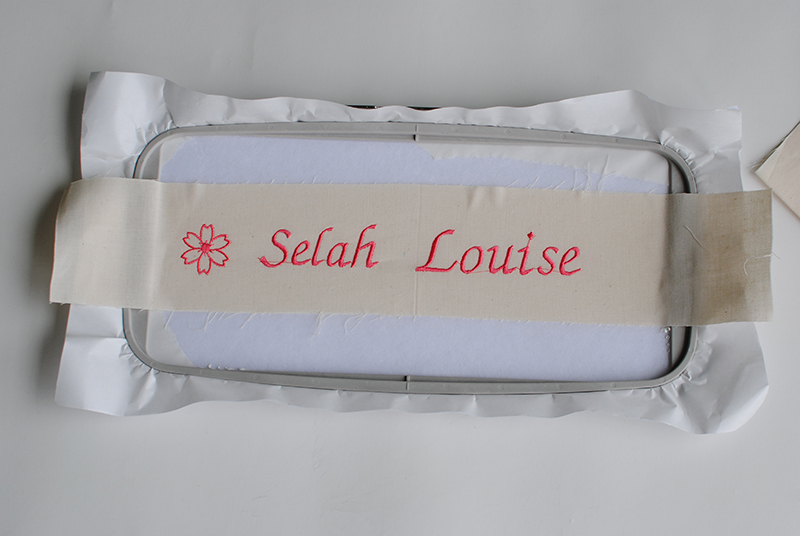
- Once finished with the first set of embroidery, I remove the hoop and position it to the back portion. Then I repeat the previous steps above.
- Remove the tear away stabilizer from the back.
- Seam allowance is 1/2" unless stated otherwise.
- Cut the pattern pieces out (above)
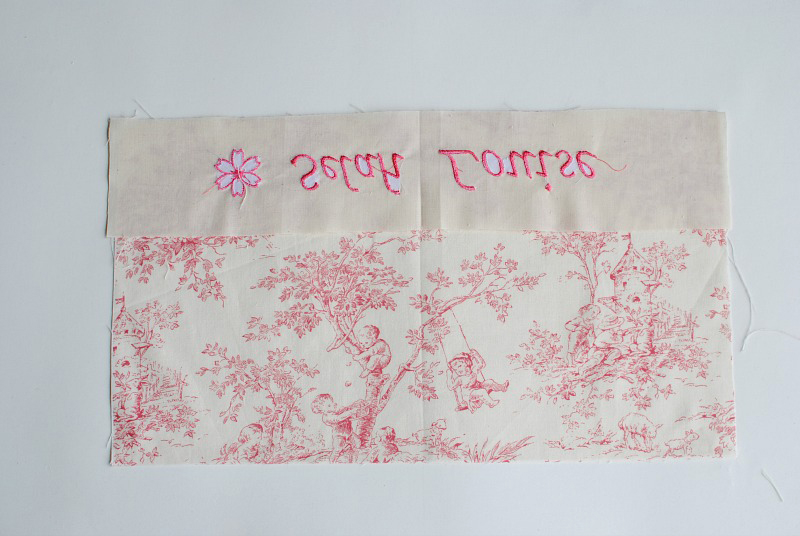
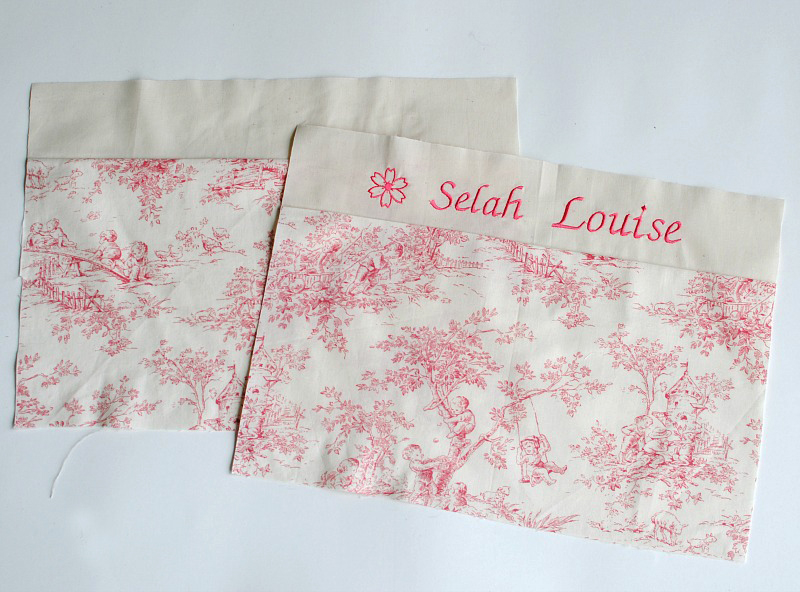
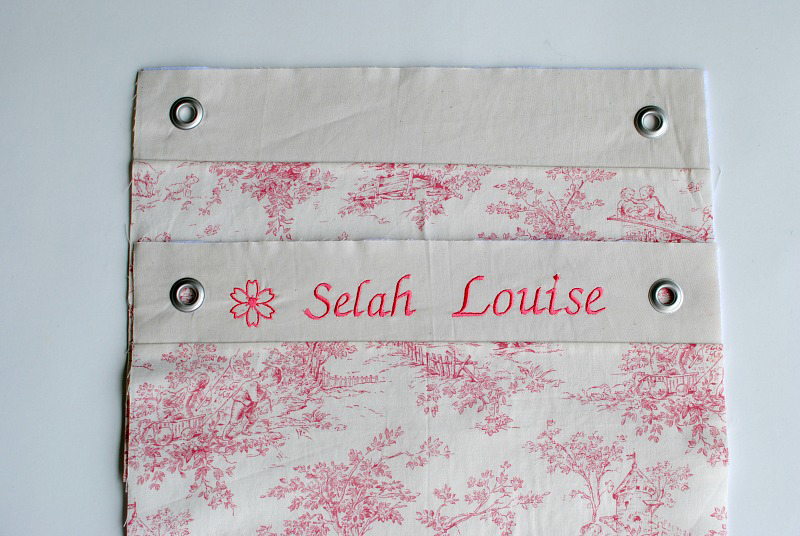
- Begin by sewing (¼" seam allowance) the top trims you just embroidered onto the bottom exterior pieces right sides together. Press seam allowance open.
- Press the fusible interfacing on the back of the exterior pieces.
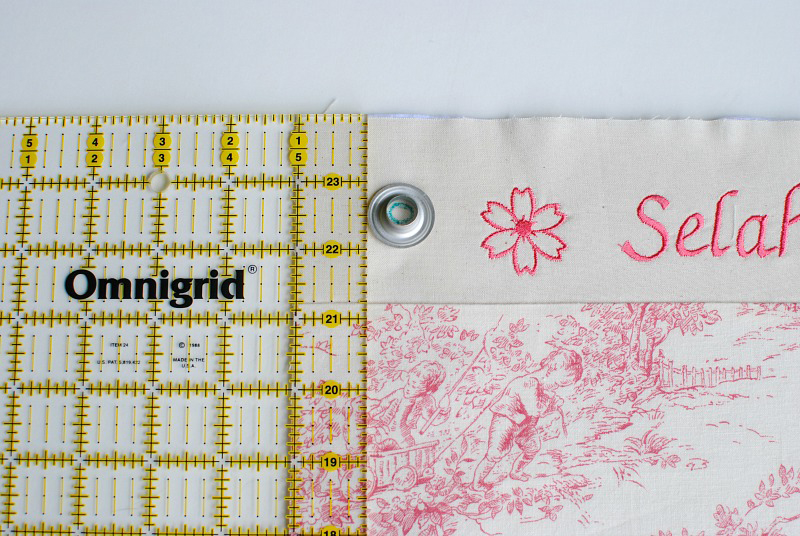
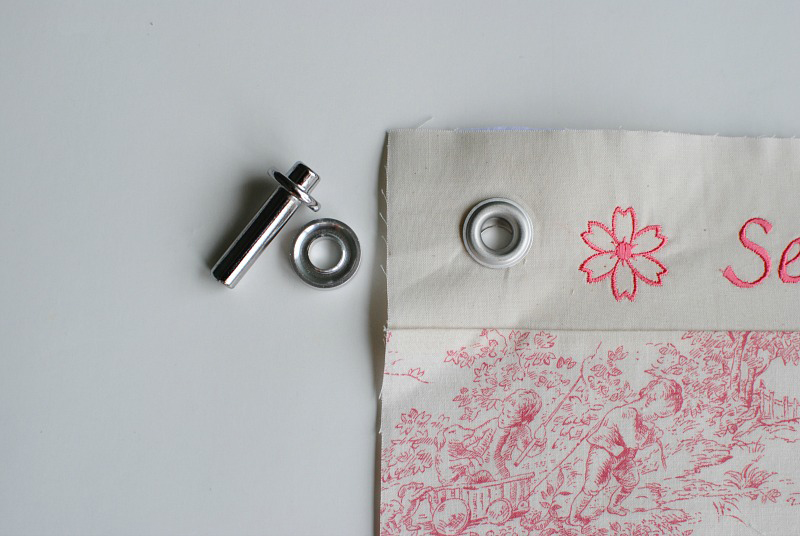
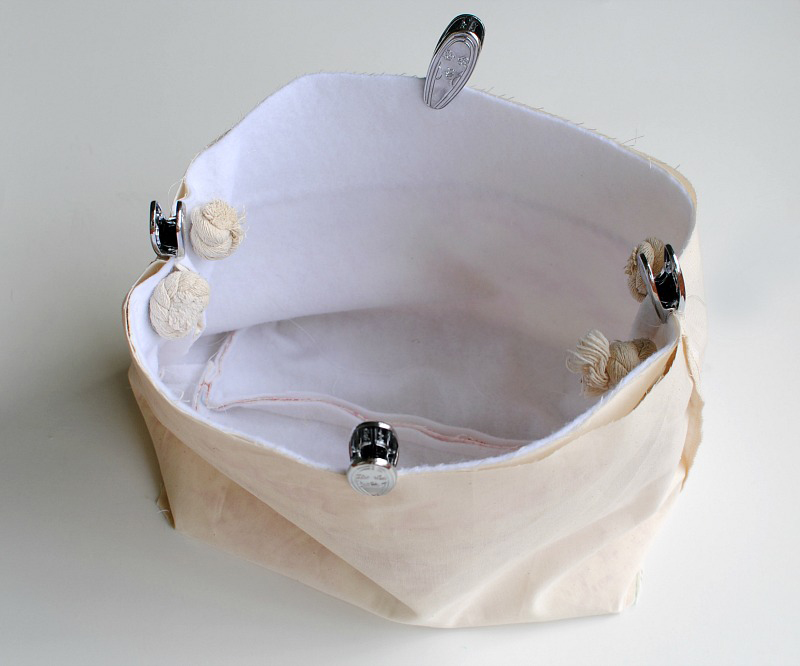
- Using extra-large eyelets or snap on grommets, position the eyelet 1" out from raw edge and midpoint. Use a fabric marking tool and trace the interior of the eyelet.
- Cut the interior circle out.
- Position the 2-Part eyelet into the hole.
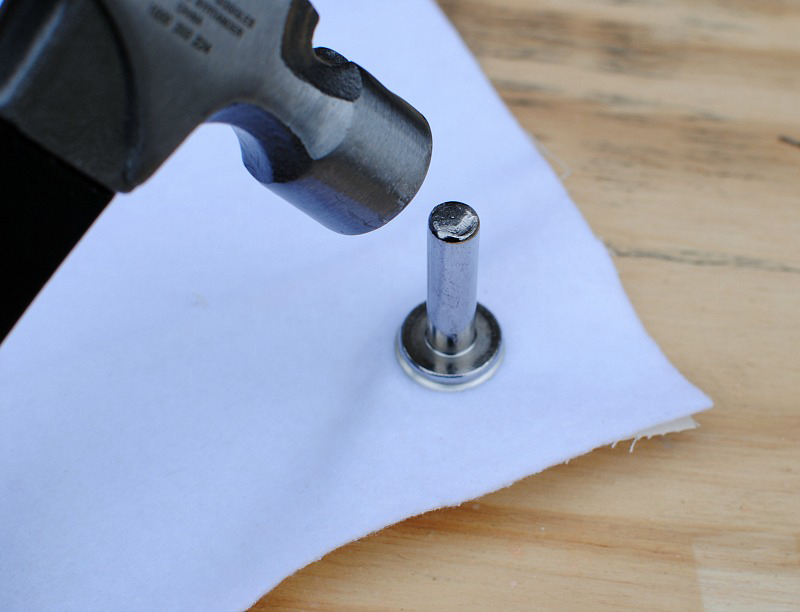
- Hammer the eyelets into place. It takes a good 3-4 hard hits to secure. Repeat for all corners of the exterior pieces.
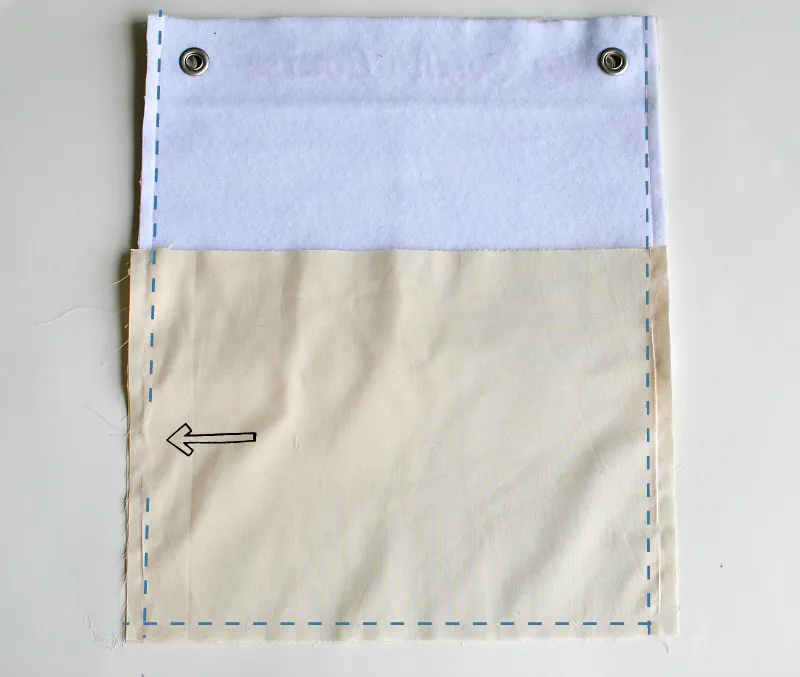
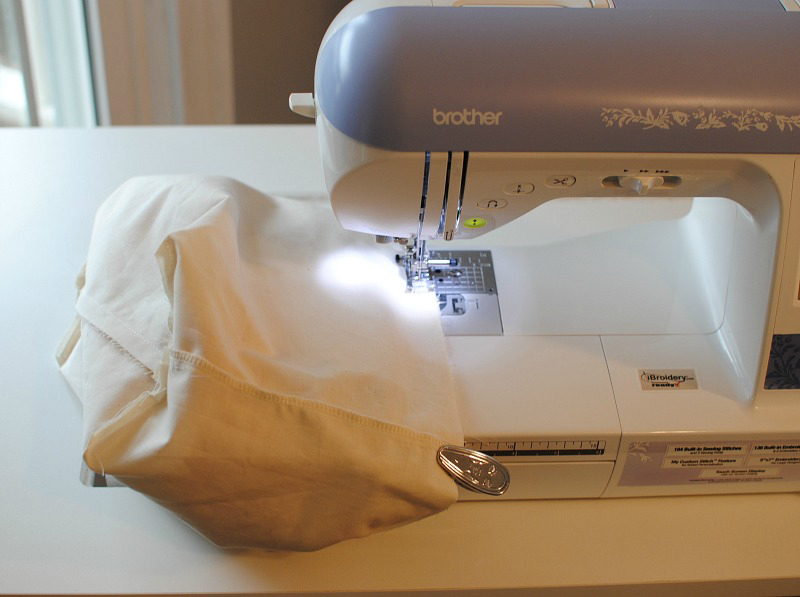
- Place the liner right sides together and sew but leave a 3" opening on one of the sides (about 4" up from the bottom).
- Place the exterior pieces right sides together and sew leaving just the top open.
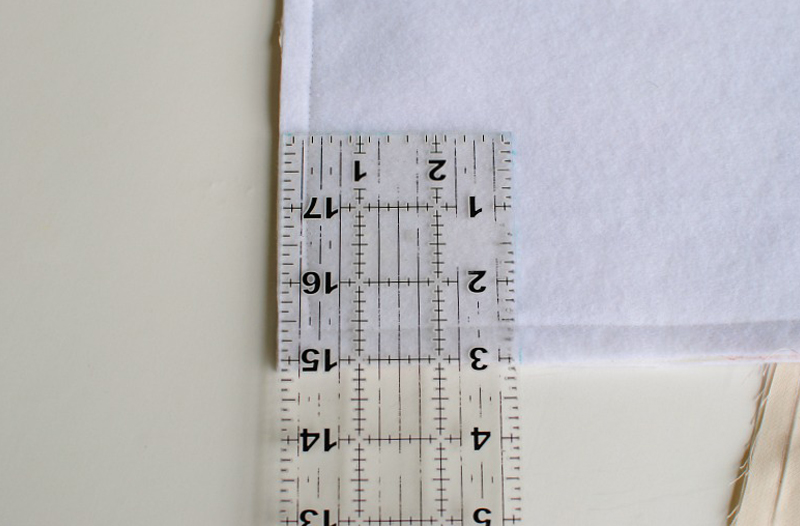
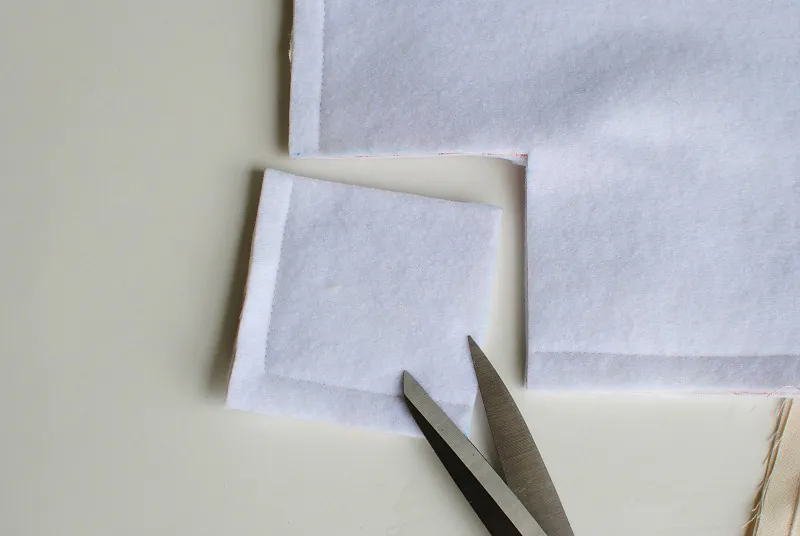
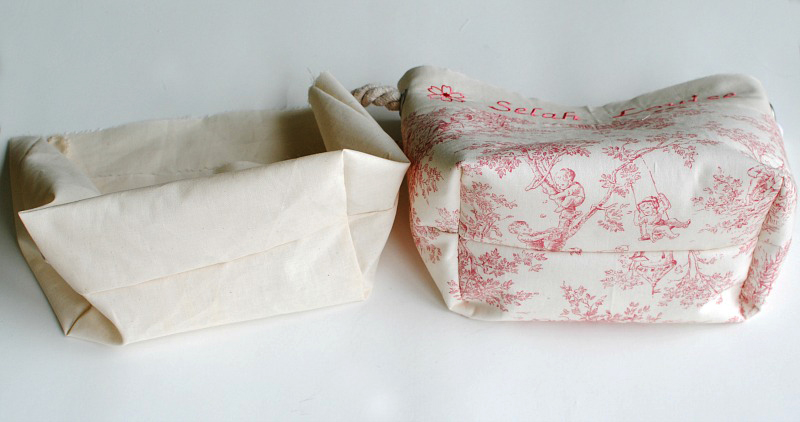
- Use a grid ruler and mark a 3" square off the bottom of each corner of both liner and exterior. (include the seam allowance).
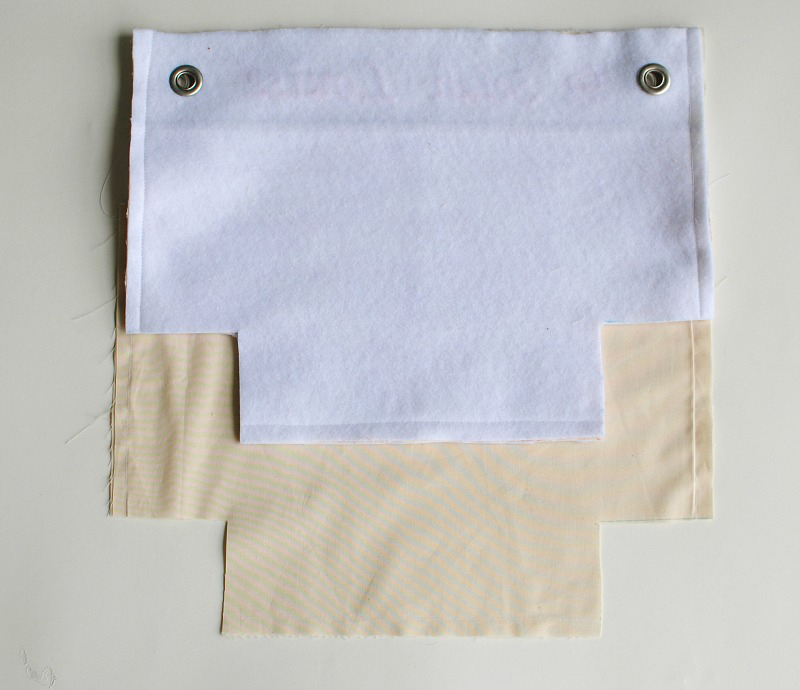
- Cut the squares.
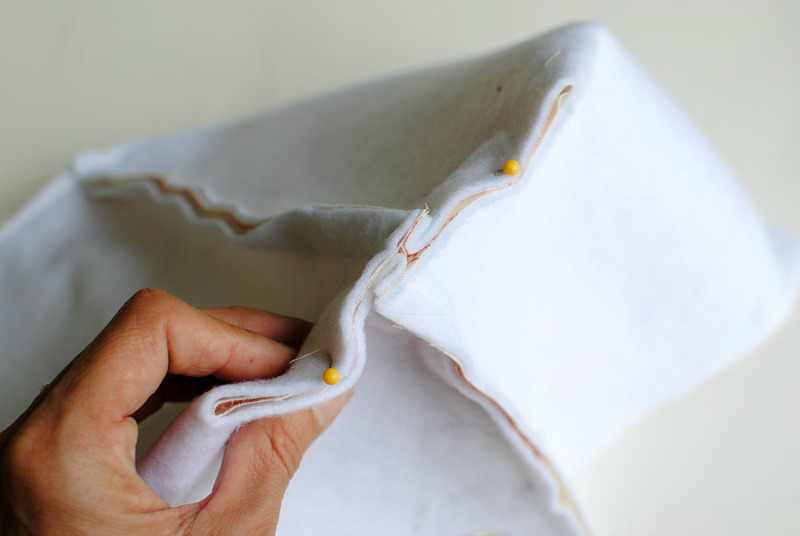
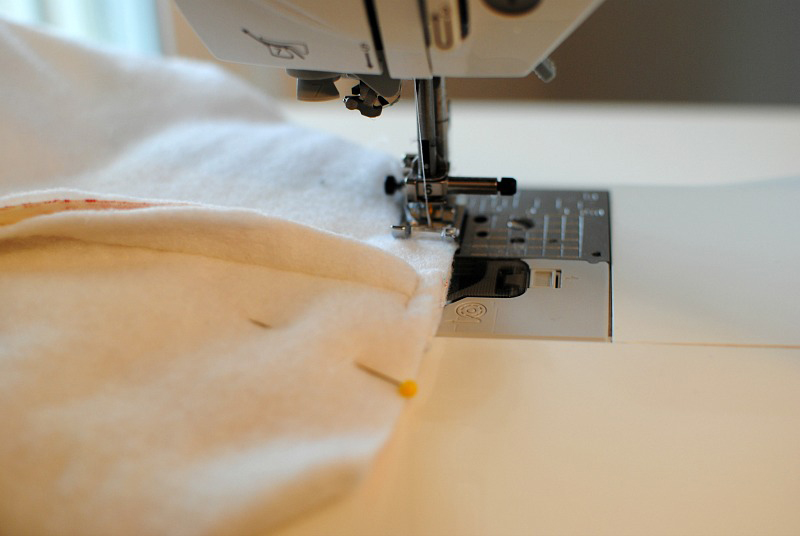
- Position so the seams meet together and pin into place. Nest the seam allowances so they're going in opposite directions. Sew a ¼" seams allowance.
- Repeat for all 4 corners.
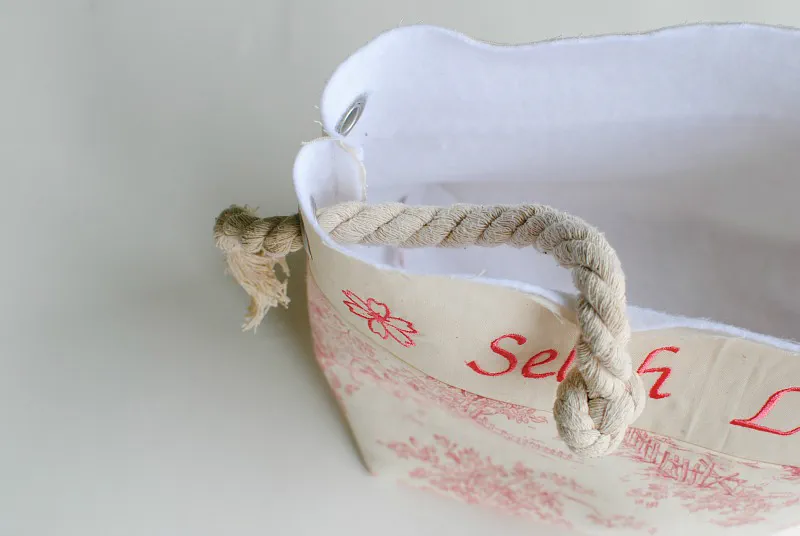
- Cut the rope so they measure 9" each. Knot one end of the rope and slide it through both eyelets. Knot again to secure. Repeat for the other side.
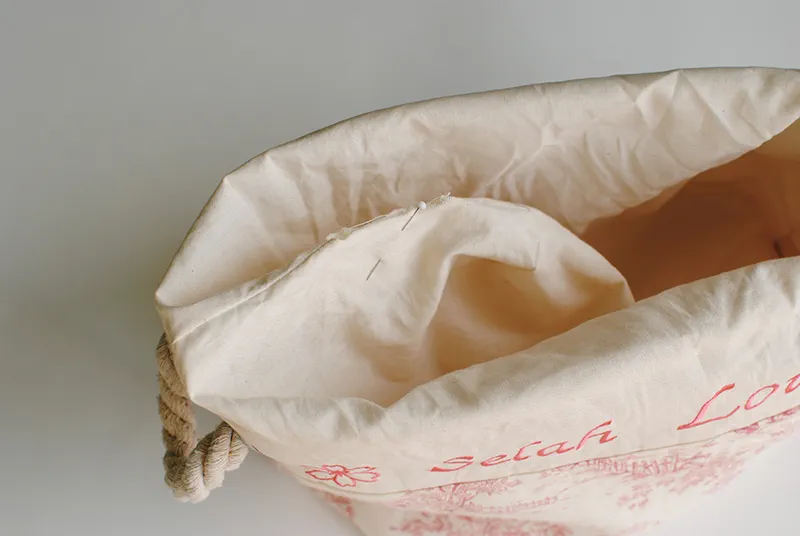
- Place the exterior into the liner so right sides are together. I used Greta Clips but you can pin as well. Make sure the seams are parallel with each other.
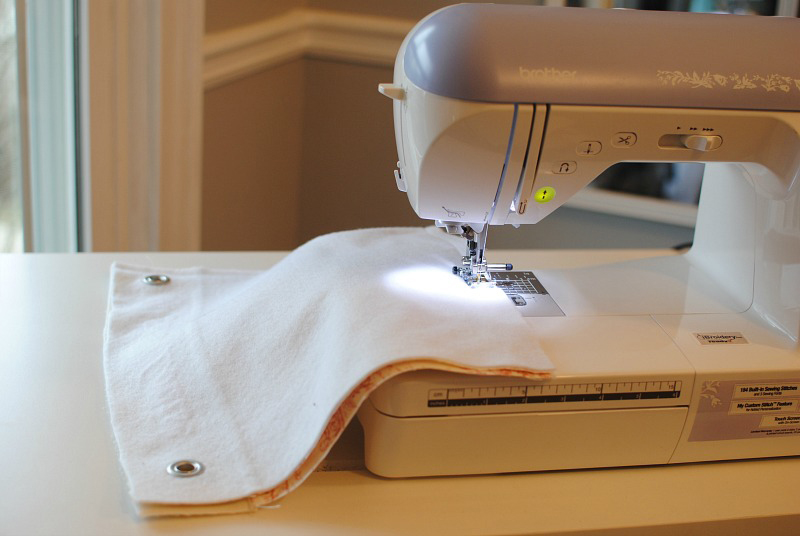
- Sew all the way around the edge.
- Pull the right side out through the 3" opening you left in the liner.
- Sew up the opening.
- Press the basket and edge stitch the top into place.
- I like to add a few more items to gift basket: a set of diapers, a swaddle blanket, and a set of personalized onesies. iBroidery.com has an array of designs you can add to a USB and embroider with the SE1800 Sewing and Embroidery Machine.
To embroidery the exterior trim:
Tip: Before embroidery make sure to press the fabric and then mark a cross at the mid point with a fabric marker. That way you know where to position the letters or design.
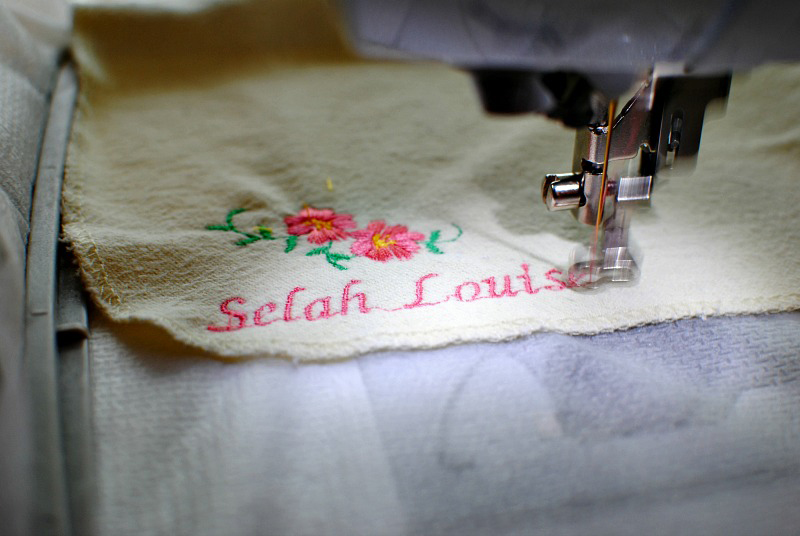
Tip: I like to do a sample before the final design, that way I can adjust sizing, position, etc. based off this. It's better to spend the extra time doing the sample then making mistakes in a final project.
Hooping:
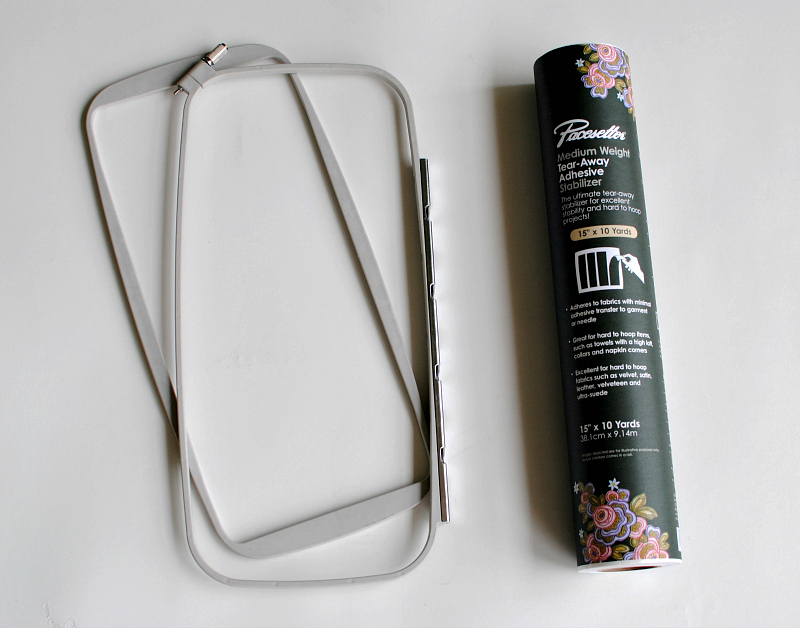
Tip: Hoopless embroidery is great for ribbon, trims, small areas (onesies, edges of blankets, etc.), and knit (so the hoop doesn't stretch the fabric).
Design:
Embroidery:
Sewing the Basket:
