DIY Zipper Pouch
-Brother Sews Blogger

When I taught sewing class, one of the first projects we made was a lined zipper pouch. They’re great beginner sewing projects and easy to make. These DIY zipper pouches are fun gifts and handy for storing small items. I use them for so many things! Try this simple DIY tutorial on how to sew a zipper pouch below.
Supplies:
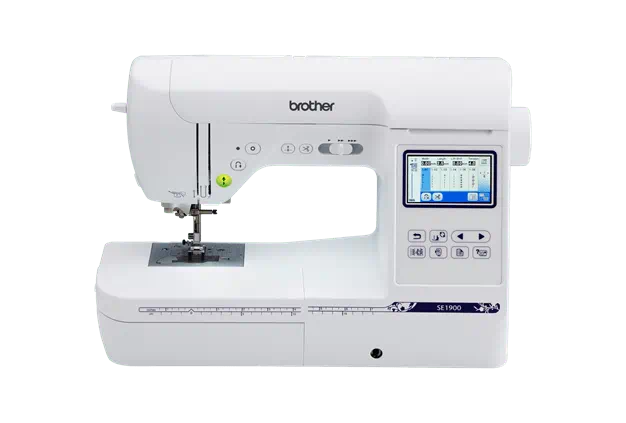
●Brother Sewing & Embroidery Combo Machine
●Zipper Foot
●1/3 yd. exterior fabric (cotton)
●1/3 yd. liner fabric (cotton)
●9” All Purpose Zipper
●Basic measuring and cutting supplies

Cutting:
-Main: 10.5 x 6.5”
-Liner: 10.5 x 6.5”
-Zipper: 9” zipper
Tip: You can use any length of zipper you have on hand. Just cut it to the length you want. You can also adjust the measurements above to the length of your zipper. The length of your pouch should be the length of your zipper including the tape ends. For example: I’m using a 9” zipper. With the tape ends the total measurement is 10.5”. That’s what I cut my fabric length to.
Step 1

Start by laying a main piece of fabric right side up on your table. Place the zipper along the top edge of the fabric with the right sides together. The tab ends of the zipper should align with the side edges of the fabric. Pull the zipper pull tab down 3” so you can sew the first section. You don’t want it to get caught in the seam allowance.
Step 2

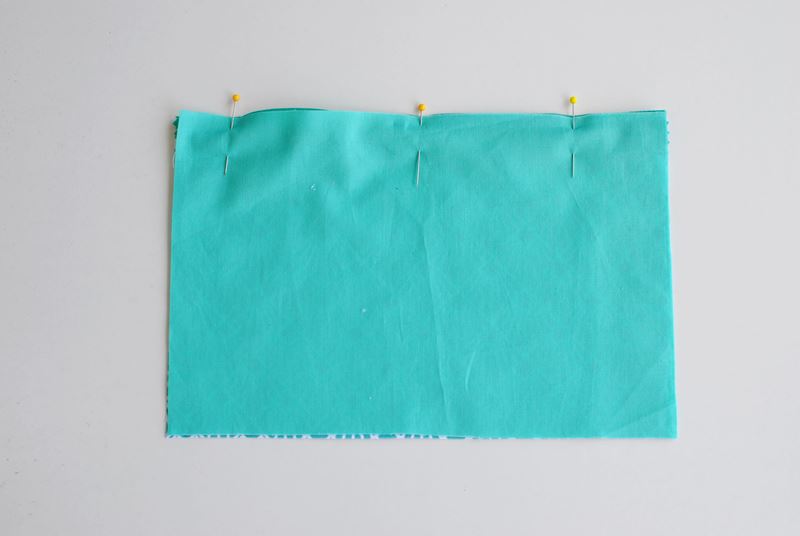
Place the right side down over the main piece. All top edges should be together. The zipper should be sandwiched between the 2 layers. Pin or clip into place.
Step 3

Use your zipper foot and begin to stitch from one end to the other. (Sew a ¼” seam allowance).
Step 4

Once you get to the pull tab, stop sewing, cut the thread, and pull the tab closed. Then continue to sew to the end.
Step 5

Sewing the other side of the zipper:
Place the unsewn liner down right side up.
Place the sewn piece down so liners are facing right sides together.
Step 6

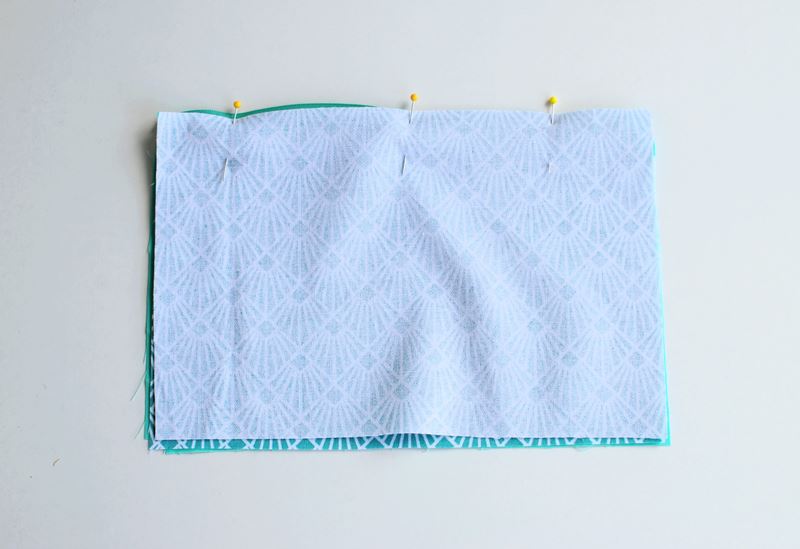
Now place the unsewn main piece over all pieces. Basically, sandwiching the just sewn piece in between the two layers of fabric.
Step 7

Clip or pin into place and repeat the sewing steps above to sew this side of the zipper.
Step 8

Sew the layers together repeating step three and step four.
Step 9

Open up all the layers and lay them flat. Give it a good press to pull the fabric away from the seam.
Step 10

Topstitch on both sides the layers together along the seam. I like to sew about 1/8” away from the seam with a 3.5 stitch length. This will keep the fabric down and away from the zipper when opening and closing and provide nice detail for your DIY zipper pouch.
Step 11

Open your zipper so it’s about midway down.
Take your main pieces and place the right sides together. Take the liner pieces and place the right sides together.
Step 12

Fold the zipper tape ends toward the lining fabric and clip. Do this for both sides.
Step 13

Pin or clip all the way around the pouch. Mark off or pin a 3” opening at the bottom of the liner as shown in the image (red line). This will be where we flip right sides out.
Step 14

Sew with a ½” seam allowance. Start at the bottom edge of the liner and sew all the way around. Make sure you leave the opening.
Step 15

Step 15b

Clip the corners and flip right sides out through the opening. Pull all the layers through. Now you will see why you need the zipper partly open.
Point all corners out (I use a wooden chopstick for this step).
Step 16
Liner opening:
Fold the seam allowance in and topstitch the liner opening closed. Tuck liner back inside.
Step 17

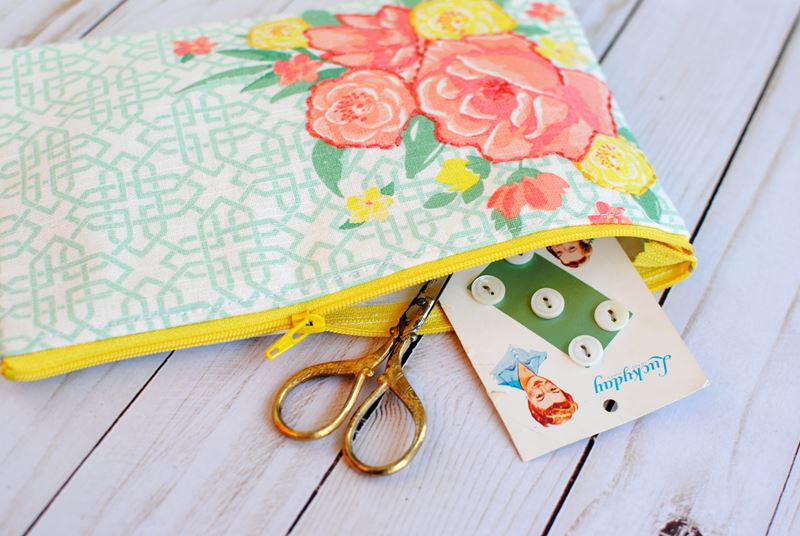
There you go! You now have a fun little DIY zipper pouch. Beginner sewers will love this simple project, while more experienced crafters can add fun accents and creative details.. Customize them with different zipper colors, prints, and materials for a handmade zipper pouch worth bragging about!


