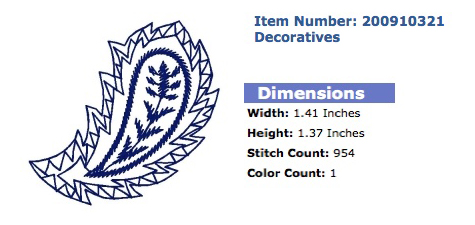
Embroidered Scarf with Bobbin Work Accents
This month Brother brings you a beautiful paisley patterned embroidery design. Use the design to add random, artistic motifs to a scarf made from warm wool. Accent the edge of the scarf with color-matched bobbin work stitchery for a high-end look found in the best boutiques. Follow along and see how easy it is to add decorative details that mimic hand embroidery with upside down bobbin work stitches.
Are you ready? Let's go sew!
Materials and Supplies:
- Brother Sewing and Embroidery Machine
with 4-inch by 4-inch hoop size. - Brother Polyester Embroidery Threads
- SA5810 Brother Pacesetter® Medium Weight Tear-Away Stabilizer
- Brother Free Design of the month
- Embroidery needle for embroidering
- Fabric for scarf: Purchase ¾ yard of wool or wool blend woven fabric and cut into two pieces of measuring 13-inches wide X 58-60-inches long. Please see idea section at the end of the instructions for more options
- Basic sewing notions including thread and a removable marker.
Note: You will embellish one scarf piece and reserve the other for lining.
Brother Free Design of the Month
Download Free Design Paisley_.pes
Design size: 3.26" High X 2.46" Wide, (82.8mm High X 62.4mm Wide)

Additional supplies for bobbin work stitching on scarf:
- Special Bobbin Case designed for Bobbin Work stitchery
Note: This grey bobbin case may be included with your machine, or available separately as part of the SABWRK1 Innov-ís Bobbin Work Kit.
See Figure #1. Be sure to read the included manual for detailed instructions on setting up your machine for bobbin work.
See Figure #1. Be sure to read the included manual for detailed instructions on setting up your machine for bobbin work.
 Figure #1
- Two skeins of Perle Cotton size 5 for Bobbin Work and two spools of embroidery thread to match Perle Cotton. See example shown below:
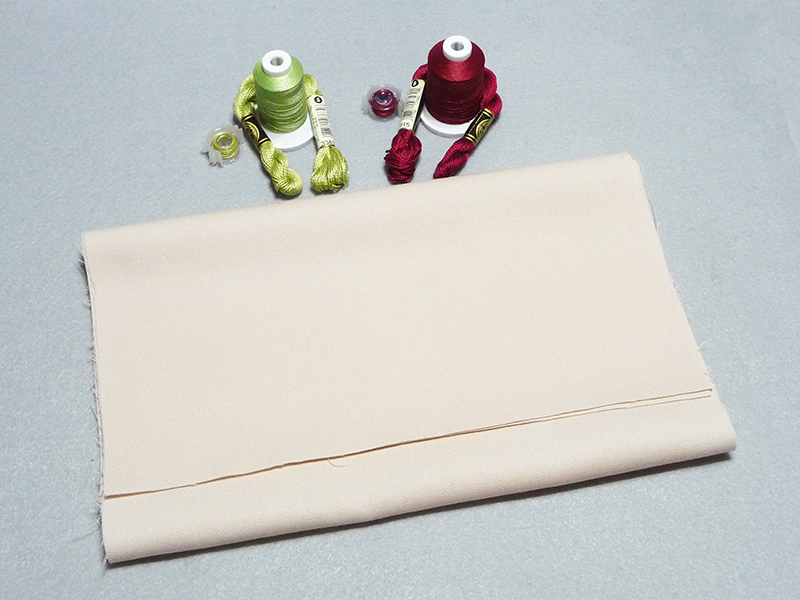
Note: This type of thread is twisted, non-divisible, mercerized 100% cotton thread. Not to be confused with embroidery floss, it is commonly found in the hand needlework section of fabric and craft stores. There are in fact many other options for stitching bobbin work but this type of thread is readily available, comes in a multitude of colors, and is easy to use.
Steps to Create Bobbin Work on Scarf
- Carefully unwind the Perle Cotton and then hand wind thread onto empty bobbins. Take care to wind slowly and evenly without stretching the thread. Stop before the bobbin is totally full. This project features five lines of bobbin work stitchery in two different colors. The featured decorative stitch used here will take approximately one half of a full bobbin for each line of stitching.
Tip for Winding the Bobbin: Slip the end of the thread through the hole in the top of the bobbin and temporarily tape to the top while winding. See Figure #2.
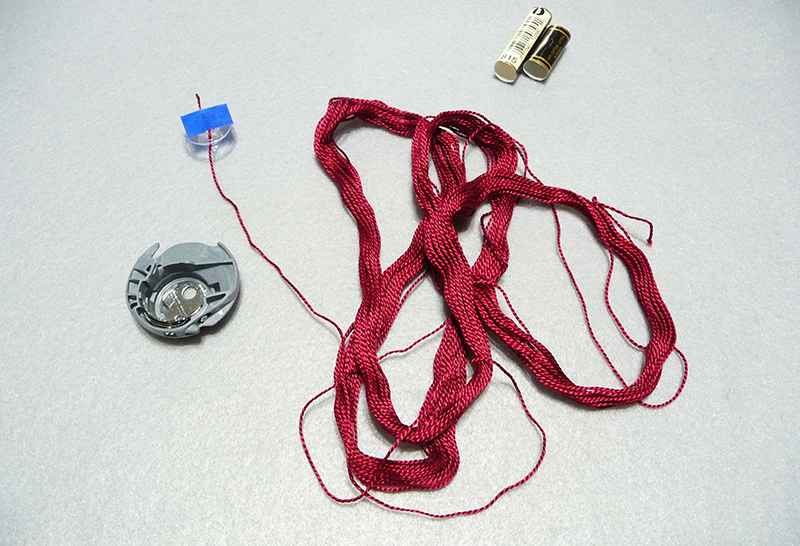 Figure #2
- When finished, trim the tail of thread very close to the top of the bobbin. Set up the machine for sewing with bobbin work following the instructions included with bobbin case.
- Place bobbin in machine, running it through the normal tension but stopping before you reach the cutter. Thread the top and then take one stitch to lower and raise needle. Once needle goes back up give needle thread a little tug to pull up the bobbin thread. Pinch it with your fingers or use tweezers to bring it to the top. Remember, for this project you are threading the bobbin as if you were doing normal sewing. This specially designed bobbin case allows for thicker thread to flow through and form a stitch. See Figure #3.
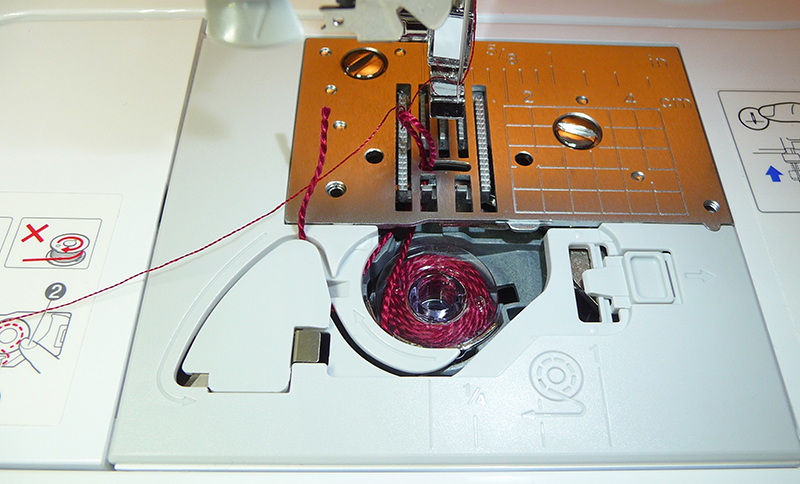 Figure #3
- Select the feather stitch and set width and length as shown in Figure #4.
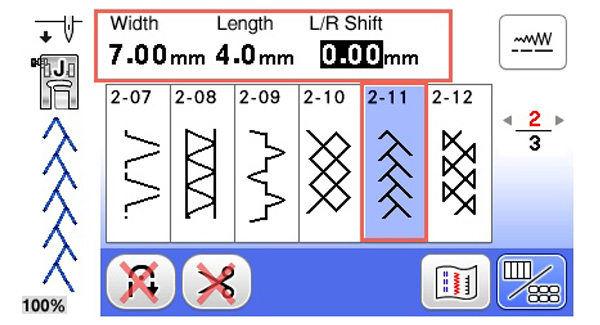 Figure #4[/caption]
- Increase upper tension to 6 and place "N" foot on machine.
- Cut a piece of tear-way 8-inches wide. Use fabric marker to mark a line 2-inches from one end, and then mark 4 more lines spaced 1-inch apart. Pin to end of scarf. See Figure #5.
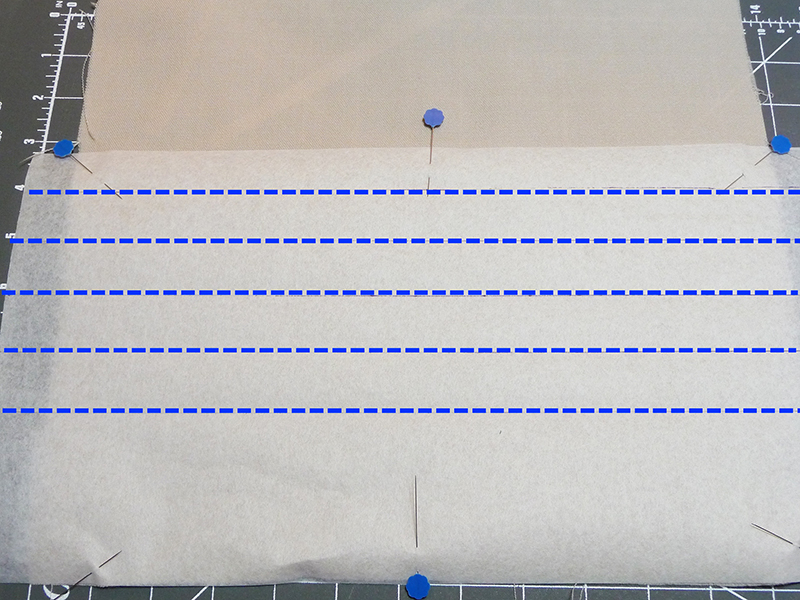 Figure #5[/caption]
Stop and Read! Additional Tips for Bobbin Work Stitchery:
[caption id="attachment_12538" align="aligncenter" width="800"]- Before beginning to stitch, and then sew alternating colors along each line. Repeat for opposite end. Repeat for opposite end. See stitching in Figure #6a and #6b.
- Bobbin work is stitched upside down, with wrong side of the fabric facing up so that the decorative thick thread shows on the right side. If you have never tried this technique you are in for a treat! Suitable for many different decorative stitches the finished look imitates hand embroidery. Avoid using tie off or auto cutting. Make sure these options are not activated on your machine before you begin stitching.
- For best results thread needle to match the decorative bobbin thread. You will need to tighten the upper tension to balance the stitch. I usually use a setting between 6-8. Upper tension adjustments will vary from machine to machine and stitch to stitch. It is best to test first using a scrap of firm fabric. In general, if your needle thread shows too much you will need to tighten the upper tension. If the perle cotton does not form a smooth and even stitch you will need to loosen the tension on the bobbin case with the tiny screwdriver. Loosen no more than a quarter turn at a time and re-test. There are many variations for this technique and more details can be found with the product instructions. For this project thread the perle cotton through the bobbin tension as you would for ordinary thread.
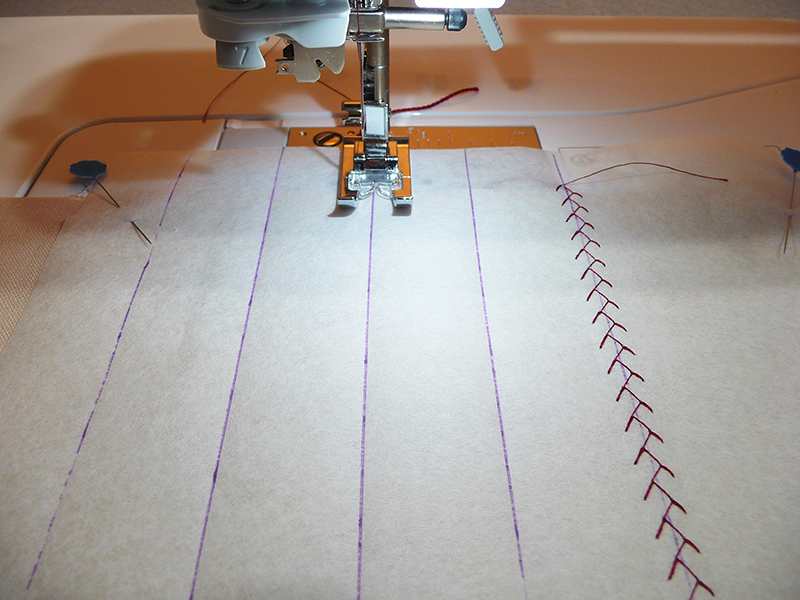 Figure #6a[/caption]
[caption id="attachment_12539" align="aligncenter" width="800"]
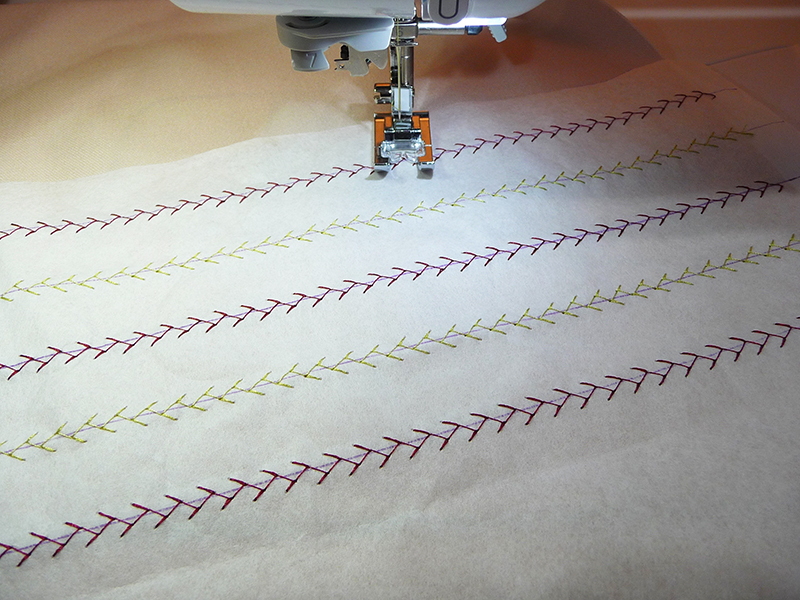 Figure #6b[/caption]
- Carefully remove stabilizer by putting pressure on the stitches with your thumb and tearing with the other hand. It is not necessary to get every little piece removed but try to get the majority of the stabilizer torn away.
Steps to Embroider and Finish Scarf
- Set up machine for embroidery. Cut one piece of stabilizer slightly larger than hoop for each motif you plan to stitch. This scarf features a random layout with six motifs scattered along scarf piece. See example of layout in Figure #7.
 Figure #7[/caption]
- Embroider each motif in a random pattern. See Figure #8a and #8b.
Note: To create designs that look as if they are randomly scattered on the scarf, take advantage of mirror image and rotation keys on your machine to vary the look.
[caption id="attachment_12541" align="aligncenter" width="800"]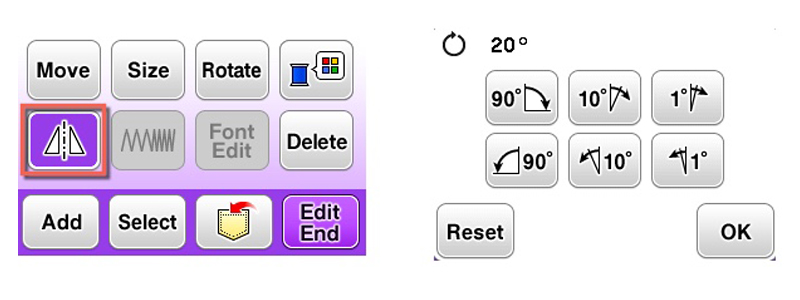 Figure #8a[/caption]
[caption id="attachment_12542" align="aligncenter" width="800"]
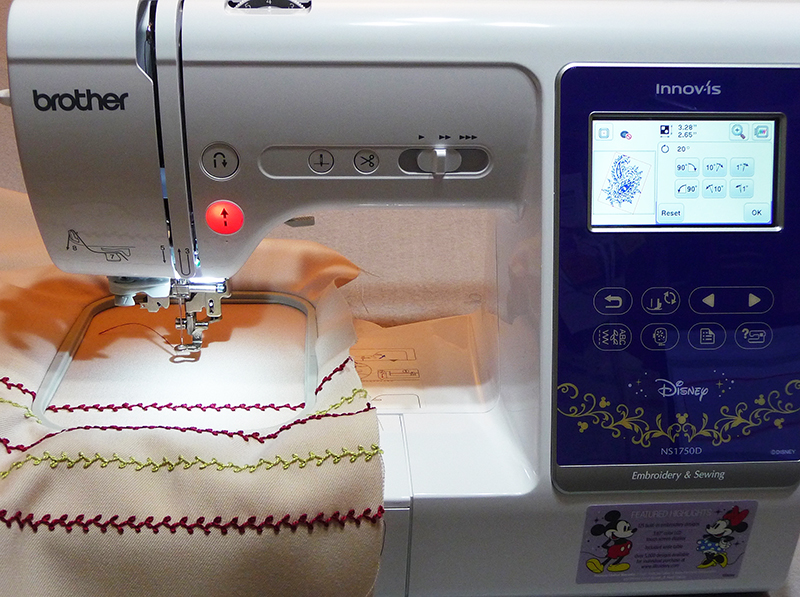 Figure #8b[/caption]
Tips for Embroidering: When working with woven fabrics it's a good idea to try to hoop on the straight grain of the fabric as much as possible. This is especially important when the stabilizer is layered with the fabric as opposed to being attached with a fusible or temporary bonding agent. Once fabric is hooped you can angle the design using rotation keys.
- Carefully tear away stabilizer beyond motifs when finished with embroidery. Press embellished scarf and trim any uneven edges if necessary.
- Set up machine for standard sewing with sewing thread to match fabric in needle and bobbin. Layer the plain scarf piece with the embellished one, having right sides together and raw edges even. Sew a ½-inch seam along each long edge, beginning and ending stitching a ¼-inch below bottom row of decorative stitches. Make sure to backstitch at each end.

- Pull threads below stitching line to fringe ends.
Note: It's helpful to pull threads off the fabric using a large needle or a stiletto. Turn right sides out and press carefully. You are finished! Enjoy!
Additional Ideas:
- This scarf is sized to use as a neck warmer. You can easily adjust the width to be narrower or wider. Skip the fringe if desired and sew all around the scarf leaving and opening along one side for turning. Close opening with small hand stitches to finish.
- If you would like a longer scarf to wear looped around your neck consider purchasing fabric to equal desired length and then cut strips along selvedge edge of fabric. For fabric that is 60 inches wide you can make two scarves, one for yourself and one for a gift!
- In place of bobbin work, consider adding trim or ordinary rows of decorative stitches.
- Try this same bobbin work technique on a variety of other garments and home décor items. Experiment with different stitches, remembering that the thick thread is more bulky than ordinary thread. Choose open style decorative stitches, adjusting both length and width to a higher number to allow for thicker thread.
- There are many more designs that coordinate with this free design, including a smaller design such as the one shown below. Feel free to add motifs to your scarf to fill-in more of the open spaces. Remember that some of the stabilizer remains in place with this design. Take care that you do not create too much stiffness by embroidering an excess amount of motifs. Visit the Decorative Elements design category
found on the Brother iBroidery.com design download site
for more coordinating designs.
