Embroidery on Knits
Embellishing with embroidery is a stylish way to design your own fabric or upcycle a garment. You may have seen my posts about adding embroidery to denim,
what about knits? Knit tops are my go to for a quick and easy sewing project. The knits I typically use for tops are usually rayon or polyester blends. These fabrics are thinner and tend to be somewhat fragile when it comes to the sewing machine needle piercing the fabric. Here are a few tips for embroidering on a rayon knit:
Supplies:
- Rayon knit fabric
- Knit top sewing pattern (I am using the Angela Wolf Ruched-t Pattern)
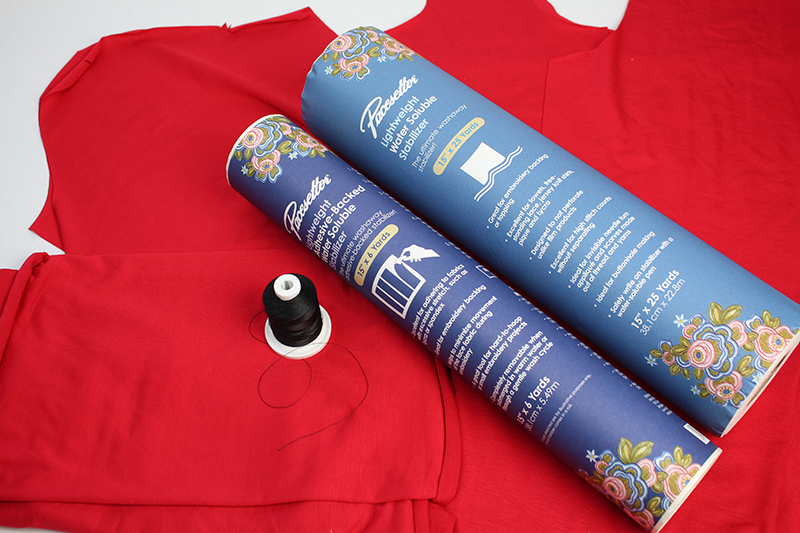
- Brother Embroidery Thread
- Pacesetter lightweight adhesive-backed water-soluble stabilizer
- Brother Entrepreneur PR1000e
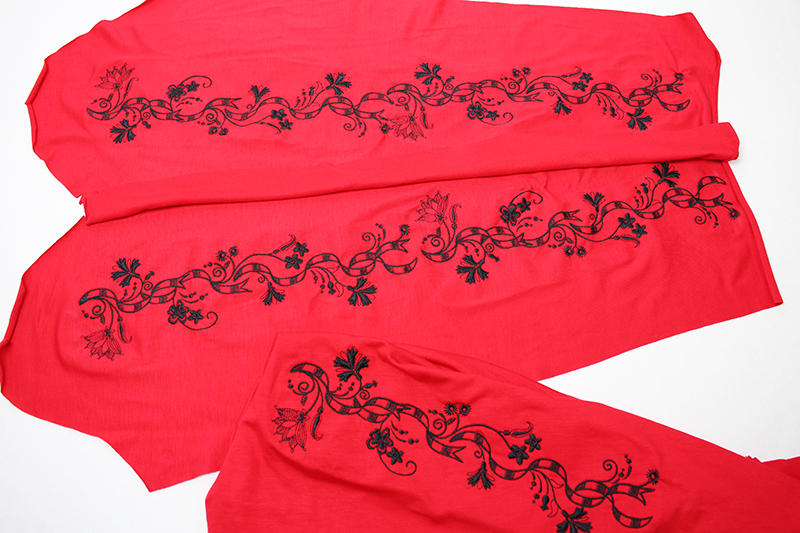
Decide on the location for the embroidery.
- For my top, I am going to add embroidery to the outside sleeves and the collar.
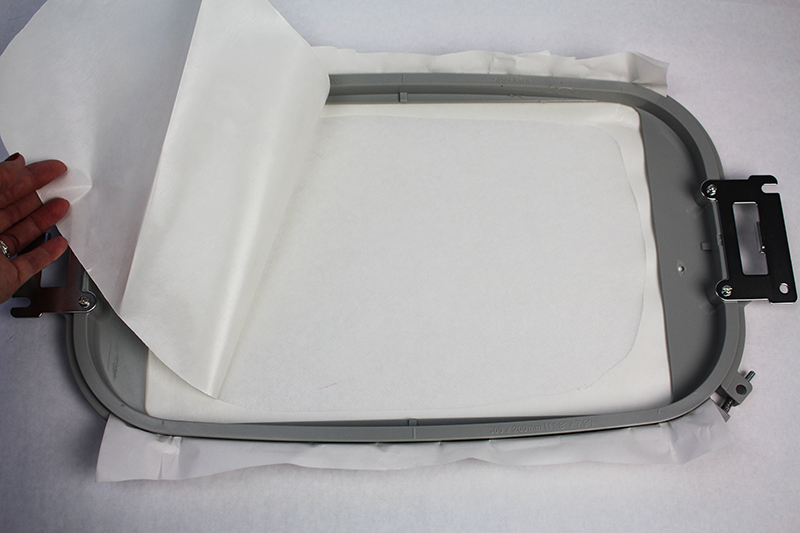
- Hoop the Pacesetter lightweight adhesive-backed water-soluble stabilizer with the paper side up. Score the paper and remove the paper from the center of the hoop.
- The embroidery design I’ve chosen is built into the Brother Entrepreneur 10 needle machine
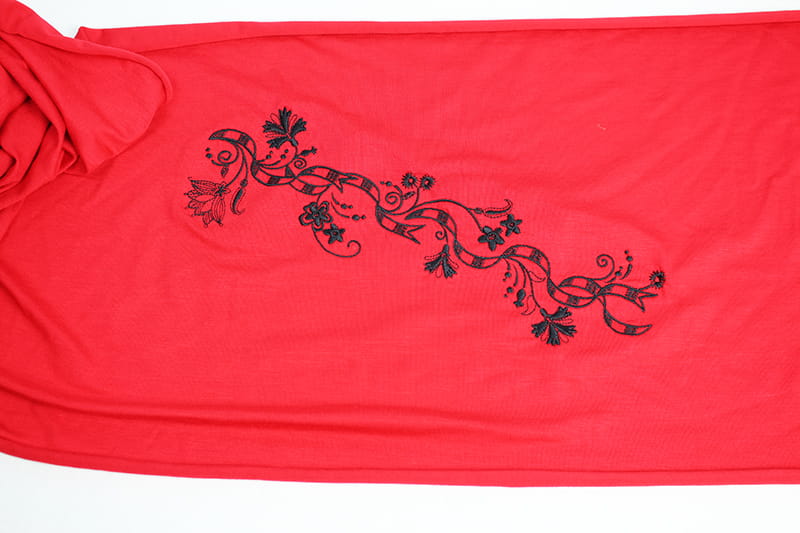
and I can fit two designs on each sleeve. Starting with the top of the sleeve, fold the sleeve in half and line up the center of the sleeve with the center markings on the embroidery hoop.
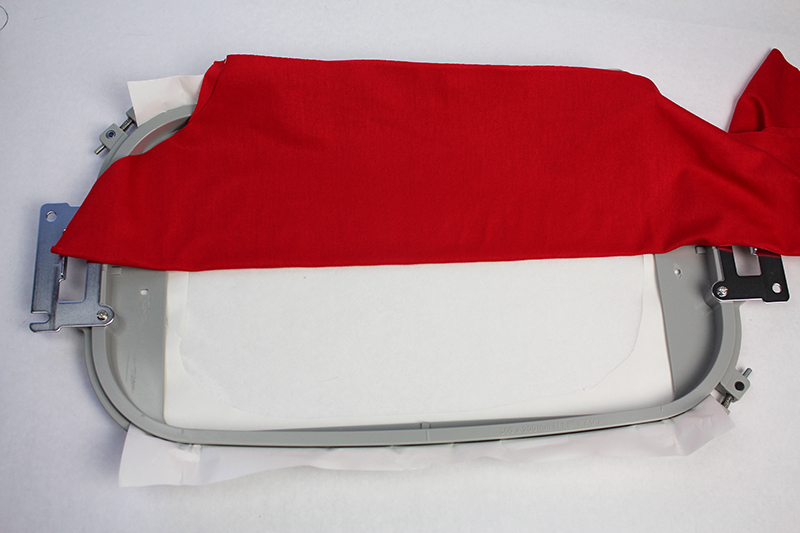
- Lay the sleeve flat on the sticky back stabilizer, being very careful not to stretch the knit. Check the fabric for wrinkles or puckers. (Double check that the right side of the fabric is facing up).

- Choose an embroidery design that is not too dense, you don’t want the needle to puncture the fabric too many times in one place or you’ll end up with holes.
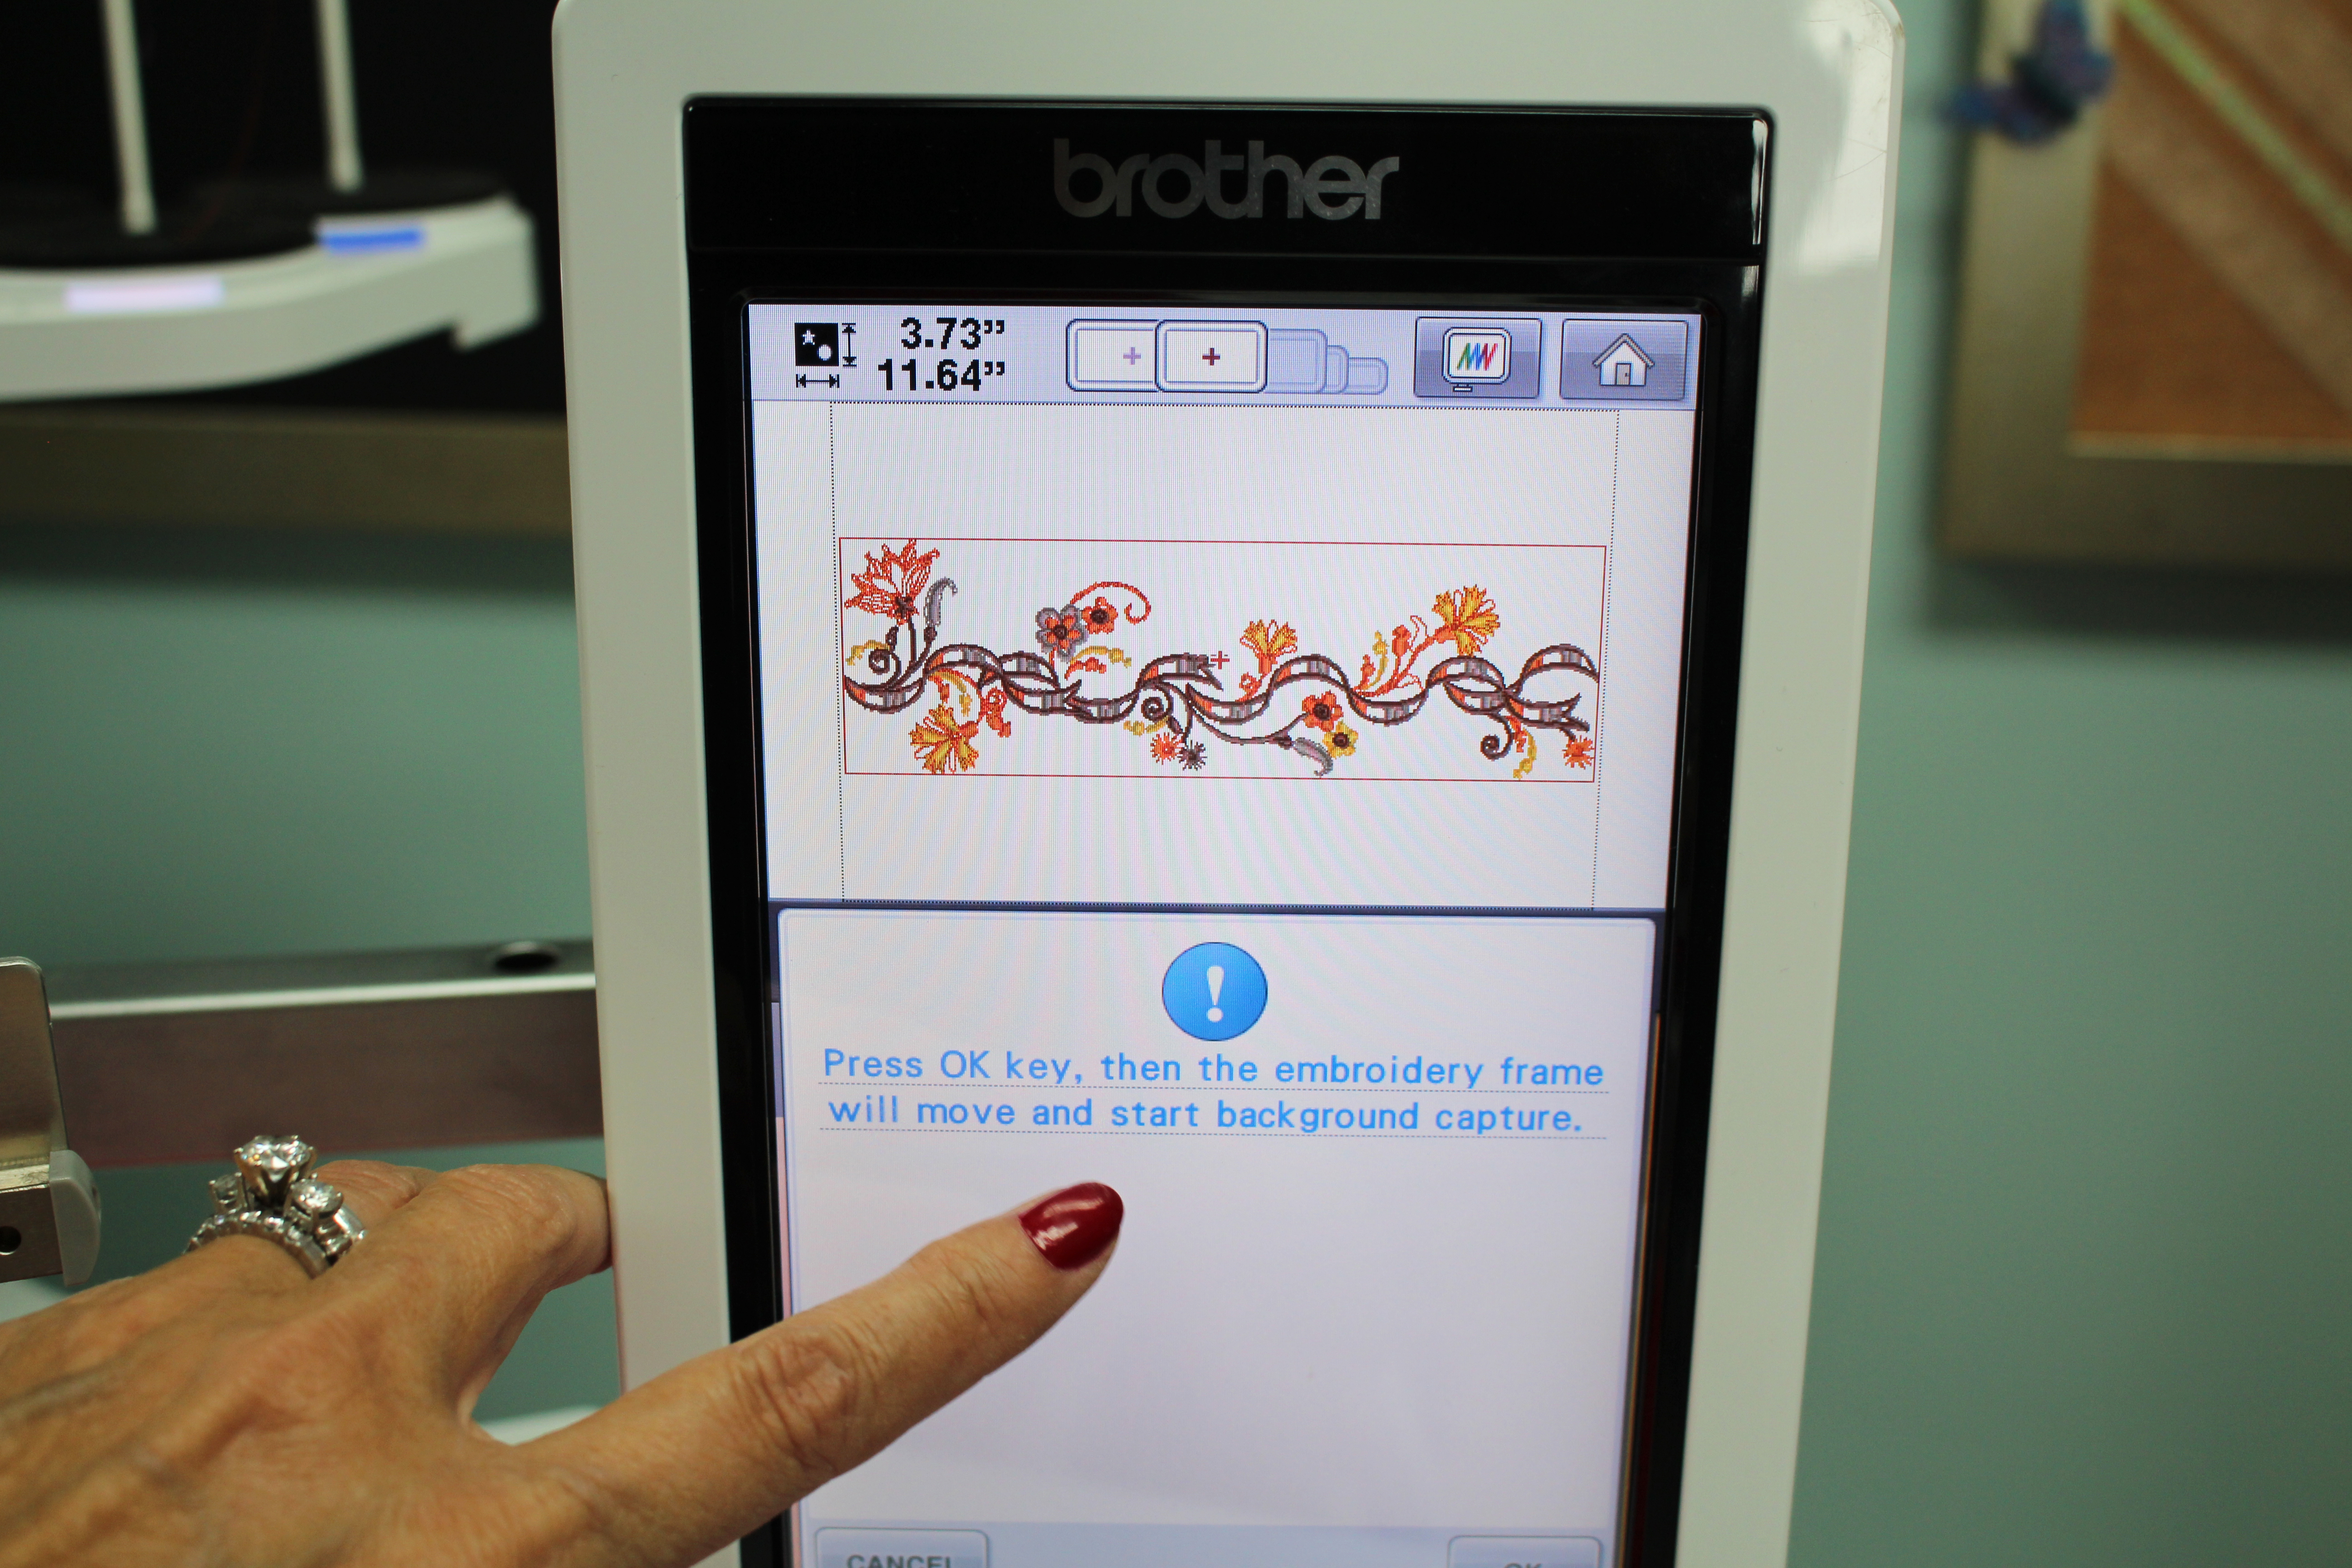
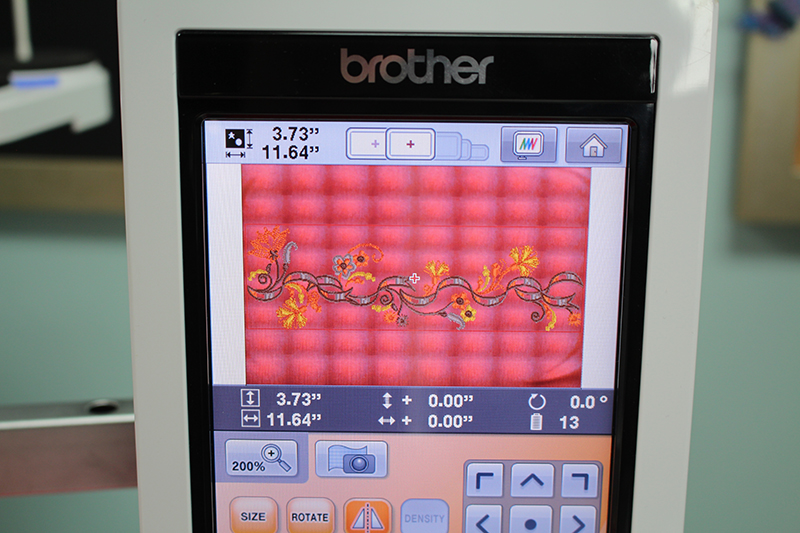
- If you have marked the center of your sleeve or you have a print on your fabric, you might want to scan in the background in order to place your design where you want it.
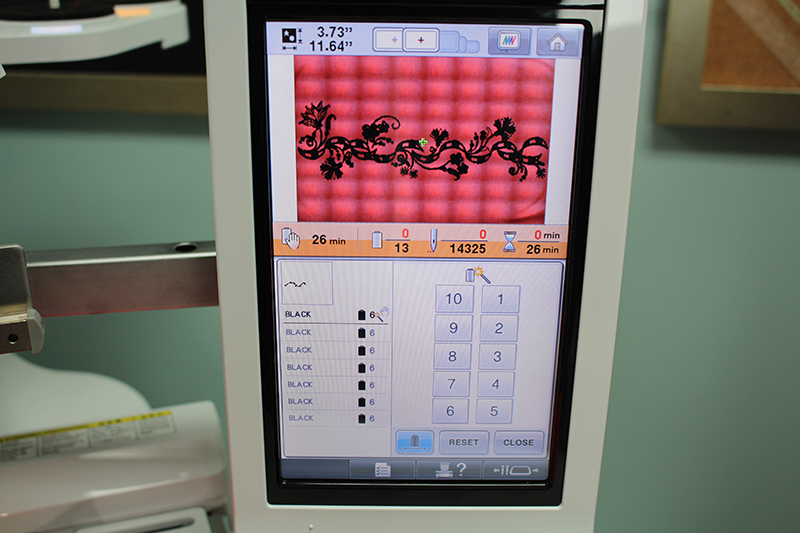
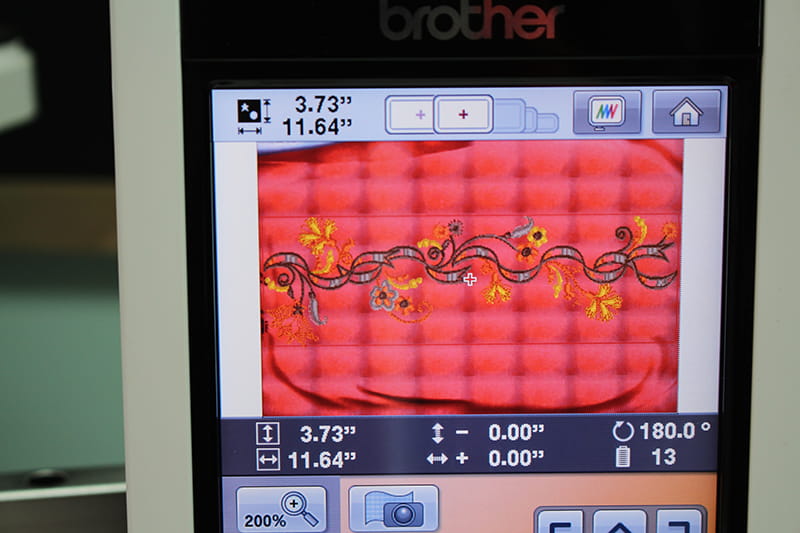
Changing the Colors to One
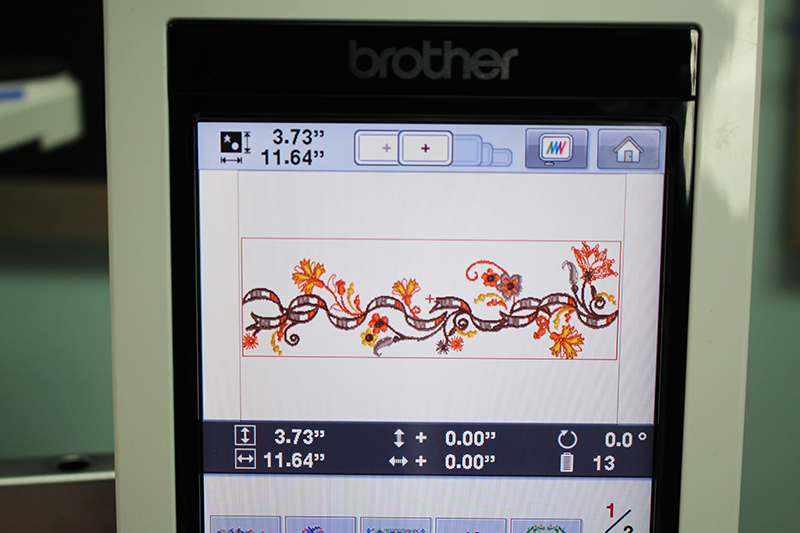
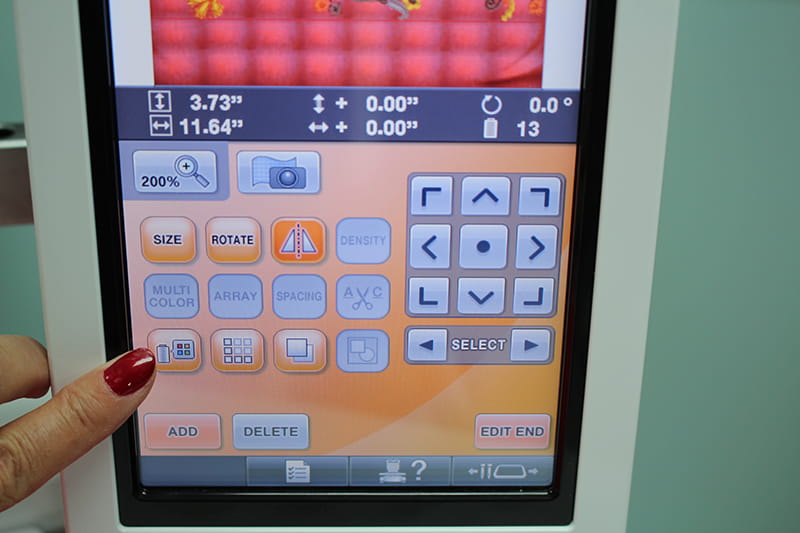
- Click on the color icon.
- I can see this design has 13 color changes and I’m not so sure the fall colors really go with my bright red fabric. I’m going to embroider this design all in one color.
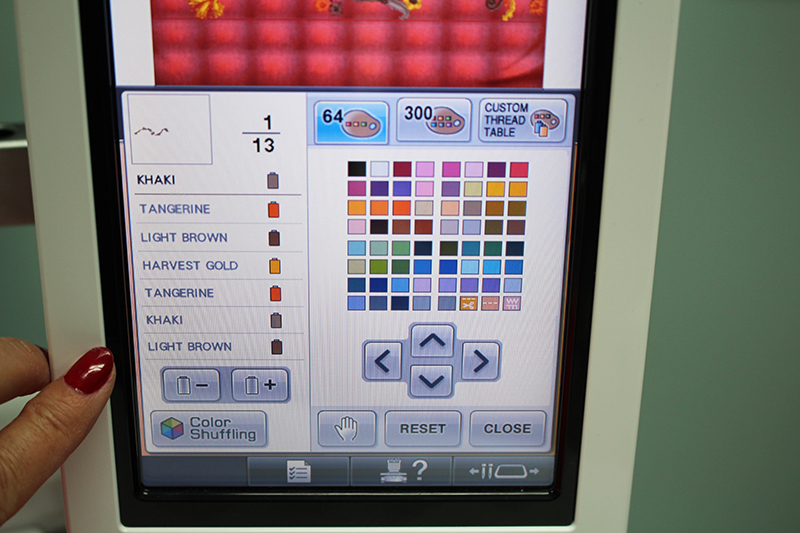
- Instead of changing each color manually, here’s a quick way to change any embroidery design to a solid color. Right before you embroider you will be taken to a screen that looks like this, click on the icon as shown.
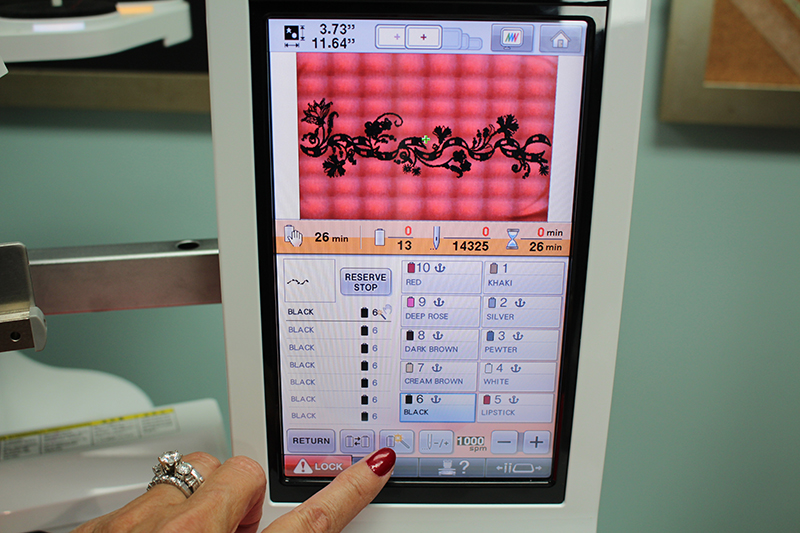
- This will take you to a screen where you have a choice to change each color to coordinate with the spools of thread in your machine or click on the icon my finger is pointing to and this will change all the colors the same.
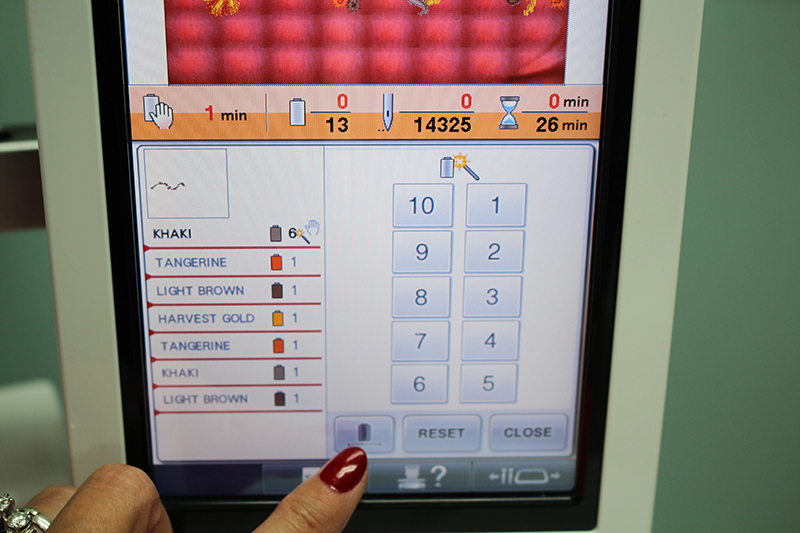
- I changed all the colors to spool number 6, which is threaded with black embroidery thread.
Embroider
- Embroider the first design. When the first design is finished, remove the fabric and stabilizer from the embroidery hoop and cut away any excess stabilizer.
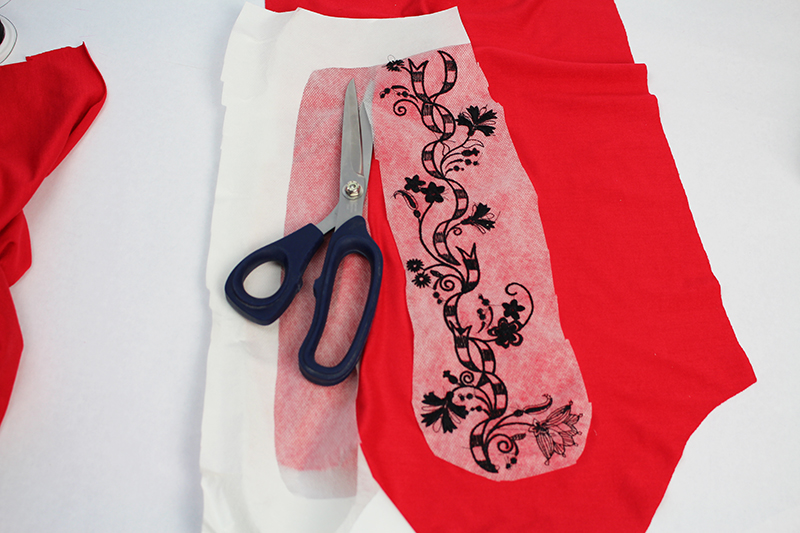
- Follow the previous steps to hoop the stabilizer and lineup the bottom half of your sleeve. Scan in the fabric in order to help place the design below the first embroidery.
- Continue to embroider all of the pieces you are embellishing. Here I have both sleeves and collar.
- Trim away all the excess stabilizer.
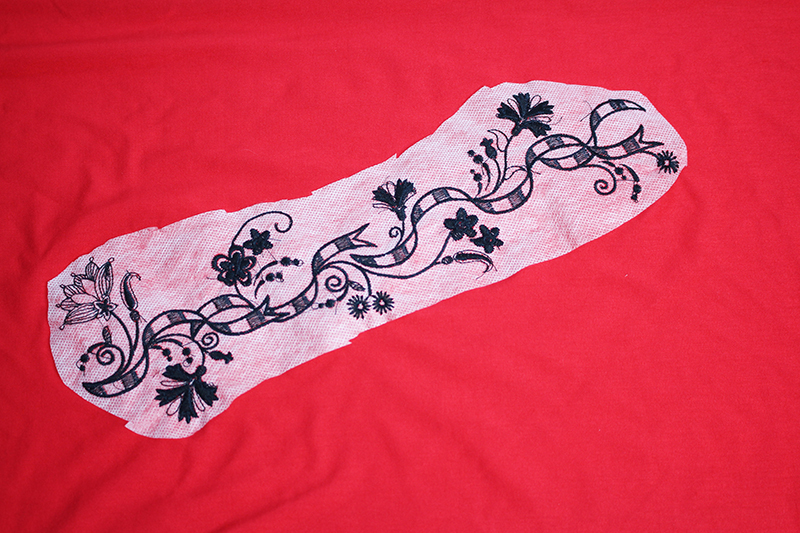
- Go to the sink and rinse the back of the stabilizer. This takes a few minutes, but you will see all of the stabilizer disappear, thus the term “water soluble” 😊

Related Projects
Stay Connected
* Required fields