Felt Pencil Holder
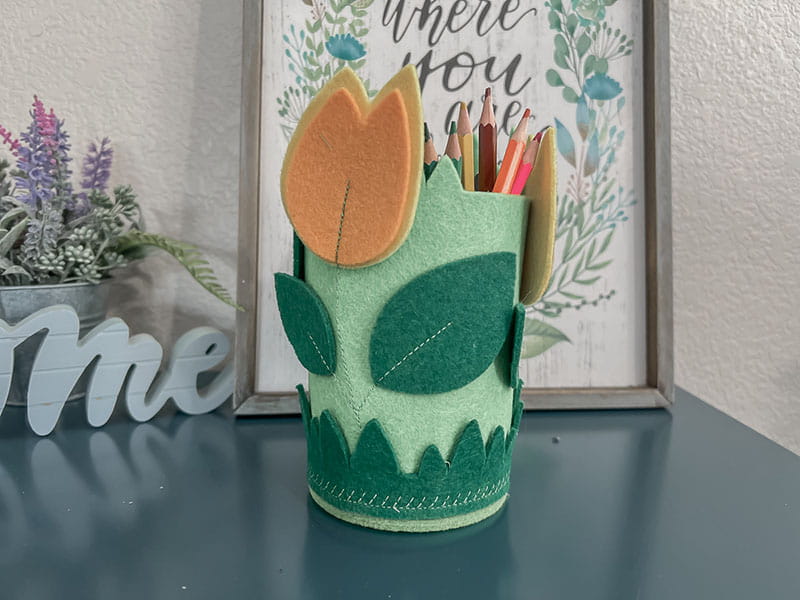
Create a gorgeous felt pencil holder jar. Use this free cut file and your sewing machine to create a beautiful pencil jar for home or school.
Supplies and Tools:
- ScanNCut (I used SDX85S)
- Fabric mat or a High Tack Adhesive Fabric Support Sheet for standard mat
- Sewing Machine (I used the SE2000)
- Free cut file from Lifesewsavory.com (SVG-PNG-JPG-PDF files)
- Download and unzip file to use
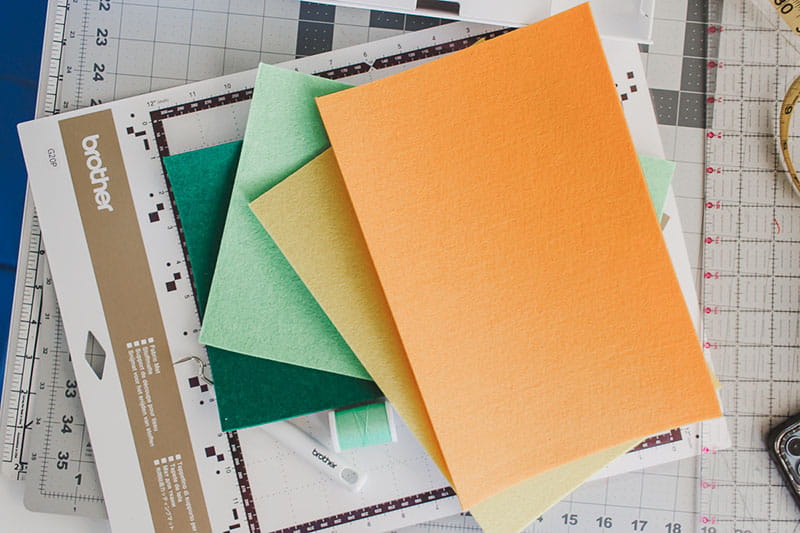
- Thick felt (at least 2-3mm thick) and 8x12” sheets or larger
- Green Thread for sewing
- Hot glue gun
Directions:
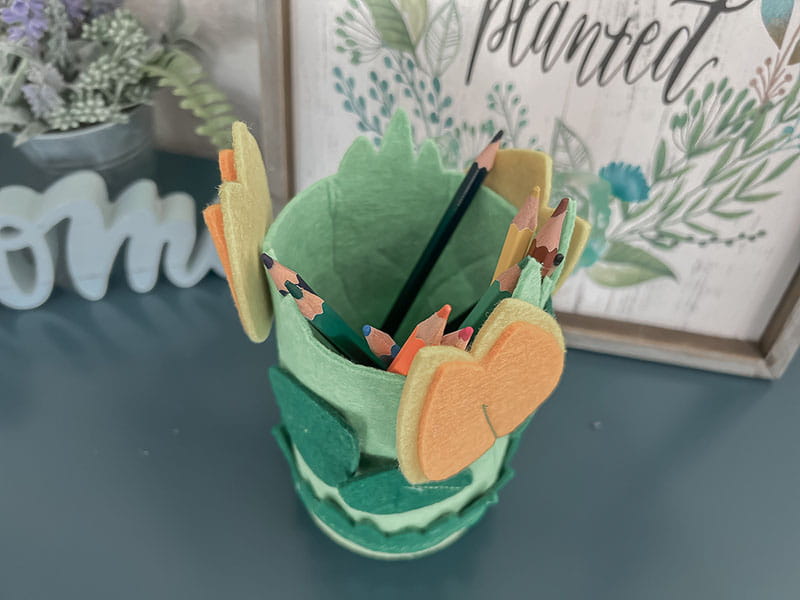
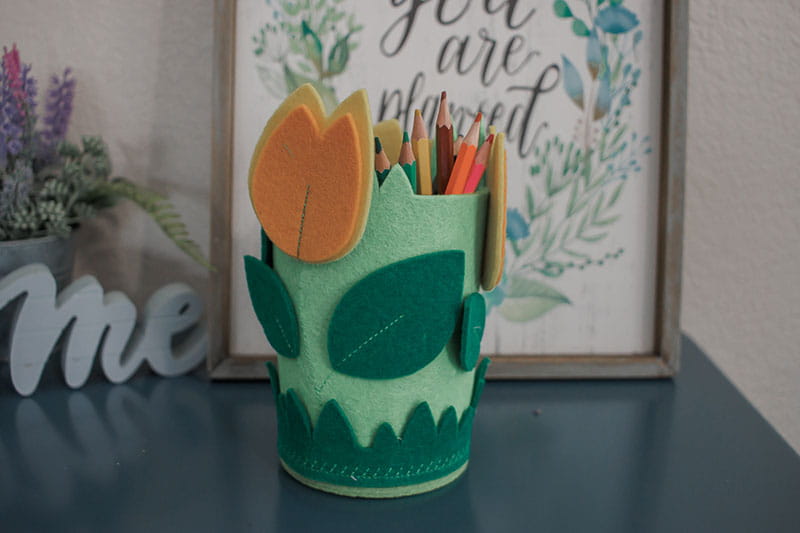
How cute is this pencil jar? My daughter has already claimed this one, but I have plans to make more for her teachers. It turned out so cute and the cut file and my ScanNCut made the whole thing so easy! Let’s walk through making this felt pencil holder jar so you can create this project too.
- Download the free file from my site and then unzip the file. Find the file format you want to use. I used the svg files for the ScanNCut. Import the files to CanvasWorkspace to use. File 1 is a good place to start. Open in CanvasWorkspace and hide the layer with my logo (it won’t cut anyway, but I like to hide it). If you want a shorter pencil jar, move the straight edge of the bottom up an inch or so.
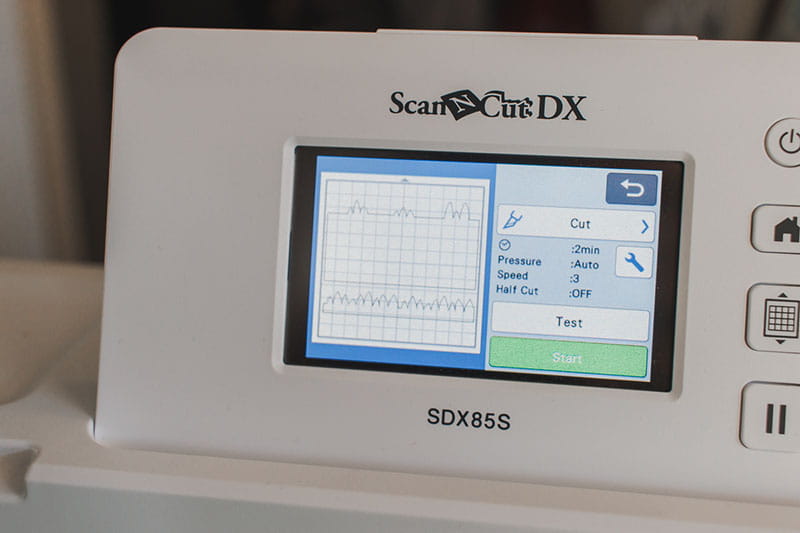
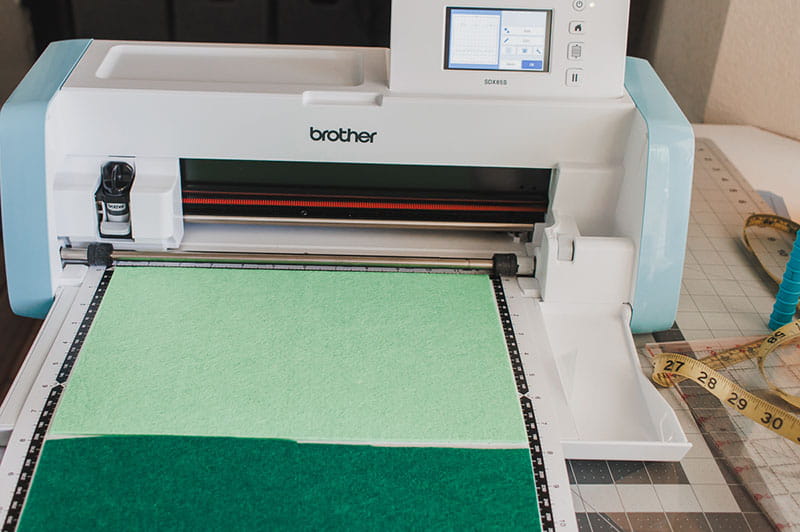
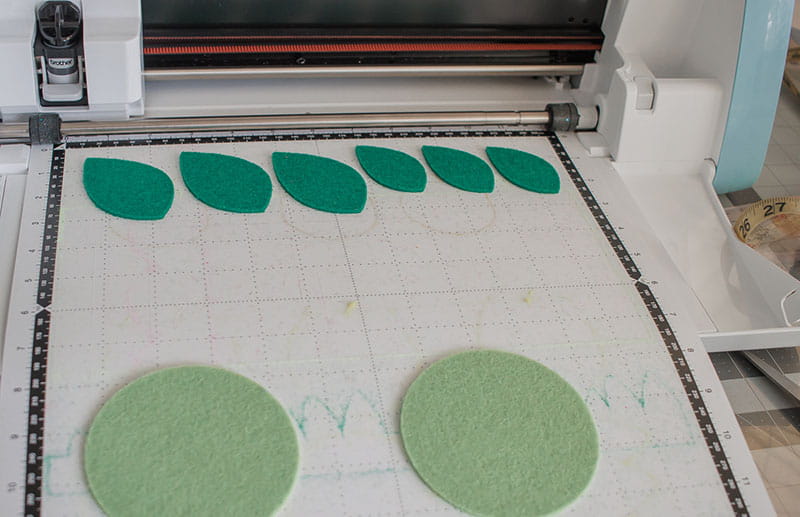
- Send this file to your ScanNCut machine (I LOVE the WIFI function!) I was able to cut both of these in one cut. Arrange the felt to cut the two pieces in two colors at once. I use the grid lines to help me and you can always use the scan feature on the machine to double check placement.
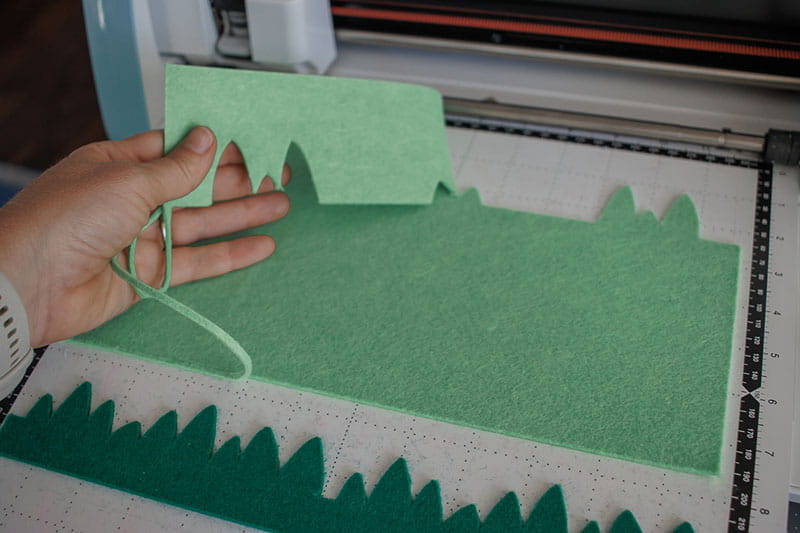
- Cut the two green parts of the pencil holder.
- The auto blade should do a great job with cutting, and it may go over the cut lines several times before finishing. You should be able to easily peel the extra felt.
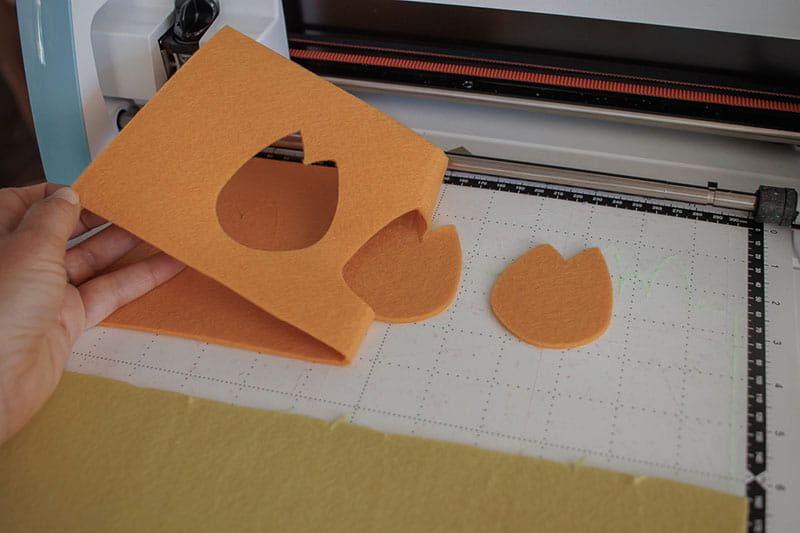
- Now open the 2nd SVG on CanvasWorkspace. Again, you can hide the logo if desired and manipulate the leaves and flowers as you want. I copied and pasted the flowers and leaves to cut three of each size. I also cut two of the bottom round pieces for a more stable bottom.
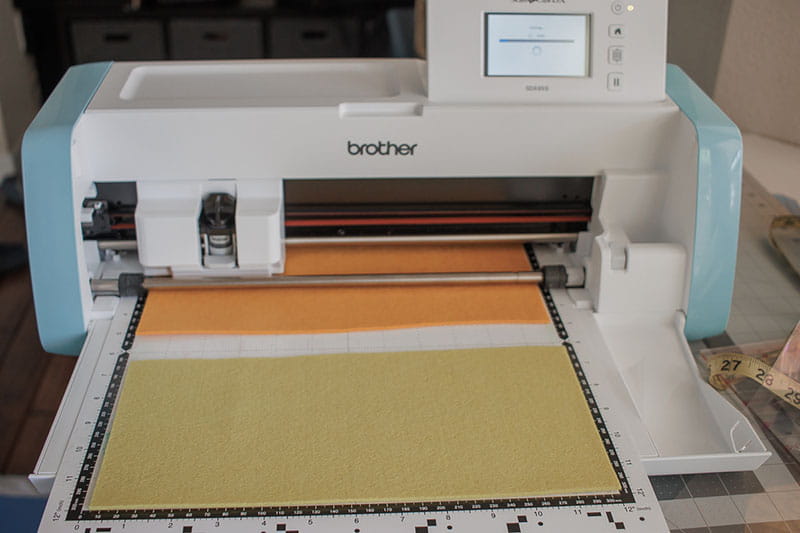
- Arrange and cut each shape using the desired color felt. It took me two more mats to cut all the pieces. I arranged and sent the flowers to the machine, then I arranged and sent the leaves.
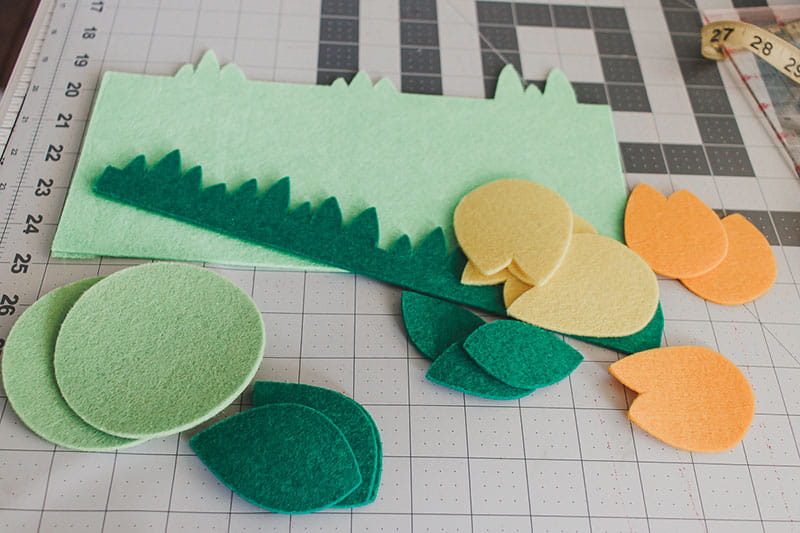
- Here is what you should have when all the pieces are cut (if you want to replicate my pencil holder).
- One main piece- green
- One grass piece - green
- Two bottom pieces - green
- Six flower pieces (3 large and 3 smaller) - Orange and Yellow
- Six leaves (3 large and 3 smaller) - green
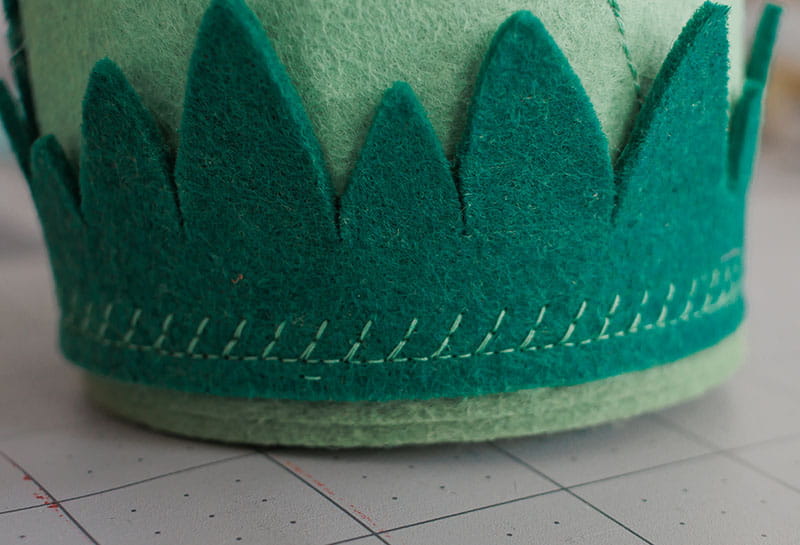
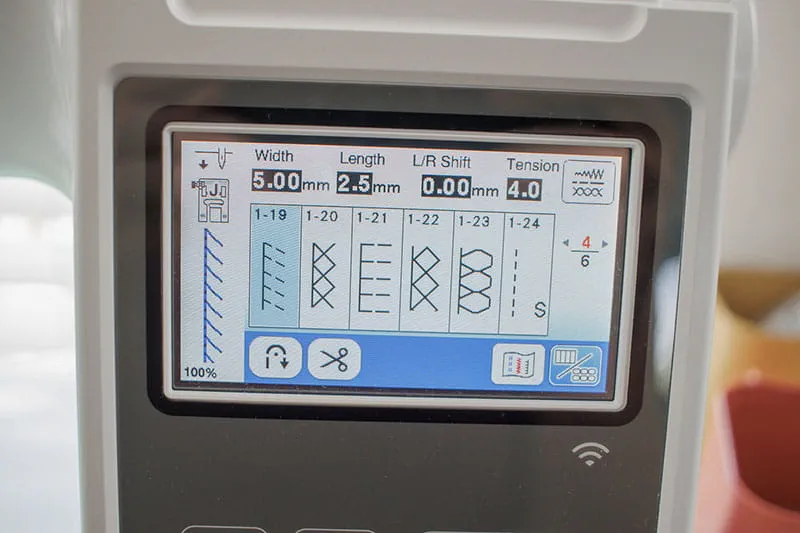
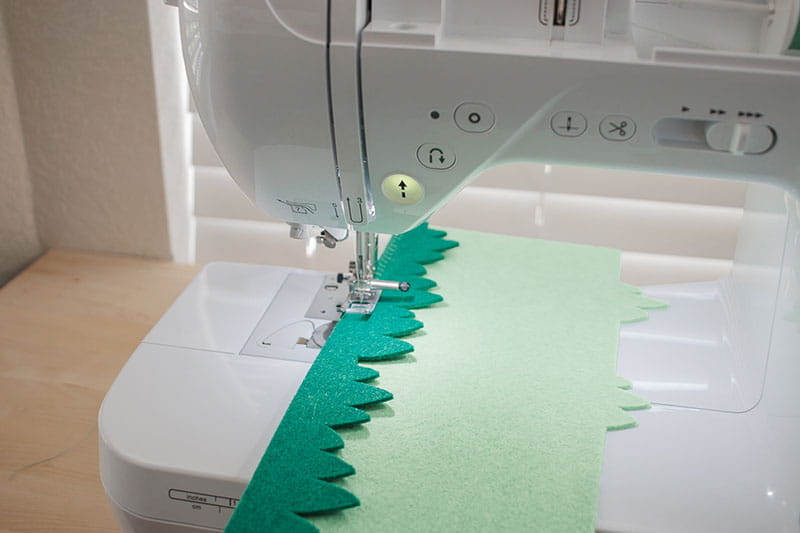
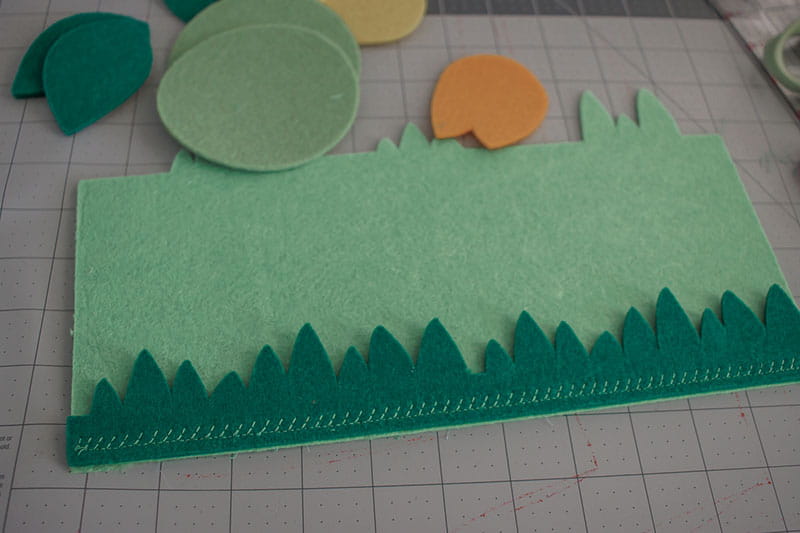
- The first sewing step is to line up the grass piece with the bottom edge of the main piece. I used a decorative stitch to sew in place, but you can use any stitches.
- After the grass is secured it’s time to add the flowers and leaves. I will show my layout, but this can really be arranged any way you would like.
-
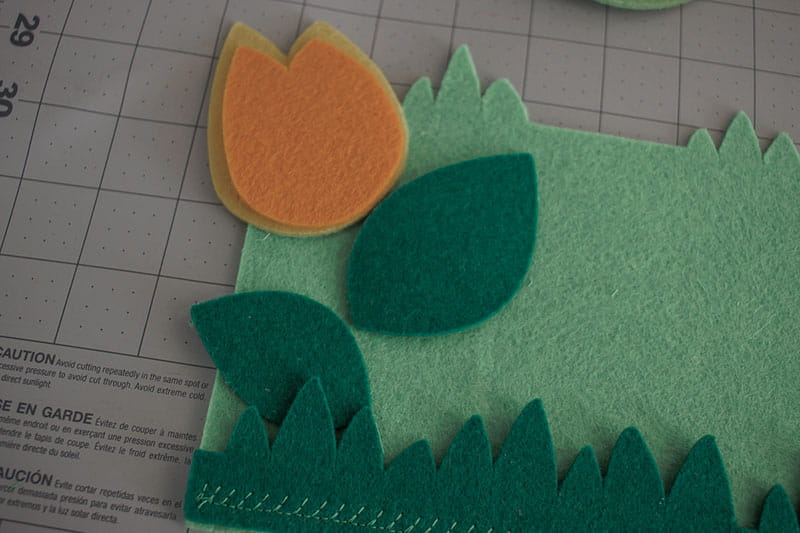
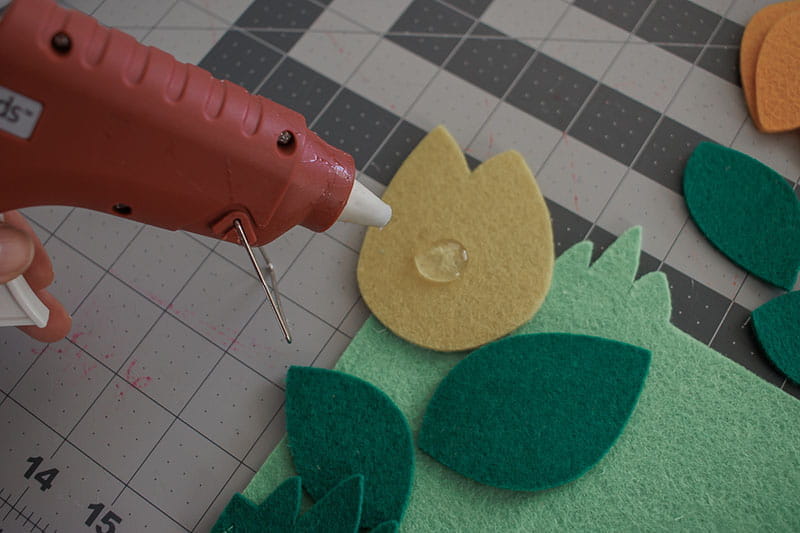
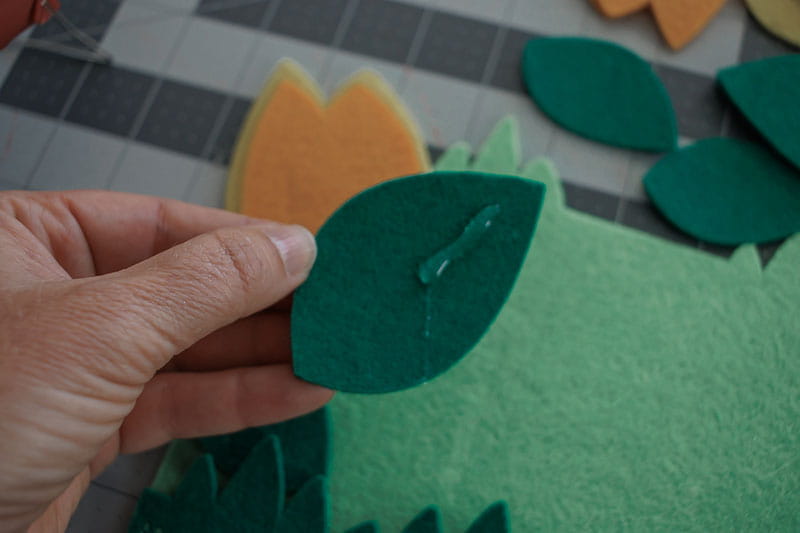
Take one of each flower and one of each leaf and place on the left edge like this. You can sew just like this OR use a bit of glue to secure before sewing. Be careful not to glue where you plan to sew as sewing through hot glue is not advised.
-
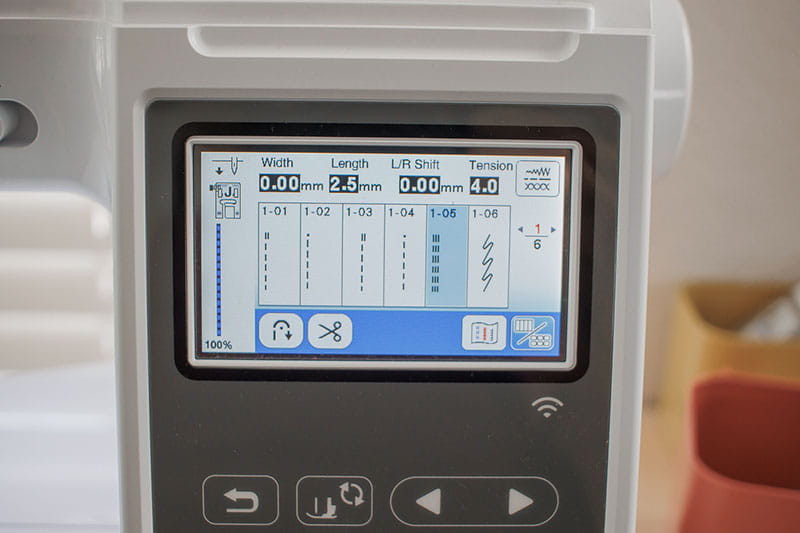
With a triple stitch sew from the middle of the flower down to just under the grass line. Then sew from the middle of each leaf to connect to the stem. Feel free to be creative with the stems and lines you are sewing here.
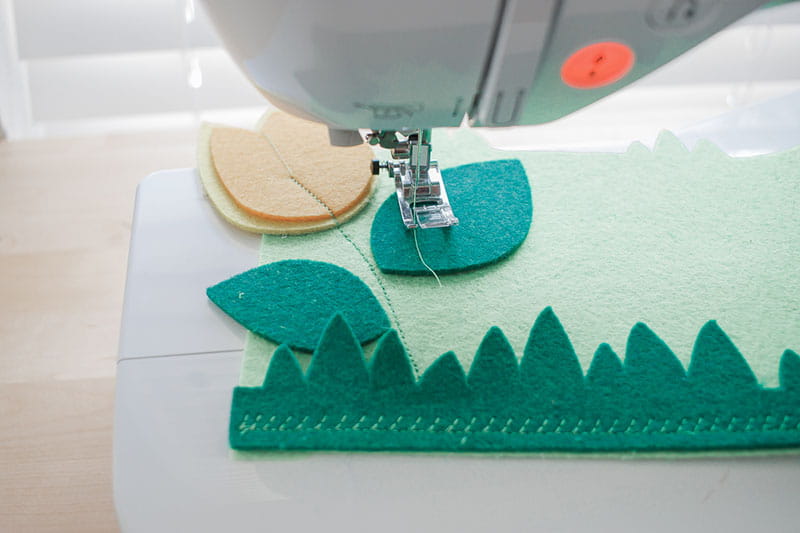
-
Clip all the threads and prepare the next flower and leaf combination. I reversed the flower for the second one. Make sure at least half of the flower is on the main piece so you can attach it with the stitching.
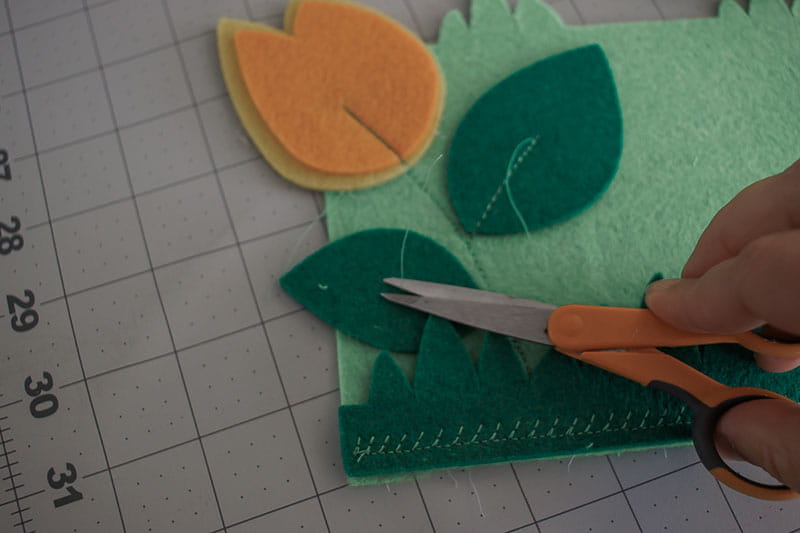

TIP: fold the grass out of the way to finish each stem so the stem goes under the grass.
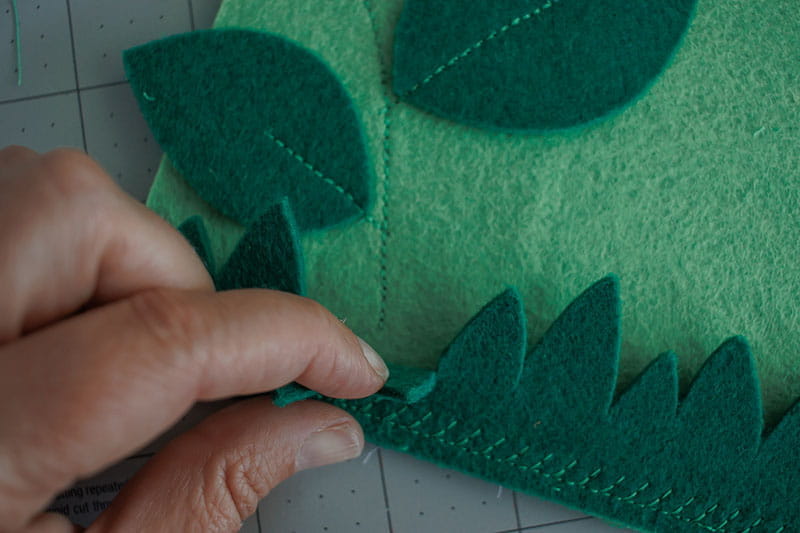
-
Add a third flower set, set up like the first one to complete the main piece. You can see how I have leaves and flowers hanging over the edge on both sides. We will trim some of these in the next step.
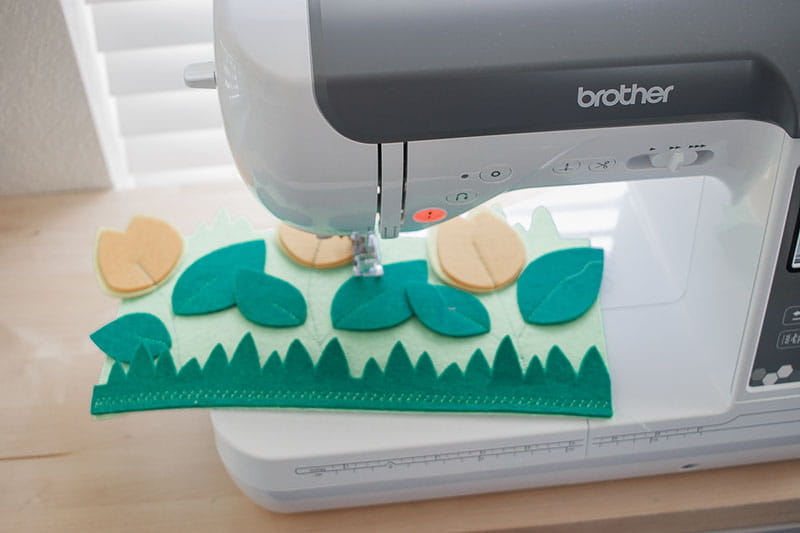
-
It’s okay to have an overhang on one side, but not both. I cut the leaf on my right side so it would fit under the flower.
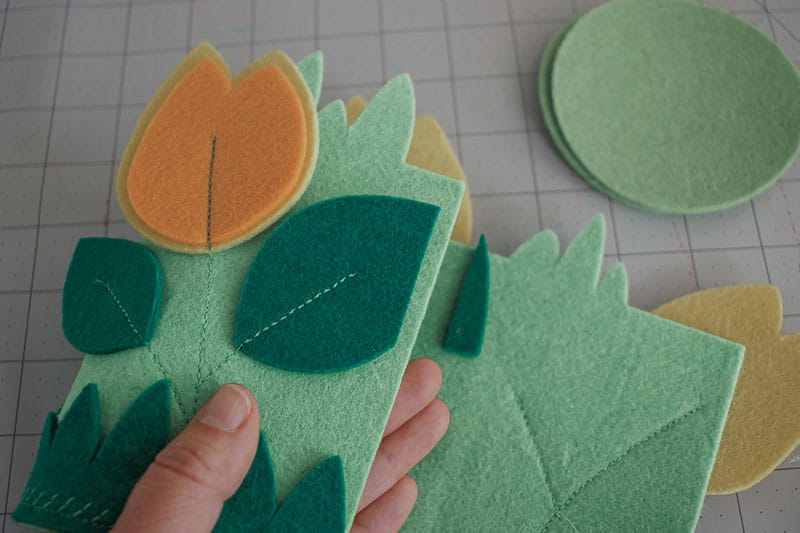
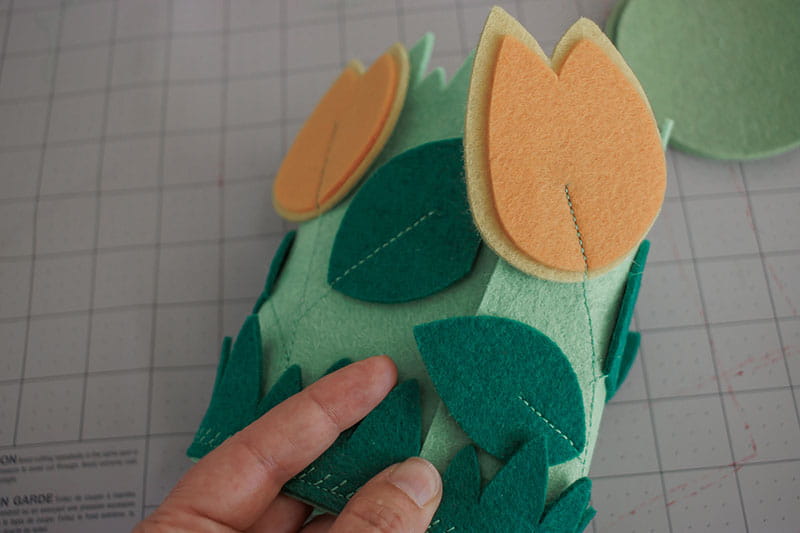
-
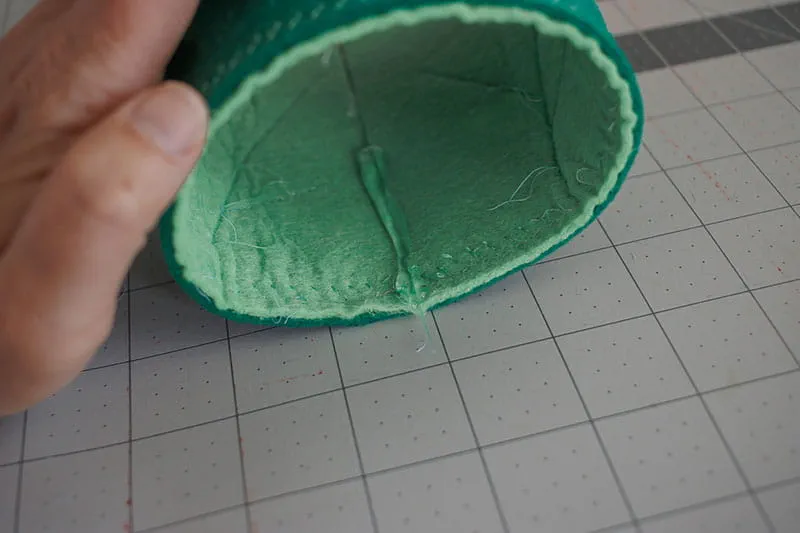
Place hot glue on the short edge of the main piece and then place the two edges together. Hold until the glue is stable. Place a thick layer of glue on the inside to hold the circle in place. Continue holding the two edges together until the inside and outside are dry.
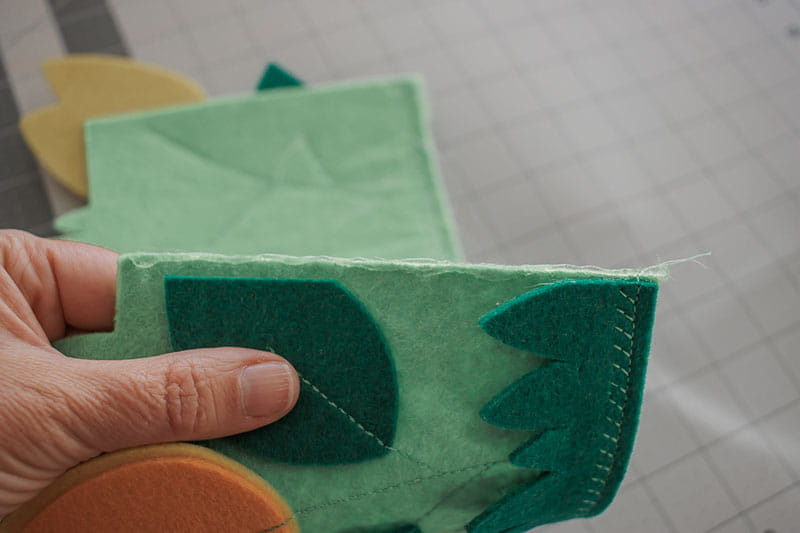
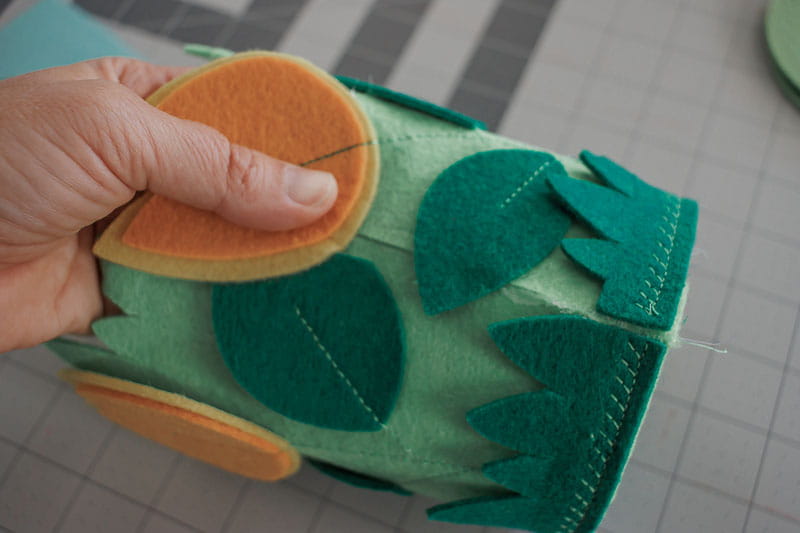
-
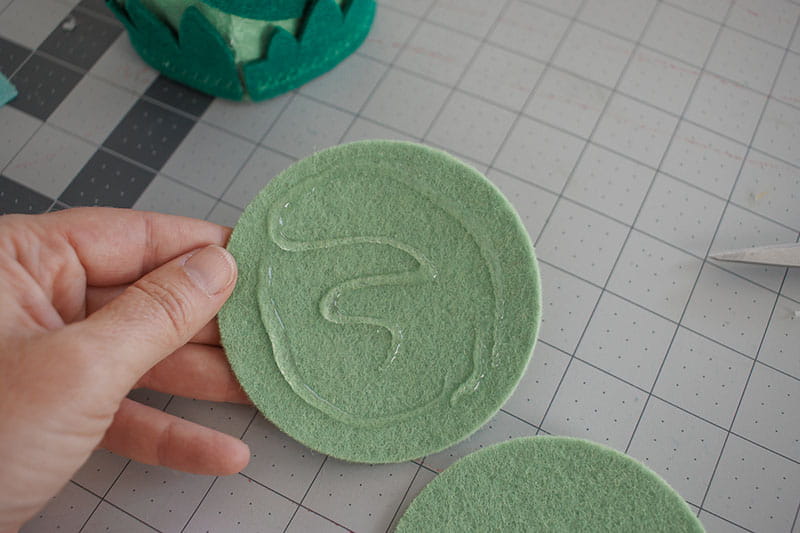
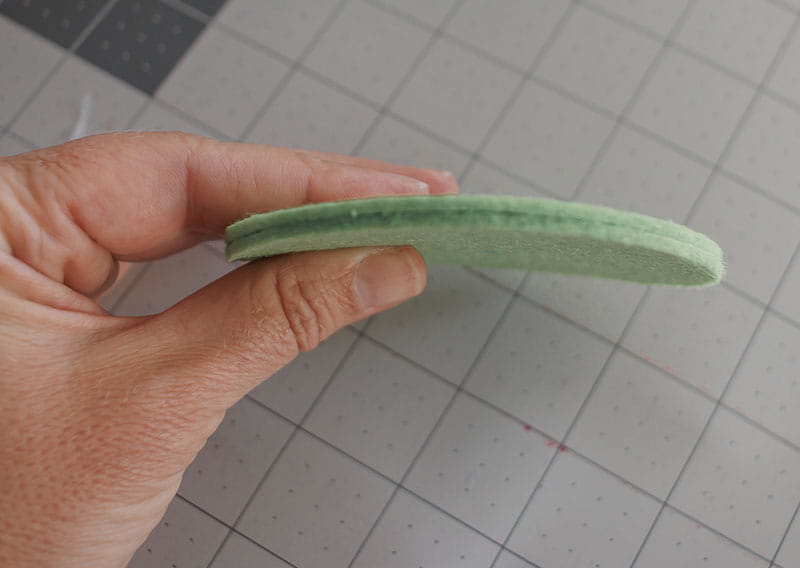
Glue or sew the two bottom layers together.
-
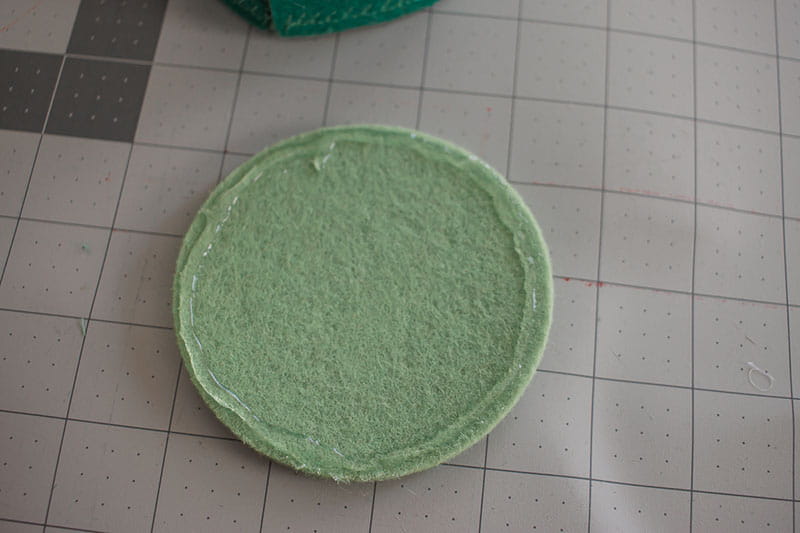
Run a bead of glue along the outside edge of the bottom piece. Place the main holder piece on top of the bottom and hold it until the glue dries. The main piece will rest on top of the bottom.

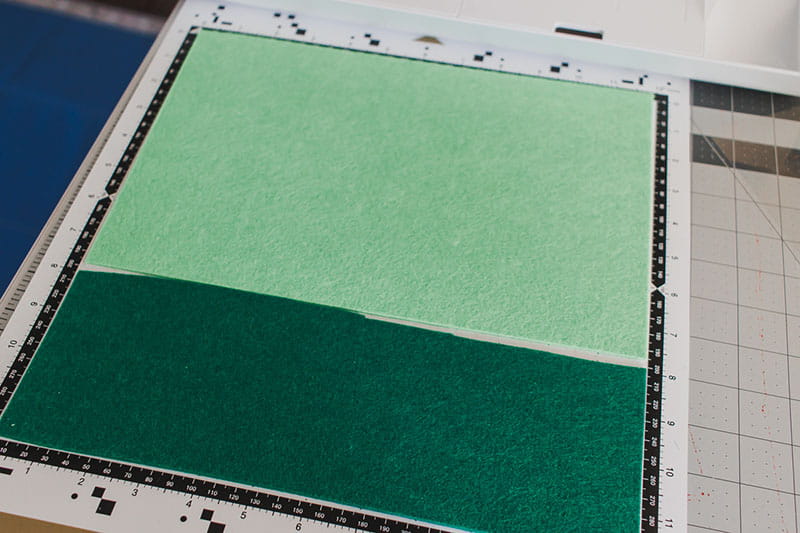
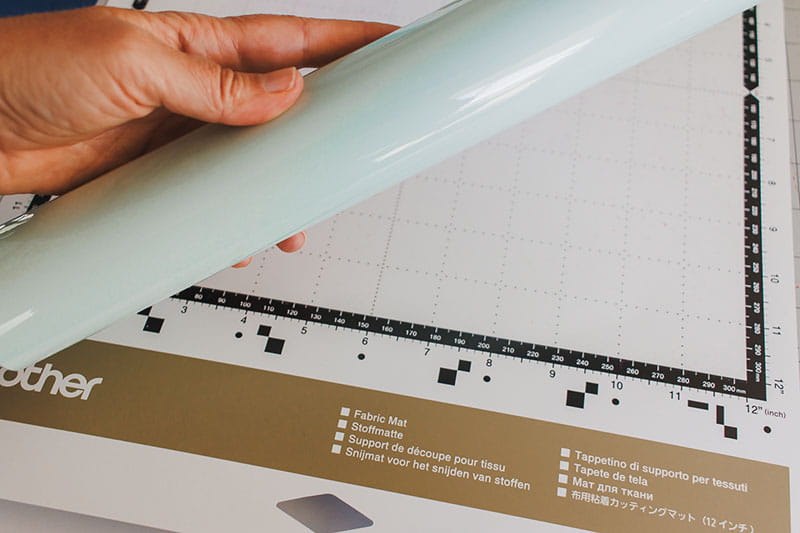
TIP: Use a fabric mat for the high tack sticky surface to hold the felt OR add a high tack sheet to a standard mat.

How How cute is the finished result? I love this so much and can’t wait to make more. I’m also thinking of cutting other flower designs/shapes and what colors I could use. So many possibilities!


