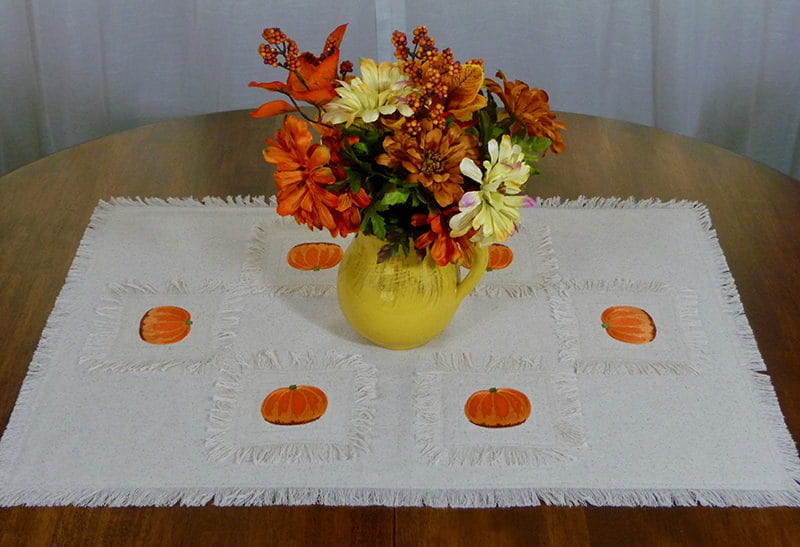
Foot of the Month: Embroidered Pumpkin Table Runner
Make a table runner with pumpkins that have a hand stitched look and you’ll be set for the entire fall season. This runner has a homespun look and features fringed edges. Sew neatly and accurately around the edges using our featured Foot of the Month, the standard “A” foot in combination with the removable Quilting Guide.
Materials and Supplies:
- Brother Sewing and Embroidery machine
with 4-inch hoop capability. - SA132 Quilting Guide, presser foot A, and presser foot ankle with mounting hole.
- SA5810 Brother medium weight tear-away stabilizer.
- Pumpkin embroidery design with hand stitched look.
- Basic sewing notions including thread to match fabric, and a long pin or stiletto to help pull threads and ravel fabric edges.
Note: Featured design is available as a free download from Brother. Visit the Inspiration and Events
tab on the brother-usa.com website.
Select Crafting Projects and you’ll find a link to the Free Sewing & Embroidery Design pattern archives. Enter Pumpkin in the search box to locate this design.
tab on the brother-usa.com website.
Select Crafting Projects and you’ll find a link to the Free Sewing & Embroidery Design pattern archives. Enter Pumpkin in the search box to locate this design.
Loose weave fabric:
- Two rectangular pieces measuring 21-inches wide and 31-inches long for table runner.
- Six square pieces measuring 8-inches square for embroidered blocks.
- Six pieces of medium weight, fusible stabilizer measuring 3 ½-inches square.
Note: Please read these important notes about the fabric: Featured fabric is unbleached Osnaburg cloth. It ravels easily to form frayed edges. An even weave fabric such as linen would make a good alternative choice. Launder and press fabric before cutting. It’s important that the fabric is cut perfectly on grain both along the lengthwise and crosswise areas of the fabric. This is done so you can pull threads evenly and fringe each finished fabric piece. Please see the options and ideas section at the end of these instructions for alternative ways to finish the edges.
- Finished size of table runner: 21-inches wide X 31-inches long, including fringe.
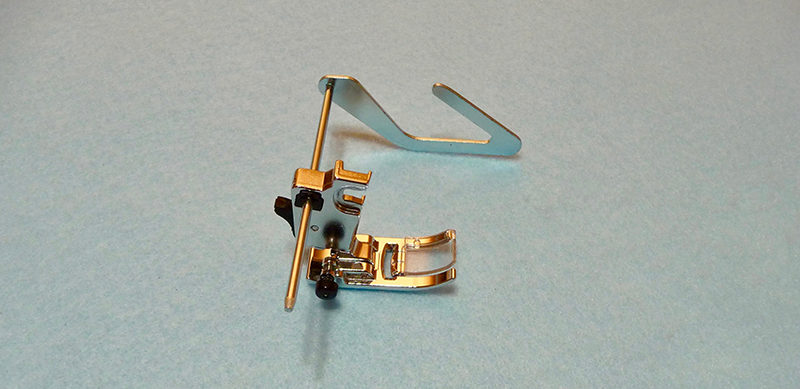
- Quilting Guide, presser foot A, and presser foot ankle with mounting hole:
Instructions for Making Table Runner
- Fuse interfacing to the wrong side of each of the 8-inch squares of fabric. Choose desired thread colors for pumpkin design. For an example of colors used in this project, see Figure #1a & #1b.
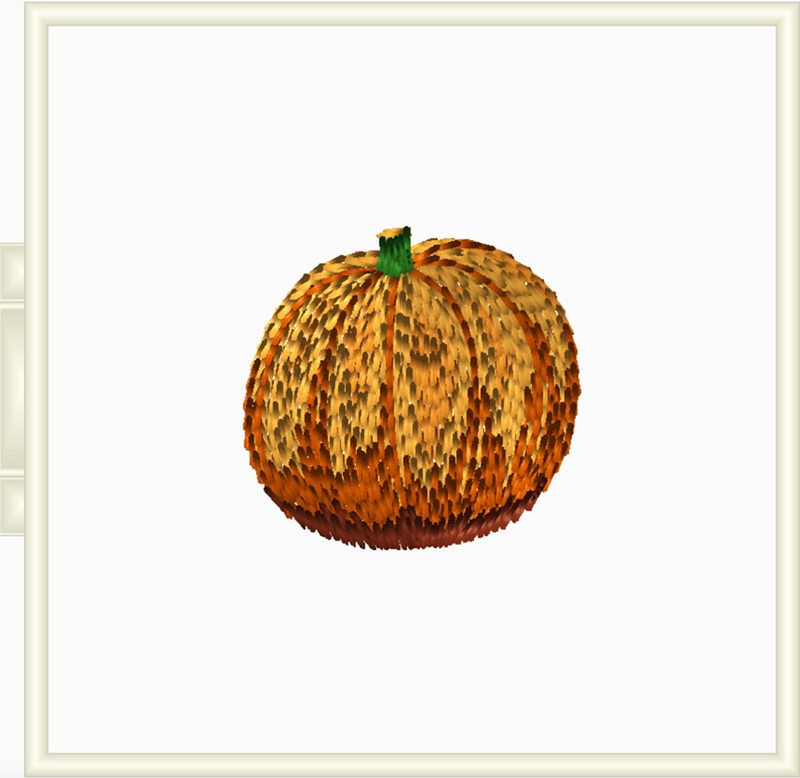 Figure #1a[/caption]
[caption id="attachment_17401" align="aligncenter" width="555"]
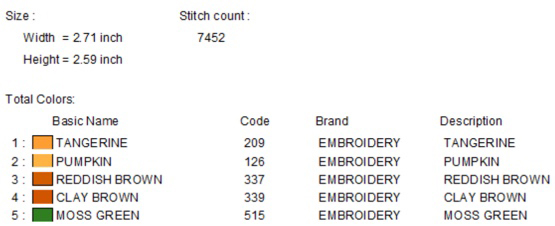 Figure #1b[/caption]
- To embroider each piece, layer 8-inch square fabric with two pieces of tear away stabilizer and stitch in the 4-inch hoop.
- Trim each embroidered piece to equal 6 ½-inches square, having pumpkin centered. See Figure #2.
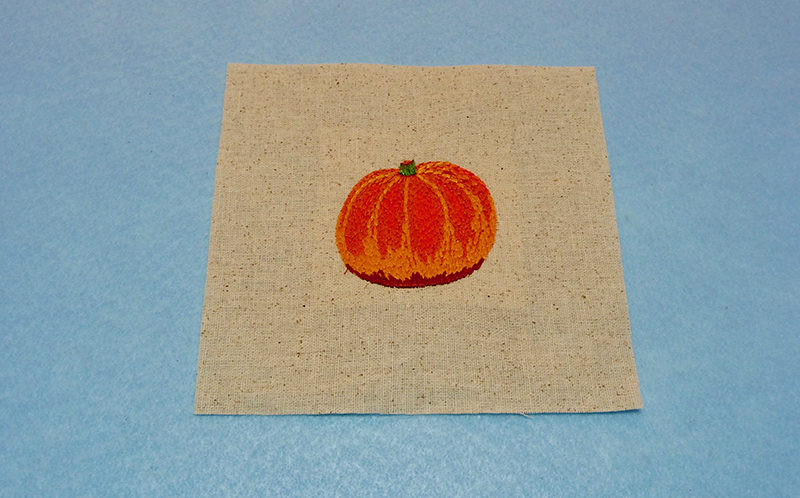 Figure #2[/caption]
- Pull threads to ravel edges, leaving fringe with a depth of 1-inch on each edge. See Figure #3.
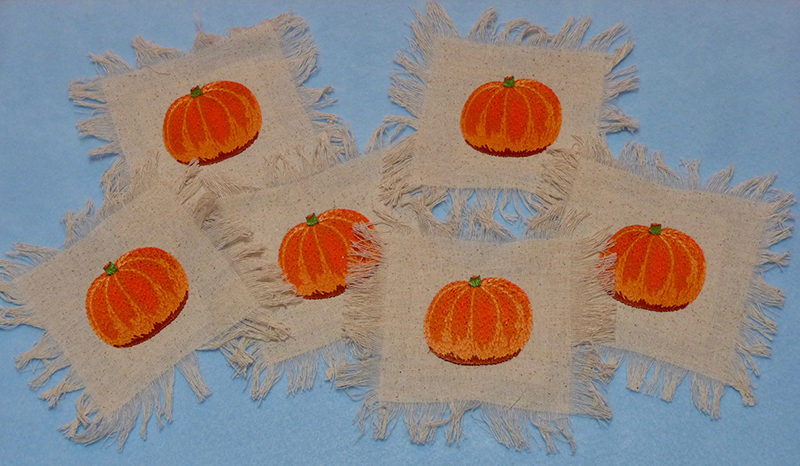 Figure #3[/caption]
- Pin the two 21-inch X 31-inch rectangles with wrong sides facing and all raw edges even. See Figure #4.
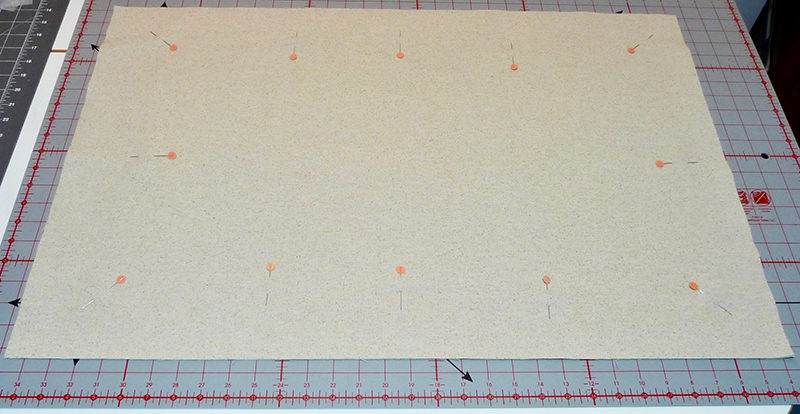 Figure #4[/caption]
- Set up machine for sewing with the quilting guide inserted into the mounting holder and presser foot “A” attached to the machine. Select the stem stitch. Set for width 2.0 and length 3.5. See below:
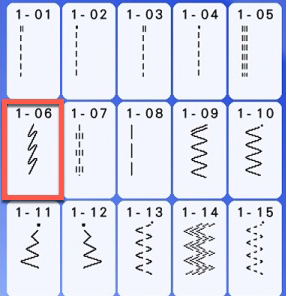
Tip: This modified zigzag stitch will prevent the edges from fraying beyond the stitching line.
- Adjust the guide so the stitch forms 1-inch from the edge.
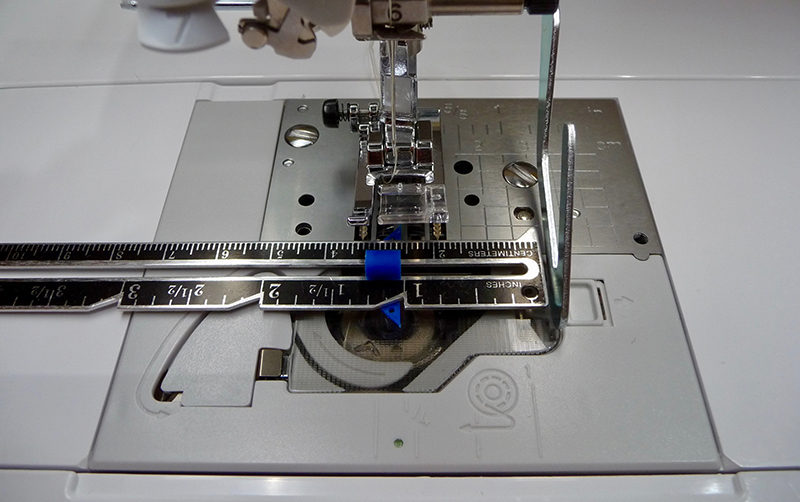
- Sew all around the rectangle, pivoting at the corners. See Figure #5.
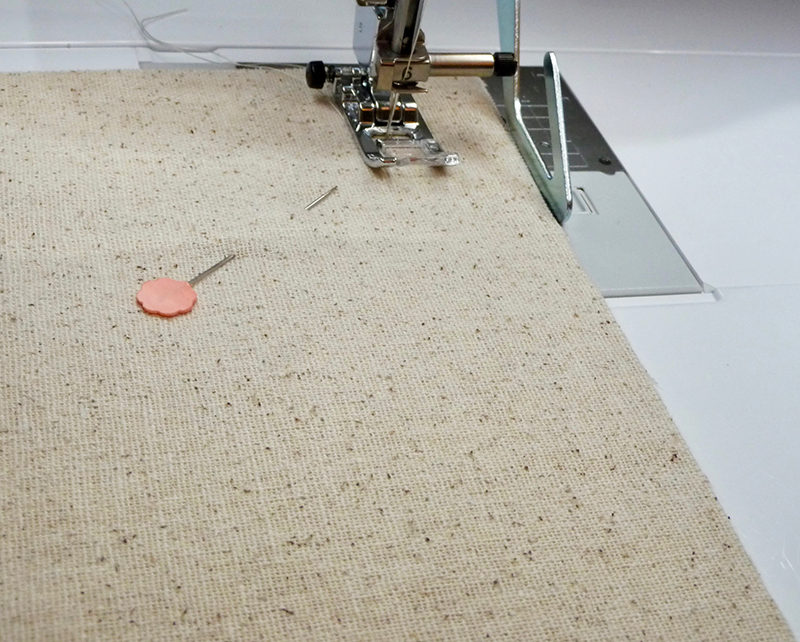 Figure #5[/caption]
- Pin pumpkin blocks to layered table runner, adjusting the spacing as desired. In this example the blocks are spaced so frayed edges are 2-inches from the edge. See Figure #6 as a guide.
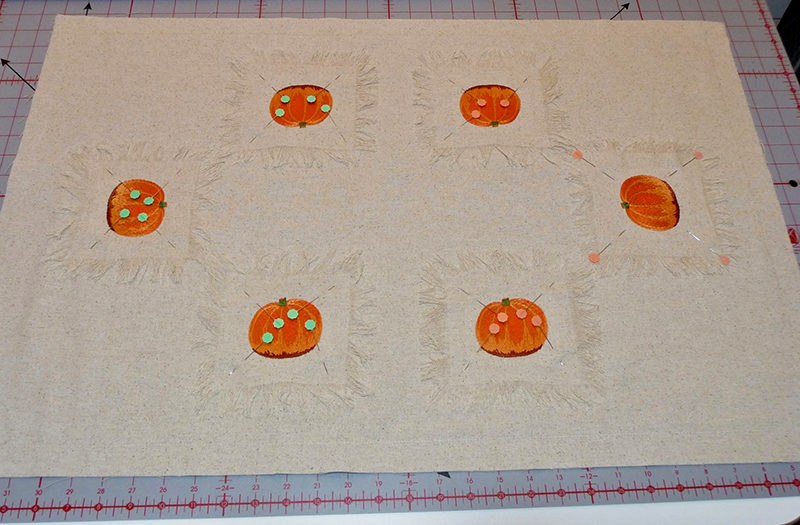 Figure #6[/caption]
- Sew around each block twice, using the quilting guide to evenly space first line of stitching close to the pumpkin motif, and second line of stitching close to the beginning of fringe. See Figure #7a & #7b.
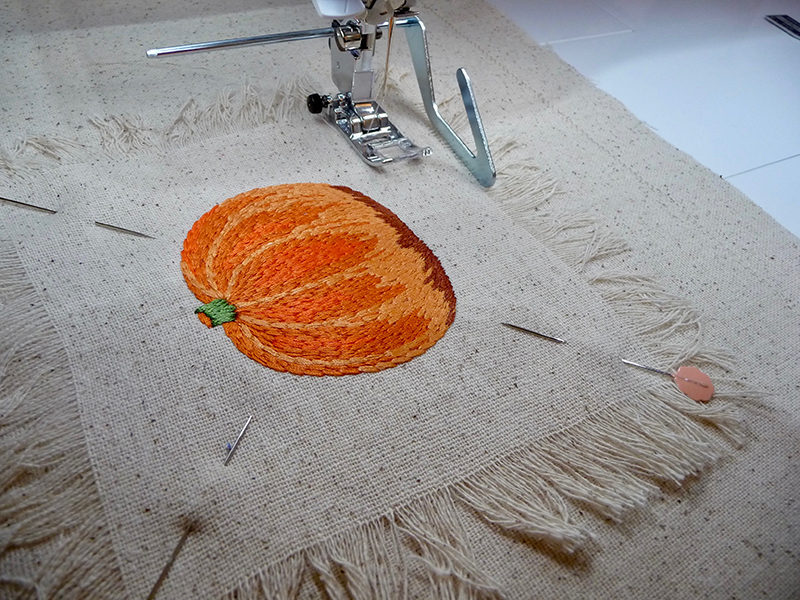 Figure #7a[/caption]
[caption id="attachment_17408" align="aligncenter" width="800"]
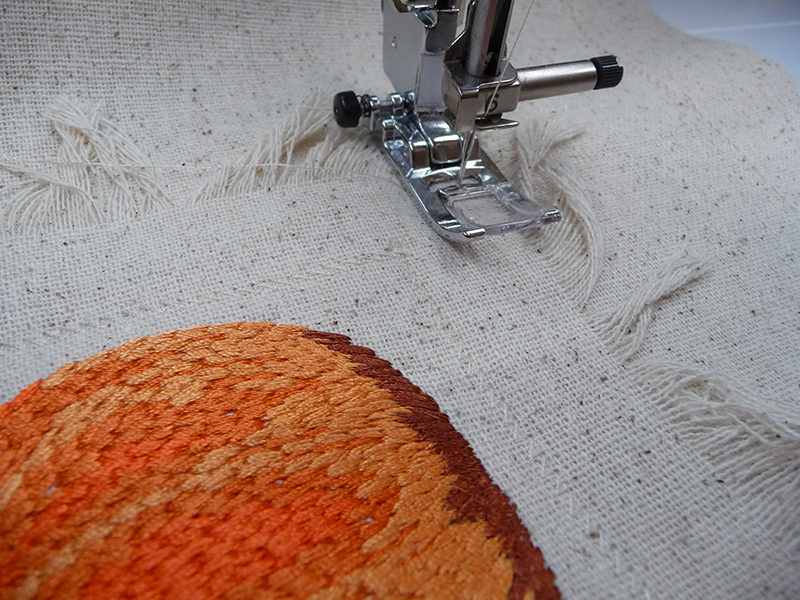 Figure #7b[/caption]
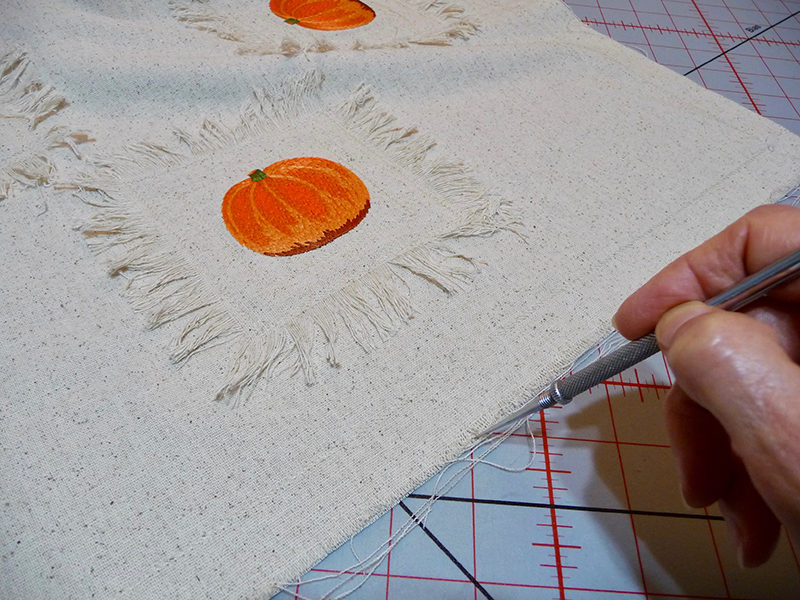
- Using a pin or stiletto, ravel each end of the rectangle with depth of fringe finishing at ¾-inch. See below:
 You are finished! Enjoy!
Options and Ideas:
- Skip the fringe if you like and simply sew pieces right side together with an opening for turning. Close the opening and then add embroidered blocks.
- Add decorative pre-purchased trim in place of fringing edges, or finish with bias binding.
- This table runner has no filler. Consider adding interfacing if you would like a firmer finish. Alternatively, you could add thin batting and quilt the two pieces together before adding the embroidered blocks.
