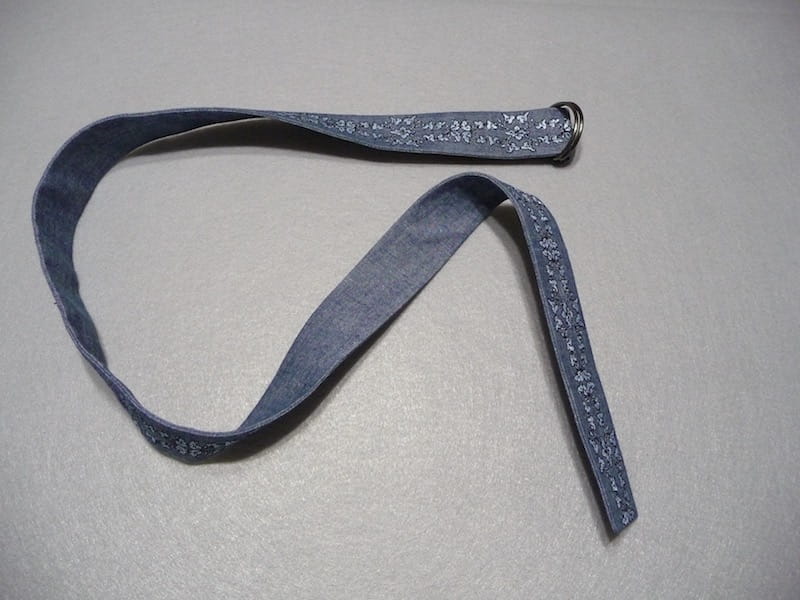
Fun Chambray Embroidered Belt
UPDATED!
CLick here for the August FD 2017_Blue Border.pes
Materials and Supplies
Note: This project features the 7” X 4” border hoop, along with special repeat pattern features found on a variety of Brother models. Design fits within a 4-inch hoop. Use a method to stitch multiple patterns that works best for your machine capability and available hoops.
- SA5810
Medium weight tear-away stabilizer - Brother embroidery thread and bobbin thread
- Brother Free Design of the month
- Basic sewing notions, including good quality sewing thread, a long ruler for evenly cutting your belt piece, and a strong needle for hand sewing
- Fabric for belt: Choose a shirt weight fabric such as the chambray featured here. You will need one strip cut 7-inches wide times the custom length determined below. Apply fusible interfacing on the entire strip, selecting an interfacing designed for creating crisp collars and cuffs on shirts
- Two 1 ½-inch “D” rings for belt hardware
- ½-inch dowel rod or other tool for turning long strip
Brother Free Design of the Month
Design measures slightly less than 1 ½-inches wide and slightly more than 3-inches long when stitched lengthwise.CLick here for the August FD 2017_Blue Border.pes
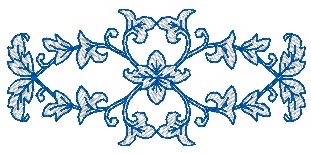 Free Design of the Month[/caption]
Steps to Create Embroidered Belt
- To determine your custom length, run a tape measure through belt loops of the garment you want to wear with your belt. Record the measurement you get beginning at the center front and ending at the first belt loop on the opposite side. Round this number up so you can divide it evenly by 3. Next, add 8-inches for hooping, plus an additional 6-inches to stitch two motifs for overlap at the end. See example in Figure #1.
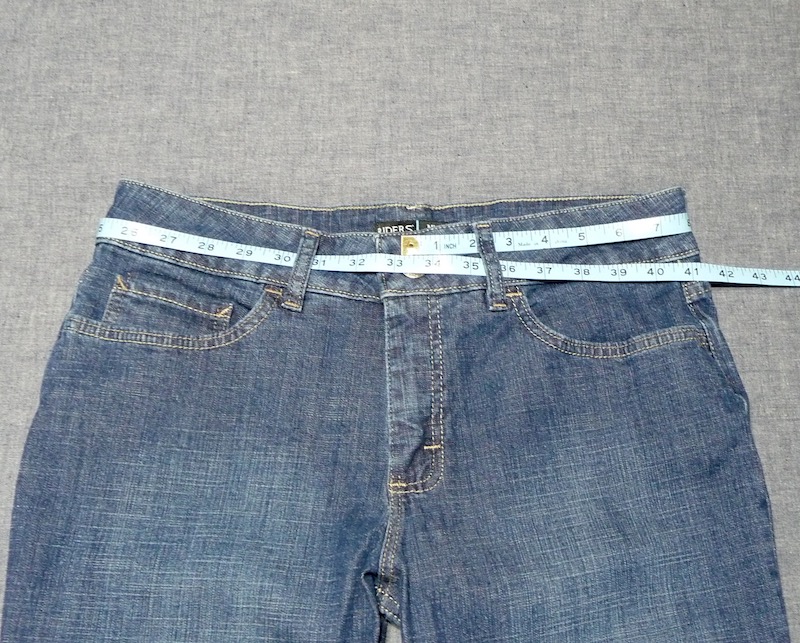 Figure #1[/caption]
Center front to belt loop measurement = 36” for custom length.
36” plus 8” plus 6” equals a total length of 50” for strip.
Note: Add more motifs if you like a longer overlap area for your belt. Belt finishes at a width of 1½-inches. Be sure this will fit the belt loops of the garment you will be wearing.
- Use your custom length measurement to cut a strip measuring 7-inches wide. Apply interfacing to the wrong side. 7” strip is used for both embroidered belt front and backing.
- Set up machine for embroidery. Determine total number of motifs needed for your custom size as follows: Begin by dividing your recorded measurement from the center front to the belt loop by 3, and then add the additional two motifs needed for the overlap. See example in Figure #2.
 Figure #2[/caption]
39” ÷ 3 = 13 + 2 = 15 motifs total
- Hoop fabric in the center of the border hoop along with a matching piece of stabilizer. It is helpful to roll and clip the excess at the end. See Figure #3.
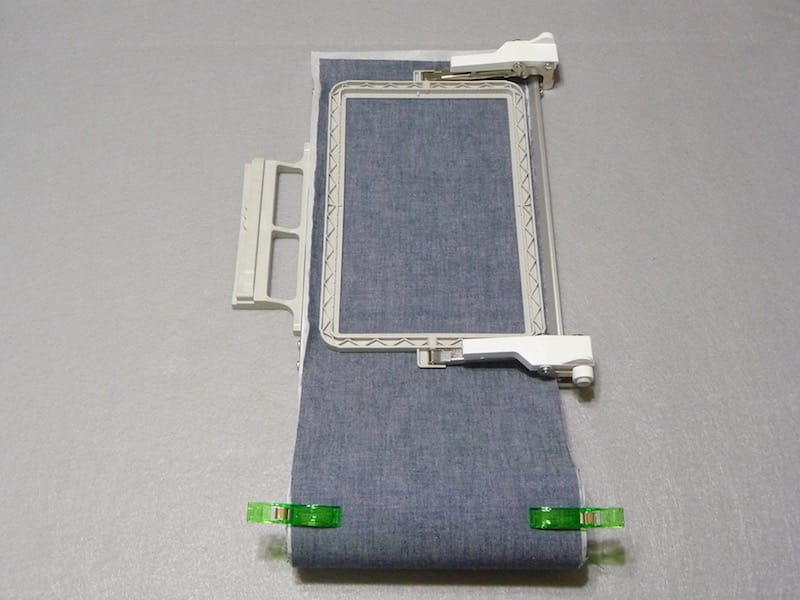 Figure #3[/caption]
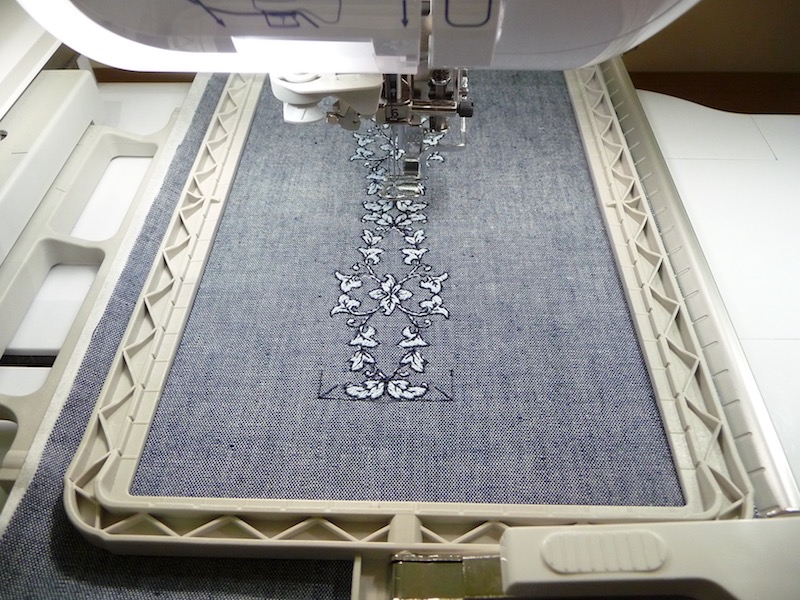
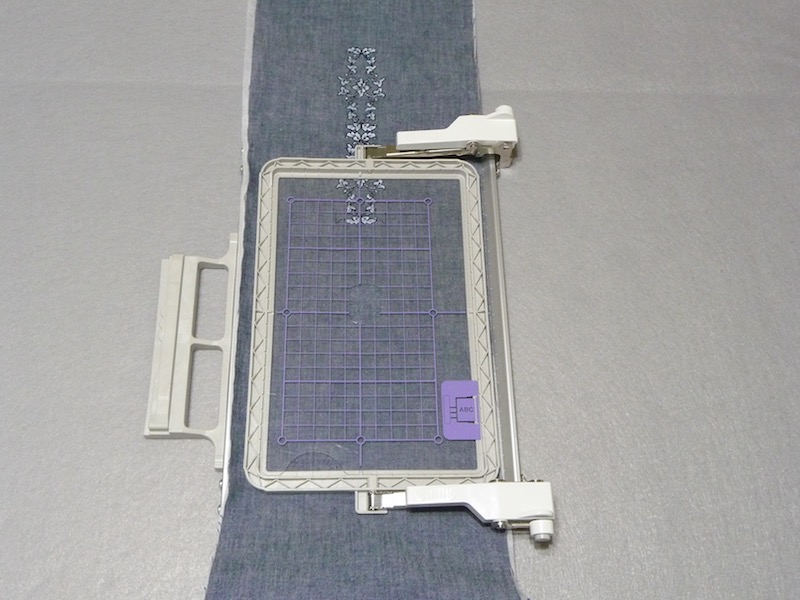
- Embroider motifs in the center of the border frame, linking them together to form a continuous line of patterns. Depending on your machine model, you may have different options for connecting patterns. For this project, the Repeat Pattern function was used to link designs. If you are using this feature you will want to review the instruction manual for your machine by reading about Designing Repeated Patterns and using Assigned Thread Marks. See example below:
- When finished embroidering, cut entire length of embroidered strip to finish at 2-inches wide, with embroidery centered on strip. For backing, cut a second 2-inch wide strip from remaining piece of fabric. Next, cut both pieces to the specific length as follows: Trim embroidered strip leaving a ½-inch seam allowance at each end. Trim backing strip to measure 12-inches shorter than embroidered strip. See Figure #4.
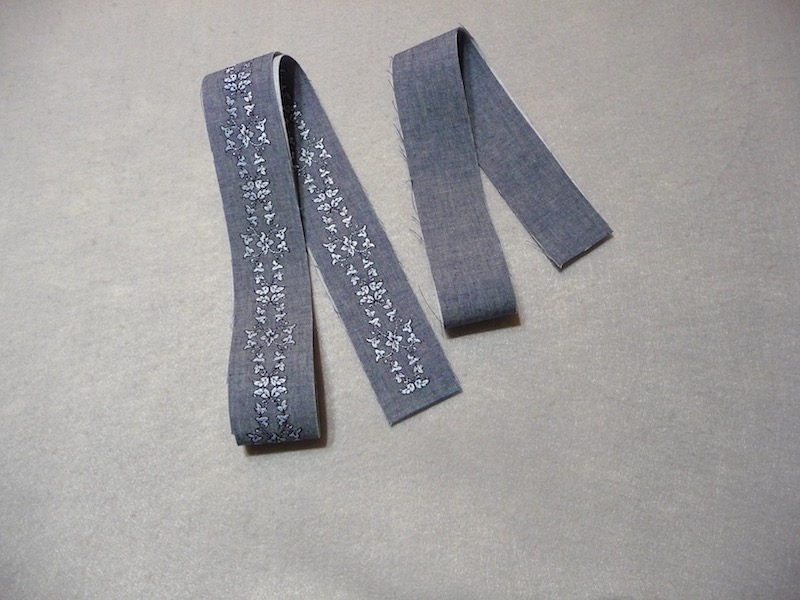 Figure #4[/caption]
- Place both strips right sides together with two short ends matching. Sew short ends of the two strips together using a ½-inch seam allowance. See Figure #5.
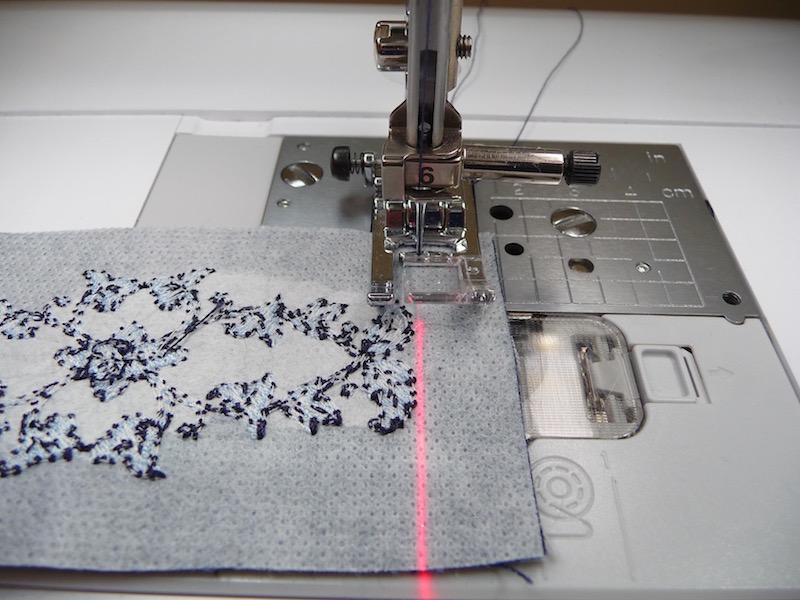 Figure #5[/caption]
- Press seam open and then re-fold strip with right sides together and the two additional motifs folded back at one end. Short raw edges should be even at the opposite end. Trim if necessary. See Figure #6.
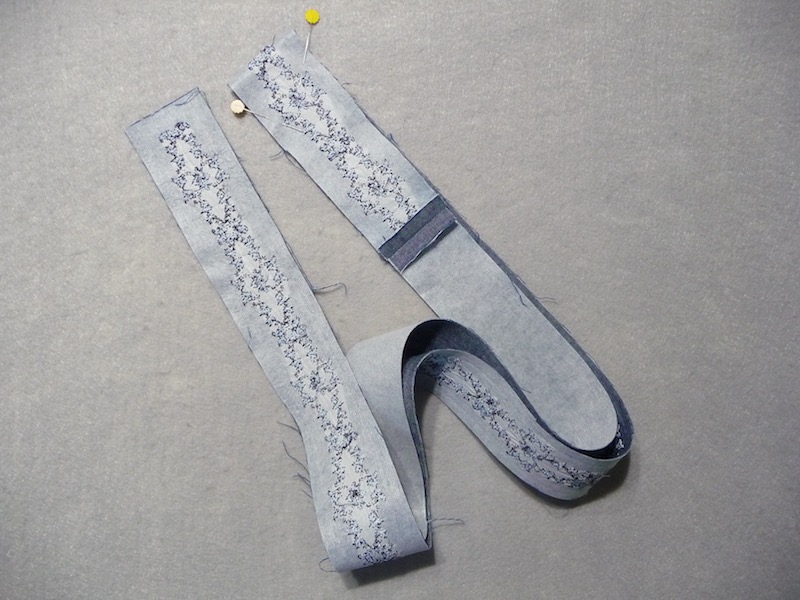 Figure #6[/caption]
- Sew long edges of strips together using a ¼-inch seam allowance and leaving the short ends open for turning. See Figure #7.
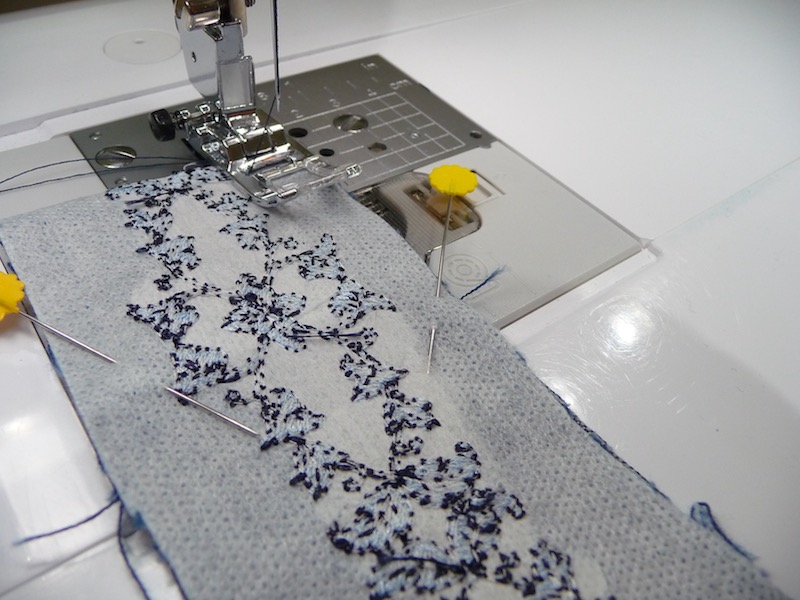 Figure #7[/caption]
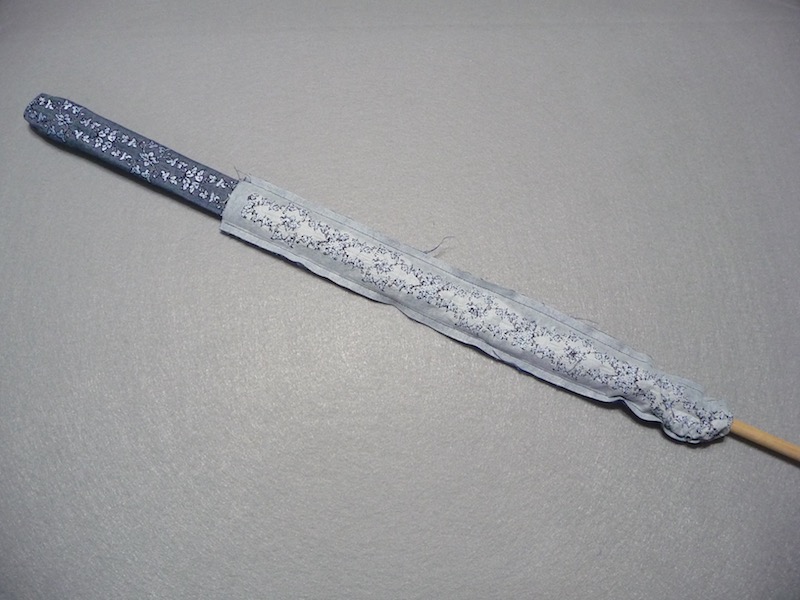
Turn strip right side out. Carefully shape embroidered end and press flat.
Tip: A dowel rod comes in handy for turning a stiff length of fabric like this. You can use a safety pin to gently pull out the corners at the end.
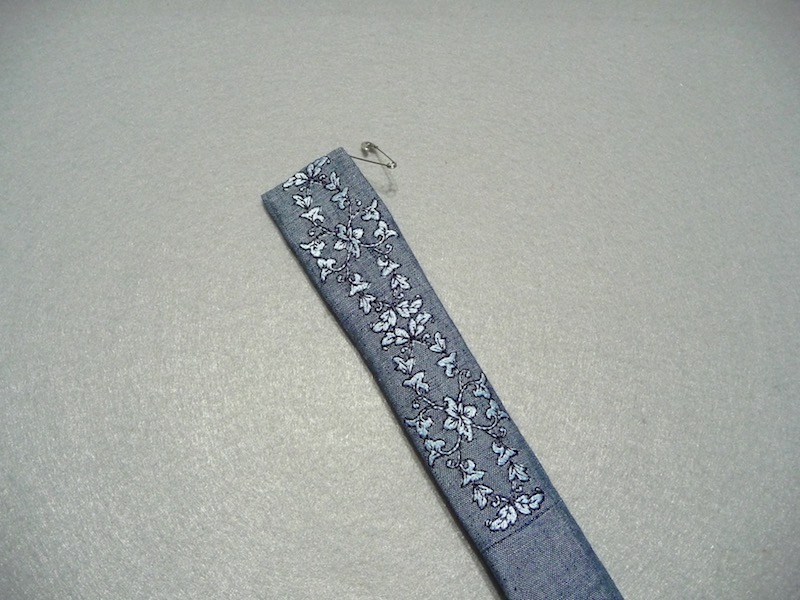
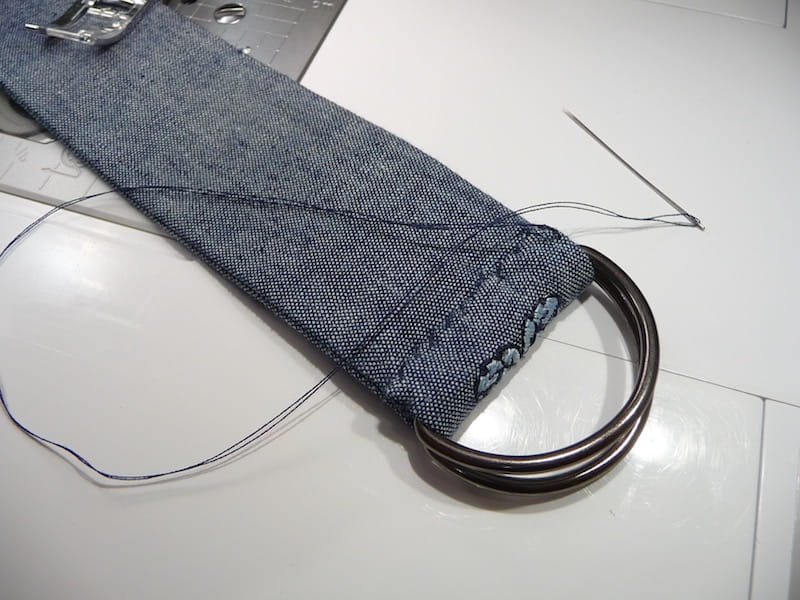
- Slip rings over unfinished end of belt. Turn under raw edge and use small hand stitches to finish the end and secure the D rings in place. Wear your belt and be prepared for compliments.
