Handwriting Holiday Pillow on the Dream Fabric Frame
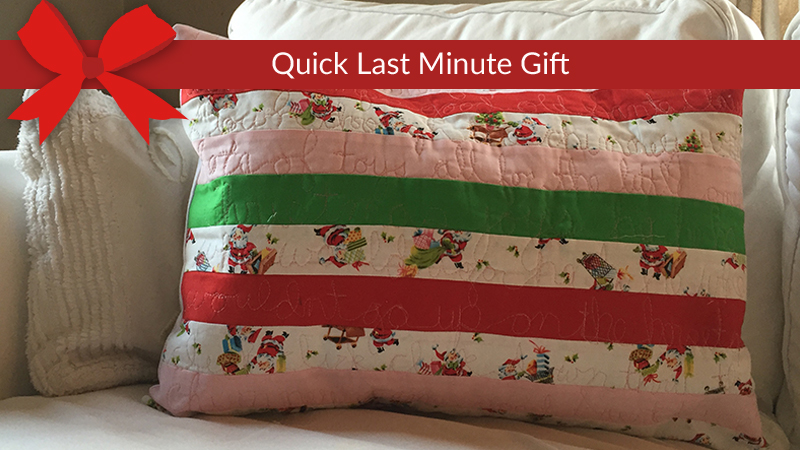
Pillows are an easy way to add holiday cheer to a room. They're small, can be fast to make, and if you take the insert out, the covers can be stored and changed often through out the year. They're also a good project to try when you are learning a new skill...like free motion handwriting on your Dream Fabric Frame! This handwriting free motion quilted envelope-style back pillow is a great project to get you started on your Dream Fabric Frame.
Machines
Supplies
- Pillow form: 1pc – 16” x 24”
- Pillow front: 10pc - a variety of fabric 2 ¼” x 24 ½”
- Binding pillow back opening: 2 pieces of binding – 2” x 16 ½”
- Pillow back: 2pc fabric - 16” x 19”
- Fusible batting: 1pc - 18” x 24”, 2pc - 16” x 19”
Making the Pillow Cover Back

- Using the binding, bind one short edge of each pillow backing piece. Heather Jones wrote a great post on Machine Binding that you can find here if you've never done it!
Set these back pieces aside.
Making the Pillow Cover Front
- Sew the 10pc size 2 ¼” x 24 ½” strips together, stacked lengthwise, with a ¼” seam allowance until you have a piece that is 18” x 24”. Be sure to press your seams open as you go. This is your pillow front.
- Iron fusible batting onto the wrong side (back side) of your pillow front.
The Personal Touch with THE Dream Fabric Frame
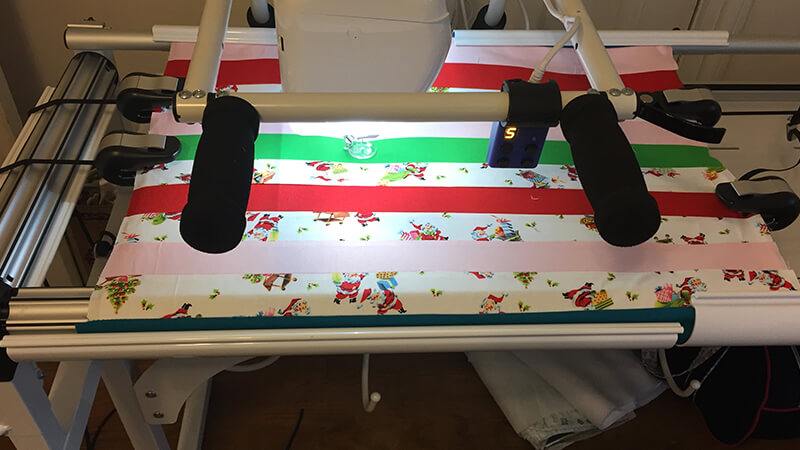
- Attach your pillow front to the Dream Fabric Frame. Utilize the clamps and the clips with the bungees on both ends to make sure it's snug.
- Quilt your favorite Phrase or Lyrics on the pillow, using the strips of fabric as your lines. I quilted “Up on the housetop” onto my piece. Feel free to use your favorite wash away or iron away fabric chalk/marking pencil to mark the words onto your fabric.
Finishing your Pillow
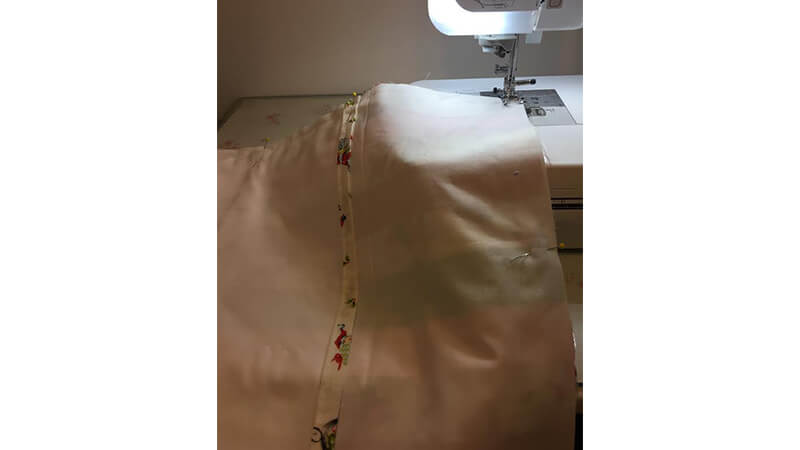
- Line up your two back pieces placing bound edges towards the middle, centered top to bottom, with the quilted front piece. The front pillow piece will be slightly taller and you will now trim it so it's the same size as the back. With right sides together, pin the edges to hold the layers together then stitch around the outside using a ½” seam allowance. Finish the outside edges of the pillow with either a serger
- Clip the corners making sure not to cut through seam line and turn right side out.
, overedge stitch or zigzag stitch.
Enjoy your Handwriting Holiday Pillow!
Related Projects
Stay Connected
* Required fields