Handy Hopping Feet for THE Dream Quilter 15
Have you seen the new set of three accessory feet
to use with THE Dream Quilter 15?
They're "hopping" feet, which means that they move up and down a bit as the needle cycles up and down, providing the best contact with the quilt sandwich as each stitch is formed. Here's an overview of the feet and their uses.
Installing a Different Foot
- Changing the presser foot on your DQ15 is as easy as a few turns of a screw. The instructions come with the accessory feet, but here are a couple of additional tips.
- The set of three feet comes with an extra screw. You can use either the original screw or the new one to attach your feet.
- Don't over-tighten the screw. It's not hard to strip out the angles of the hexagon head, so I like to finger-tighten the screw and then give it just one or two nudges with the screwdriver to finish.
- Unlike the presser feet on your domestic sewing machine, these feet can be adjusted up or down for best contact with the fabric: too high, and the quilt sandwich bounces, resulting in skipped stitches; too low, and the foot drags across the quilt. You'll know when the position is just right. Start by lowering the needle through four thicknesses of ordinary paper and adjusting the foot to skim the top of the paper stack.
Tip: Fold the instruction sheet that came with the feet into quarters for a handy gauge.
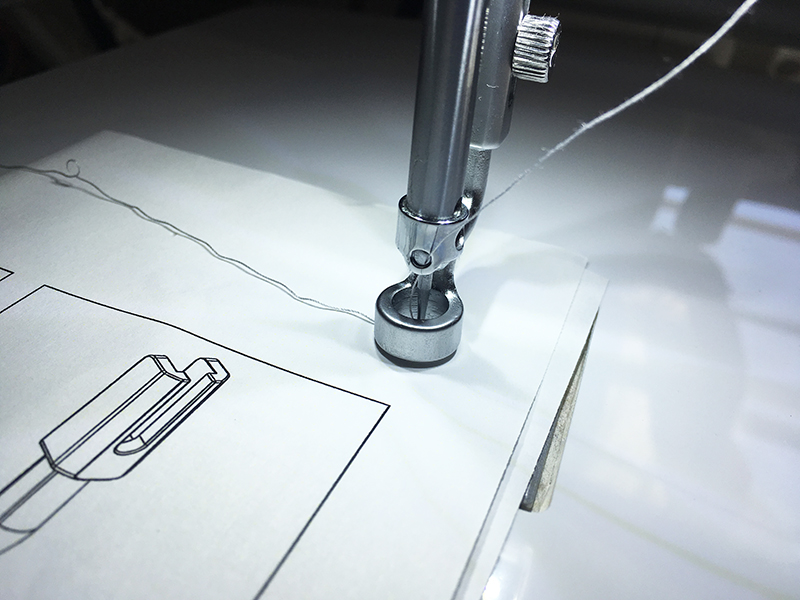
- Be sure that the needle is centered in the opening of the foot. If not, loosen the screw just enough to tap the foot into perfect alignment around the needle.
The Open Toe Foot
If you've ever struggled to see exactly where your needle is entering your quilt, the open toe foot is your solution. Designed to sit sideways on THE Dream Quilter 15, it's positioned for using the machine end-on, just right for the machine's mounting on THE Dream Fabric Frame or THE Dream Frame Pro.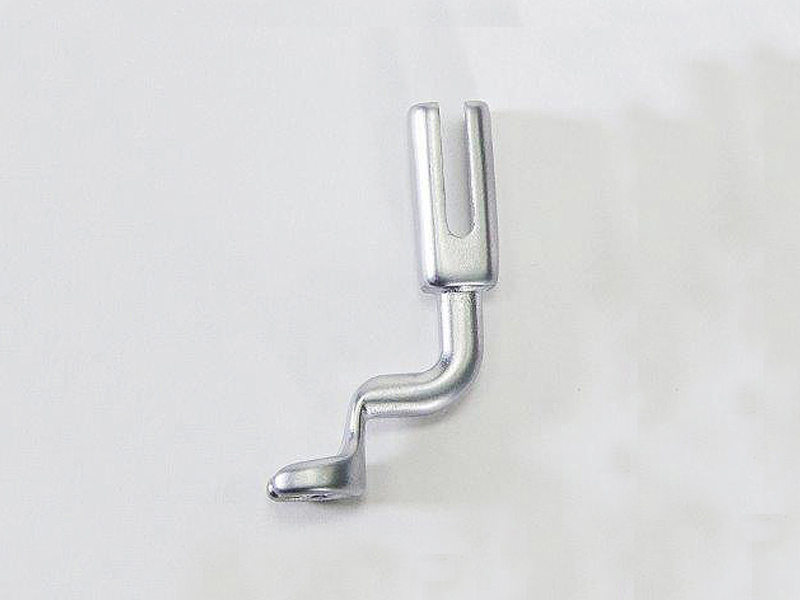
Use the open toe foot to:
- Follow a quilting design drawn on your quilt
- Stitch accurately along the lines of a fabric print
- Stitch in the ditch; or
- Any time you want to have the best visibility of your quilt and stitching as you work.
The Micro Foot
- The micro foot is a smaller version of the open toe foot. With its two toes spaced close together, this foot controls the quilt sandwich close to the needle to create ideal contact with the machine bed every time the needle pierces the quilt. You'll be able to change stitching direction as often as you like to produce stippling patterns with smaller curves, filling and flattening an area on your quilt for lots of surface texture.
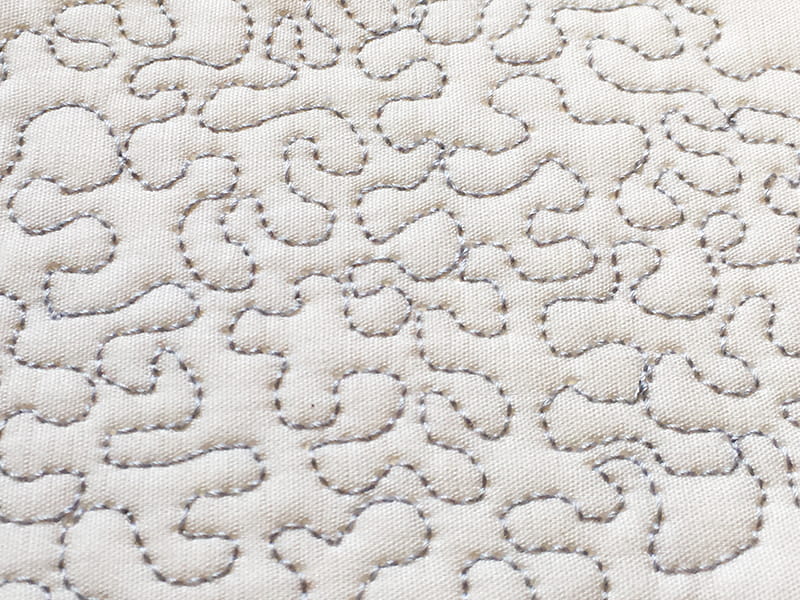
- Micro stippling can be used to compress the area around a quilted motif, emphasizing the puffy texture of the motif itself as in trapunto work. You can also experiment with using different thread colors to create colorful patterns on the surface of your quilt, spacing the stippling closer together for shading effects. However, lots of closely spaced stitches can also stiffen or harden a quilt, so use micro stippling judiciously and test your technique first on scraps or sample quilts.
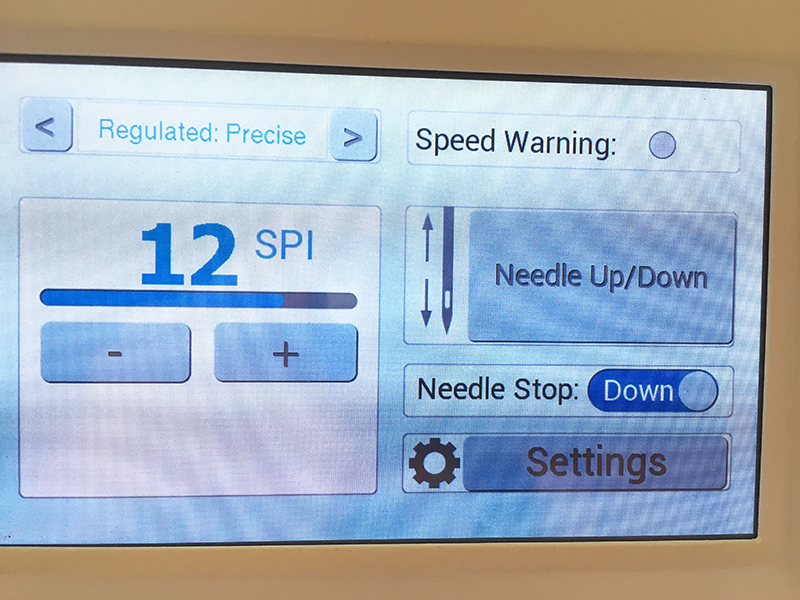
Another tip for using micro stippling on your quilt: Make your stitches smaller to work well with the directional changes. I usually switch from 11 stitches per inch to 12 or more stitches per inch, up to the maximum of 16. (Remember that a larger number of stitches per inch means that each stitch is shorter.)
The Ruler Base and Ruler Foot
Stitching with the aid of rulers is one way to add special magic to your quilting. Use the ruler foot from your accessory pack with the ruler base and one or more rulers to make evenly spaced lines and regular motifs on your project.Note: I'm using the words "ruler" and "template" interchangeably here. In this special case, both have gauge markings, like a ruler, and come in a variety of shapes and sizes.
For the best results with quilting rulers, you'll need a wide base around the throat plate of your machine. The ruler base provides a steady surface to balance the rulers as you work. Install it by loosening the screw underneath and slipping the base onto the machine throat. The screw has a convenient handle so it's easy to loosen and tighten with your fingers. Don't over-tighten the clamp.
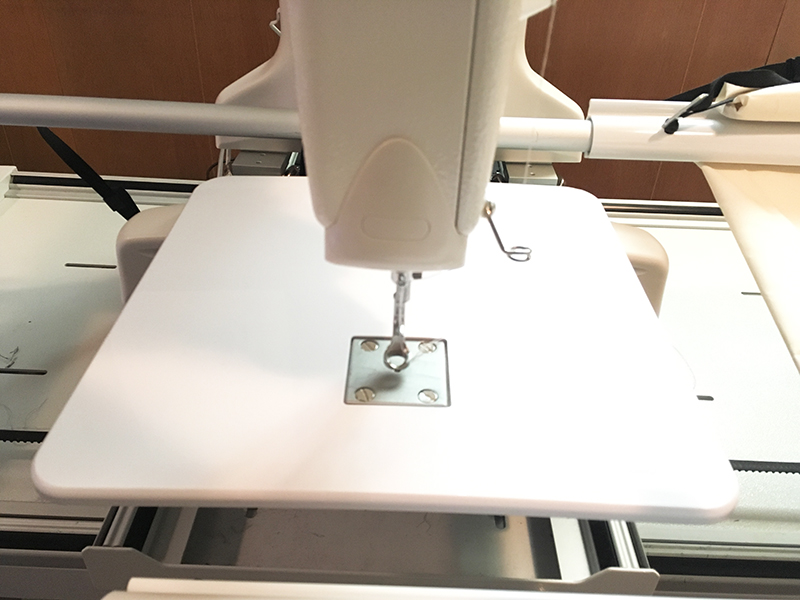 The ruler foot looks a bit like a circular wall around the needle. Its purpose is to provide a firm surface that rides against the edge of the ruler all the way around the needle. When you attach the ruler foot, be sure that the ruler can't slip underneath the foot when the needle is at its highest point or ride up over the foot at the lowest point in the cycle.
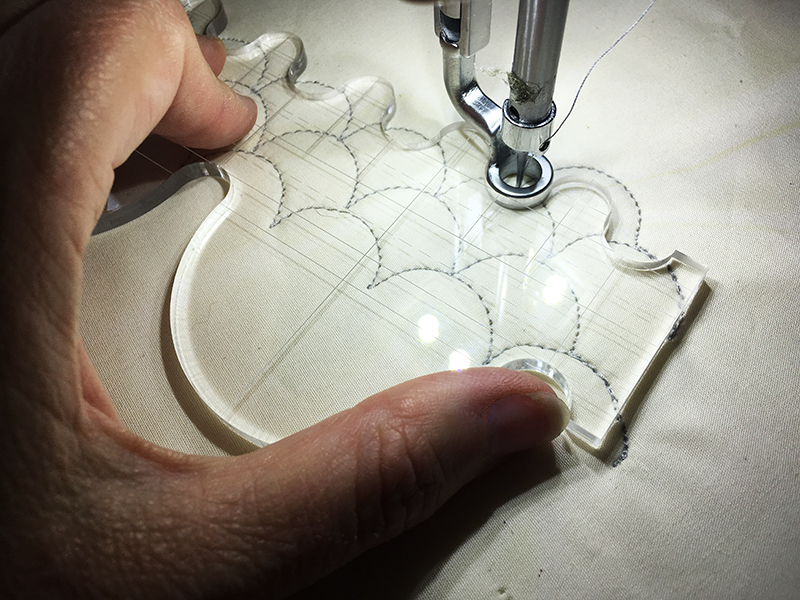 Working with rulers takes practice, so make a sample quilt sandwich and settle in for some play time before you start an important piece. Keep these pointers in mind:
- Hold the ruler firmly against the ruler base and foot. You'll press downward a bit against the base, and press to the side for contact with the foot. Because the foot is in motion, that side-force contact takes more practice. In both directions, the key is to have firm control without pressing hard enough to impede movement.
- Lay the heel of your hand and/or a few fingers behind the ruler, against its back edge. This will help keep the ruler from being knocked to the side as the machine and presser foot move. Take another look at the photo above for an example of my hand position.
- Try to keep the ruler flat, parallel to the quilt surface.
- Be sure that the ruler's edge is always in contact with the presser foot. This is one reason why it's so important to ensure that the needle is centered within the circle of the foot: whether the ruler is to the front, back, or side, it will always be the same distance from the needle.
- Remember that the edge of the ruler marks the position of the foot, not the position of the stitch. Your stitches will be about 1/4" away from the edge of the ruler.
- Use marks on your template as guides for repositioning the template to make pattern repeats.
- Set the needle-stop position to Down and reduce the stitch length, especially if you're using a curved ruler.
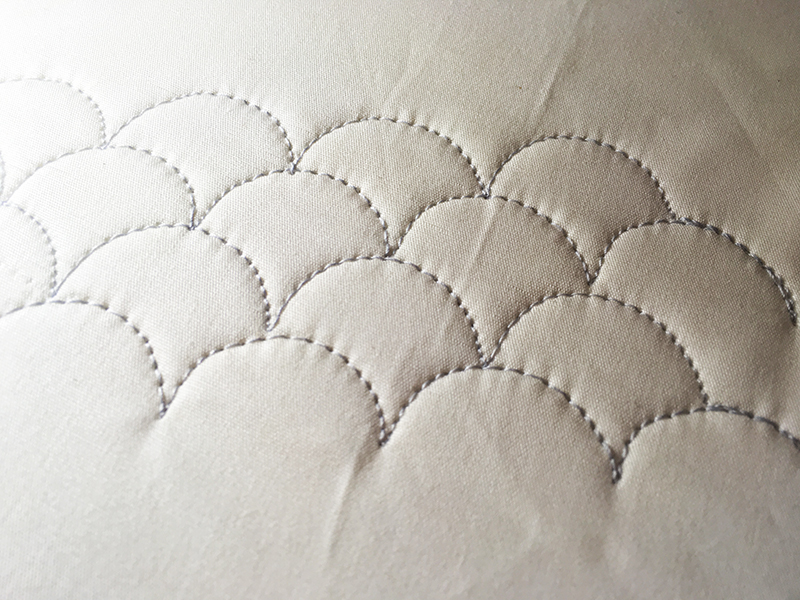 The hopping feet accessory pack gives me another creative way to use my DQ15 and THE Dream Fabric Frame. As always, my favorite advice is to play, practice, and have fun. The more you do, the easier it becomes, and I have no doubt you'll stumble upon your own tips and tricks as you go.

