Quiltbroidery Tips And Tricks: Part Two
~Rebecca Kemp Brent, Brother Sews Ambassador
For more on the basics of patchwork crafting and quilting, check out the following links:
https://www.brother-usa.com/home/patchwork-quilt
https://www.brother-usa.com/home/how-to-make-a-quilt
Stop! Did you see Part 1? Check it out here: http://blog.brothersews.com/quilting/quiltbroidery-tips-tricks-part-1/
Welcome back to our discussion of Quiltbroidery, that fertile land where hooped machine embroidery and quilting come together to make marvelous things possible! In celebration of National Quilting Month, we'll be talking about the actual quilting process: joining a quilt top, batting, and backing to create a traditional quilt. What size quilt can I Quiltbroider? You can Quiltbroider a project of any size using your Brother embroidery machine
! Anything from a placemat or wall hanging to a quilt for your bed can be stitched with the Brother Luminaire 2 XP2
or other similar embroidery machines. The trick lies in how you handle the bulk of the project so that there's no detrimental drag on the embroidery hoop – or on your shoulders! First, consider where your embroidery machine is positioned. Be sure that there is space behind and to the left of the needle bar, so that you can freely maneuver the project as it's quilted. Next, be sure that you provide support for the quilt, especially if it is larger than a wall hanging. Placing your machine on the near right corner of a table leaves the table surface open behind and to the left of the machine. The quilt can rest there, and won't be caught on your knee, the edge of the table, etc., which will arrest the hoop movement and throw the quilting-motif placement off. [caption id="attachment_27174" align="aligncenter" width="800"]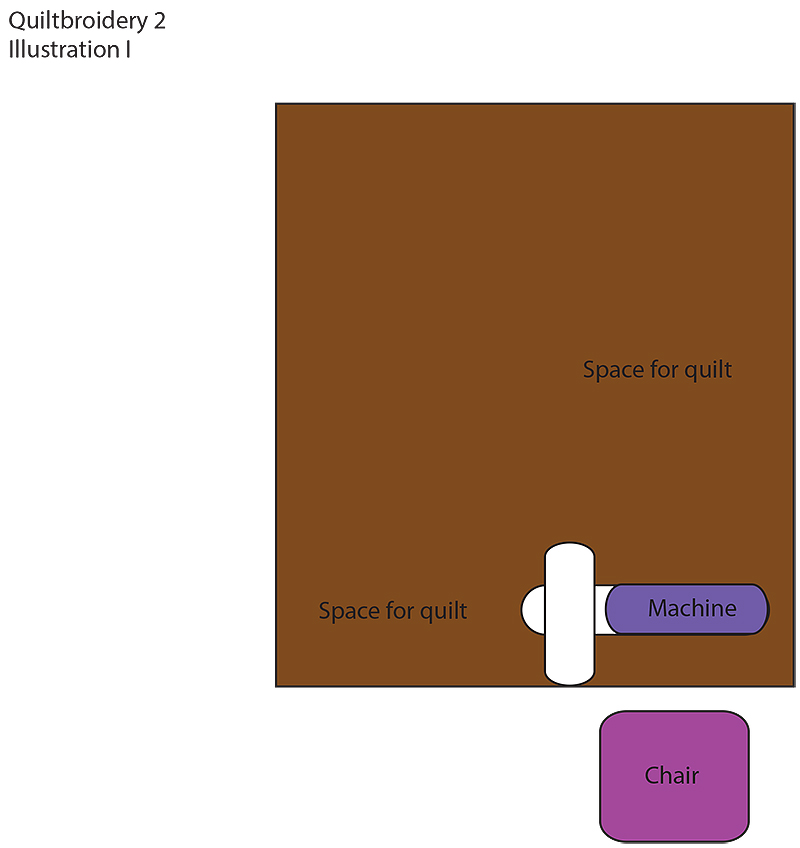 I[/caption]
Also consider quilt-as-you-go projects. That's a quilting technique that divides a large project into manageable portions; they may be as small as a single quilt block, or larger units made up of blocks sewn together. Each piece is truly quilted – batting and backing included – and the units are assembled at the end in a way that hides the raw edges along the seams.
[caption id="attachment_27176" align="aligncenter" width="800"]
 J[/caption]
[caption id="attachment_27175" align="aligncenter" width="800"]
 J 2[/caption]
This queen-size quilt was embroidered and quilted in a 6" x 10" hoop, using quilt-as-you-go techniques.
What's the process for Quiltbroidery?
To quilt with Quiltbroidery, you'll need embroidery designs that are digitized for your machine, and you will be limited by the maximum hoop size available. For the Brother Luminaire 2, that's an enormous 10 5/8" x 16", but you can Quiltbroider in any size hoop. The doll quilt shown in part 1 was quilted with only a 4" x 4" hoop!
[caption id="attachment_27161" align="aligncenter" width="800"]
 G[/caption]
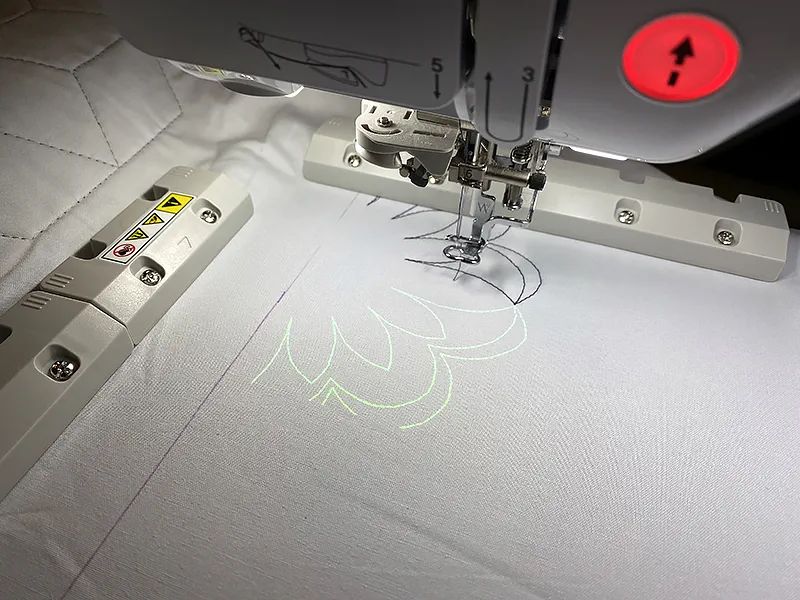
You'll need to hoop each area of your project that will be quilted, rehooping between one area and the next. Templates, your machine's built-in functions, and the projector can be a big help for aligning successive motifs.
[caption id="attachment_27177" align="aligncenter" width="800"]
 K[/caption]
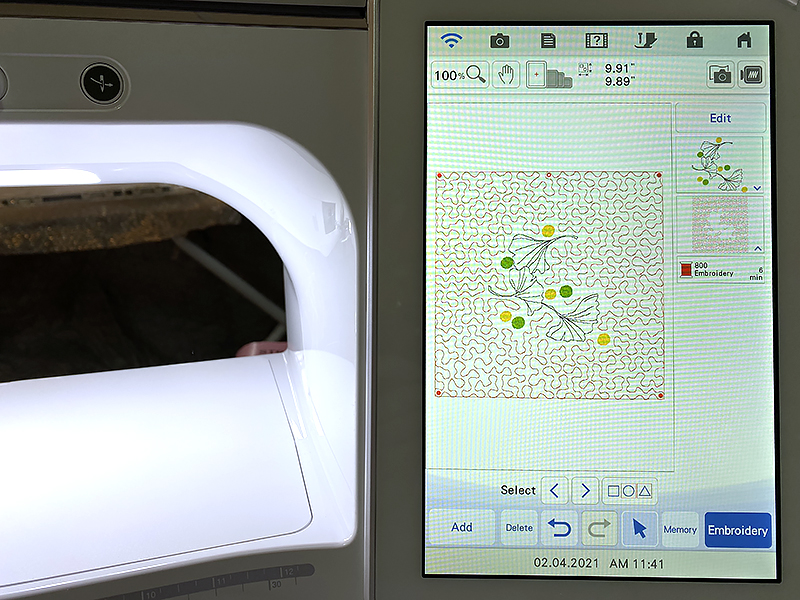
If your quilt includes blank blocks, or if you're quilting a motif without regard to the block's seamlines, just mark the center of a block, hoop the quilt sandwich, and stitch the quilting design around the center point. Use your machine to resize or straighten the motif before stitching. With the Brother Luminaire 2's software, you can even program the quilting to add stippling (meandering) or a quilting motif around an embroidered or printed motif, fitted perfectly to the motif's contours.
[caption id="attachment_27179" align="aligncenter" width="800"]
 L[/caption]
[caption id="attachment_27178" align="aligncenter" width="800"]
 L 2[/caption]
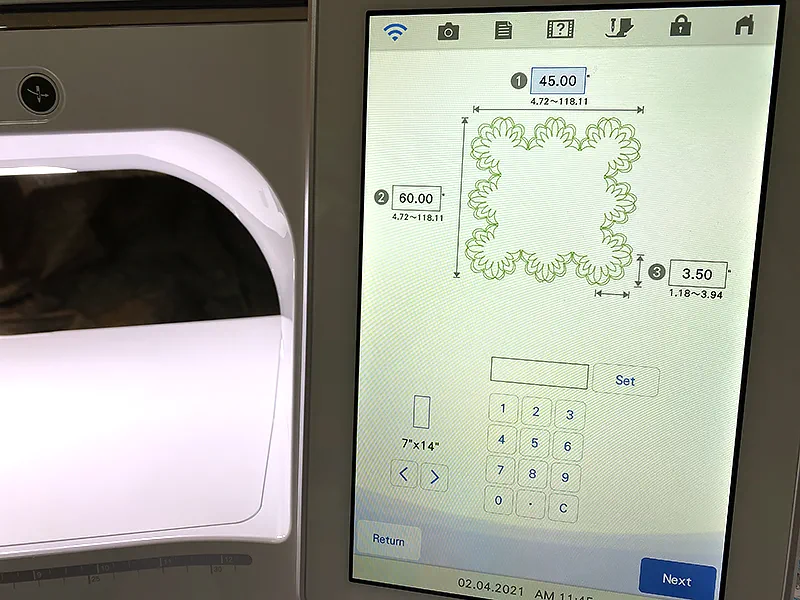
The Brother Luminaire 2's Sashing capabilities let you program continuous border motifs to stitch automatically around blocks up to 29 7/8" x 19 5/8". Semi-automatic borders can be designed and stitched for quilts up to 118" x 118" – that's a king-size quilt! Hexagonal borders up to 4" wide can be designed automatically for hexagons up to 102" diagonally. The machine will give you on-screen commands to take you through the process of aligning and stitching hoop-sized segments, one after another. If you've created a closed border, the designs will even match where the beginning and ending motifs come together!
[caption id="attachment_27180" align="aligncenter" width="800"]
 M[/caption]
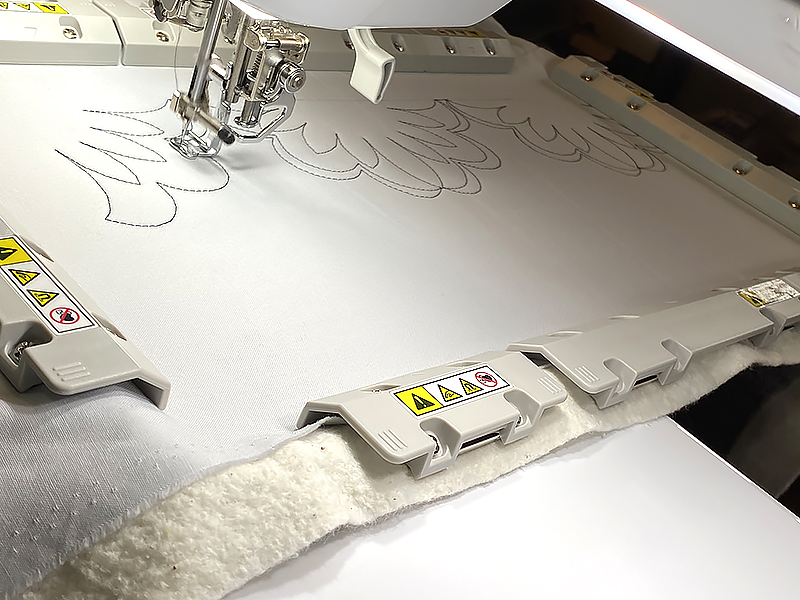
One of the best accessories for Quiltbroidering a continuous border is the magnetic hoop. It allows you to slide the quilt sandwich and clip on the hoop at the new location without lifting and rearranging the fabrics at every hooping. A big project means lots of hoop positions, so anything that simplifies and speeds the process is a huge timesaver - especially for beginner sewers.
[caption id="attachment_27181" align="aligncenter" width="800"]
 N[/caption]
What are some other ways that I can use my embroidery machine for quilting?
While the essence of Quiltbroidery is combining hooped embroidery and quilting, you can certainly enjoy adding any kind of machine work to your quilts. Here are just a few quick tips:
 O[/caption]
 P[/caption]
DESIGN CREDITS G: Brother embroidery card #18 J: Shelly Smola Designs, Cinderella Corners and Cinderella Corners 2; Brother embroidery card #58 L: Built-in designs from Brother Dream Machine 2 M and N: Built-in border design from Brother Luminaire 2 CLICK HERE FOR PDF!
https://www.brother-usa.com/home/how-to-make-a-quilt
Stop! Did you see Part 1? Check it out here: http://blog.brothersews.com/quilting/quiltbroidery-tips-tricks-part-1/
Welcome back to our discussion of Quiltbroidery, that fertile land where hooped machine embroidery and quilting come together to make marvelous things possible! In celebration of National Quilting Month, we'll be talking about the actual quilting process: joining a quilt top, batting, and backing to create a traditional quilt. What size quilt can I Quiltbroider? You can Quiltbroider a project of any size using your Brother embroidery machine
! Anything from a placemat or wall hanging to a quilt for your bed can be stitched with the Brother Luminaire 2 XP2
or other similar embroidery machines. The trick lies in how you handle the bulk of the project so that there's no detrimental drag on the embroidery hoop – or on your shoulders! First, consider where your embroidery machine is positioned. Be sure that there is space behind and to the left of the needle bar, so that you can freely maneuver the project as it's quilted. Next, be sure that you provide support for the quilt, especially if it is larger than a wall hanging. Placing your machine on the near right corner of a table leaves the table surface open behind and to the left of the machine. The quilt can rest there, and won't be caught on your knee, the edge of the table, etc., which will arrest the hoop movement and throw the quilting-motif placement off. [caption id="attachment_27174" align="aligncenter" width="800"]
 I[/caption]
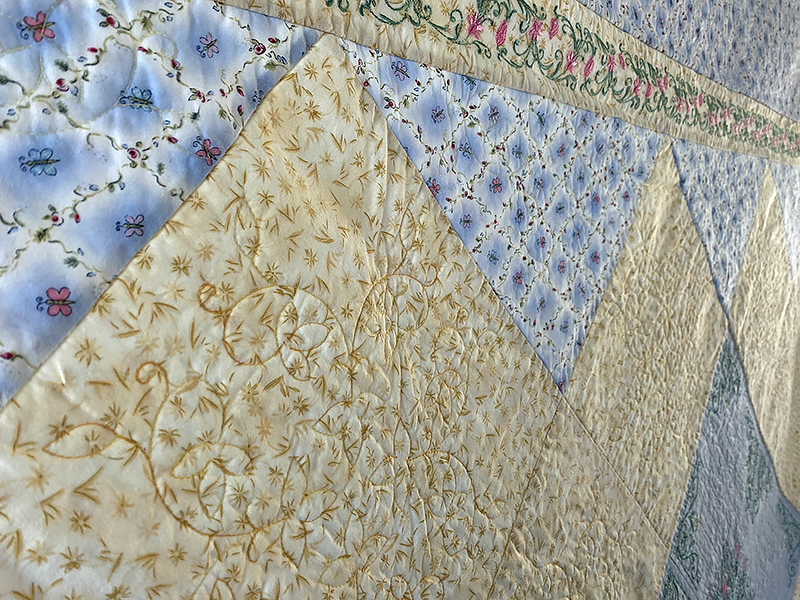
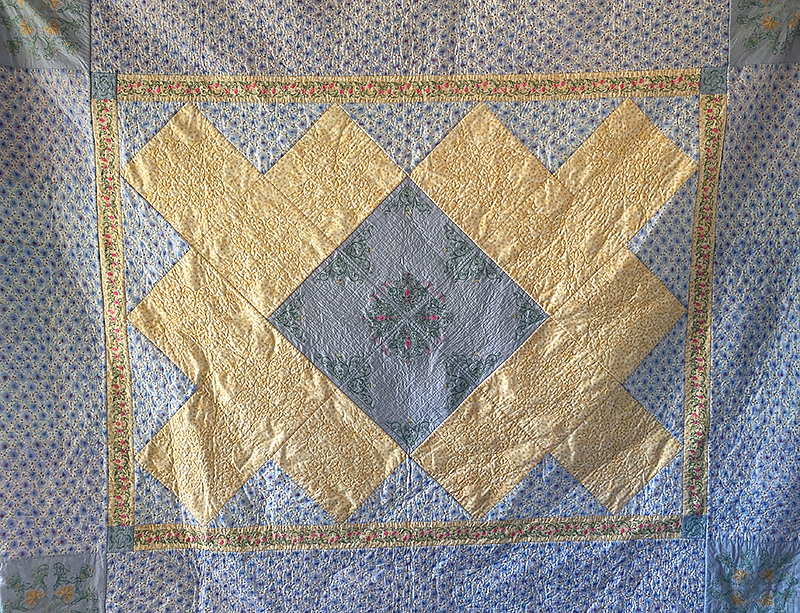
Also consider quilt-as-you-go projects. That's a quilting technique that divides a large project into manageable portions; they may be as small as a single quilt block, or larger units made up of blocks sewn together. Each piece is truly quilted – batting and backing included – and the units are assembled at the end in a way that hides the raw edges along the seams.
[caption id="attachment_27176" align="aligncenter" width="800"]
 J[/caption]
[caption id="attachment_27175" align="aligncenter" width="800"]
 J 2[/caption]
This queen-size quilt was embroidered and quilted in a 6" x 10" hoop, using quilt-as-you-go techniques.
What's the process for Quiltbroidery?
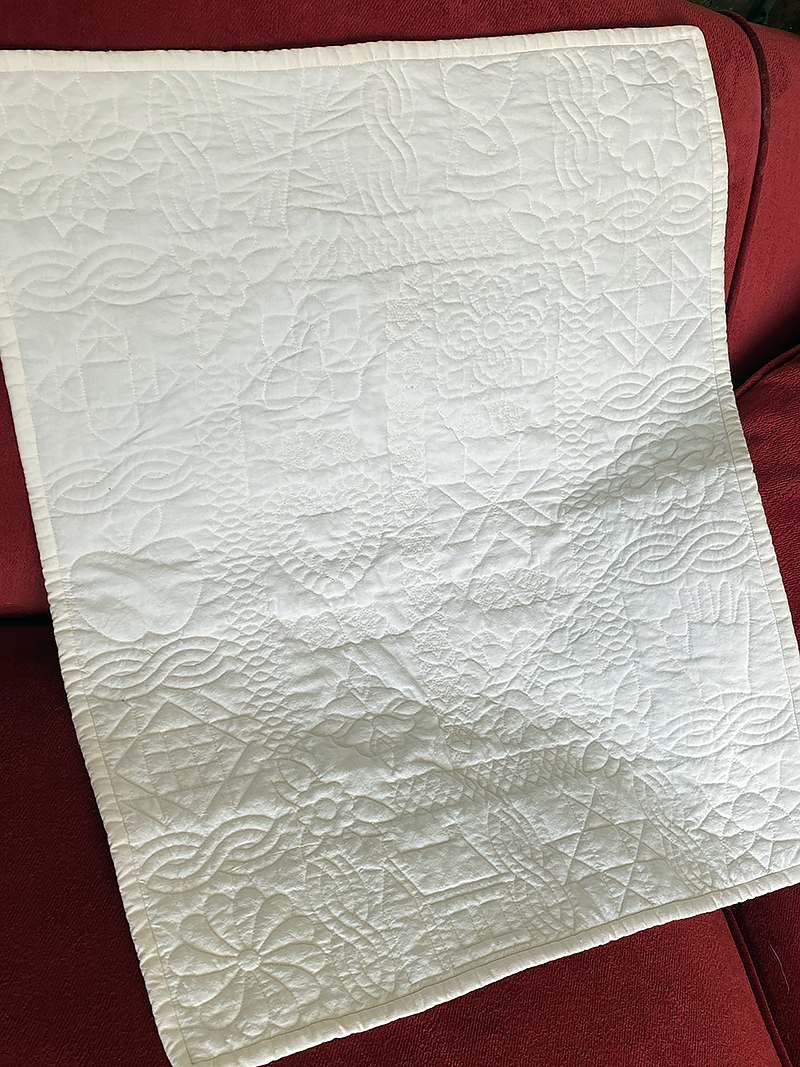
To quilt with Quiltbroidery, you'll need embroidery designs that are digitized for your machine, and you will be limited by the maximum hoop size available. For the Brother Luminaire 2, that's an enormous 10 5/8" x 16", but you can Quiltbroider in any size hoop. The doll quilt shown in part 1 was quilted with only a 4" x 4" hoop!
[caption id="attachment_27161" align="aligncenter" width="800"]
 G[/caption]
You'll need to hoop each area of your project that will be quilted, rehooping between one area and the next. Templates, your machine's built-in functions, and the projector can be a big help for aligning successive motifs.
[caption id="attachment_27177" align="aligncenter" width="800"]
 K[/caption]
If your quilt includes blank blocks, or if you're quilting a motif without regard to the block's seamlines, just mark the center of a block, hoop the quilt sandwich, and stitch the quilting design around the center point. Use your machine to resize or straighten the motif before stitching. With the Brother Luminaire 2's software, you can even program the quilting to add stippling (meandering) or a quilting motif around an embroidered or printed motif, fitted perfectly to the motif's contours.
[caption id="attachment_27179" align="aligncenter" width="800"]
 L[/caption]
[caption id="attachment_27178" align="aligncenter" width="800"]
 L 2[/caption]
The Brother Luminaire 2's Sashing capabilities let you program continuous border motifs to stitch automatically around blocks up to 29 7/8" x 19 5/8". Semi-automatic borders can be designed and stitched for quilts up to 118" x 118" – that's a king-size quilt! Hexagonal borders up to 4" wide can be designed automatically for hexagons up to 102" diagonally. The machine will give you on-screen commands to take you through the process of aligning and stitching hoop-sized segments, one after another. If you've created a closed border, the designs will even match where the beginning and ending motifs come together!
[caption id="attachment_27180" align="aligncenter" width="800"]
 M[/caption]
One of the best accessories for Quiltbroidering a continuous border is the magnetic hoop. It allows you to slide the quilt sandwich and clip on the hoop at the new location without lifting and rearranging the fabrics at every hooping. A big project means lots of hoop positions, so anything that simplifies and speeds the process is a huge timesaver - especially for beginner sewers.
[caption id="attachment_27181" align="aligncenter" width="800"]
 N[/caption]
What are some other ways that I can use my embroidery machine for quilting?
While the essence of Quiltbroidery is combining hooped embroidery and quilting, you can certainly enjoy adding any kind of machine work to your quilts. Here are just a few quick tips:
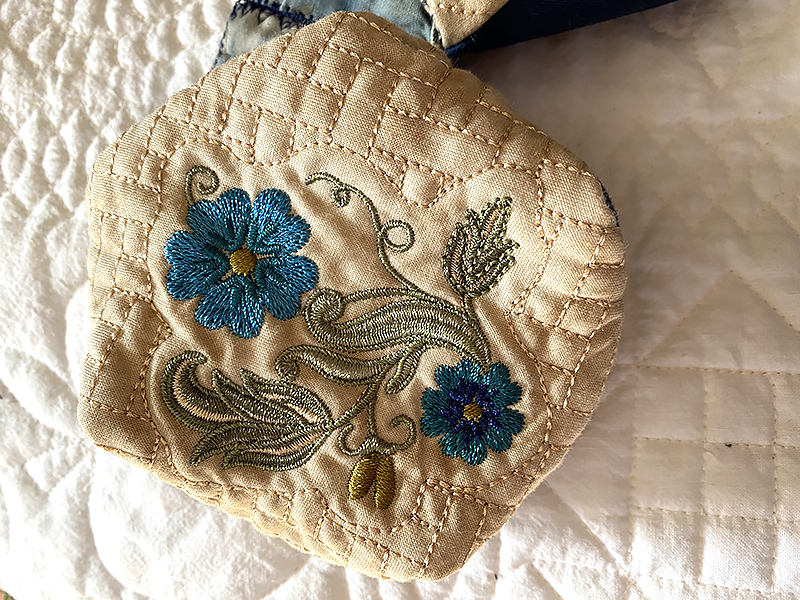
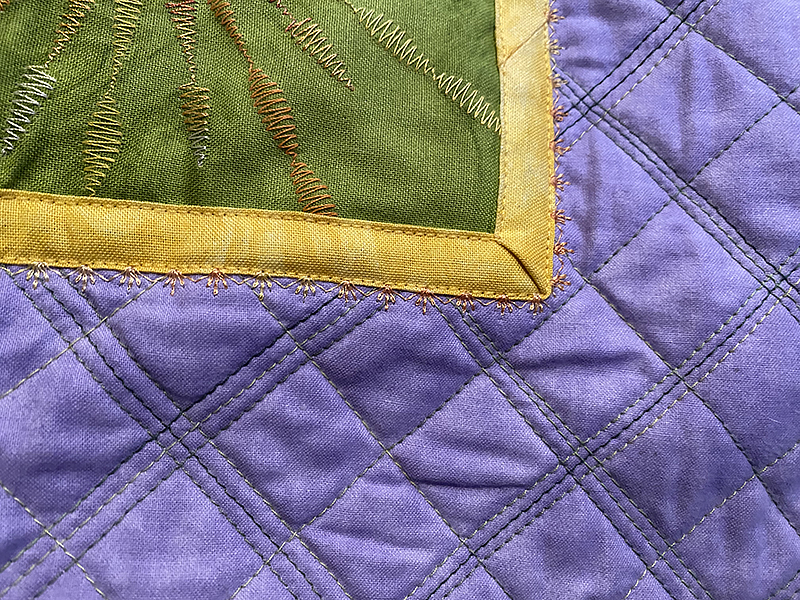
- Use decorative stitches for quilting. My personal favorite is the serpentine stitch. By substituting it for the usual straight stitches in a quilted grid, you can fool the eye…wobbles and variations in the grid spacing disappear.
- Use decorative machine stitches for creating blocks. You can make your own striped or patterned fabric, then cut it into patches or use it as a border fabric for your quilt.
 O[/caption]
- Decorative stitches can also be used for appliquéing shapes. Choose satin stitch motifs, with stitches that are close together, if you need to hide the edges of your appliqués. For raw-edge appliqué, you can choose any stitch at all; it's a good idea to use a fusible web to secure the raw edges of the appliqués before stitching, especially if the project will be laundered or used frequently.
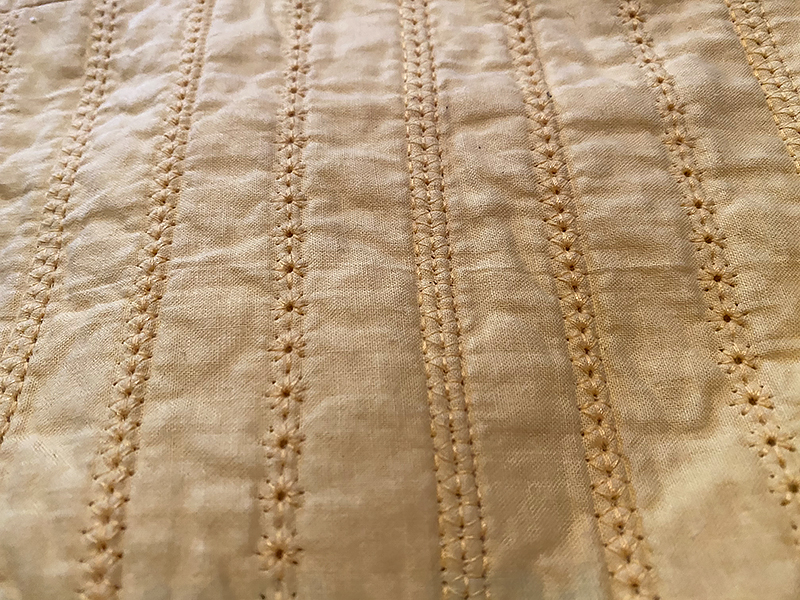
- For a highly unusual textured project, choose a bonded batting (one that doesn't beard or shed fibers easily) and place it between two pieces of cotton fabric. Use a wing needle and fine thread with your machine's heirloom stitches to make a wholecloth quilt or fabric for a bag.
 P[/caption]
DESIGN CREDITS G: Brother embroidery card #18 J: Shelly Smola Designs, Cinderella Corners and Cinderella Corners 2; Brother embroidery card #58 L: Built-in designs from Brother Dream Machine 2 M and N: Built-in border design from Brother Luminaire 2 CLICK HERE FOR PDF!


