How to Make Your Own Market Tote Bag
Brother Sews Ambassador
We’re thinking about spring crafts, and one of the trending "it bags" of the season is the easy-to-make market tote. This DIY bag is so satisfying to sew that you might make one for every day of the week!

SUPPLIES:
- Brother Sewing Machine
- 2 yards of fabric - one for the outer layer of the bag and the handles, - and one for the inside
- Fusible interfacing
- Straight edge & rotary cutter
- Fabric scissors
- Measuring tape
- Fabric marking pen
- Straight pins
HOW TO MAKE IT:
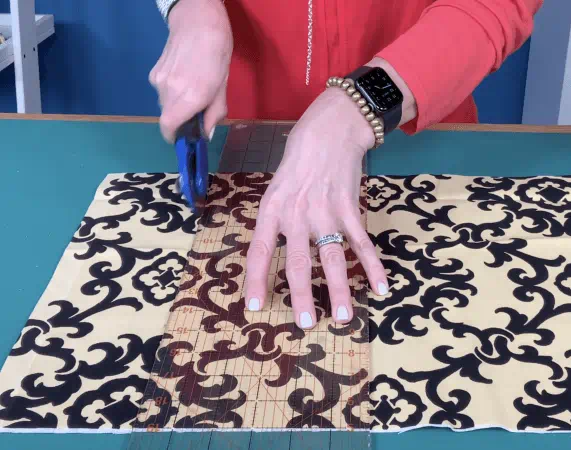
Cutting the fabric:
Start by cutting (2) 14” x 18” pieces of fabric for the outer layer of the bag and cut (2) 14” x 18” pieces of fabric for the inside of the bag. You can vary the size of the tote if you want it deeper or wider, but just make sure you cut the same size for all four pieces of fabric.
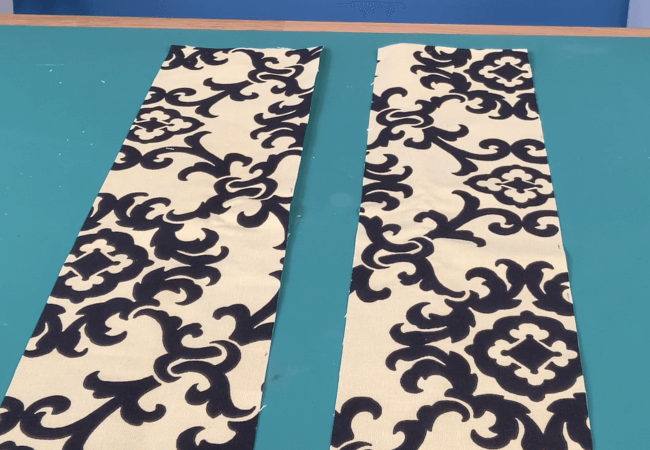
Cut (2) 5” x 24” pieces for the handle. You can adjust the length here as well.
Quick note: for the material, use something heavier like duck, or canvas, twill, denim or even upholstery fabric for the outer layer of the tote and a lighter weight fabric for the inside.
Sewing the bag:
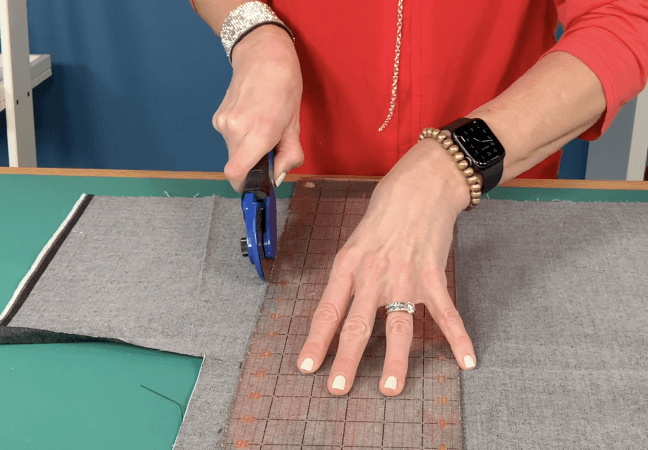
Cut two pieces of fusible interfacing for the outer layer of the bag. Iron it to the wrong side of the fabric.
Place the outer layer fabric right sides together and sew three sides, leaving one of the 14” sides open.
Now place the inner layer fabric right sides together and sew three sides, leaving one of the 14” sides open.
On the sewn fabric pieces, measure a 2” x 2” square at the lower corners of both pieces, then cut out each corner.
Open the 2” x 2” corner and line up one side with the other side. Make sure the, right sides are facing each other. Secure with pins and sew the opening shut.
You need to do this to all four corners, the two corners on the outer fabric piece and the two corners on the inner fabric piece. This will make the bottom of the bag 4” wide.
At this point, you should have two separate bags.
Making the handles:
Fold the 5” x 24” piece of fabric right sides together and sew the long edge. Turn it right side out and press with the seam running up the center.
Do the same with the second piece of 5” x 24” fabric.
Fold the fabric tube in half and mark the center point; then measure 3 inches from both sides of the center and mark with a pin.
You will sew the folded fabric tube in the center from pin to the pin.
Attaching the handles:
With the outer layer of the bag facing right side out, measure placement for the handles, pin the handles on the right side of the bag and sew in place. Do the same to the other side.
Measure the handle placement so they match up on both sides of the tote.
Finishing the tote:
Turn the outer layer of the bag wrong side out and place the inner layer into the bag right side out; make sure the bags are inserted into one another with the right sides together.
Pin the edge and sew all the way around the top of the tote leaving a 3 inch opening.
From that 3 inch opening, turn the tote right side out.
Insert the inner layer of the tote into the outside layer.
Fold in the raw edges of the 3 inch opening, press and top stitch all the way around.
And your homemade market tote bag is complete!
Related Projects
Stay Connected
* Required fields