Mealtime Set for Your Pet with Simply Appliqué™
In honor of National Pet Day and our furry four-legged family members, I created a mealtime set for my lovable Princess. She brings so much joy to our lives that it is a pleasure to make items for her to enjoy. She just hates to have her feet on tile or hardwood floors and is very skittish when she eats. My way around this is to have a placemat for her dishes. I also thought it would be fun to add a little fun to her dishes as well, so I created an easy band to wrap around the dish with a hook and loop closure. These are both quick and easy projects using Simply Appliqué™. This entry level software allows you to combine designs, lettering and create artwork .FCM files (Fabric Cutting Machine) for the ScanNCut and ScanNCut2
.







.
Steps to Create the Dish Wrap
Cutting the Fabric
For the dish wrap, measure around your dish setting to get an idea of how much space you have for the design. Measure a piece of fabric about 2 inches longer that the wrap measurement and wide enough for the height of the hoop you want to use. Let's create a Wrap design in the software.Note: The extra two inches allow for stitching and for a hook and loop closure overlap. Be sure to cut your piece of fleece fabric to those dimensions.
Creating the Wrap Design in Simply Appliqué™
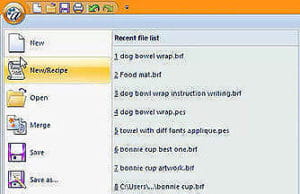
- In Simply Appliqué™, click on the Pacesetter pull down menu and choose New Recipe.

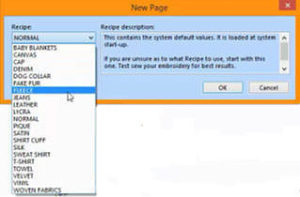
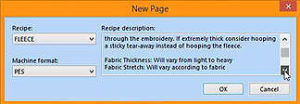
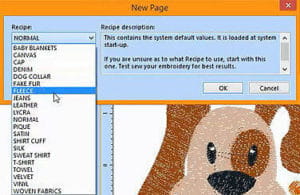
- Choose Fleece from the Recipe pull down menu. In the window, next to the drop down menu, you can read about the fabric properties, the recommended threads, needles and stabilizers for embroidery on fleece. (You will find this a valuable resource.)


- Press OK.
- Click on the Hoop down arrow
 and choose Select Hoop
  .
.
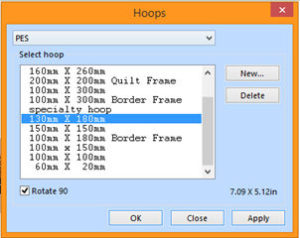
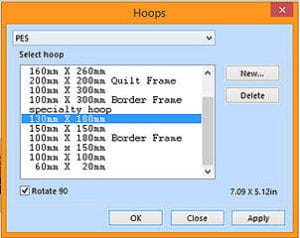
- Choose the 130x180mm hoop (5x7 inch), place a checkmark in front of Rotate 90, click Apply and then OK.

- Click on Add Design button
 .
.
- Click on the Arrow next to the folder dropdown menu and then choose Accents.
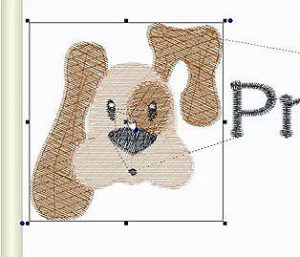
- For the design I used for my pet set, choose Accent 057. If you have a cat, you might choose Accent 124 or 125, or change the folder to Applique and choose Applique 089. Want more design choices? There are also dog bones in the Accent design menu. Pick something that you like!

- Left mouse click on the design page to the left side of the hoop to insert the design at the size it was created.

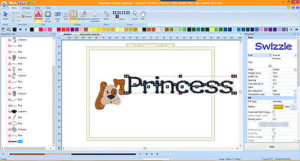
- Click on the Normal Text tool
 . Click on the design page next to the dog design to activate the text tool.
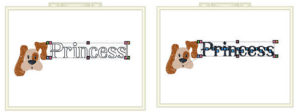
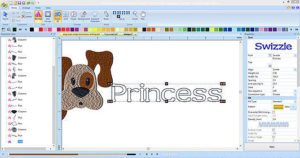
 - Type in your furry friend’s name and then left click away from the lettering or click Apply to set the lettering.

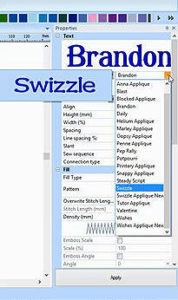
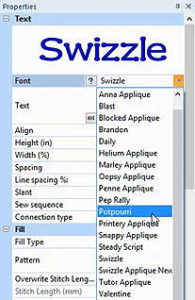
- In the Properties window, click on the down arrow next to the currently selected font.

- Scroll down or use the up and down arrow keys to move through the fonts. If you use the up and down arrow keys, you will see a preview of the font style in a fly out window. Left mouse click on a font style that you find appealing. I used the Swizzle font and Click Apply.


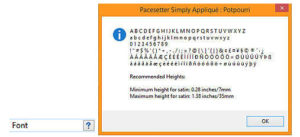
- In the Properties window, next to the word Font, there is a question mark, click on the question mark. This will display the minimum and maximum height for the selected font style as well as what characters are available for the font style.

- In the Properties window, change the height to .51 inches and then click Apply. NOTE: If your system is showing metric, this is 13mm.
- Click on the Select tool
 then click on the dog design.
 - Click on the Copy button
 or right mouse click and choose Copy.
Keystroke Tip: Another way to Copy: you can also hold down the Control key on the keyboard with the C key to copy.
- Click on the Paste button
 or right mouse click and choose Paste.
Keystroke Tip: Another way to Paste: You can also hold down the Control key with the V key to paste).
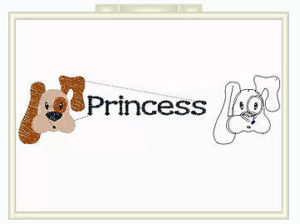
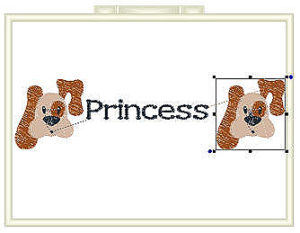
- This will insert a copy of the dog on top of the current dog. There will be an x in the center of the design element. Place your cursor on top of the x and the cursor will change to a hand shape.

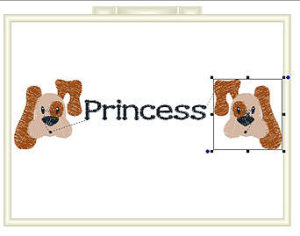
- Hold down the left mouse button and drag the dog over to the right side of the lettering.
Keystroke Tip: If you hold down the Shift key on the keyboard while dragging, the design will stay in a straight line.

- Release the mouse when the dog is in position.

- Click on the Arrange Tab
 .
. - Click Flip Horizontal
 .
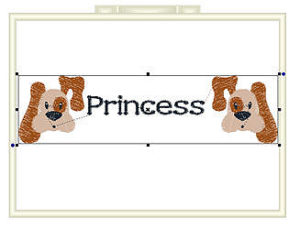
. - Hold down the Shift key and click on the other dog to select both dogs.

- Right mouse click and choose Group.

- Click on the Select tool down arrow and choose Select All
 .
. - Click on the Horizontal Center button
 .
. - Click on the Vertical Center button
 .
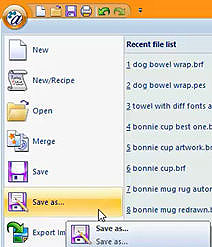
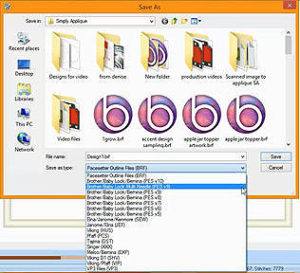
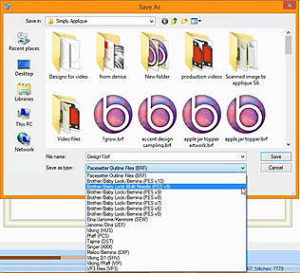
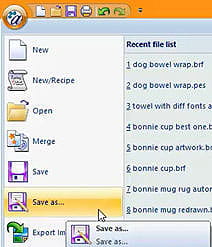
. - From the Pacesetter pull down menu choose Save As.

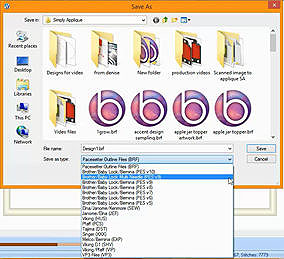
- Choose the file extension for your machine.

- Name the design and then press Save.

IMPORTANT: If you think you will want to edit the design later, you should save the file again now, this time choose the .BRF file extension. This is the editable file format.
Below are the stabilizers listed in the Recipe description box:
- SA5815 Pacesetter® Medium-Weight, Adhesive Tear-Away
- SA5818 Pacesetter® Heavyweight Tear-Away
- SA5929 Pacesetter® Heavyweight Cut-Away
- SA520 Lightweight, Water Soluble
Embroidering the Design on the Dish Wrap
- Mark the center of your embroidery placement on the fleece you cut previously above.
DID YOU KNOW: You can print out a template from Simply Appliqué™.
- To embroider the design, cut a piece of the Medium-Weight, Adhesive Tear-Away Stabilizer
to fit your 5x7 inch embroidery hoop. It is a good idea to cut about an inch extra around each side of the hoop measurement to ensure that the stabilizer fits in the hoop. - Hoop the stabilizer.
- Score the center of the paper only, and peel it away. Be sure to avoid cutting the stabilizer when you do this step.
- Lay your fabric in the center of the hoop upon the adhesive side of the stabilizer where you want the embroidery placed. Since you have cut fabric, you can always straighten it if you hoop slightly out of place.
- Tape a piece of the clear water soluble stabilizer on top of the fabric.
Embroidery Tip: If you use medical paper tape, it sticks well and is easily removed.
- Insert the hoop into the machine.
- Float a piece of Cut-Away Stabilizer
between the hoop and the machine. - Embroider the design. If the project seems to pucker on you, you can add a piece of the Medium-Weight Tear-Away Stabilizer
under the Cut-Away Stabilizer. - After you have embroidered the design, square up the fabric and turn the fabric right sides together lengthwise and sew into a tube. I usually leave an opening in the center back of the tube to allow for easy turning and a hidden seam to close. If you prefer, you can leave one end open instead. Turn right side out and press the area with the seam to the center back of the tube. Tack the opening closed.
- Wrap around the dog dish to determine where hook and loop dots need to be applied. (I use the sticky ones). Place them onto the ends of the project to where the wrap is snug around the dish. For the best strength, stitch the hook and loop into place.
- Tear away the Water Soluble Stabilizer
and spray with water to remove any excess. - Now you have a great addition to your Princess’s or Prince’s dishes.
Steps to Create a Placemat
Cutting the Fabric
If you want to make a matching placemat, that is easily created as well. You can be creative with this! I used an oval but you can cut out an octagon or any other shape that catches your fancy. I drew myself a template for the oval placemat by tracing an existing placemat that I had, then added ½ inch extra all around for seam allowance, cutting 2 pieces out of fleece so that I would have a front and a back side.Creating the Placemat Design in Simply Appliqué™
- Click on the Pacesetter pull down menu and choose New Recipe.

- Choose Fleece from the dropdown menu and click OK.

- Click on the Hoop down arrow
 and choose Select Hoop
  .
. - Choose the 130x180mm hoop (5x7 inch), place a checkmark in front of Rotate 90, click Apply and then OK.

- Click Add Design
 .
. - Accents should already be selected if you created the wrap, if it isn’t, select Accents from the Folder dropdown menu. Choose the same accent design that you used for your dish wrap. Mine was Accent-057

- Left mouse click on the design page to insert the design onto the design page.
- In the Properties window, place a checkmark in front of Absolute.
- Change the Width to: 3.17 in. and then click Apply.

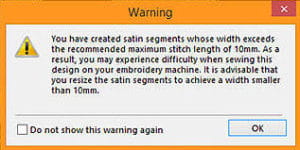
- A message will appear on the screen that tells you a segment of the design has a satin stitch that it larger than 10mm. This is longer than is recommended for any stitch segment to exceed. Click OK. Don’t worry, we can change it!

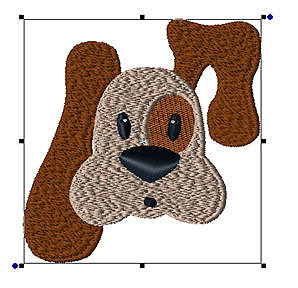
- Click on Draw 3D
 to view the design realistically.

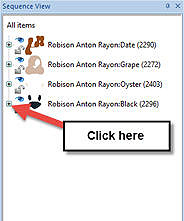
- Looking at the dog, I see that it has a large satin stitch for the nose. In the Sequence window, click on the Plus Sign next to the black segment to expand it so we can isolate the nose.

- Scroll down the sequence and then left click on the nose shape in the Sequence window. It is easily identifiable.

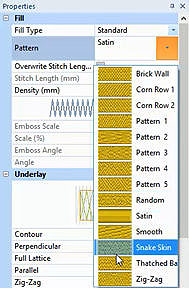
- In the Properties window, next to Pattern, you will see a dropdown arrow next to the word Satin. Click on the dropdown arrow, select a different stitch pattern and then click Apply.
- Click Apply.
- Click on the Text tool .

- Click on the design page to activate the tool and type in your text.
- Type in your pet’s name. You can do this directly on the screen.
- Left click away from the text or click Apply to set the text.
- If desired, you may change the text style to something else. I used the Potpourri font on the placemat. You may want to have your mat match your wrap. If so, you can leave the font at Swizzle. If you want a different font, select it from the font dropdown menu and choose Apply.
- If the lettering is too large for your hoop, change the size in the Properties window and then click Apply. Remember to check to see how large and small a font may be embroidered by clicking on the Question Mark next to Font in the Properties window.
- From the Pacesetter pull down menu choose Save As.
- Choose the file extension for your machine.
- Name the design and then press Save.
- On the top piece of your fleece, mark the placement for the center of your embroidery design on your project.
- To embroider the design, cut a piece of the Medium-Weight, Adhesive Tear-Away Stabilizer
to fit your 5x7inch embroidery hoop. It is a good idea to cut about an inch extra around each side of the hoop measurement to ensure that the stabilizer fits in the hoop. - Hoop the stabilizer.
- Score the center of the paper only, and peel it away. Be sure to avoid cutting the stabilizer when you do this step.
- Lay your fabric in the center of the hoop where you want the embroidery placed (since you have cut fabric, you can always straighten it if you hoop slightly out of place.
- Tape a piece of the clear Water Soluble Stabilizer
on top of the fabric. - Insert the hoop into the machine.
- Float a piece of Cut-Away Stabilizer between the hoop and the machine.
- Embroider the design. If the project seems to pucker on you, you can add a piece of the Medium-Weight Tear-Away Stabilizer
under the Cut-Away Stabilizer. - Remove the embroidery from the hoop.
- Press lightly from the back side with an iron.
- Place the front embroidered fabric and the placemat back piece of fabric, right sides together. Pin.
- Stitch together leaving an opening on one side large enough to turn the project right side out through. I usually choose the top or bottom for easy closure.
- Once sewn, turn right side out and press.
- You can stitch the opening closed or use a piece of wonder under tape to close the opening.
- Top stitch along the edge all around if you want – to add a bit of flair, you might want to use one of the decorative stitches on your sewing machine.
- Tear away the Water Soluble Stabilizer
and spray with water to remove any excess.
Tip: You can exceed the size for the Maximum by changing the stitch type, but I don’t recommend going smaller than the parameters suggest.

Embroidering the Placemat
DID YOU KNOW: You can print out a template from Simply Appliqué™.
Tip: I always cut my fabric larger and then square up after I have finished the embroidery.
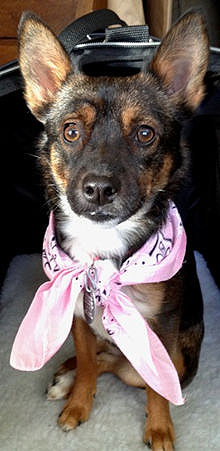 Happy Princess![/caption]
