October Quick Tip
Time for another Brother Sews Quick Tip!
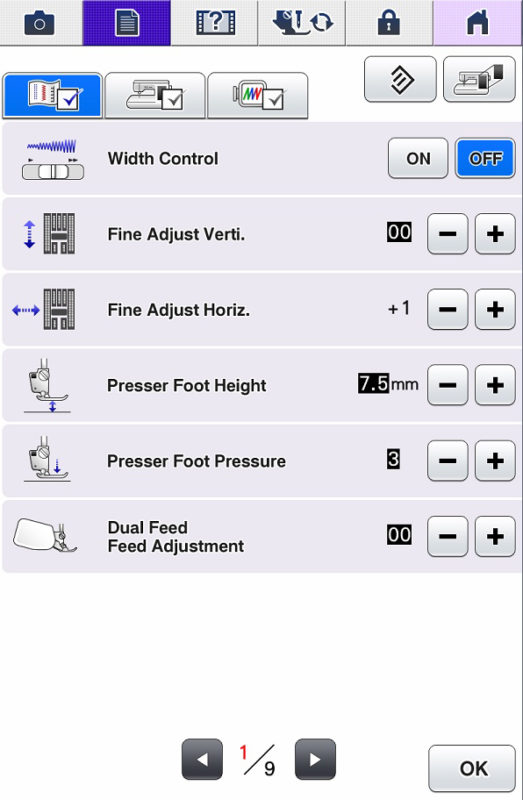
Sew binding with the feather stitch and the MuVit Foot! Lots of projects benefit from a coordinating or contrasting binding. Certainly, there are a variety of ways to attach binding both ready-made and custom made. Regardless of the method, binding is sewn to the topside of the fabric and the wider side is wrapped to the back. The final step for sewing involves catching the binding on the back side of the piece. Some sewing enthusiasts like to finish their binding by hand and others like to use the machine. One of my favorite ways to finish binding is with the feather stitch. You can use this technique with the standard “J” foot or an open toe foot. However, if you are binding a long length of fabric your binding can shift. That’s where the belt driven MuVit foot saves the day. Here are just two of the many advantages for using this foot. #1: This foot can be adjusted using the settings mode so it eases more of the top fabric, or in this case the binding. If you find the binding is being pushed as you stitch it, you can use the plus key to help ease the binding on the top side. See Figure #1. [caption id="attachment_17482" align="aligncenter" width="523"] Figure #1[/caption]
- Unlike a walking foot, this digital dual feed foot allows you to use a variety of back and forth and side to side stitches such as the feather stitch. I suggest you practice on scraps before you commit to sewing on your final project. Experiment with the setting until your binding lays smooth and even as you stitch. When you’re ready to sew the binding on your project you’ll be surprised at how neatly the feather stitch catches all layers of the binding.
Note: The MuVit foot is packed with some Brother model machines and available as an option for others. In addition, there are a variety of optional accessories that work with the MuVit foot. Visit brothersews.com
for more information.
for more information.
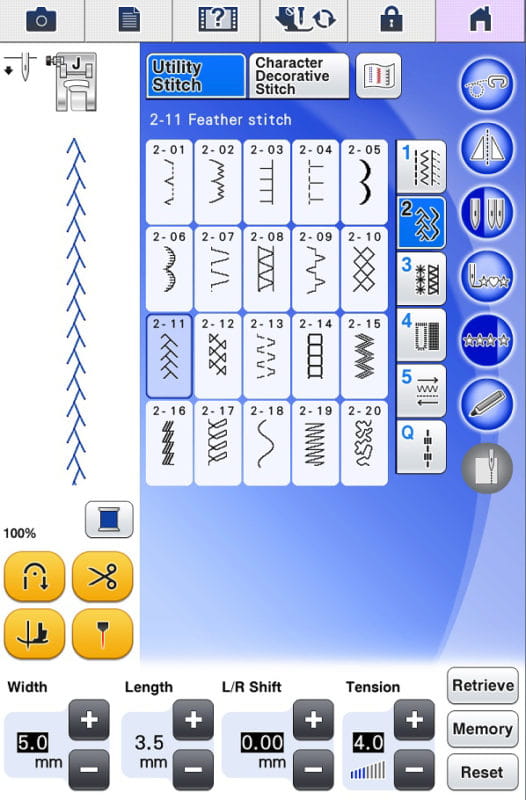
- To secure the back side of binding that is already stitched to the top side of fabric, select the feather stitch and open it up a bit by changing the length to 3.5. You can also change the width if you like but I left it at the default. See Figure #2.
Note: Prior to selecting the feather stitch, you can use a straight stitch and the MuVit foot to sew the binding to the top side of the fabric. For small projects I often skip this step and simply wrap the binding around the raw edge as I stitch. You can also consider using fabric glue to hold binding in place. Be sure to use wash out glue and let it dry thoroughly before stitching.
[caption id="attachment_17483" align="aligncenter" width="526"] Figure #2[/caption]
- Attach the digital dual feed foot, otherwise known as the MuVit foot.
Don’t forget to plug it in to the port on the machine. Use the optional Open Toe Foot for MuVit
if you have it.
Note: You’ll see that all allowable stitches for use with this foot are available for you to select. Unsuitable stitches are not accessible, preventing you from making any mistakes.
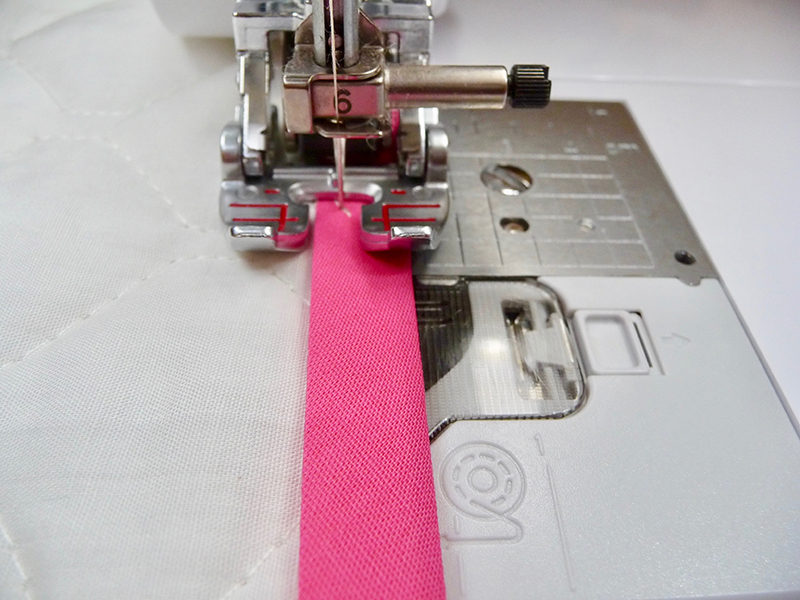
- Sew binding with the majority of the stitch forming on the binding. See Figure #3.
 Figure #3[/caption]
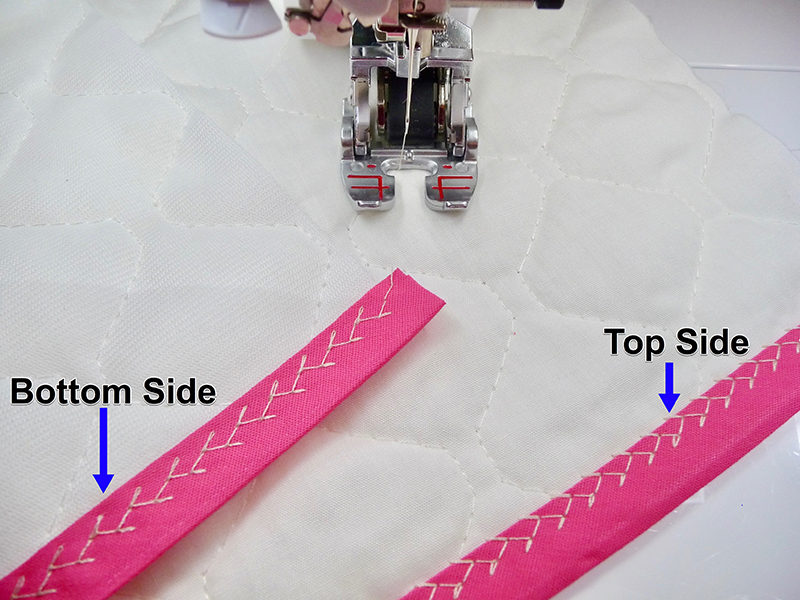
- Since the feather stitch skips from right to left you’ll be sure to catch all of the binding on both the top and the bottom side and create a decorative edge at the same time. See Figure #4.
 Figure #4[/caption]

