Part 1: Minnie Mouse Grab and Go Tote

Cute, cute, cute! The 1750D
is a versatile sewing and embroidery combination machine that proves that you can make magic with a four by four inch hoop. Perfect for those who are new to the world of embroidery, its portability makes it a great second machine for travel and sewing retreats. Are you ready? Let's go sew!
Materials and Supplies:
- Brother Sewing and Embroidery Machine
with 4-inch by 4-inch hoop size - Brother Polyester Embroidery Threads
- Brother Bobbin Thread for Embroidery
- SA5810 Brother Pacesetter® Medium Weight Tear-Away Stabilizer
- Embroidery needle for embroidering
- Basic sewing notions including thread to match fabrics and a size 14 machine needle
- Paper, pencil, and ruler for making tote pattern
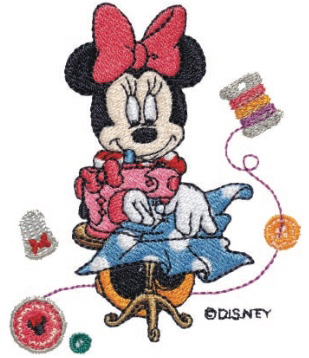
- Embroidery design for bag front. Tote features Brother Design Motif No.12 from built in menu of the Brother NS1750D. See below:
Fabric for tote:
- Fabric #1: Two pieces of firm cotton measuring 13" wide X 13" long for outside of tote
- Fabric #2: Two pieces of novelty cotton print measuring 13" wide X 13" long for lining tote
- Fabric #2: Two strips of matching fabric measuring 4" Wide by 18" long for straps
- Fabric #2 or another coordinating fabric: Two strips of fabric measuring 3 ½" Wide by 14" long for trimming top of bag front and back
Note: Bag measures approximately 10 ½-inches tall from top to bottom, and X 11 ½-inches wide along top edge when finished.
Steps to Create Embroidered Tote
- Begin by making a simple pattern to use for cutting fabrics for your tote. Draw the pattern using the image below as a guide.
Tip: It's a good idea to make this out of durable paper to keep and re-use. Consider printing the project instructions and storing them with the pattern in a zipper bag. Next time you need a new tote or a gift for a sewing friend you'll be good to go and ready to sew!
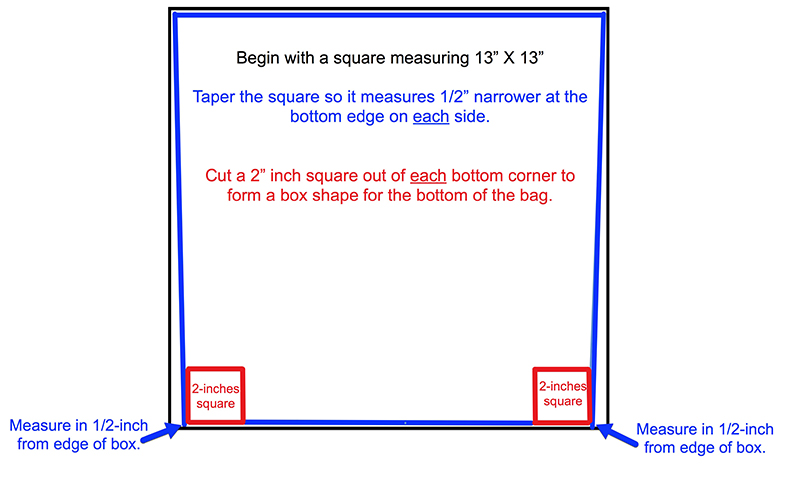
- Use the pattern to cut two outside bag pieces from fabric #1 and two lining pieces from fabric #2.
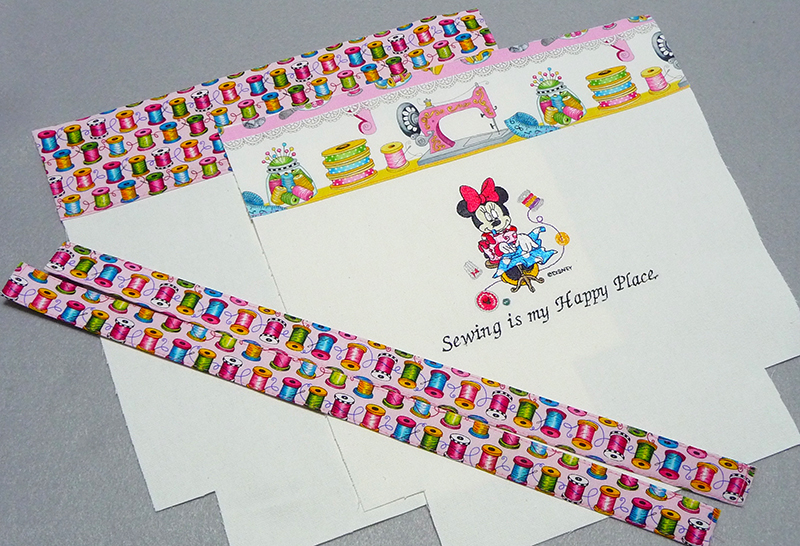
- Embroider your desired design with or without lettering in the approximate center of the bag front piece. Realize the fact that trim covers 3-inches of the top edge, and 2-inches of the bottom edge is taken up with the boxed corners. Align your design accordingly. Be sure to add a layer of tear away stabilizer on the wrong side when you stitch.
- Turn and press under ½" on one long edge of each of the strips cut for trim. Place a 3½" Wide by 14" long strip at the top edge of bag front and bag back, having raw edges even at the top and excess extending at the sides. Topstitch along the pressed edge to attach to bag front and bag back. Trim excess fabric at sides.
- To form straps, begin by pressing the strip lengthwise with wrong sides together, forming a crease at the center. Next, fold each long edge toward center, fold a second time to form strap, and then topstitch along each long edge. Press. To prepare for constructing the bag, gather together all pieces, including straps, bag front and back, and lining.
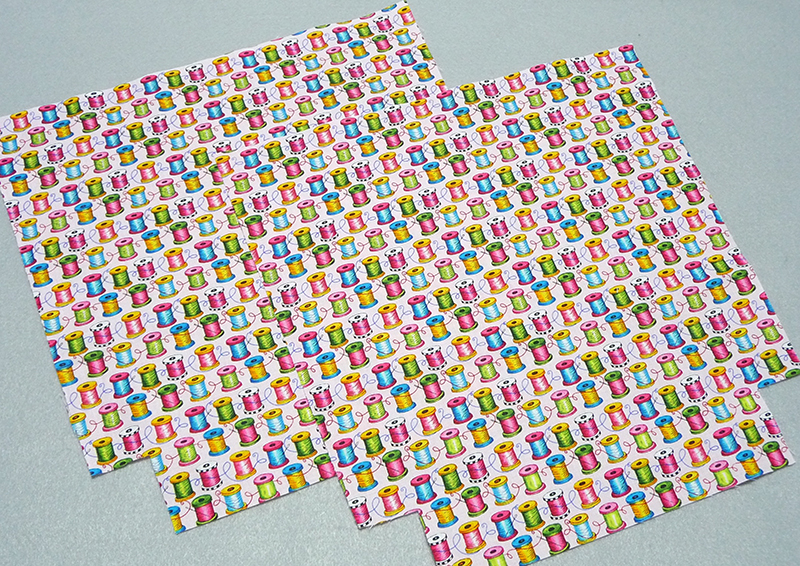
- Select lining pieces and sew side seams with right sides together. Sew bottom seam leaving an unstitched space in the center.
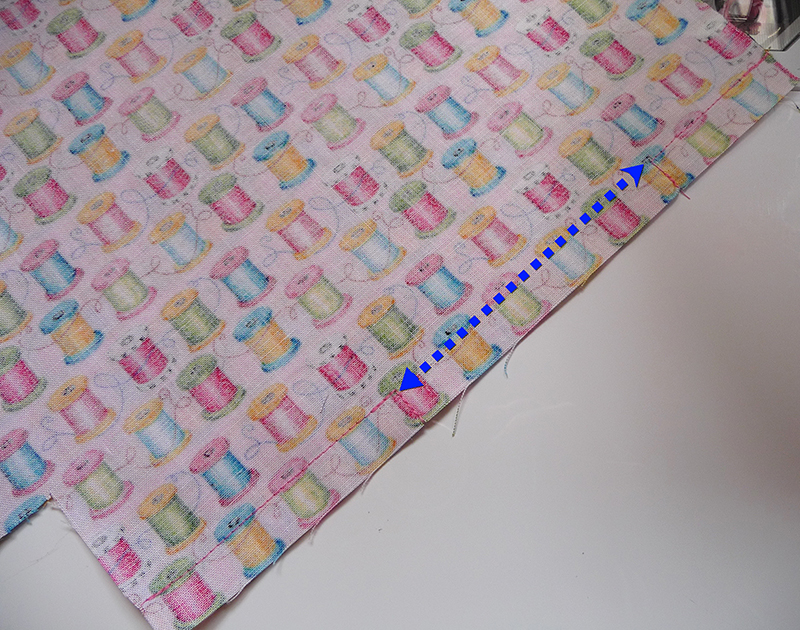
Tip: As a general rule it's good to leave a space measuring the width of your hand as an opening for turning. Anything smaller will likely produce a struggle when it's time to turn right sides out. For heavy fabrics you may need a larger opening.
- Press side and bottom seams of lining open.
- Next, sew side and bottom seams for front and back bag pieces, having right sides together. No opening is needed here. Press seams open.
- To form boxed corners on lining and on outer bag fold each corner matching the side and bottom seams with right sides together and raw edges even. Sew each seam using a ½" seam allowance. See example below:
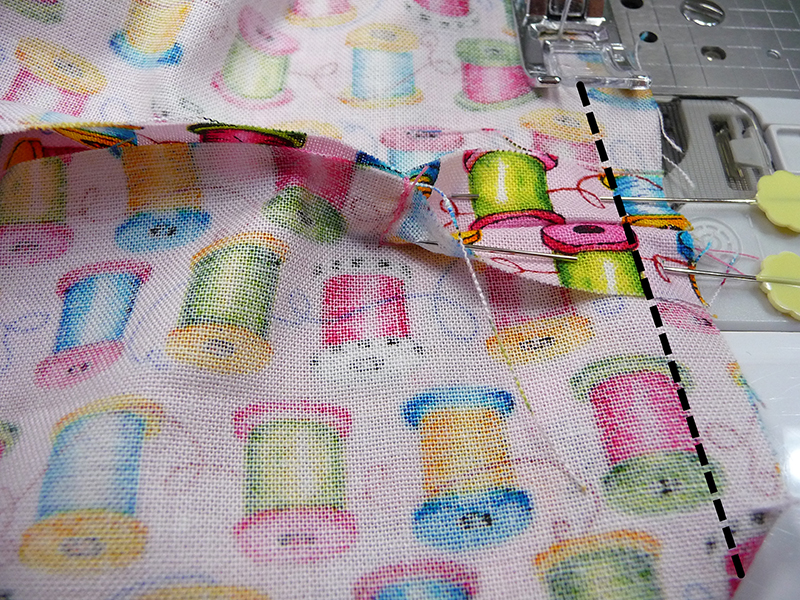
- Pin short ends of straps to top raw edge of outer bag, having midpoint of each strap positioned 3" from side seams.
- Machine baste to hold straps in place.
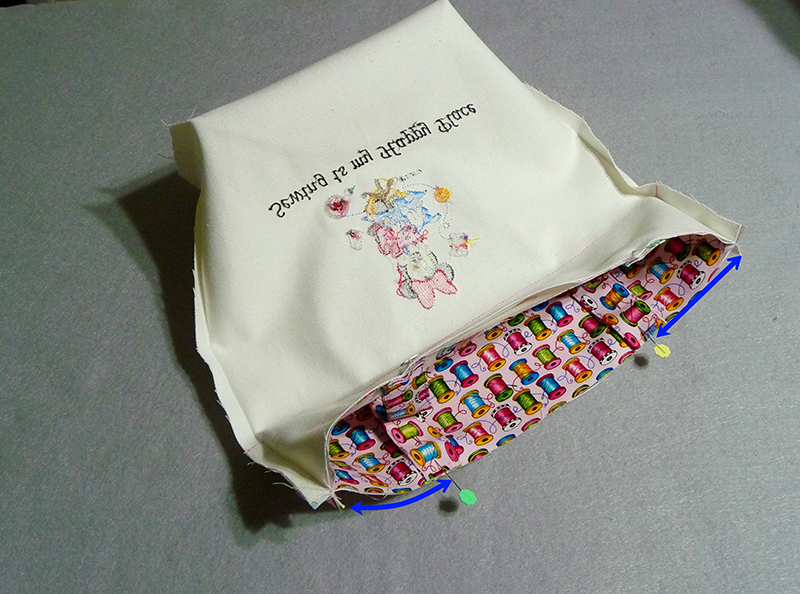
- Turn bag lining right side out. Insert lining into outer bag and pin so right sides of outer bag and lining are together, with top raw edges are even. Sew all around the top using a ½" seam allowance and catching the straps in the process.
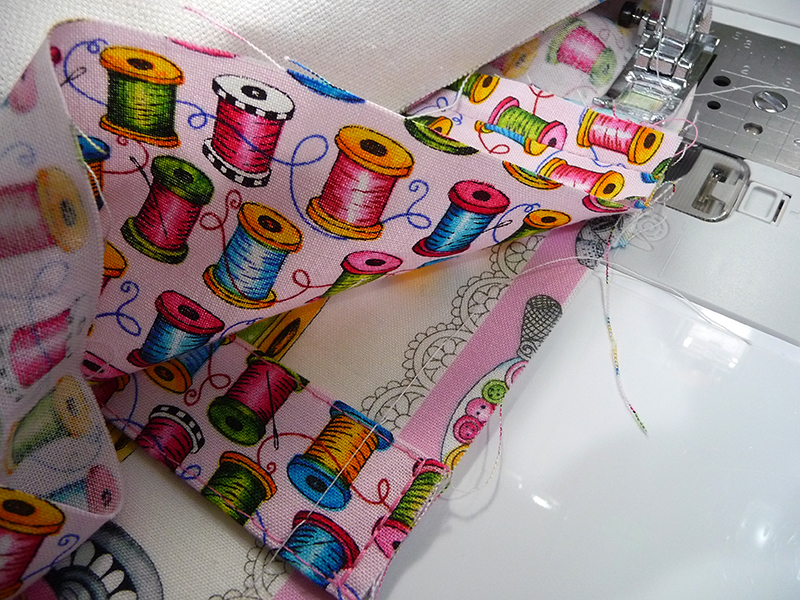
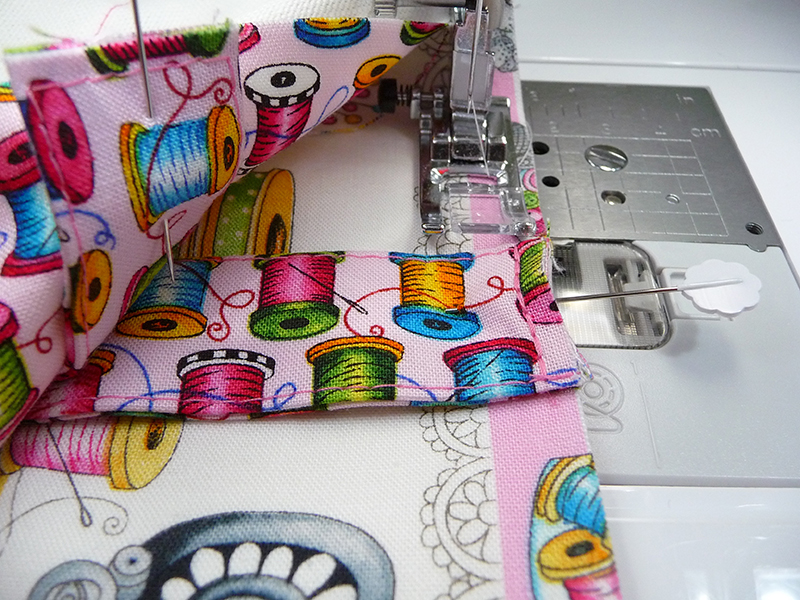
- Stitch across strap area a second time to reinforce.
- Begin to turn bag right side out through opening in lining.
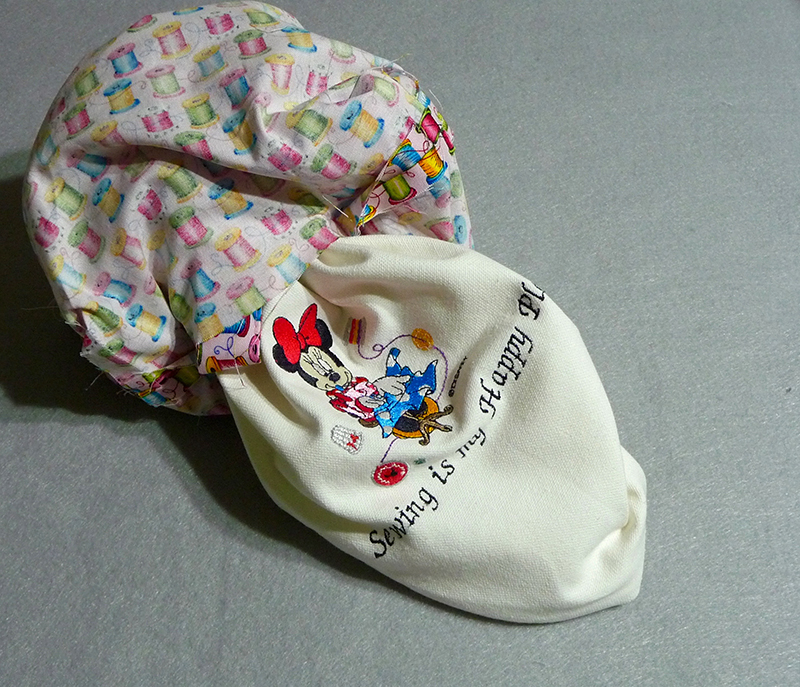
- Continue to pull a small amount at a time until lining and bag are separate.
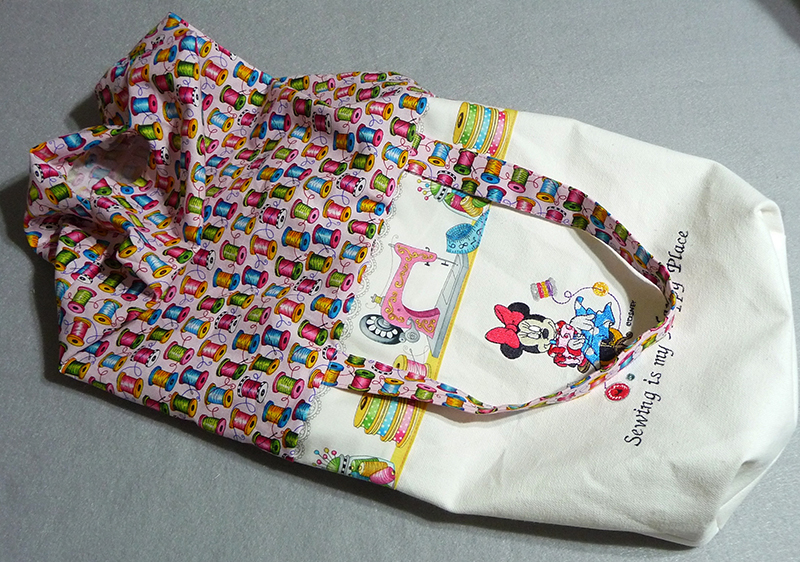
- Close opening in lining with machine or hand stitches. Remove strap basting. Tuck lining inside bag and smooth bag layers in place. Press. Working from the right side of the bag, topstitch close to upper edge.
Tip: Use the free arm for this step.
Options and Ideas:
There are lots of ways to use your finished bag. For starters it would make a great decorative addition to your sewing room. Besides that, it's the perfect size for toting notions to a class. How about filling it with sewing goodies to use as a gift bag for a special sewing friend. Be sure to leave a comment and let us know how you plan to use your new sewing tote. Enjoy!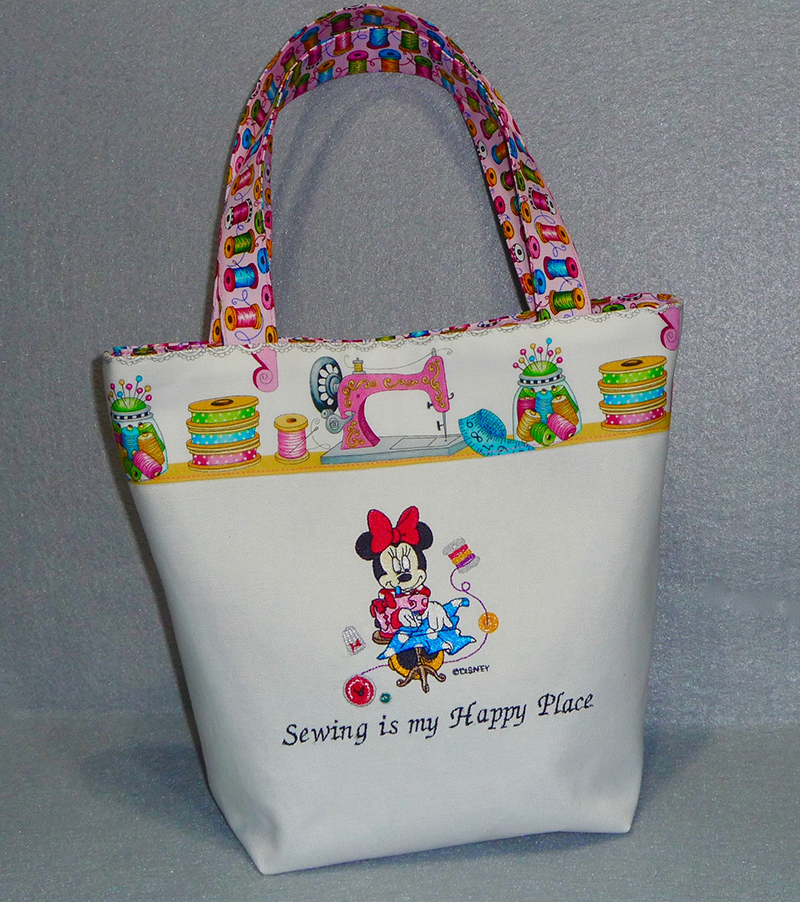
Note: See the coordinating tutorial - Part 2 - for embroidering longer lettering on this great tote bag
on Stitching Sewcial! You'll learn linking lettering to stitch a group of letters longer than the 4-inch hoop.
on Stitching Sewcial! You'll learn linking lettering to stitch a group of letters longer than the 4-inch hoop.

