Serged Eye Glass Case with FREE Pattern
Whether it's for yourself, a friend or for Mother's Day which is only a few weeks away, here's a fun Serger Tutorial for a custom Eye Glass Case! First, we're going to embellish the fabric with a Brother Serger. Then, add a beautiful finish to the edge and, finally, finish the Eye Glass Case with a serged seam. Let’s get started! Skill Level: Beginner Machine: 5234PRW Project Runway™ Limited Edition Serger
, but note the settings will be the same on all Brother Sergers
Editor's Note: Please note that the serger settings that Angela has provided are for Brother Sergers. Please be sure to consult your serger manual for settings if you are using another brand.
Materials and Supplies
- 2 pieces of cotton fabric cut 13” by 13” (33cm by 33cm)
- 1 piece of fleece or fusible fleece 13” by 13” (33cm by 33cm)
- 3 spools of rayon or embroidery thread
- Tailors chalk or fabric marking pen
- Quilters ruler
- Iron
- Hand sewing needle
- Brother Serger
- Eye Glass Pattern - Download Here FREE
Serger Stitches Used:
- Pintuck Stitch
- Faux Piping Stitch
- 3-Thread Overlock (both wide and narrow)
Serger Accessory Foot:
- Blind-Hem Foot
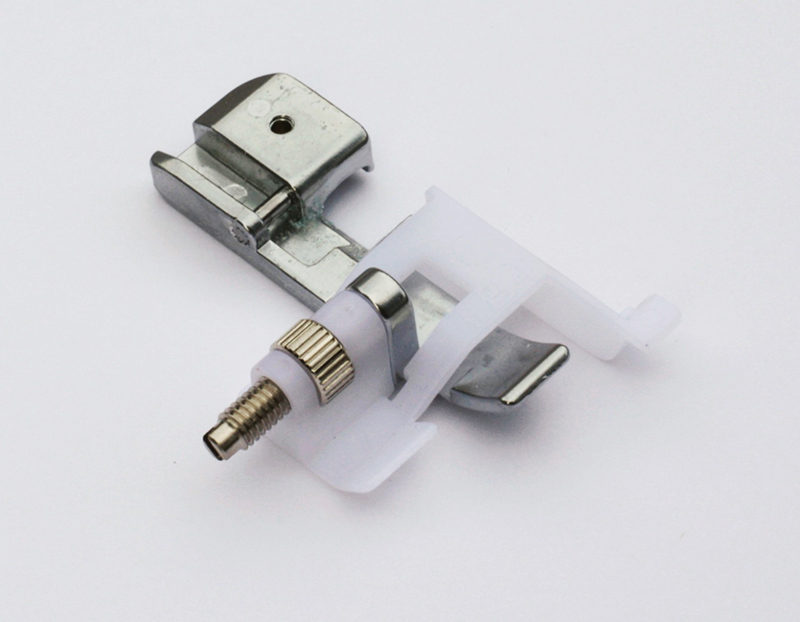
- Set up the serger for PINTUCKING on your Brother Serger:
- 3-thread narrow overlock stitch (right needle stays in, left needle is removed)
- Remove stitch finger
- Attach the Blind Hem Foot (shown above)
- Stitch width set to rolled hem
- Stitch length 1.5 – 3mm
- Right needle (only) tension 5
- Upper looper increase to 6
- Lower looper increase to 6
- Thread the serger with a decorative rayon or embroidery thread
- Use the serger’s blind hem foot
- Lower the knife
- Mark the fabric using a quilters ruler and tailor’s chalk; mark parallel lines 1” (2.54cm) apart.
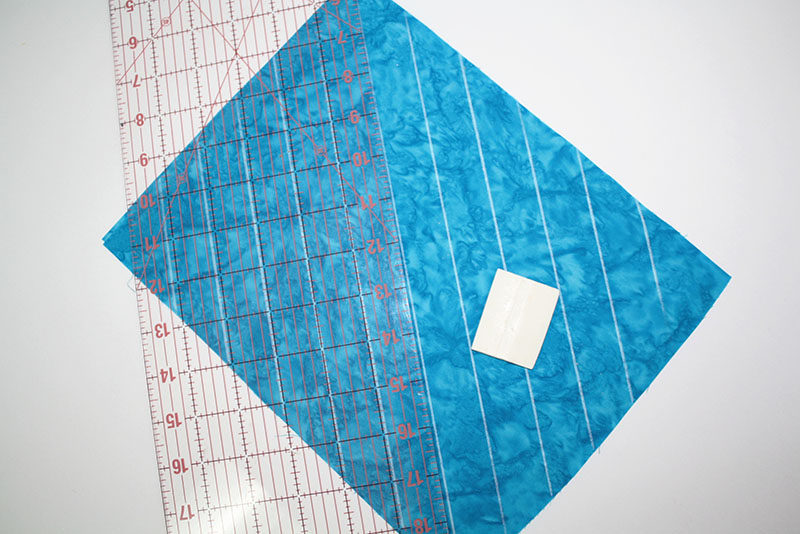
- Fold the fabric on one of the chalk lines and guide the fabric into the serger with the fold touching the edge of the plastic foot. Serge.
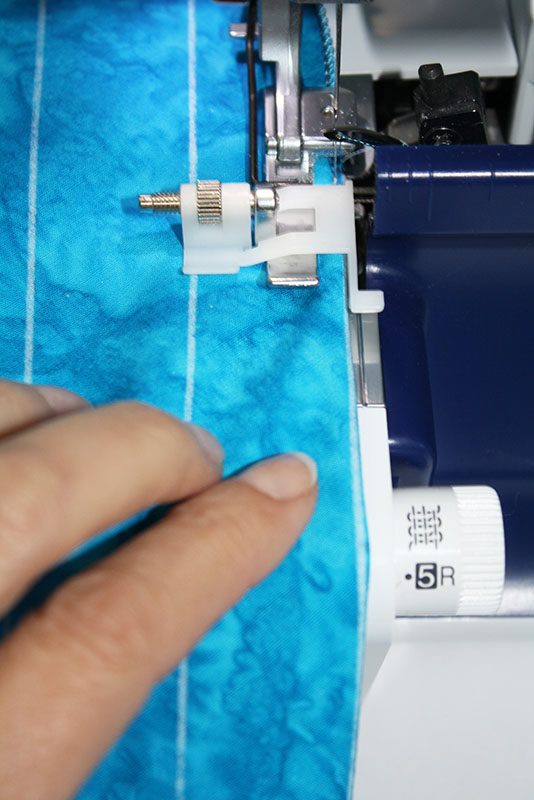
- Continue to fold and serge at each chalked line.
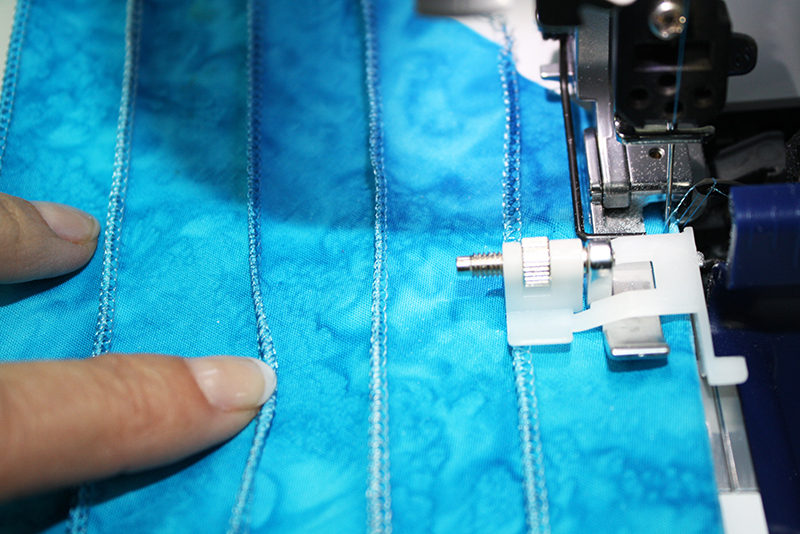
Designer Tip: Prevent looper threads from coming unthreaded by leaving a long chain at the end of each row.
- Press the Pintuck’s all in one direction.
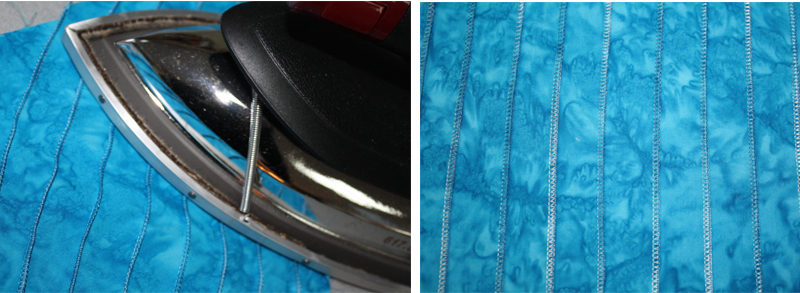
- Follow steps 1 - 4 for the lining fabric. Consider drawing the lines a different direction as shown.
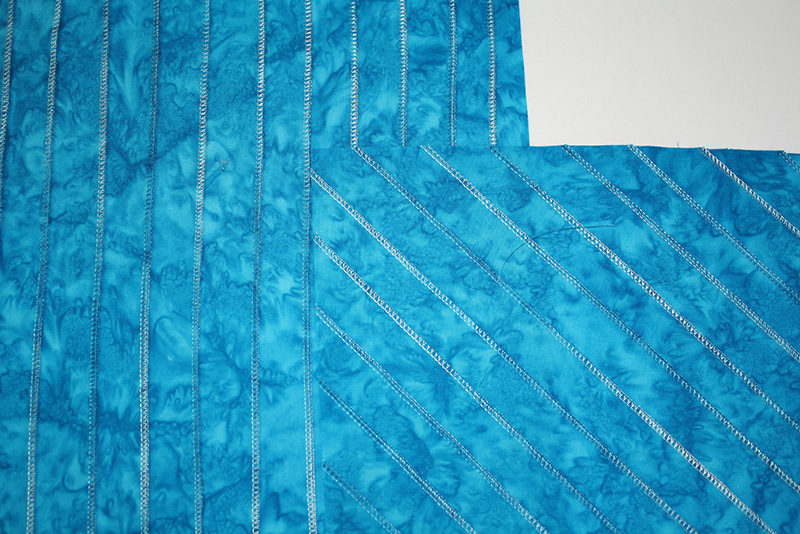
- If using fusible fleece, press the fleece to the wrong side of the outside fashion fabric.
- Layer the fleece between the two pieces of fabric (fabric has right sides facing out). Hand baste all three layers together, placing your basting stitches inside the area that the pattern will be placed. Cut out the eye glass pattern using the FREE PATTERN that you've downloaded from the link above in the Materials and Supplies list.
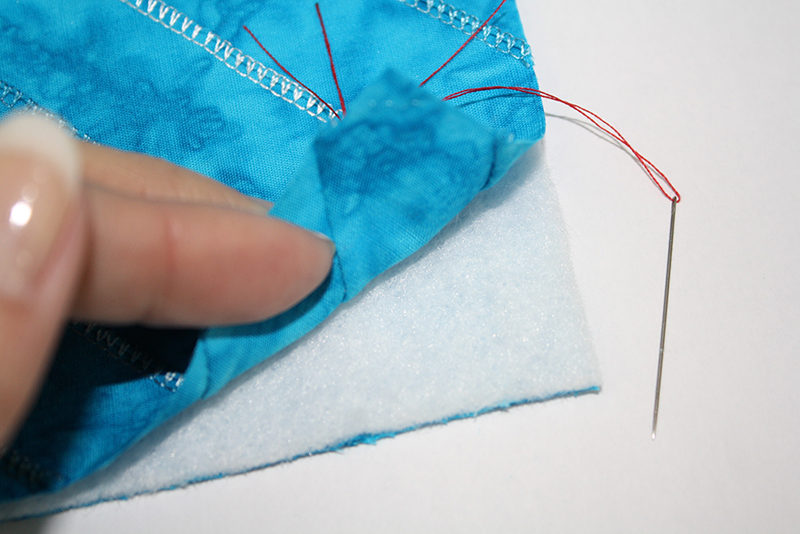
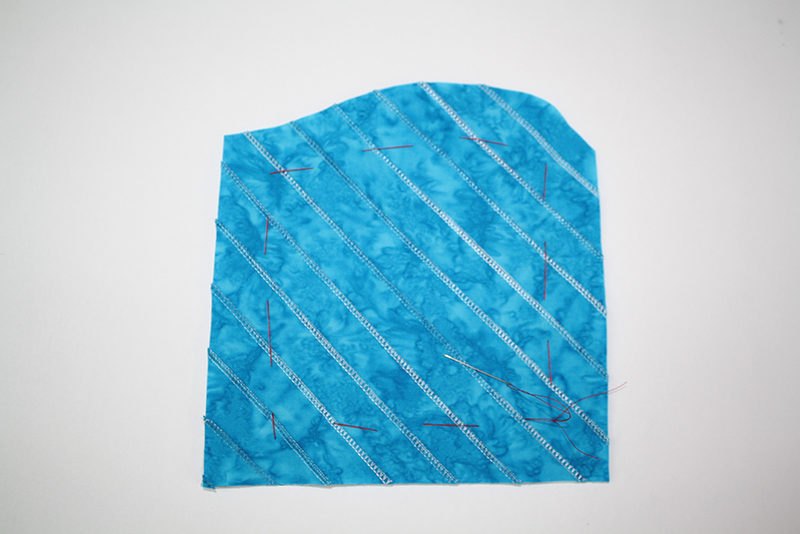
- Set up the serger for FAUX PIPING on your Brother Serger:
- 3-thread wide overlock stitch (left needle stays in, right needle is removed)
- Remove Stitch Finger
- Still using the Blind Hem Foot
- Stitch length: between R and 2.0 (test the stitch)
- Stitch width: 7mm
- Left Needle (only) tension: 5
- Upper looper tension: 6
- Lower looper tension: 6
- Raise the knife back up, re-engaging the knife.
- Serge along the top curved edge.
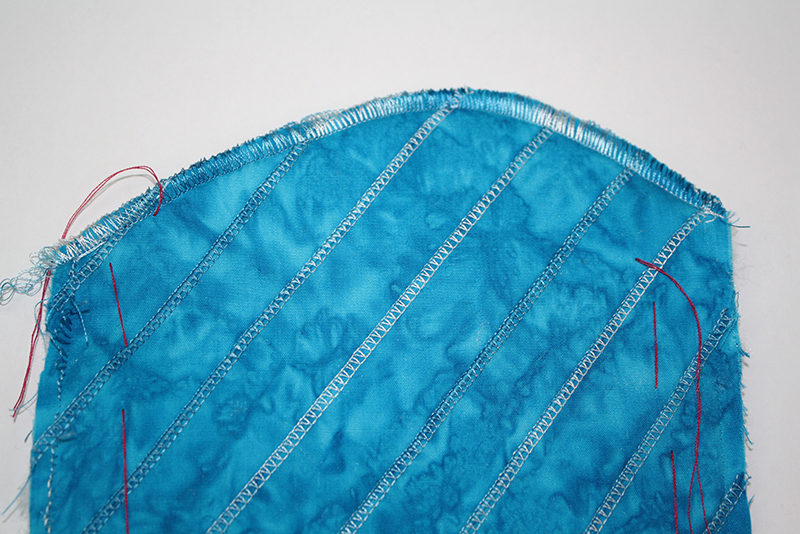
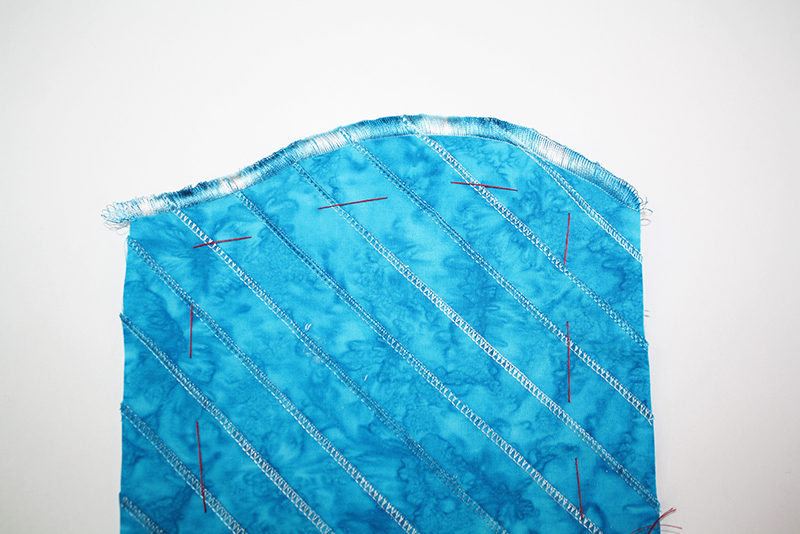
- Fold the fabric in half with right sides together. Technically either side can be the right side, meaning the inside of the case will look just as fabulous as the outside of the case, so it's really your choice. Match up the side seams.
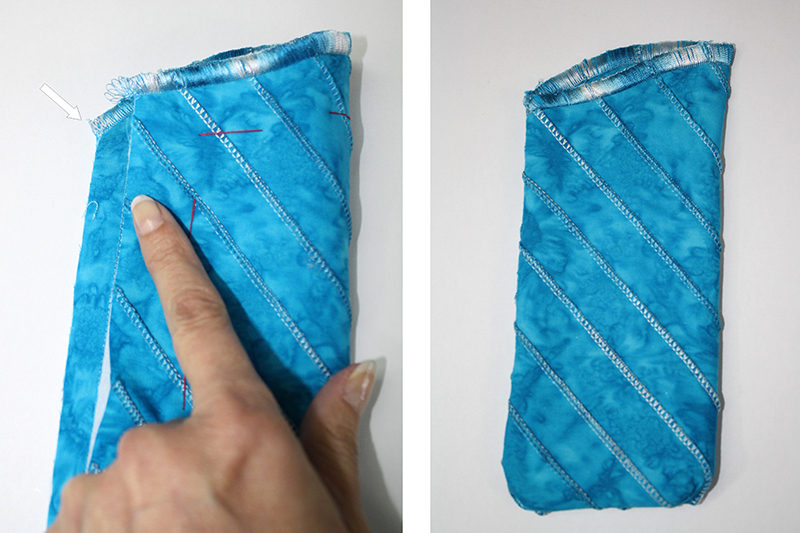
- Set up the serger for 3-Thread Wide Overlock: 3-thread wide overlock stitch (left needle stays in, right needle is removed)
- Remove the Blond Hem Foot and attach the Regular Serger Foot
- Stitch length: 3
- Stitch width: 5mm
- Upper looper tension: 4
- Lower looper tension: 4
- Left needle (only) tension: 4
- Knife up
- Serge the side seam.
- Turn the fabric right side out.
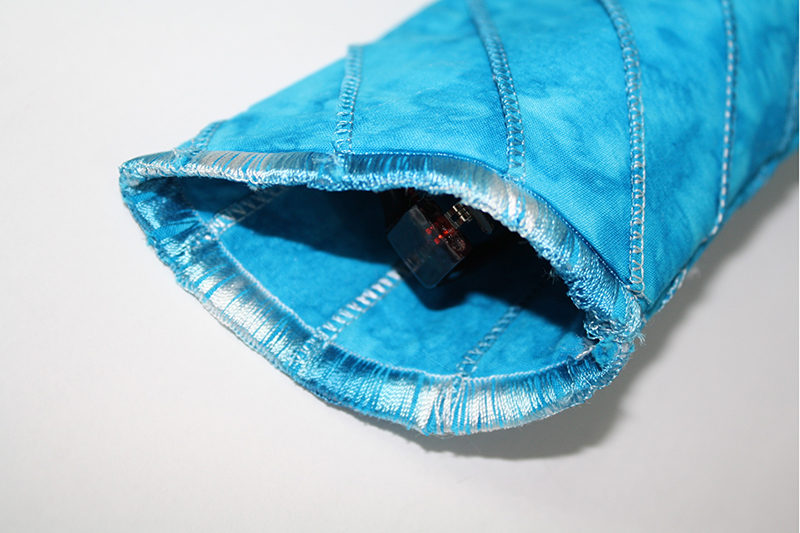 Voilá - that’s it!
This is a great way to embellish fabric for items such as bags and pillows. If you enjoy embellishing fabrics with the serger, here is a link to a zippered bag project using similar techniques.
Voilá - that’s it!
This is a great way to embellish fabric for items such as bags and pillows. If you enjoy embellishing fabrics with the serger, here is a link to a zippered bag project using similar techniques.As always, I would love to see what your sewing up! Be sure to share photos of your Eye Glass Cases on Facebook
and Instagram
, tagging us at #StitchingSewcial and #AngelaWolf and @BrotherSews. Cheers,


