How to Sew a Necktie
-Brother Sews Blogger
As a mom of three boys, I’ve had my fair share of experiences sewing neckties. My husband likes custom prints and colors to change up his standard work tie, and this sewing craft gives me a chance to get creative and do just that. These DIY neckties make great gifts for Father’s Day, Easter, or as a special birthday present the men in your life will love. You can also sew these DIY neckties for groomsmen to show off at weddings. Get the tutorial below on how to make your own tie.
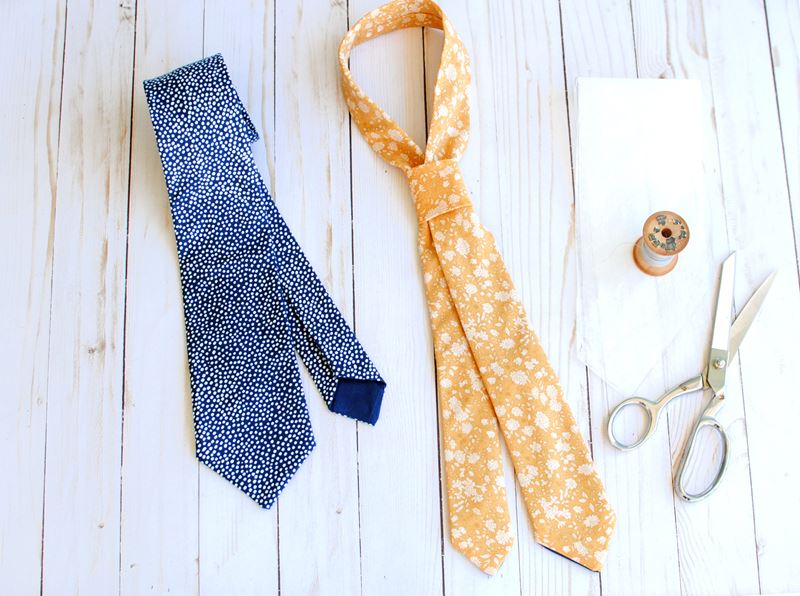
Supplies:
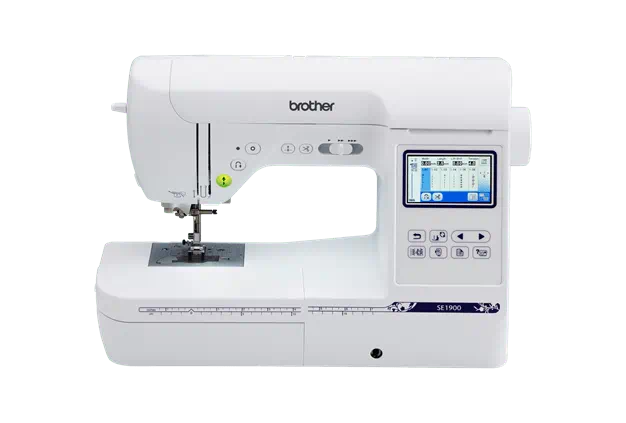
-Brother Sewing Machine
-necktie pattern or old tie
-fabric 3/4 yd. of base fabric
-1/4 yd. lining
-seam ripper
-needle and thread
-fabric marking tools
-cutting and measuring supplies
-craft paper
Sewing A Necktie - Tips and Tricks
There are four parts to a necktie: base fabric, tip lining, interlining, and tie keeper.
The base fabric is the exterior of the necktie. It is traditionally sewn with silk, but you can make them with most fabrics. I prefer to use a medium weight woven cotton fabric. This material comes in many different prints and colors, and is fairly easy to work with.
Tip lining is the contrasting fabric you will see at the ends of the necktie on the wrong side. I like to use a contrasting fabric for this part of sewing a tie.
Interlining is the material that is hidden within the envelope of the tie. This helps to give a necktie shape and the weight to hang well on the wearer. The interlining is usually made of fleece or wool material. For my tie, I am using the interlining from the previous tie.
Tie Keeper is an extra band of fabric located on the back side of the necktie. The tie keeper is used to secure the narrow end of the necktie. This can be made with a strip of fabric, bias tape, or any kind of trim or ribbon you have handy.
Step 1)

Use a necktie pattern, or you can upcycle your tie if you have an old one handy! Take a seam ripper and use it to disassemble the old necktie to create the pattern.
Step 2)

Press the fabric pieces flat and trace them onto a large piece of craft paper.
Step 3)

Draw an arrow to indicate the grainline is at a 45-degree angle. The pieces will be cut along the bias. Cut the paper pieces out. Now you have your necktie pattern.
Step 4)

Lay your base fabric out flat. Place your pattern pieces down, making sure the grainline is even with the selvage (this will ensure the pieces are along the bias). Trace or pin and cut.
Repeat for the tip lining.
Step 5)
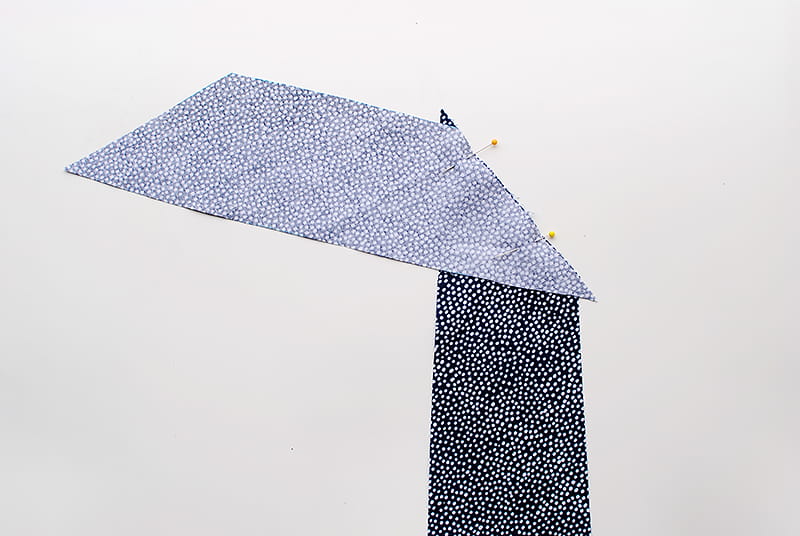
Place the wider base piece and the center base piece with their right sides together at an angle. Pin and stitch into place with the same seam allowance as your original necktie (mine was ½”).

Step 6)

Press the seam flat and repeat for the other base piece (the narrow side).
Step 7)

Take the tip lining and place the right sides together on the end.
Step 8)
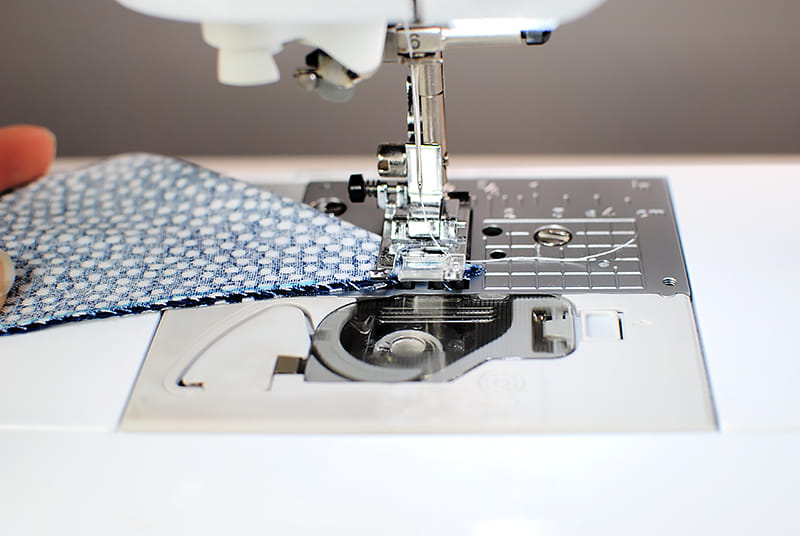
Fold in half, making sure everything is aligned (the wrong side of base fabric should be on the outside) and stitch the end of the tip a ¼” from the edge.
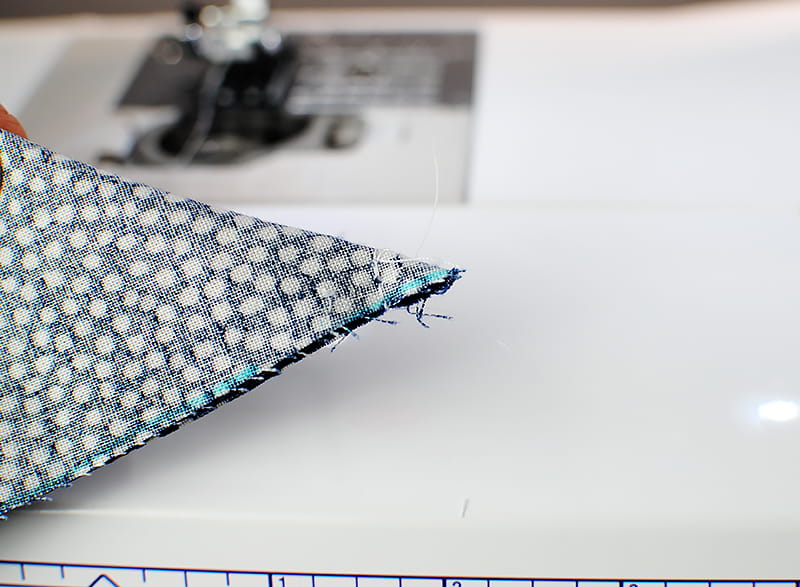
Step 9)
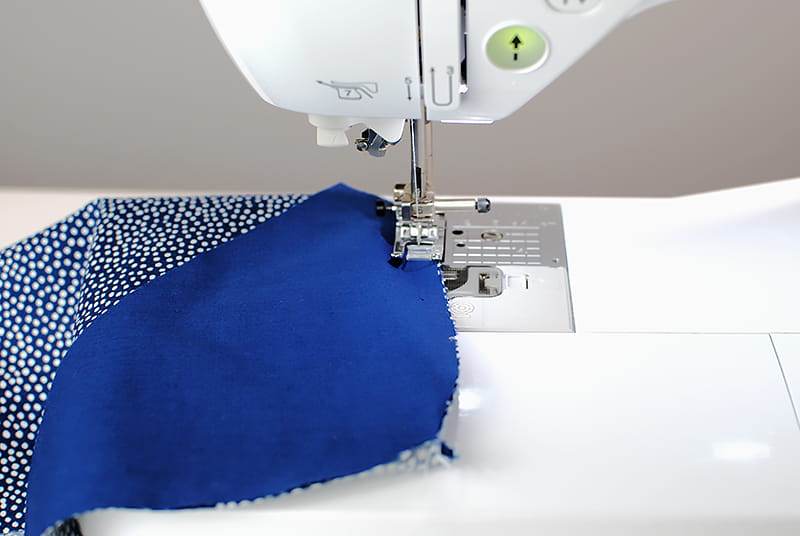
Sew the sides with a ¼” seam allowance going just to the tip stitching but not over.
Step 10)
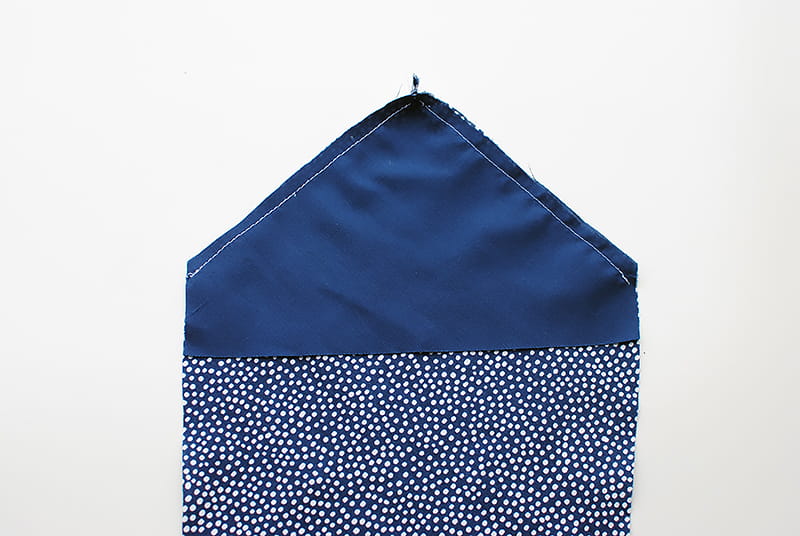
It should look like this. Now repeat for the other end.
Step 11)
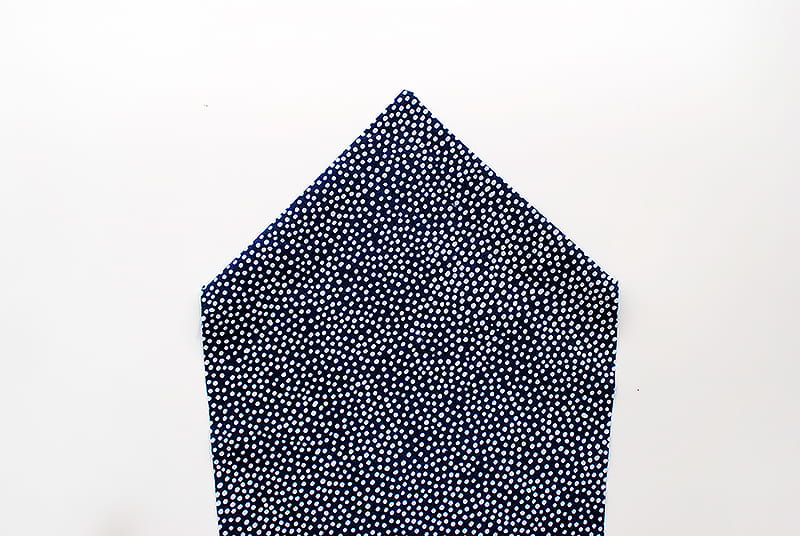
Flip right sides out, point out the edges, and press.
Step 12)
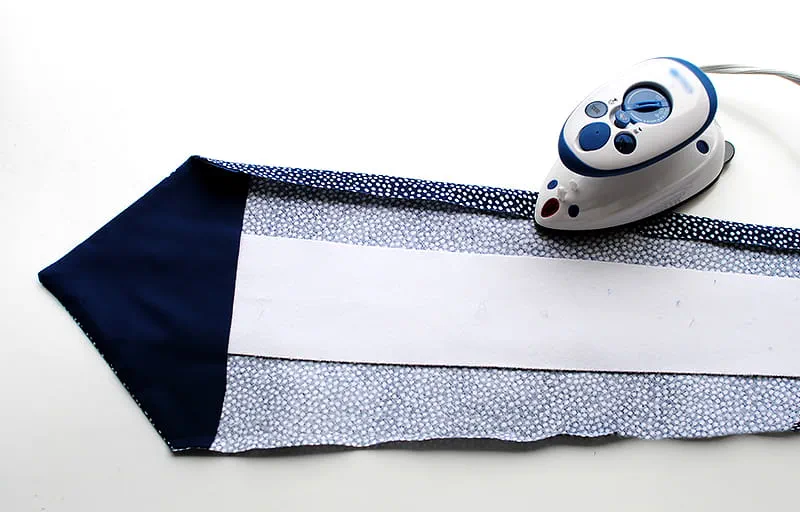
Add the interlining.
Position the interlining down the center of the necktie and tucked inside the tip lining.
Fold one side of the fabric inward ¼” to ½” depending on your pattern (mine was ½”) and press all the way down.
Step 13)
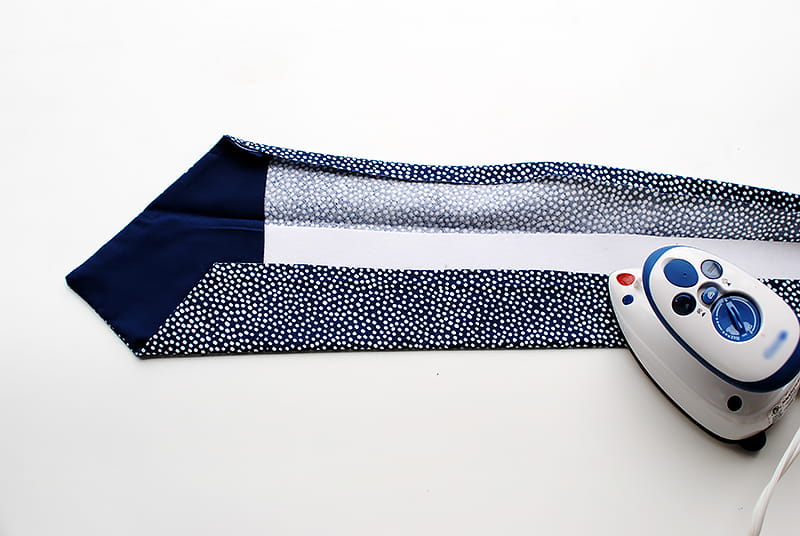
Fold and press the other side toward the center.
Step 14)

Fold over the edge you pressed the ½” edge and press toward the center. Make sure everything is even and adjust your pressing if necessary.

Step 15)
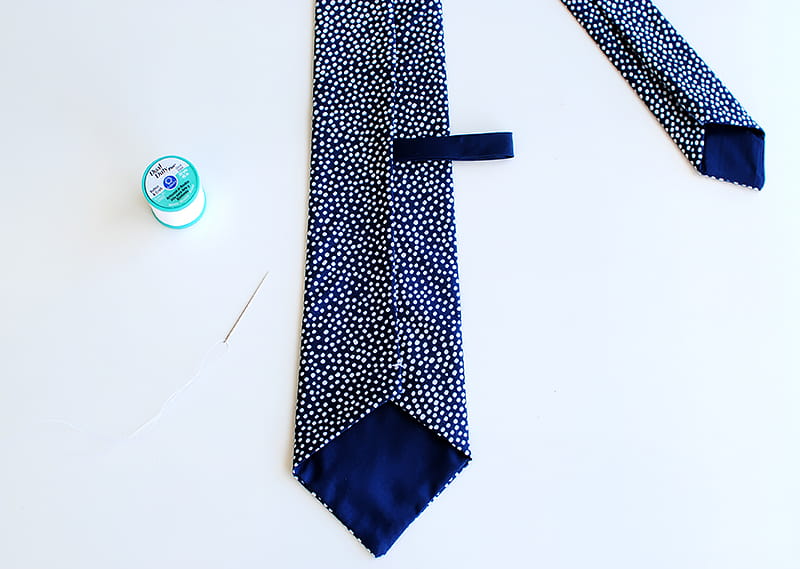
Now it’s time for a needle and thread!
If you want a tie keeper, you will add one during this step. I am using a 5” strip of bias tape for mine. You can create a strap for this with the same fabric as your necktie. You can also use bias tape, trim, or ribbon. I hand stitched mine about 6” up the necktie. You will want to tack it down again with some hand stitches after stitching it.
Step 16)
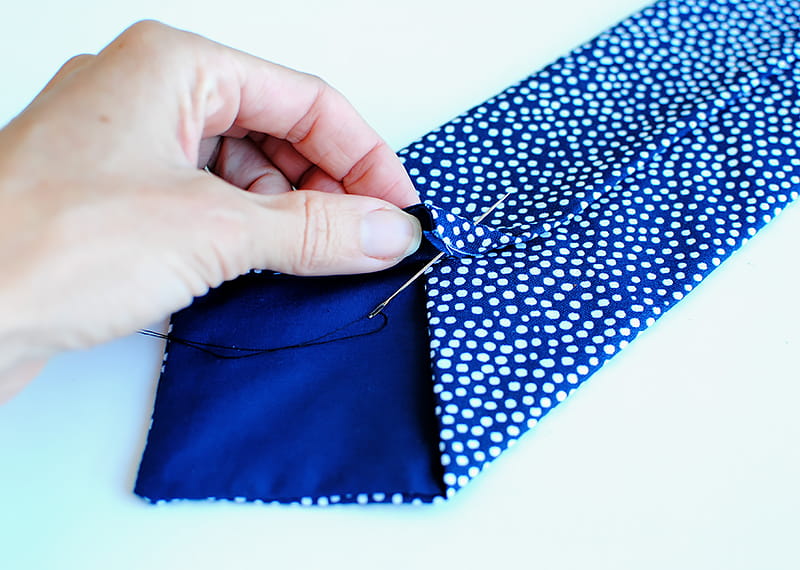
Hand sewing:
You will begin with a bar tack stitch going back and forth a couple times, making sure to get the interlining but not the front side. I like to begin my stitch inside the fold so the knot is hidden. You will also want to use the same colored thread.
Step 17)
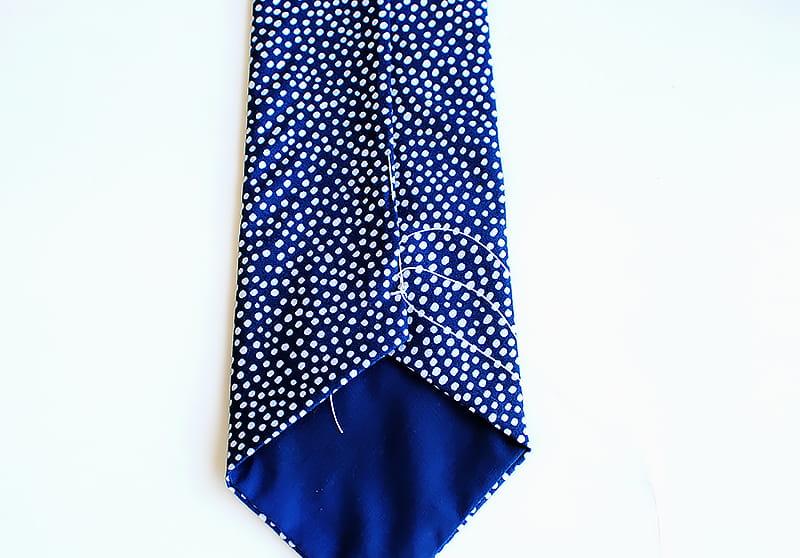
Once you have done the bar tack, you will go right into the slip stitch and continue until you get to the other end, where you will finish with a bar tack.

Now you have a custom necktie!


