Snack Bags Sewing
-Brother Sews Blogger
Use this simple sewing tutorial to create reusable snack bags. These handy bags are perfect for on the go snack or school lunch packing. Easy to sew and super useful too!
Supplies and Tools:
● Scraps of organic or food safe fabrics
○ I like to use PUL, rip-stop or other easy to wipe fabric.
● 1” wide hook and loop strips
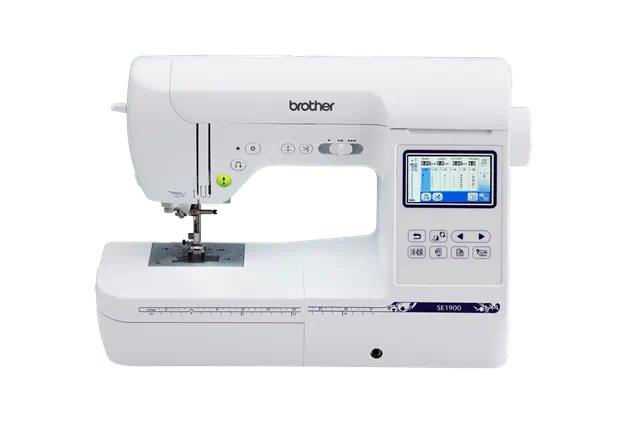
● Brother Sewing Machine
● {Optional} Brother Embroidery Machine to personalize
● {optional} Stabilizer if adding embroidery
Directions:
I adore these reusable handmade snack packs! They are so useful for having handy snacks and reducing the number of plastic bags I use. The hook and loop closures keep everything in tight, but are still easy for my kids to open when it’s snack time. I use these little DIY bags for school snacks and summer outing snacks. The bags are easy to either hand wipe or throw in the washing machine. You can sew them in any size you want and add personalized embroidery if you want too.

Let’s get started with this easy sewing project. First, gather your supplies. This is a great scrap buster, which is what I’m using for this project.

1. Cut the rectangle to desired size. You will be folding the short ends together as sewn, but can make the snack bag any size. I usually make them just one serving size. The rectangle here is 4.5 x 10”. Cut and outer layer and a lining layer for each pack you want to sew.

2. You can now add the optional embroidery or skip ahead to step 8 to sew up the bag. I love my convertible sewing and embroidery machine. It is so easy and fast to switch between the two!

3. My fabric had a bit of stretch in it, so I used 1 layer of sticky stabilizer and 1 layer of a medium tear or cut away stabilizer. I layered as you can see here before adding my fabric on top. You can also hoop your fabric and then cut the rectangle later.


4. Place the hoop on your machine and then center the needle.

5. Create or import your desired design. I just used two included options on my Essence 5200 machine. I first added a circle, then I added the letters inside for my son’s initials.

6. Embroider your design onto the fabric.
TIP: For knit fabrics, it is suggested to add a topper. For example, a layer of water soluble stabilizer on top of the fabric to prevent the stitches from sinking into the fabric during the embroidery process.


7. Carefully remove the extra stabilizer on the back. You will not see this on your snack bag, but I like to trim all the extra layers if possible. Depending on the stabilizer used, you can tear or cut it away.

8. Cut the hook and loop to the correct length. It should be centered on the short ends of the rectangle with ½” allowance on each side as shown. Place one side on each short end.

9. Stitch to the fabric with a straight stitch. Sew around all four sides to hold in place. My Brother machine sews through hook and loop so smoothly!

10. With right sides together, fold the short ends together and sew the sides seams. Sew the full side seams on the outer layer and on the inner lining layer leave a two inch opening on one side seam (this is for turning).

11. Turn the outer layer right side out and leave the lining as is.

12. Place the outer layer inside the lining and line up the side seams and top raw edge of fabric.

13. Sew around the top with a straight stitch. The smaller the sack, the harder it is to get your presser foot inside the circle, but it can be done. I used the edge of my presser foot as a seam allowance guide.


14. Turn the snack bag through the opening in the liner. Pull all the way open and then sew closed the turning hole before pushing the lining inside the bag.


15. Now you should have a cute little snack sack ready to fill with your favorite snacks and veggies.


16. The personalized embroidery works well for bags that kids will be taking to places where it might get lost of misplaced.

Now that you know how easy it is to make these reusable snack bags you can sew up several.


