How to Make a Quilted Flower Topper
-Brother Sews Blogger


Are you ready to welcome spring with open arms and a vibrant new table setting? This quilted flower table runner is the perfect way to celebrate the changing seasons. With the help of your Brother sewing machine and the Advanced Quilt Design Software, you can create a custom table topper that will impress your friends and family.
Supplies
- Brother Sewing Machine
- 4 complementary cotton fabrics
- 20-inches square of batting
- Monofilament and sewing thread
- ¼” Foot
- MuVit Digital Dual Feed
- Stitch in the Ditch or Open Toe Foot attachments for MuVit Digital Dual Feed
- Scissors, pins, and marking tools

Let's Get Started!
Instructions
- 1. Open the Advanced Quilt Design Software on your computer.
- 2. Select 'New Quilt' to start a new project.
- 3. Adjust the blocks to 1x1 and set horizontal and vertical borders to 0.00.

4. Under the 'Library' tab, select the 'Flowers' category and choose 'Flowers #10'.

5. Drag and drop the block into the center of the workspace, then resize it to 18.00 inches.

- 6. Use the 'Piece Select' tool to unite the first and second pieces, then repeat with the remaining pieces to create a single, unified block.
- 7. Preview the cutting instructions and print if desired.

Construction
1. Cut your fabric according to the measurements provided in the software.


2. Sew the pieces together using a straight stitch with a 1/4" seam allowance. Backstitch at the beginning and end of each seam.

3. Press all seams open.

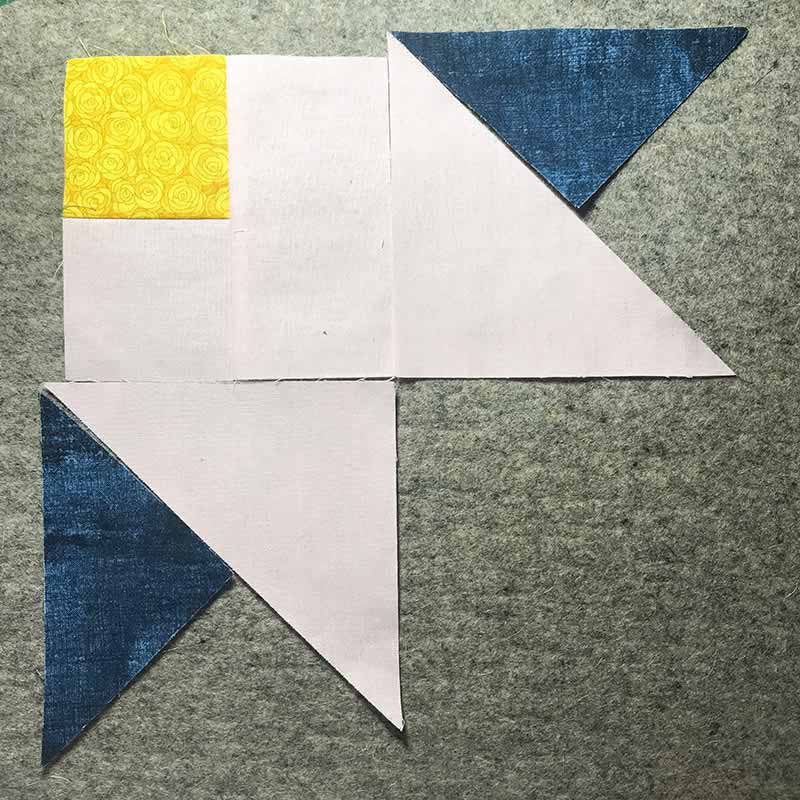
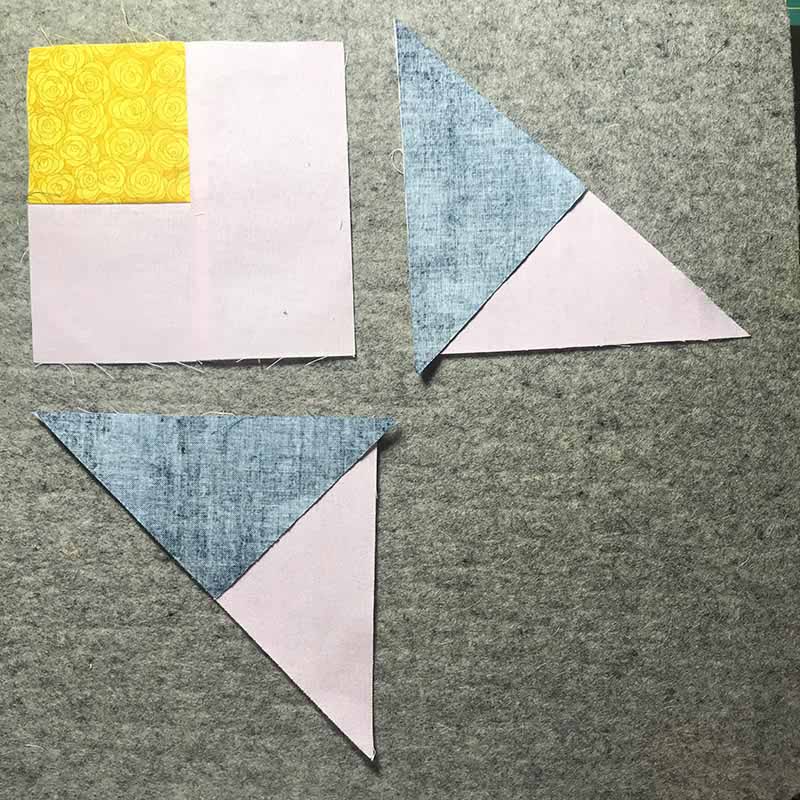
4. Sew rectangles to square units, then sew triangle units to square units, creating mirror units for each square unit.

5. Sew the mirror triangle units to a second side of the square, creating four blocks with two pink and two purple units.

- 6. Sew two pink units to two purple units, then sew these units together to complete the flower block.
- 7. Pin the block to a 20" square of batting, then sew around the outer edge with a 1/8" seam allowance.
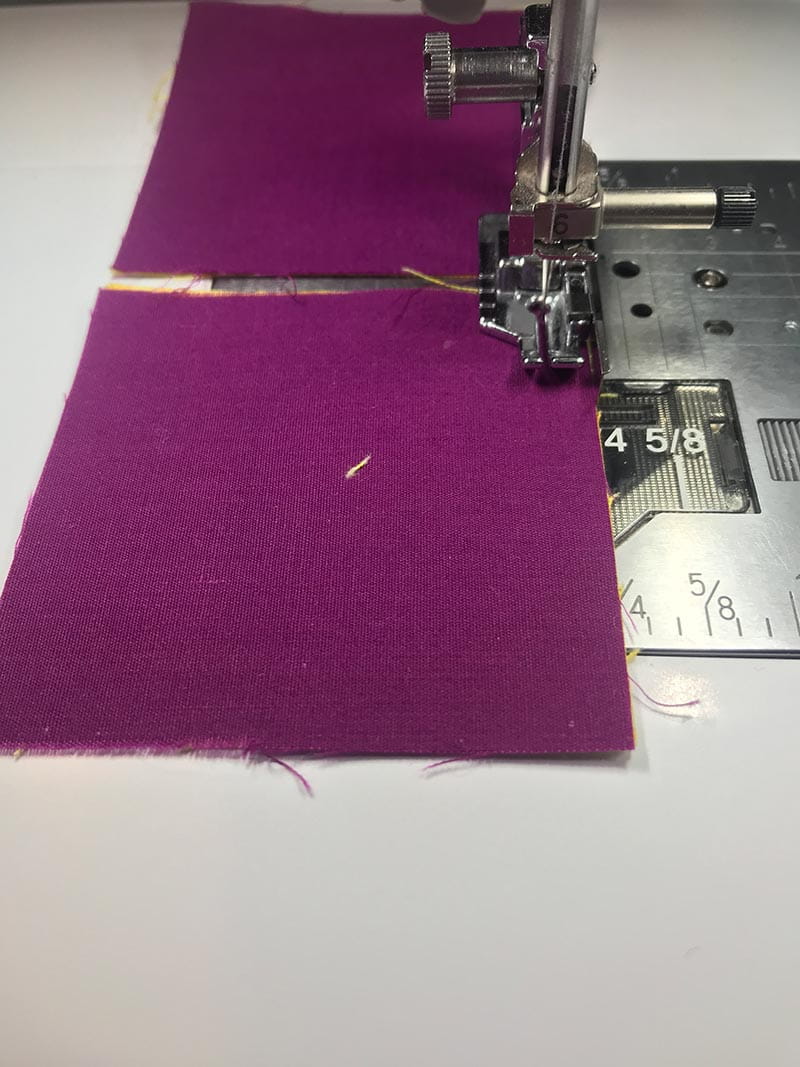

- 8. Use a marking tool to score lines on the block, then sew decorative stitches along the marked lines.
9. Trim the batting even with the fabric edge.

- 10. Lay the trimmed block right side down on the backing fabric, then sew around the outside edge with a 1/4" seam allowance, leaving a 4" opening for turning.
11. Trim the seam allowance, clip the inner corners, and turn the project right side out.
12. Fold in the seam allowance along the open edge and press.

- 13. Hand or machine stitch the opening closed.
- 14. Use the Mu-Vit Digital Dual Feed with the Stitch in the Ditch attachment to stitch in the seams and join the pieced top to the backing fabric.
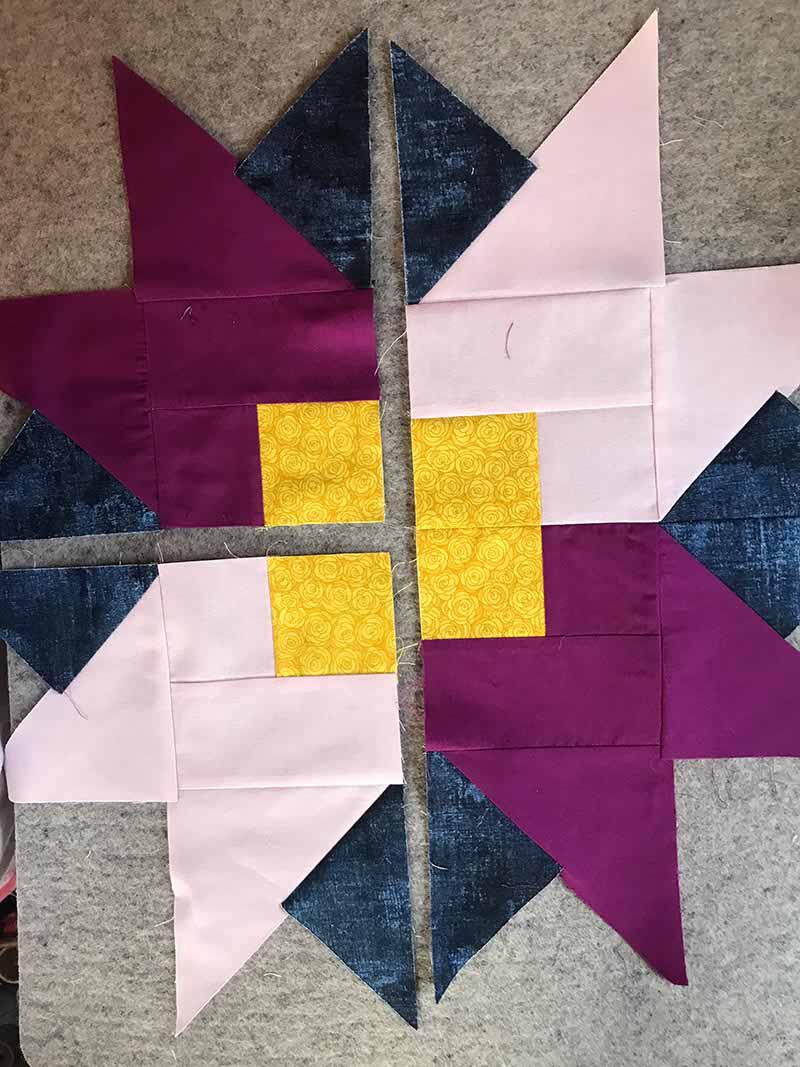

- 25. Press.
- 26. Lay completed block right side up on 20” square piece of batting.
- 27. Pin all points so they don’t shift.
- 28. Sew ⅛” seam around outer edge anchoring block to batting.

29. Use a marking tool to score a line from yellow square point to outer points of each petal. Place pin 2” in from point. Mark a center line that is 2” long starting from yellow square.


30. Sew decorative stitch on marked lines starting at yellow square point and stopping 2” from points (Sample shows 6.0mm wide feather stitch with 2.5 stitch length).

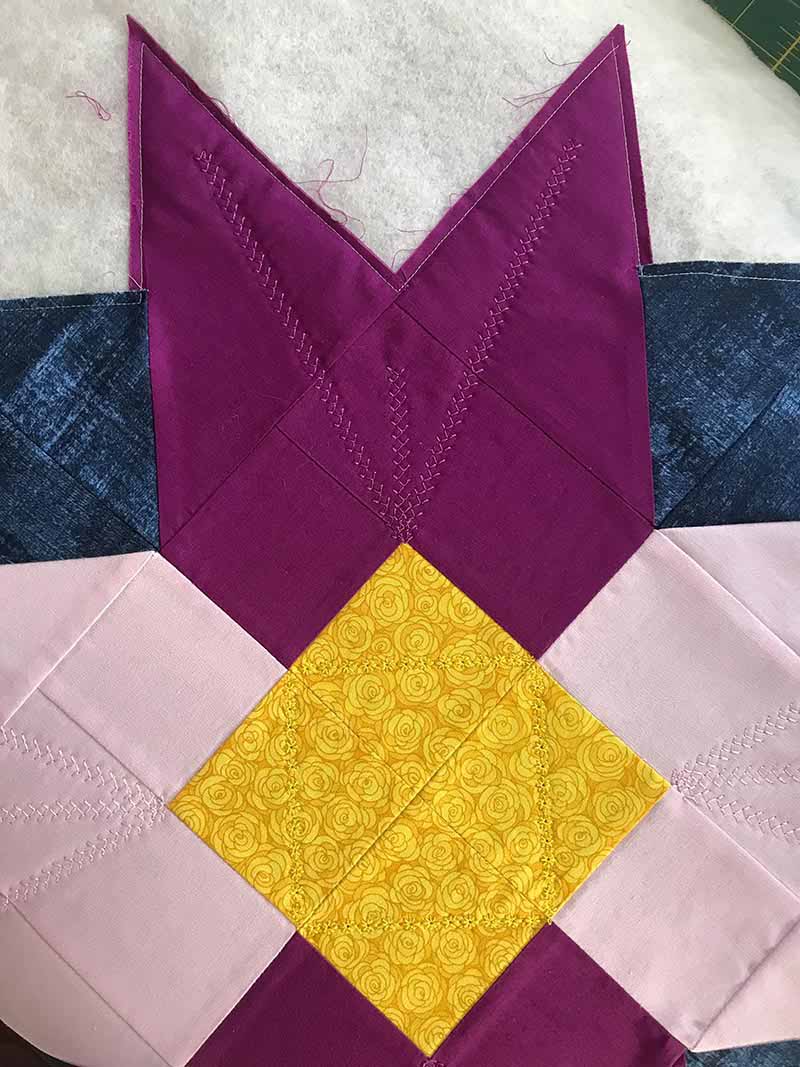
- 31. Daisy stitch was sewn diagonally through each yellow square completing a stitched square.
- 32. Trim batting along fabric edge.
- 33. Lay trimmed block right side down on backing fabric pinning all points.
- 34. Sew ¼” seam around outside edge leaving 4” opening on inside edge of flower point.
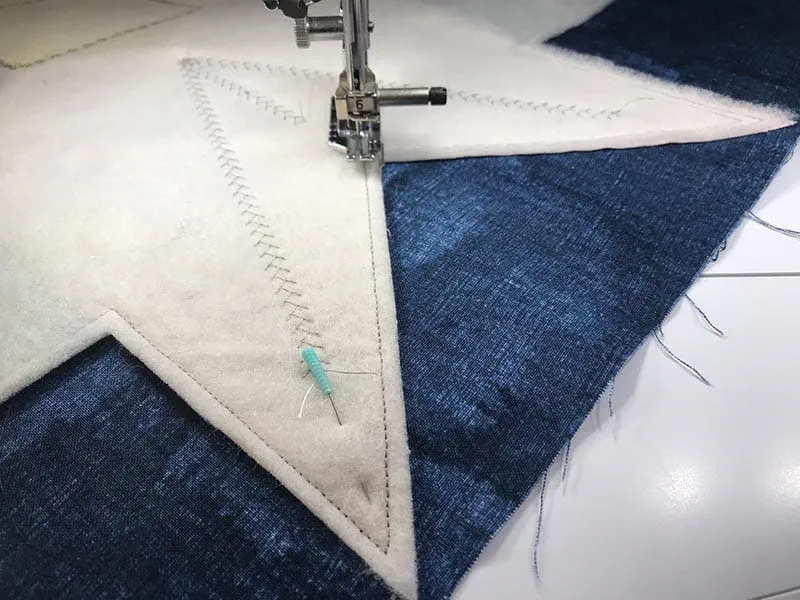
- 35. Trim fabric points to ⅛” to reduce bulk.
- 36. Turn right side out through the opening.
- 37. Fold in opening edge ¼” and press.
- 38. Hand or machine stitch the opening closed.
- 39. Finish by using the MuVit Digital Dual Feed with the Stitch in the Ditch attachment to stitch in the seams quilting top to backing fabric (Sample used monofilament thread in the top and thread to match backing fabric in bobbin).
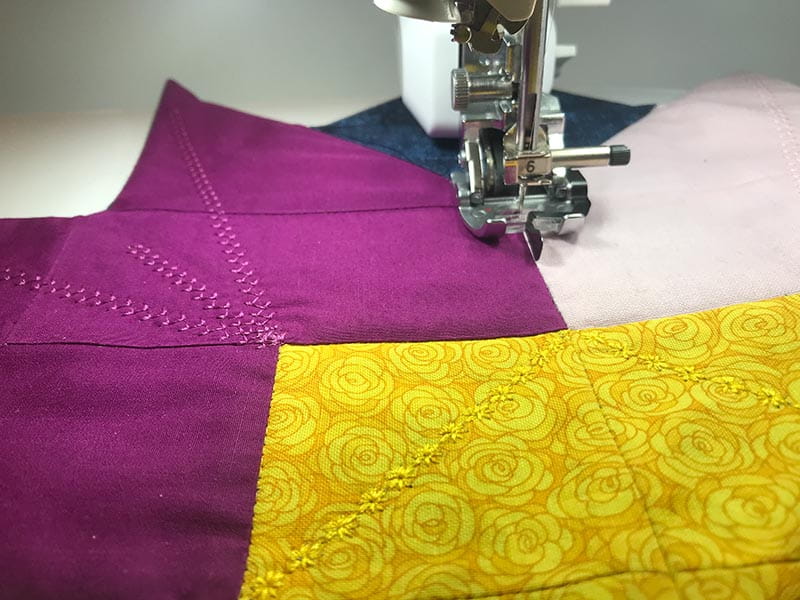
You now possess a quilted floral table runner, an exquisite centerpiece that adds elegance to your dining room. Its vibrant colors and intricate designs showcase your creativity and craftsmanship, making it perfect for family gatherings or special occasions. Enjoy the pride and communal warmth it brings, sparking conversations and enhancing every meal. Compliment your table runner with custom placemat or even embroidered party napkins!
FAQ:- Q: What is the best material to create a table topper?
- A: Cotton fabrics are an excellent choice for creating a quilted table topper due to their versatility and durability.

