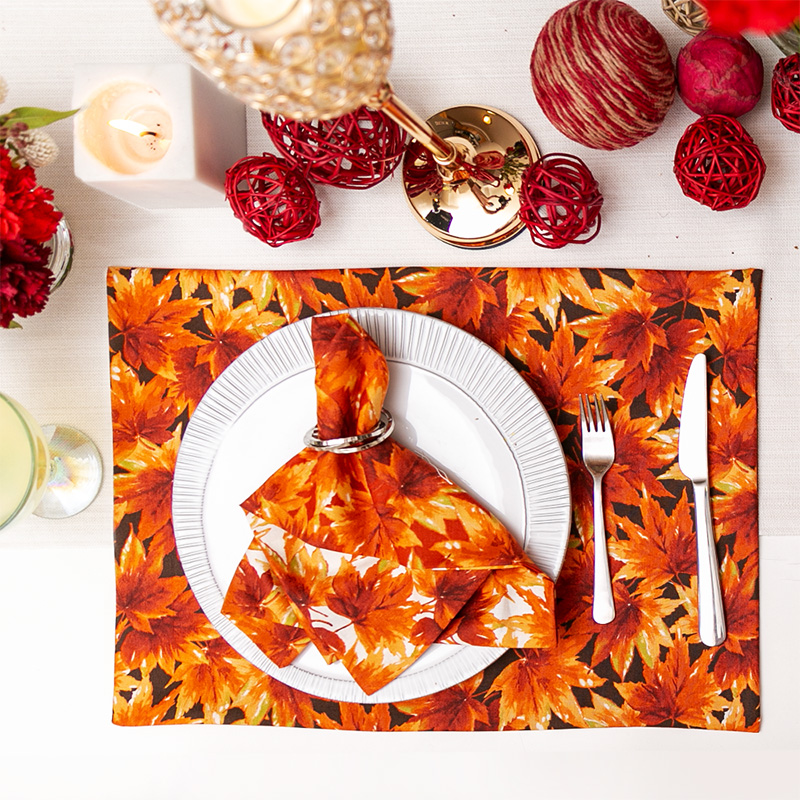
Warm and Inviting Reversible Holiday Placemats

Transform your dining experience this festive season with some stylish and colorful reversible placemats that will surely impress your guests. These placemats are both a practical addition and an attractive one, allowing you to showcase your creativity with various fabrics.
The best part is that they're reversible, offering two looks in one and allowing you to switch up the style to suit different holiday gatherings easily. By adding a touch of flair and personality with various patterns and colors, you can match any holiday decor theme.
Let me walk you through the process step-by-step and get ready to enhance your table's appeal during holiday entertaining parties!
Supplies:
- 2 coordinating fabrics. For a set of 8 placemats, you will need 2 yards of fabric in each pattern, for a total of 4 yards of fabric. (One yard of fabric will make 4 placemats).
- Brother Sewing Machine
- Rotary cutter, cutting mat, and ruler
- Measuring tape
- Iron and pressing mat
Tip:
Press your fabrics before cutting to remove wrinkles for best results.Instructions:
Step 1. Measure and cut eight 15-inch-long x 19-inch rectangles from each fabric (one of each fabric) for each placemat.

Step 2. Take one rectangle of each fabric and place them (right) sides together. Pin in place.
Step 3. Setup your machine for straight stitch. Sew around all four sides with a ½-inch seam allowance, removing pins as you sew.

Step 4. Leave a 4-inch opening along the bottom of the placemat for turning.
Step 5. Trim the corners diagonally, then turn the placemat right-side out.

Step 6. Press flat.

Step 7. Topstitch around the perimeter of the placemat to keep the layers together and close the opening in the bottom seam.

Now you’ve created a placemat!
To complete your collection, replicate the process. A uniform set enhances your dining experience and can add to any theme. You can experiment with different fabrics for a variety of looks. These placemats will protect your table while adding a personal touch to your gatherings, reflecting the holiday spirit. You can also complement your placemats with other Stitching Sewcial projects, such as
Frequently Asked Questions
Q: Can I use heavier fabrics for my placemats?
A: Yes, absolutely! Just keep in mind that thicker fabrics may require a slightly larger seam allowance and could affect the overall size of your placemats. Adjust accordingly and test your machine settings to ensure optimal results.
Q: How do I clean my reversible placemats?
A: Most placemats can be gently washed by hand or in a washing machine on a gentle cycle. However, always check the care instructions for your chosen fabrics to ensure they can withstand water and detergent. Allow the placemats to air dry completely before using or storing them.
Q: What if I don't have a rotary cutter and mat?
A: No worries! While a rotary cutter and mat provide precision and ease when cutting fabric, you can still achieve great results using scissors and a ruler. Just be sure to cut slowly and evenly to maintain accurate measurements.
Q: Can I add embellishments to my placemats?
A: Absolutely! Adding embroidery, appliques, or other decorative elements can make your placemats truly unique. Simply incorporate these extras after Step 4, once you've turned the fabric right-side out and pressed it smooth.

